
Assignment
- design a 3D mold, machine it, and use it to cast parts.
0. Idea
For this assignment I decided to make a toy of Dora the explorer, because I want to give it to my niece she really Dora.
I have splited the procedure in the following parts.
- Designing the mold in Rhino.
- Creating files for milling and milling the mold using Rolland SRM-20.
- Making the mold using silicon.
- Casting.
1. Designing the mold in Rhino.
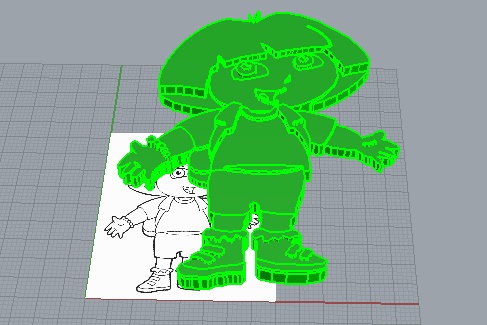
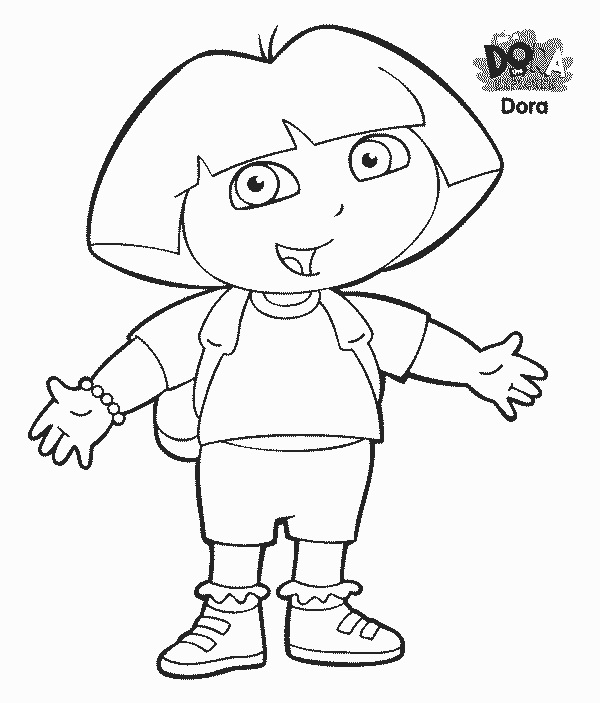
- I stated with a simple drawing of Dora. I found a simple 2D drawing image using google and imported it in Rhino.
- Then created curves by using polyline and curve commands in Rhino and drawing over the line shown in the image (as shown in video given below).
- After that I extruded each curve at different height, so highlight the different parts of the cartoon.
- The most difficult part was the hairs and eyes. Because top side of hair must have more height than face and button side of hairs must be behind the face, so I need to split into two parts and extruded then at different height as required. Same case was with eyes as well.
- After making model, make a mold by creating a solid box across your model and perform boolean subtraction.
- Make sure that there is enough depth in the mold so that you can put silicon easily into it. I did that mistake and there was not enough space to put silicon into the mold, that is why I have cutted a wooden frame using laser cut and putted it on the mold.
- Following video shows the complete process described above.
- And this is how the final model look like.
2. Milling the mold.
For milling first we need to generate the .prn file for machine.
For that I have use Rolland MODELA player 4.
Following are the steps that we need to follow.
- Open stl file
- select the origin point of your mold.
- putting on manual (boundries wall space)
- Select Roughing
- Selecting Z at top
- Selecting tool size.(In my case it was 3.18mm)
- Adjusting the boundries
- Put scan line just on X-axis.
- Set speed limit (low speed in recommended may be 24mm/sec)
- Save the roughing file
- Now simillarly we need to generate file for finishing by reducing tool size and take the smaller tool and put scan line X+Y and reduce the speed atleast half of the speed in roughing.
- To make it more clear we can see these steps in the following video.
In this software we need to set the size of the mold, size of tool bits used for roughing and finishing, speed few more things, all these steps are shown in the video given below.
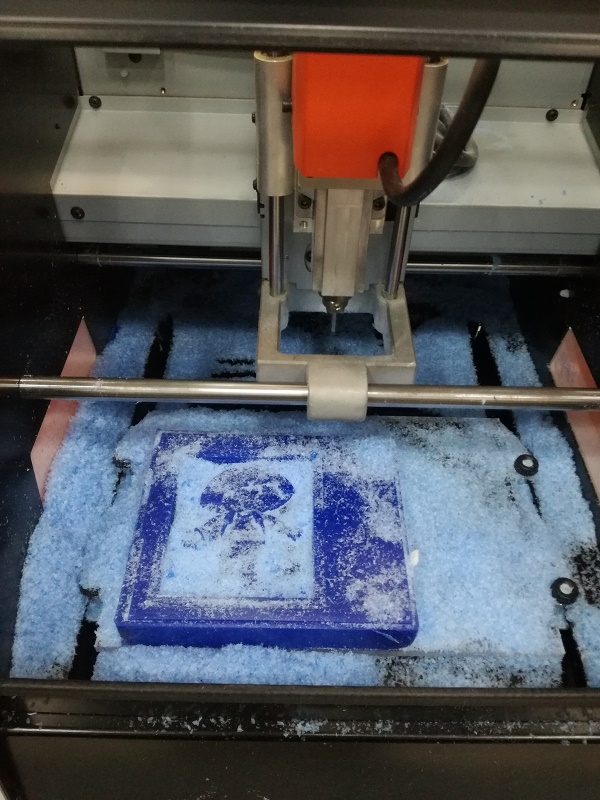
After this I have stated milling wax to create the master mold using Rolland SRM-20. To run this machine all the steps are given in week4.
Here is how it looks like after milling.
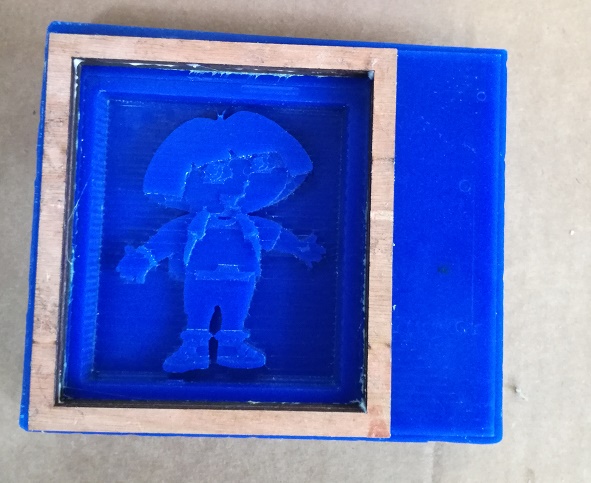
But here is the problem, As I mentioned above there was not enough space on the mold to put silicon. I have created wooden frame to make some space for slicion. Following image shows how it looks like.
Few pionts for getting good quality mold that I noticed.
- It is important that the walls of the mold must not be 90 degree it must be greater than 90degree(meauring angle from inside), because if cut too deep we will not be able to cut it because end factor will hit the mold.
- And the maximum cut depth must not be more that 2/3 of the tool size.
- Use a Finish Pass With a Light Cut
- Use the little bit slow Speeds, it is really important the slow the speed better will be the quality. Obversely not too slow.
- The mold should be holded strongly, do not just simply place the mold inside the machine. hold it with any strong double sided tape or any other such thing.
3. Making the mold using silicon.
In this step I have used the following material to make mold.
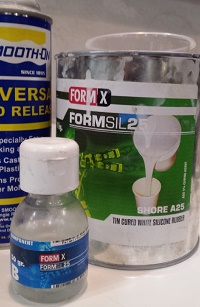
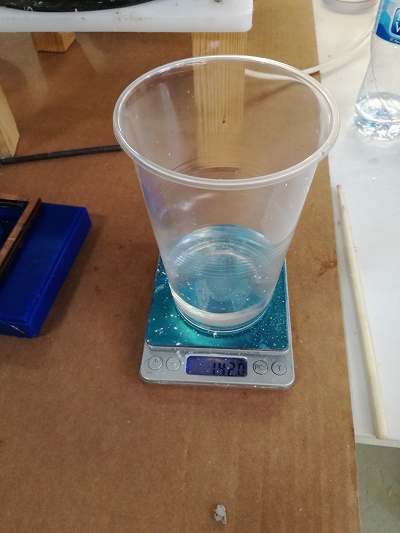
To know the approximate amount of silicon that we need for mold I putted water into mold and measure the amount of water. It was 142g of water.
I have taken 175g of silicon.

To make process speedy I am using 3% of catalist.
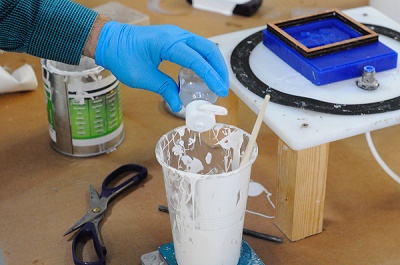
Mixing the material
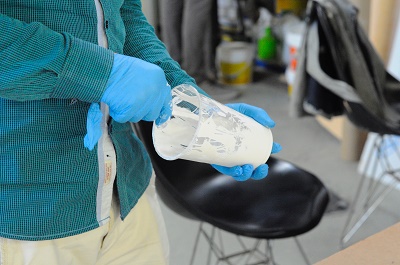
Adding the material to the mold.
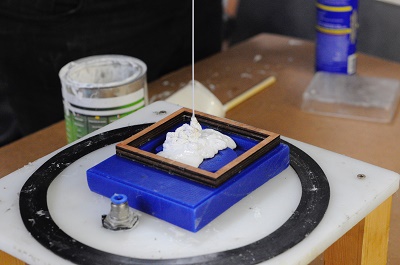
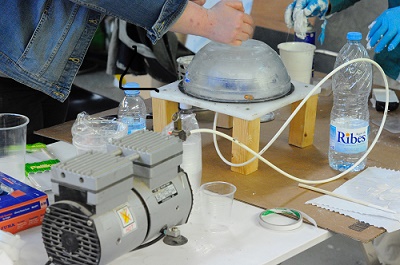
Removing air bubbles from the mold.
And finally the mold is ready. I think I put less amount of catalist in silicon thats why It took more than 24 hours to dry, But finally result is really good.
3. Casting.
3.1 I have tired three materials for casting, and got the different result from each cast. Results are dicussed below.
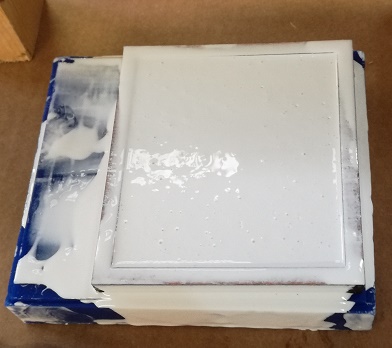
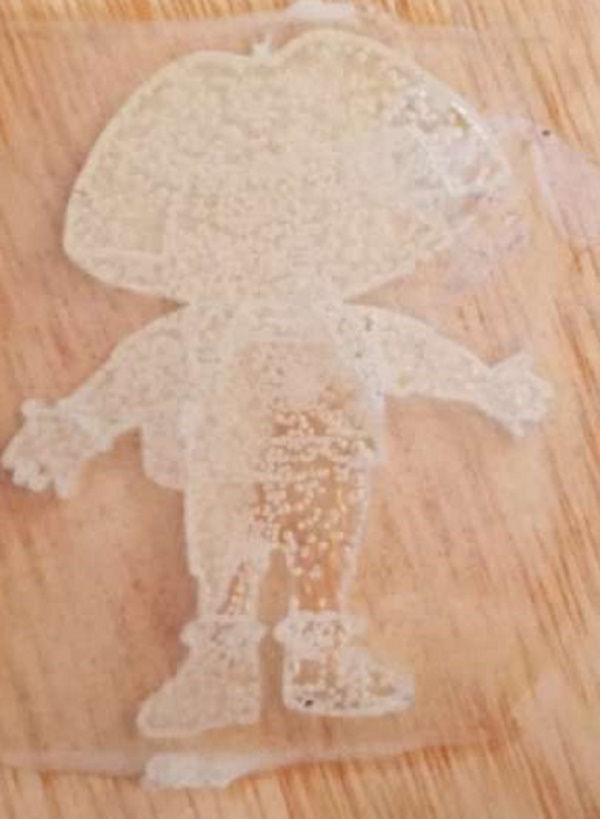
Here is the first material that is liquid plastic 326, mixed equal amount of both A and B.
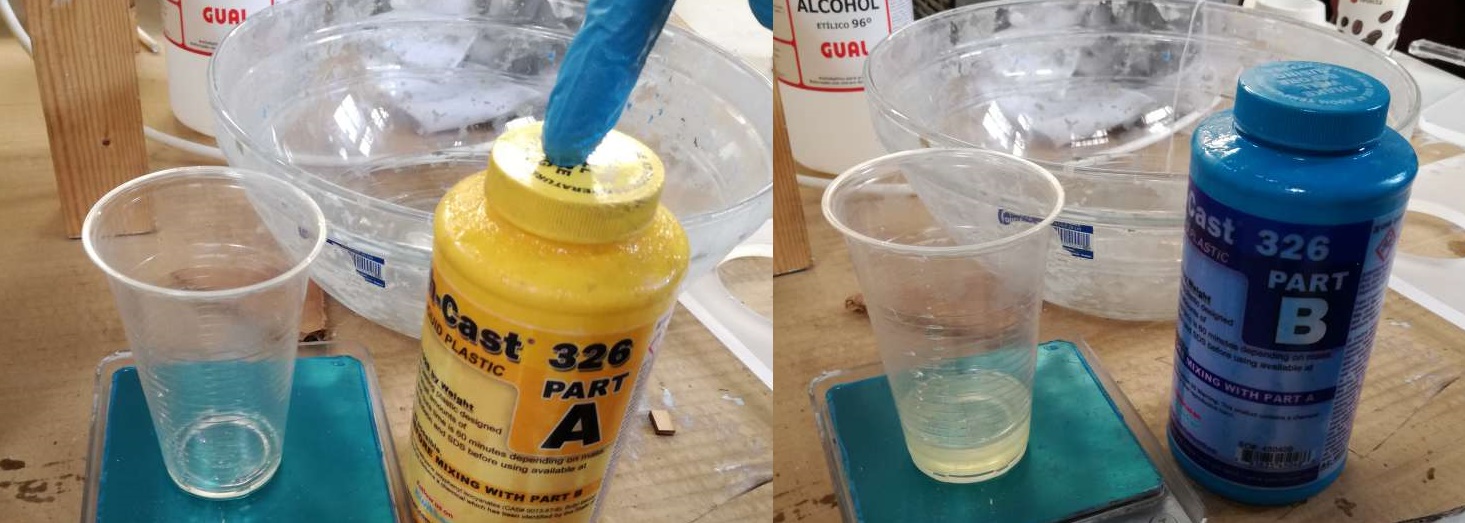
In just 30 minutes I got the result, but the result is not good because of of air bubbles, even I tried to remove them. The bubbles are in between the both surfaces of mold they are visible because the plastic is transparent.
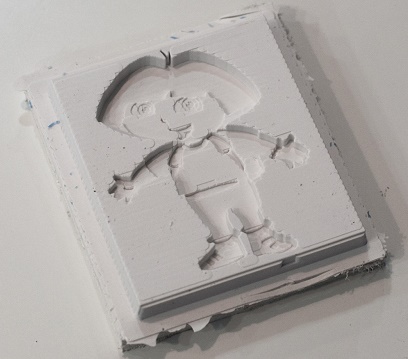
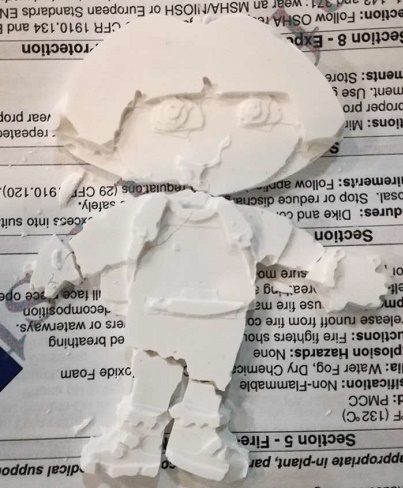
3.2 The second attempt of casting was with marble powder with 1/4 amount of water.
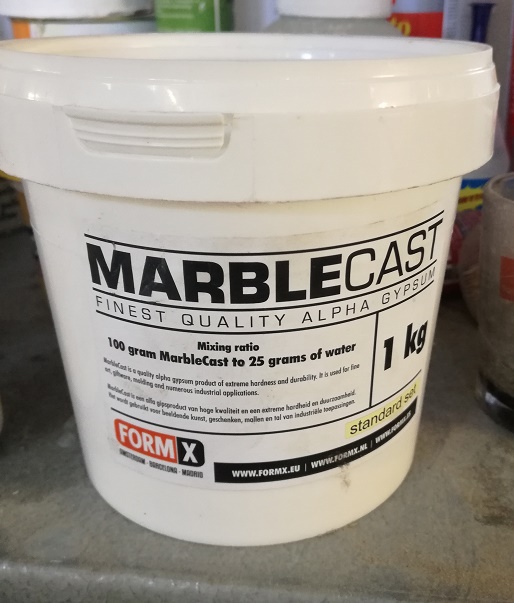
This time there was no bubbles result was really good but it was really sensitive, by just removing the cast from the mold the thin areas was broken.
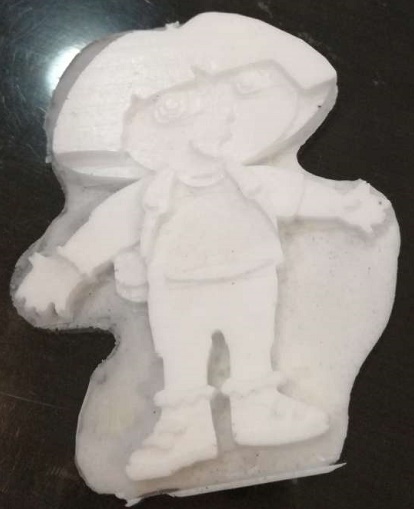
3.3 This time I used liquid plastic 305. I used both A and B part with 1:1.
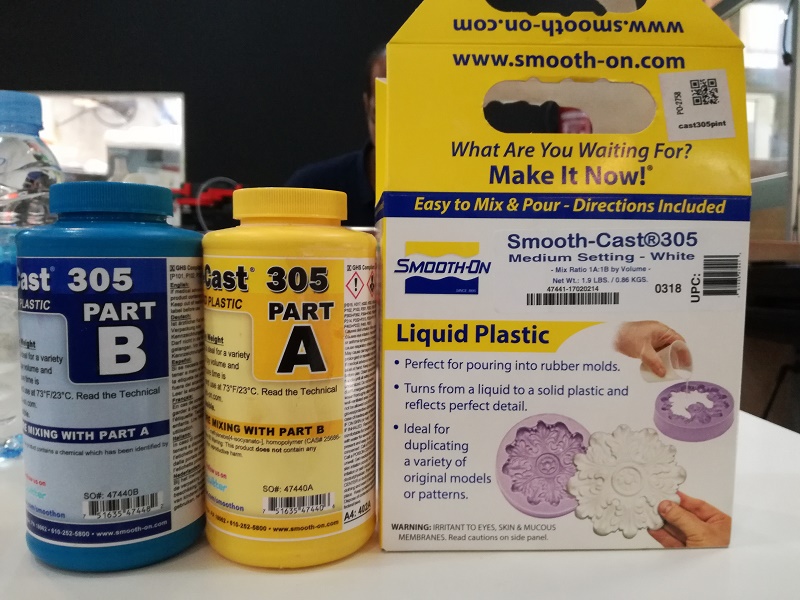
This time result is really good, without any bubbles and its strong as well.
Conclusion.
What I have observed is this week is that, while designing the mold we should make it deep enough so that we can put silicon and any material for casting easily otherwise it will be really difficult to cast it. The second thing is, there must be sufficient height to each layer so that the curves and design can be easy visible, this height very with the size of model you want to make.
Download All file of this week from Here.

This work is licensed under a Creative Commons Attribution-NonCommercial-ShareAlike 4.0 International License
.