Week 14 : composites
This week's agenda for Fab academy was :
Design on a 3d modelling software a mold
Make a composite
composite group work 1 _with C L A Y
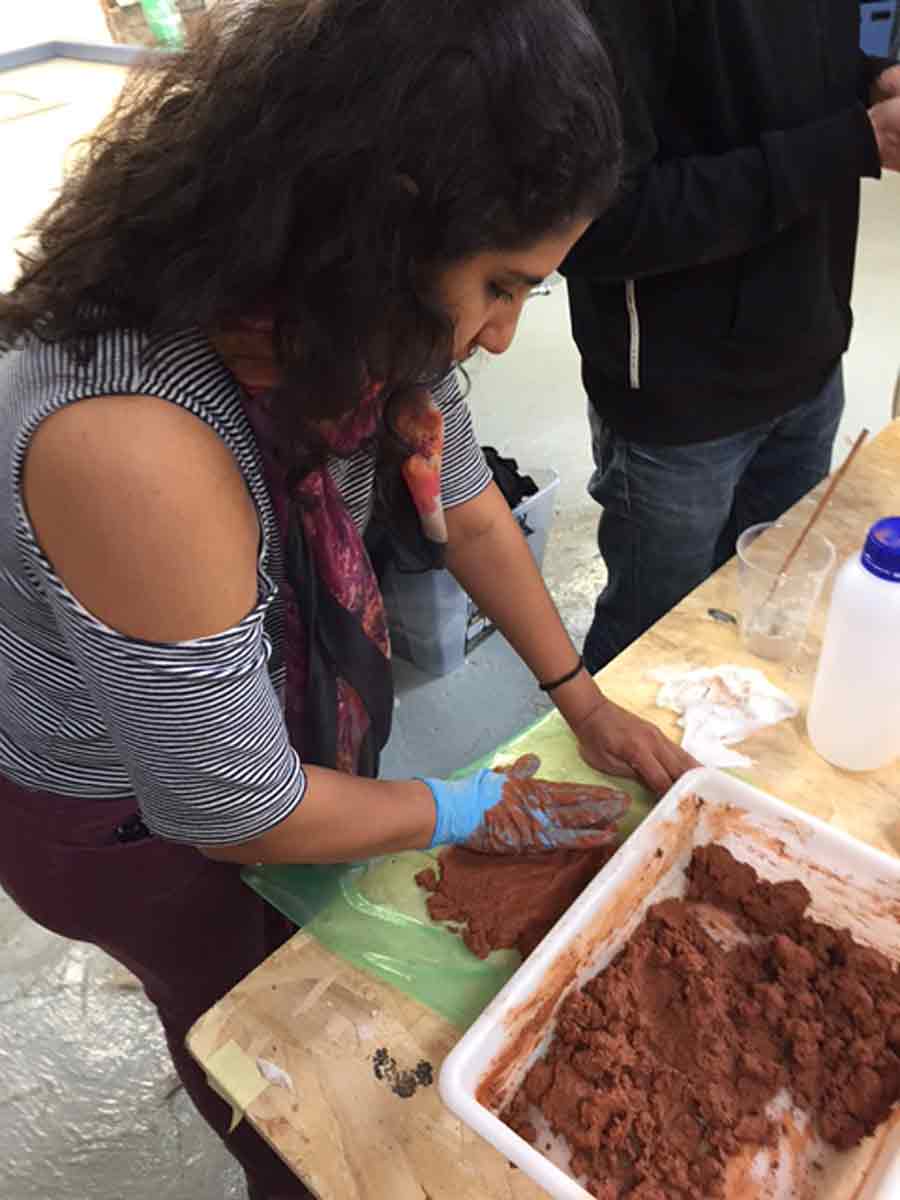
For this , We worked in groups to make composite molds. and cast various materials.Me and Paul Nichols. This tutorial was led by Joaquin Melchor, the expert adviser for the week.
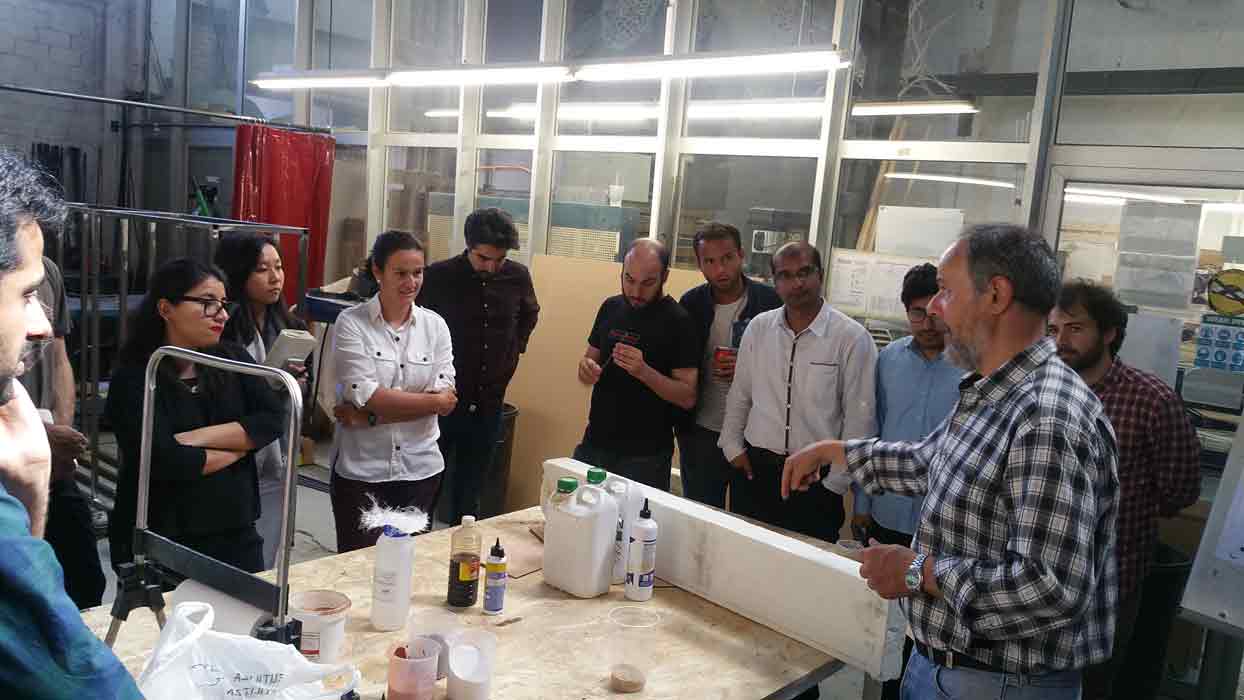
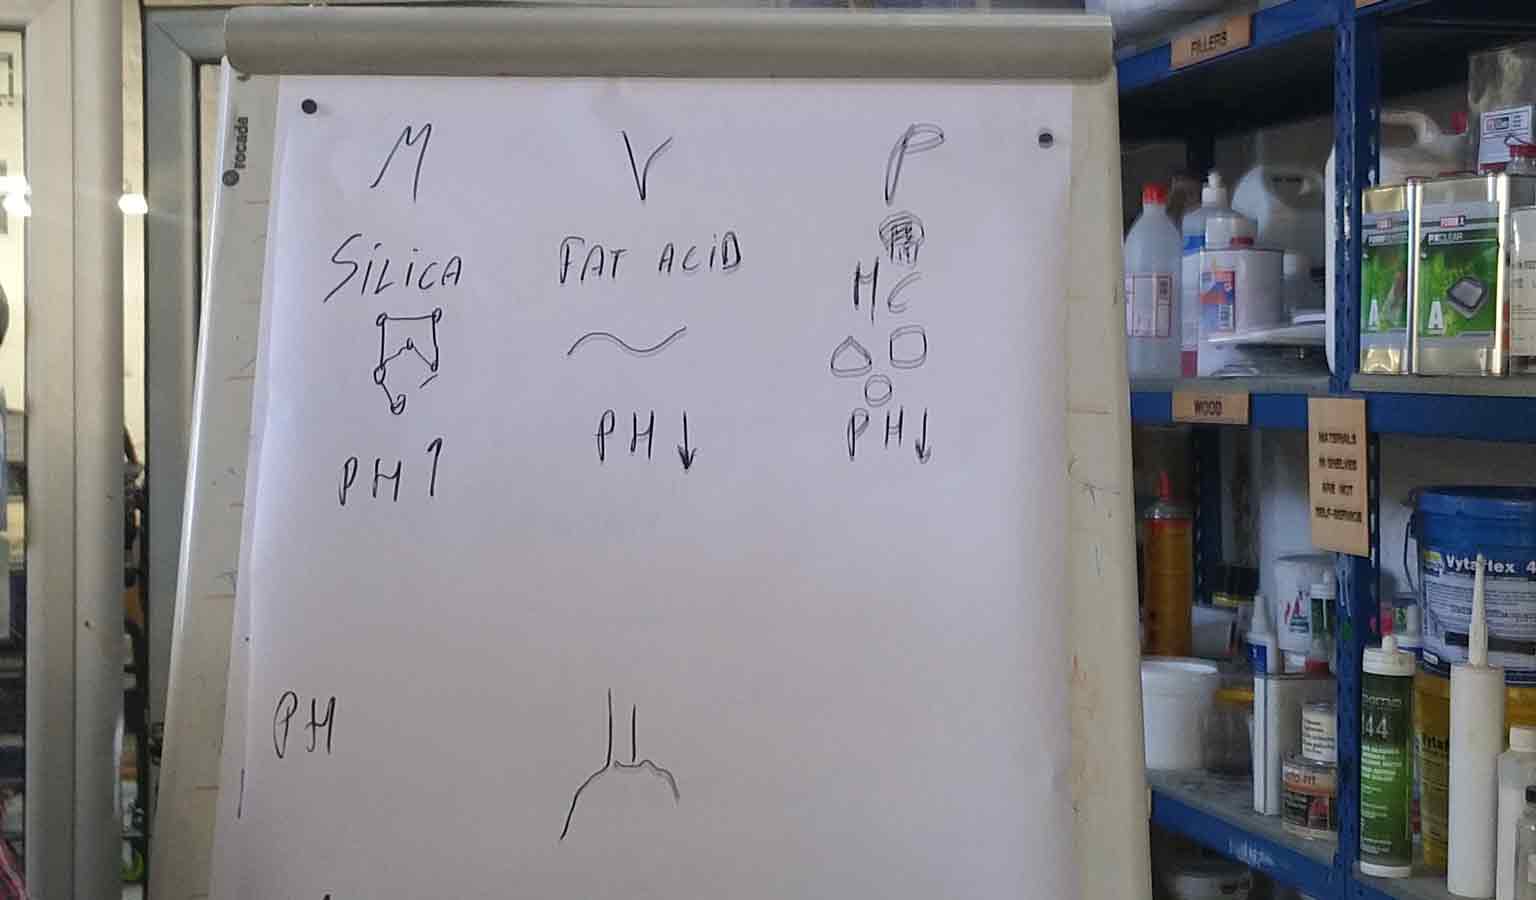
He taught us about the three types of composites, Silicates,Vegetable composites, Petroleum. And how change in the PH VALUE afftects the molecules to act as composites.
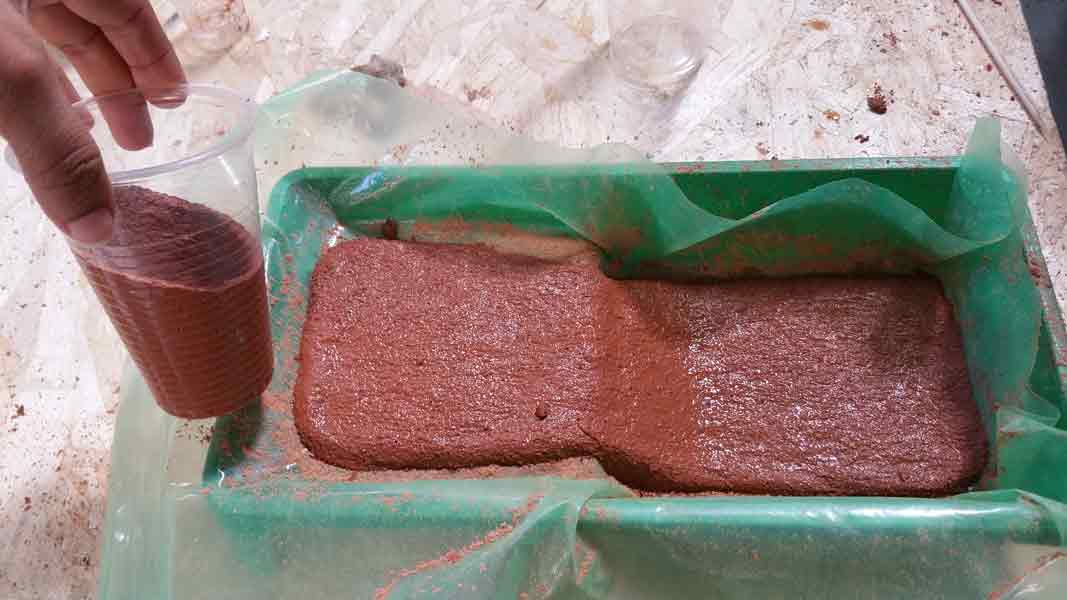
For this assignment, I want to try silicate composites. It was very promising because it was a mixture which gave us strong clay composites without baking.
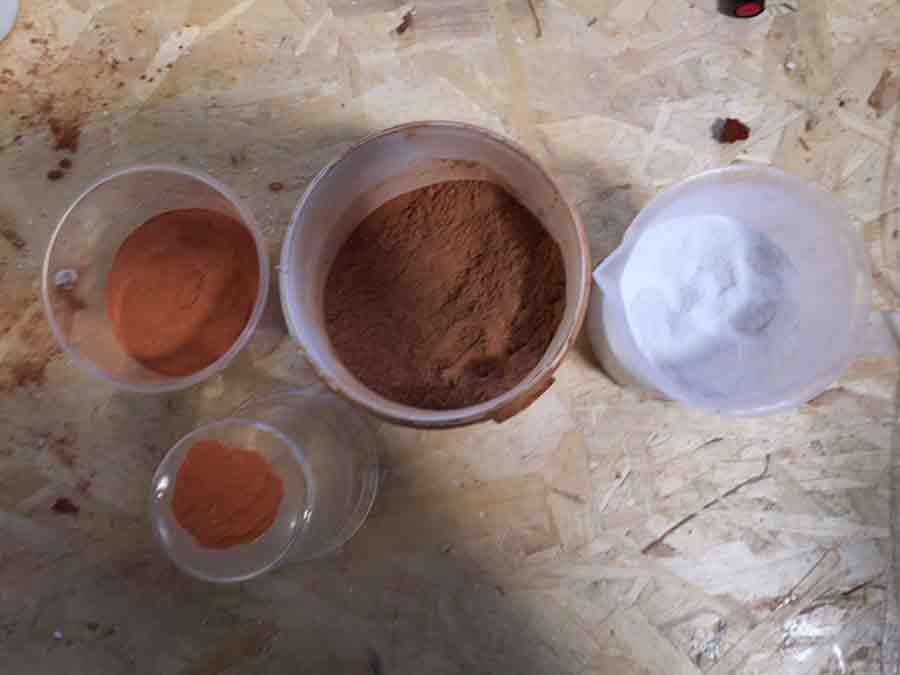
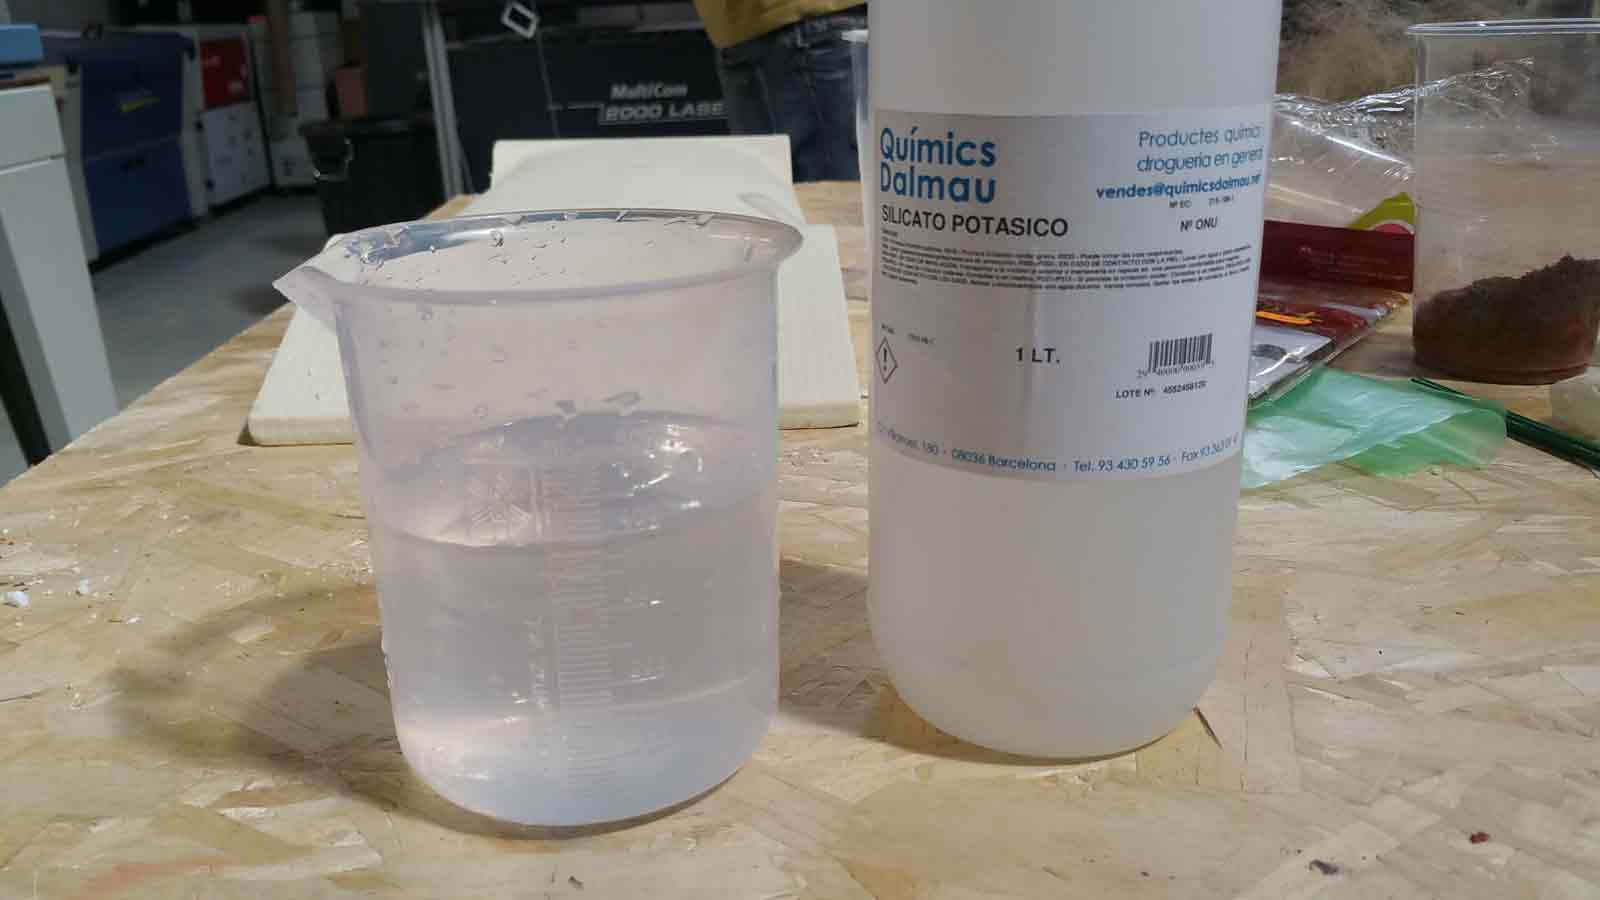
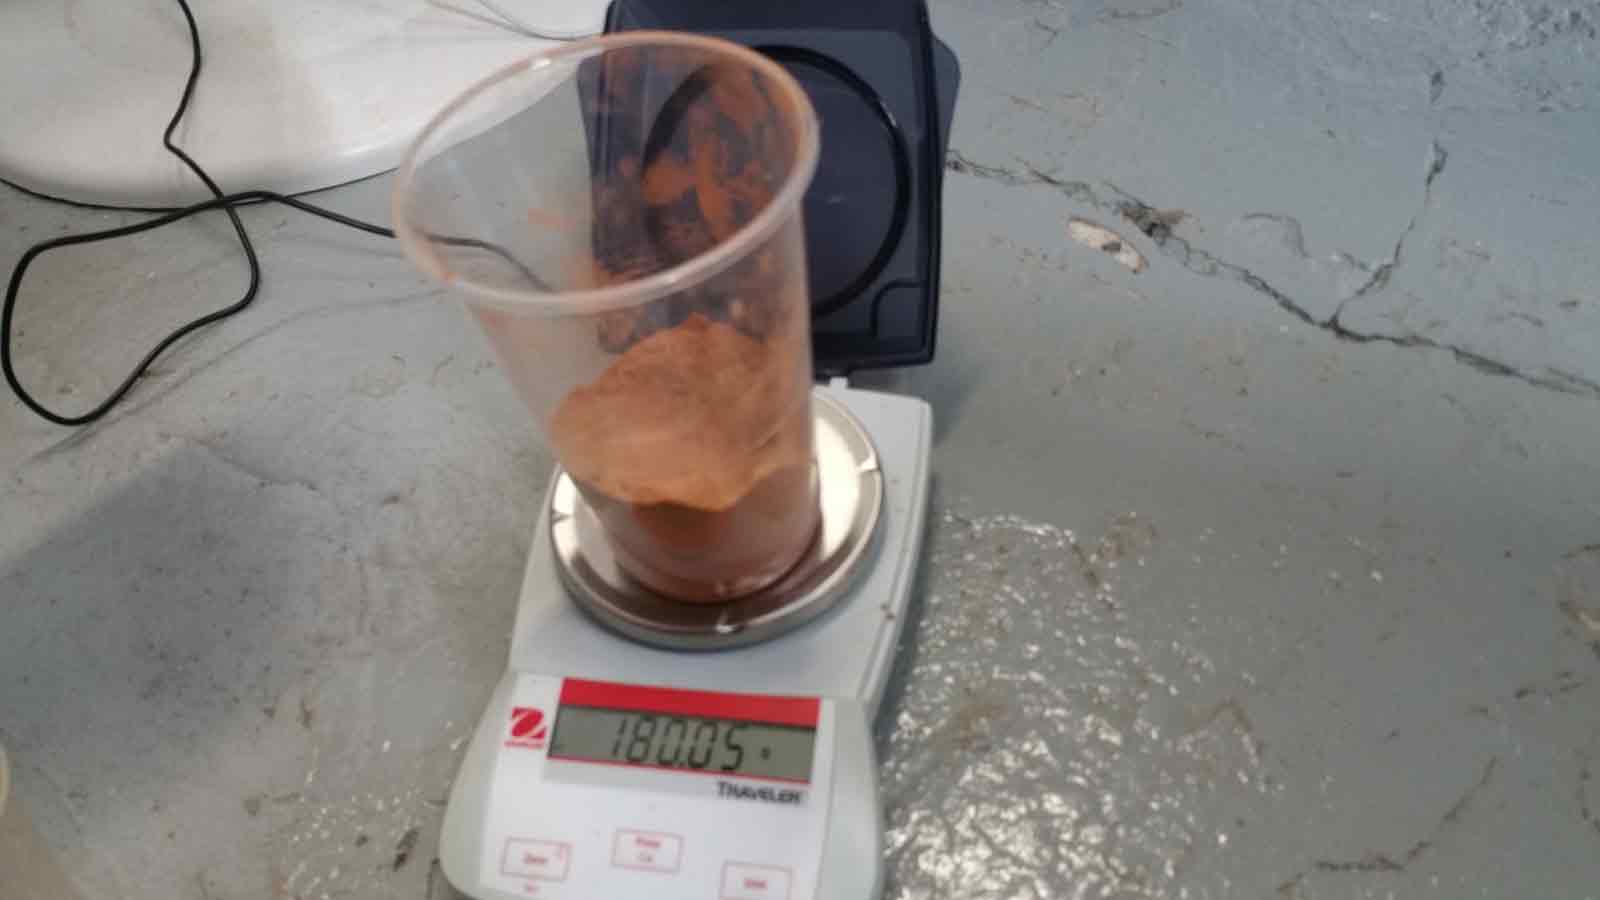
For this the materials we used was, Potassium Silicate Our binder in the mixture with 1:1 mix with water. To this liquid mixture, we added the clay, which was finer granules of about 0.1 mm dia to a mixture of marble, the granules of which were quite bigger, say about .8 mm dia compared to the finer clay particles. All this was added in the ratio of 30:30:60
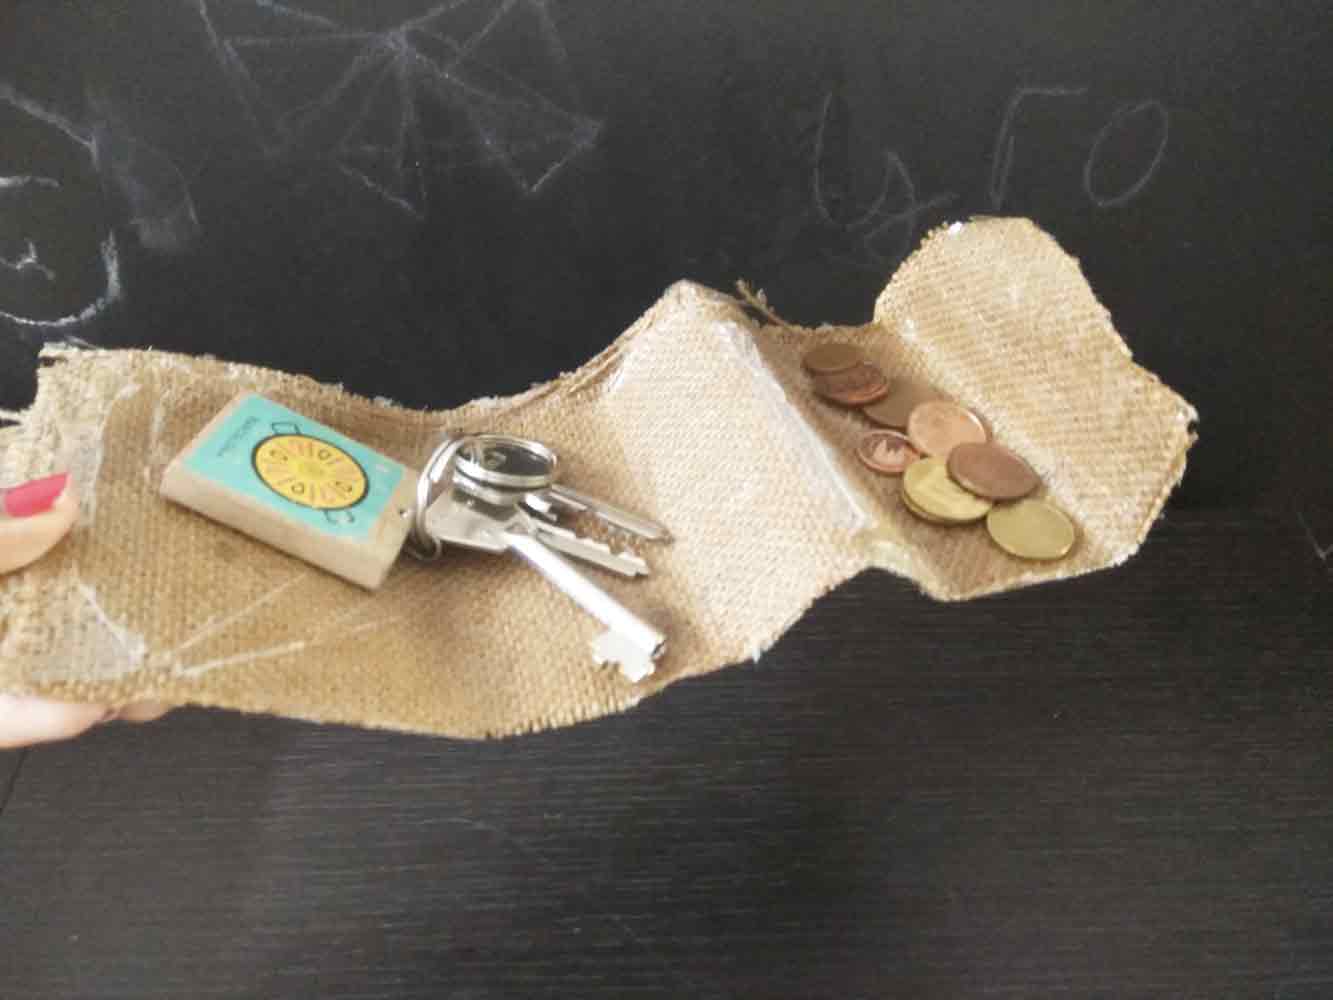
Composite for a keys and coins holder
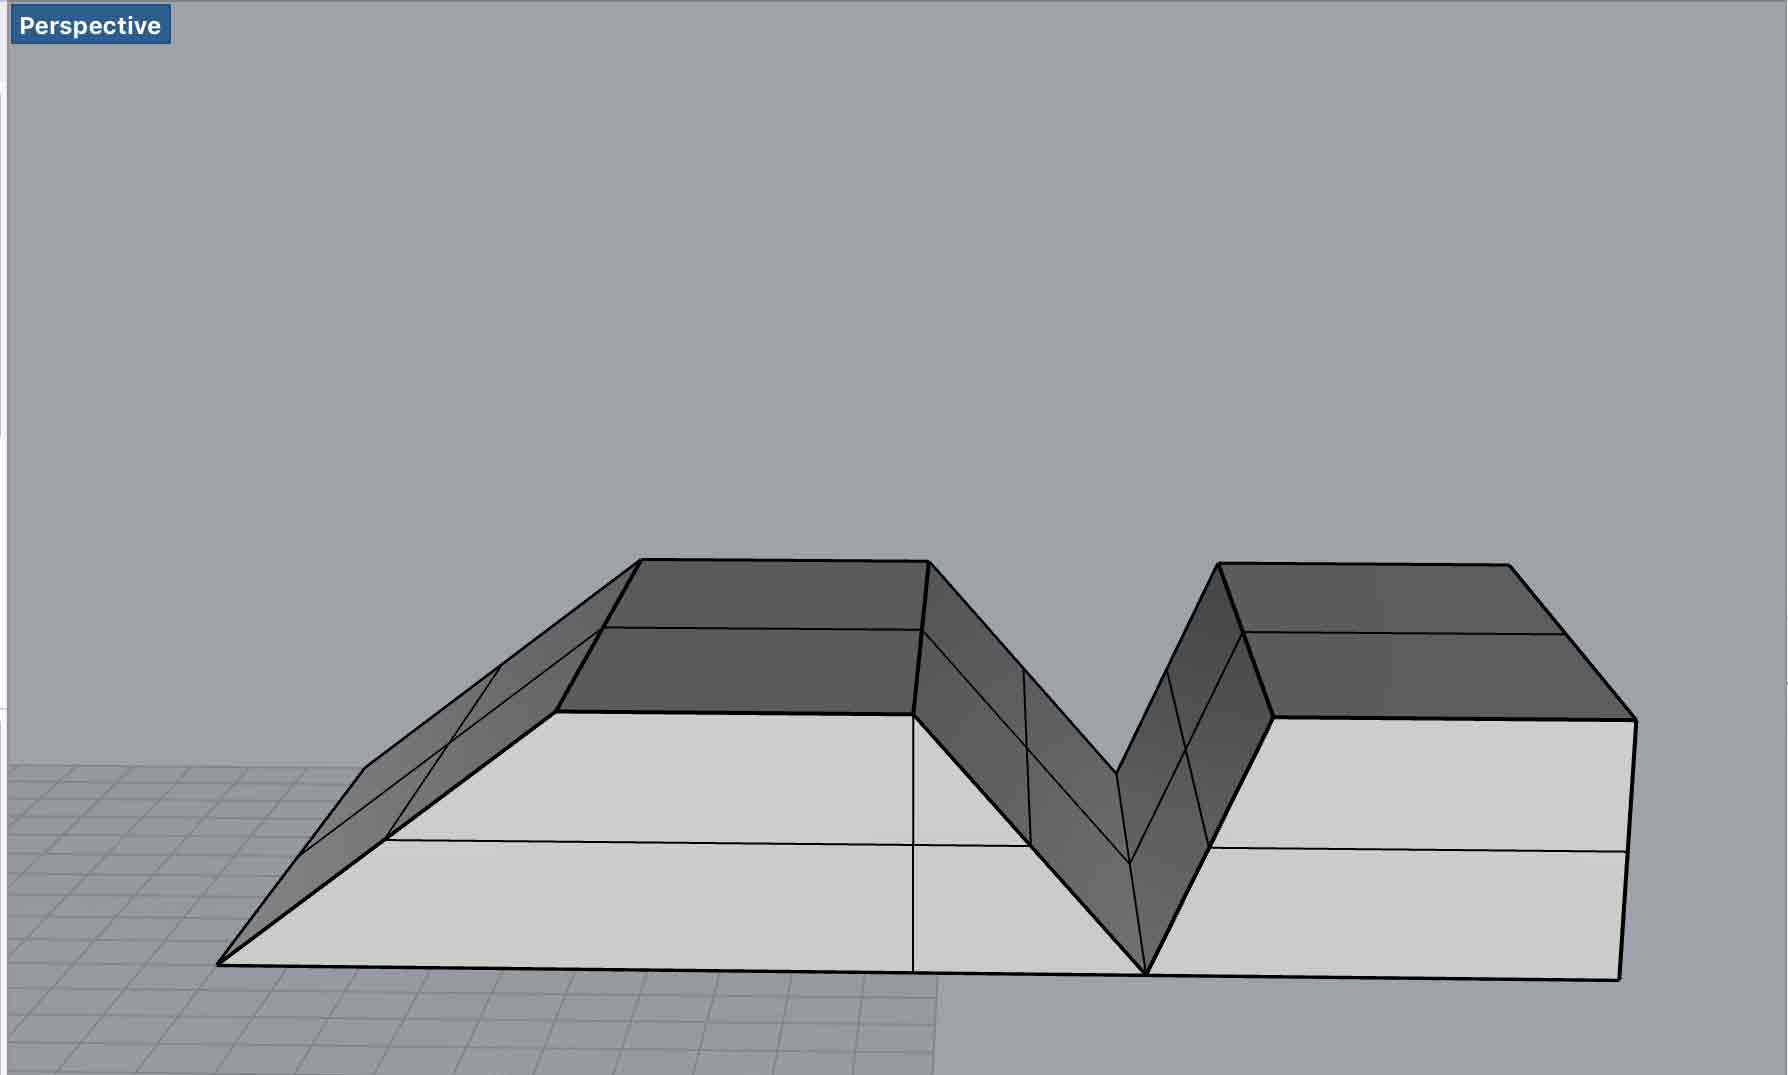
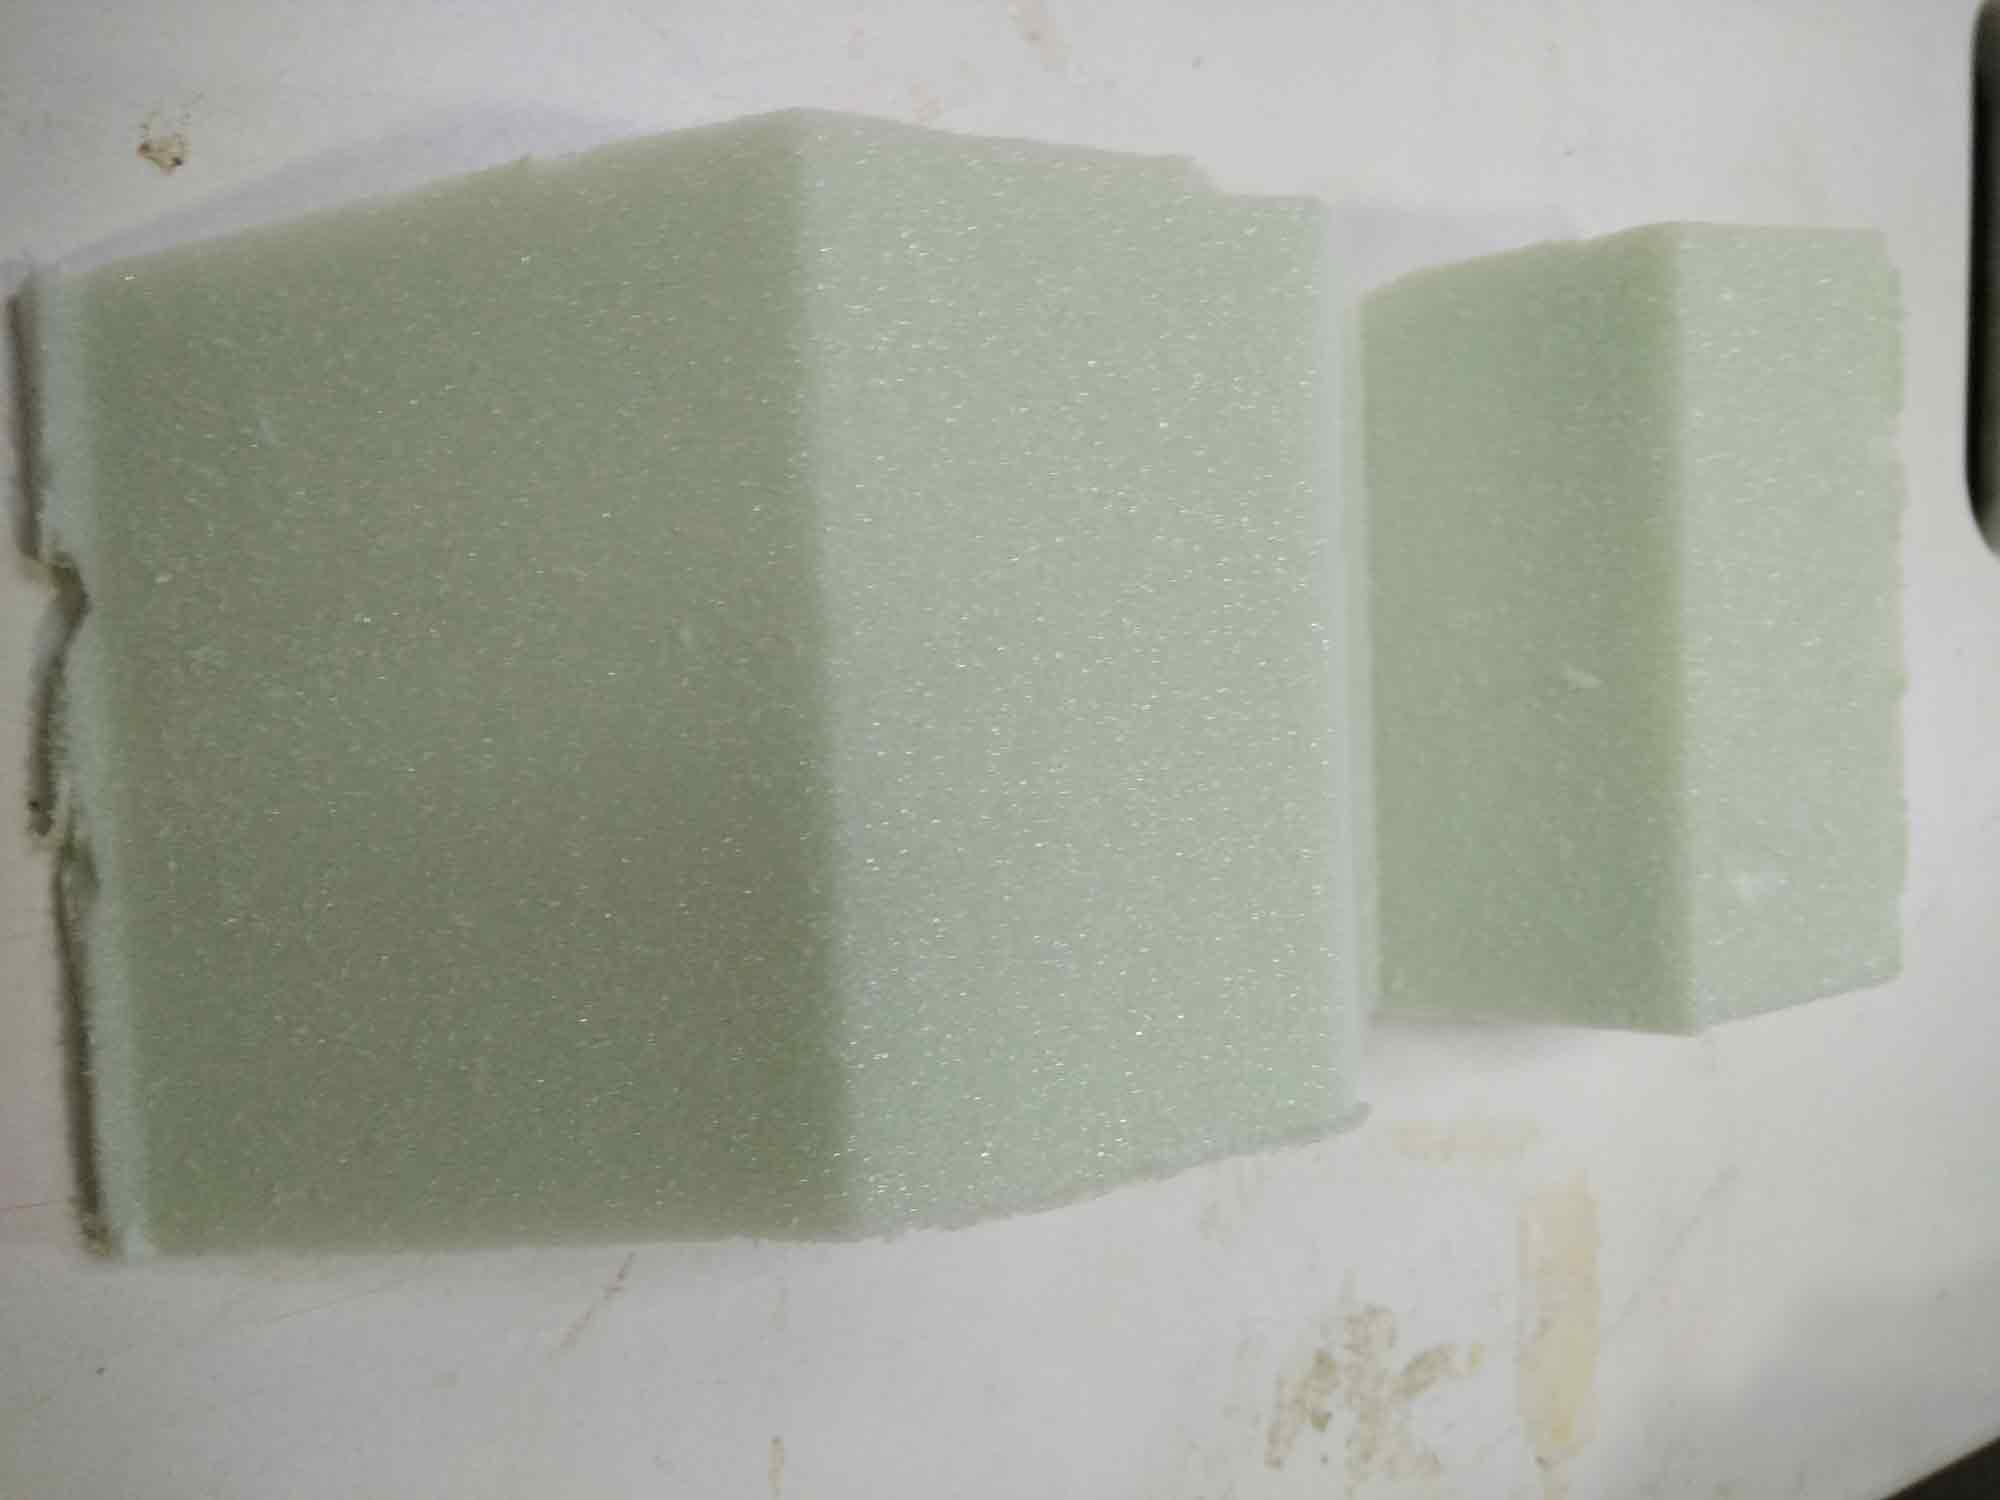
For this exercise, I wanted to make an open holder that could also be like an art piece that could hold coins or keys. I first made a 3d model of the mold on which I would cast the composite over.
Once the model was ready, I put it onto to milling it on the monofab in the fam lab modela, as was done in the molding and casting week.
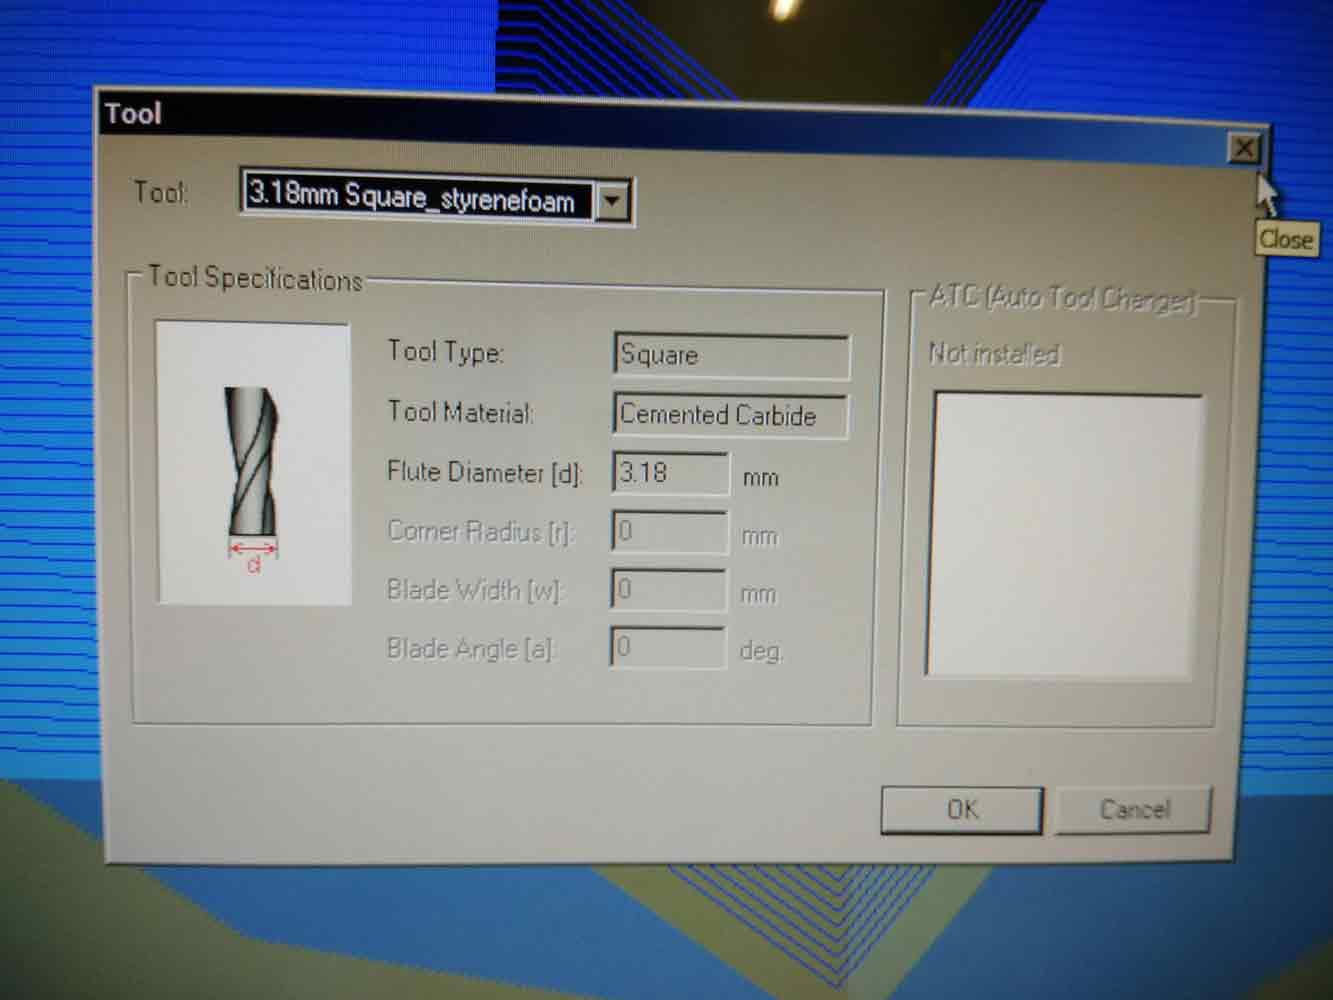
Once I placed the material the monofab machine, I select the material as styrenefoam and select the right tool therefore.
Set the right cutting parameters

The next step is to the cutting path
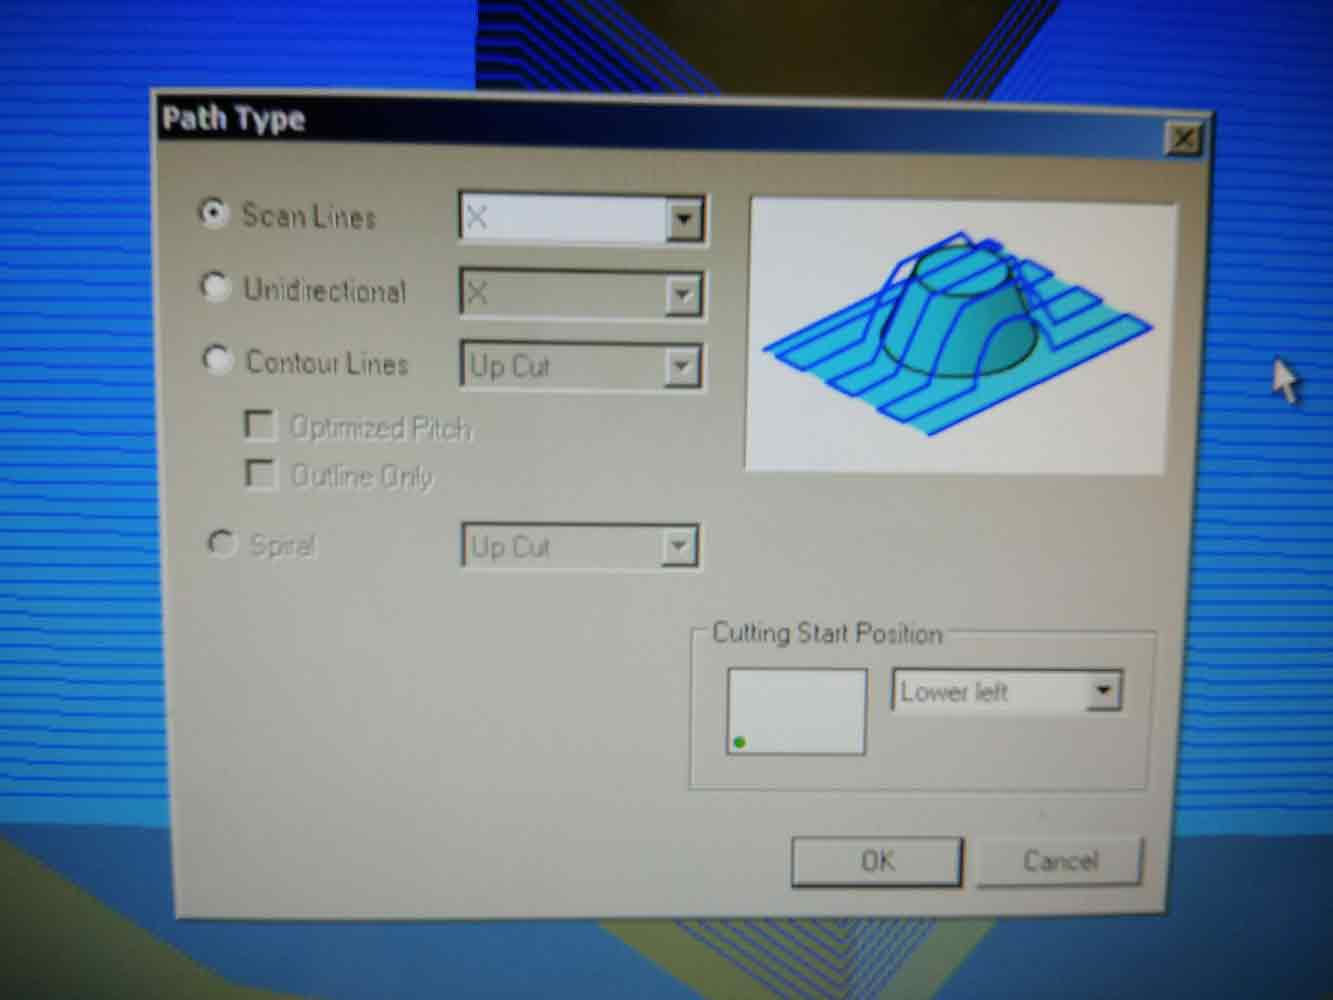
Making sure the strategies are set correctly, the roughing and finishing strategies is what I used here, The roughing will use the bigger tool, and the finishing will use the smaller diameter tool available, as finishing needs to be more neat and precise.
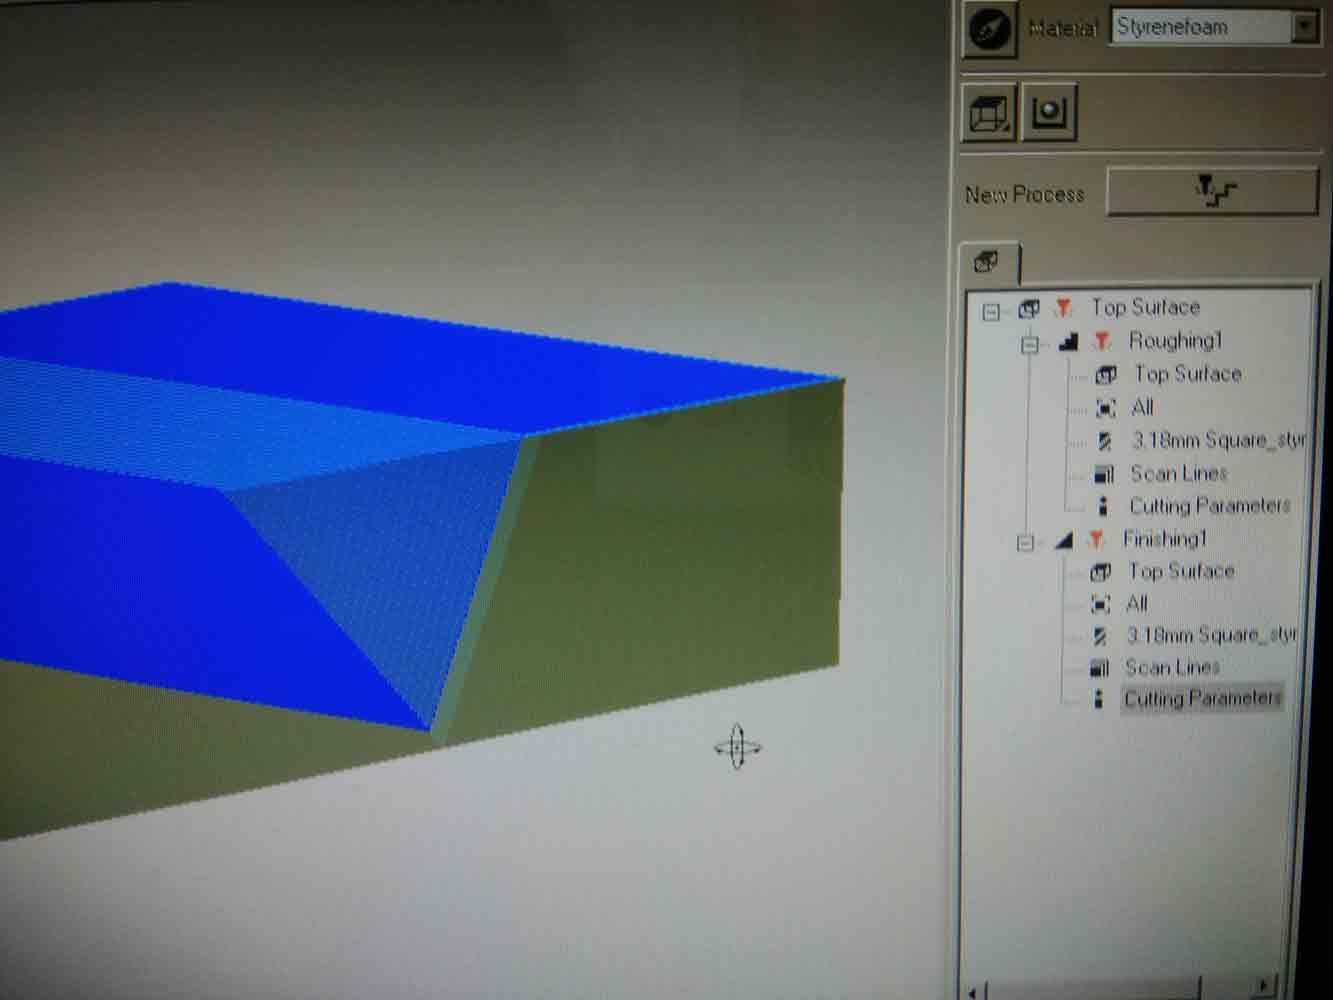
Once the startegies were finihsed, this is how my model looked like after the milling process.
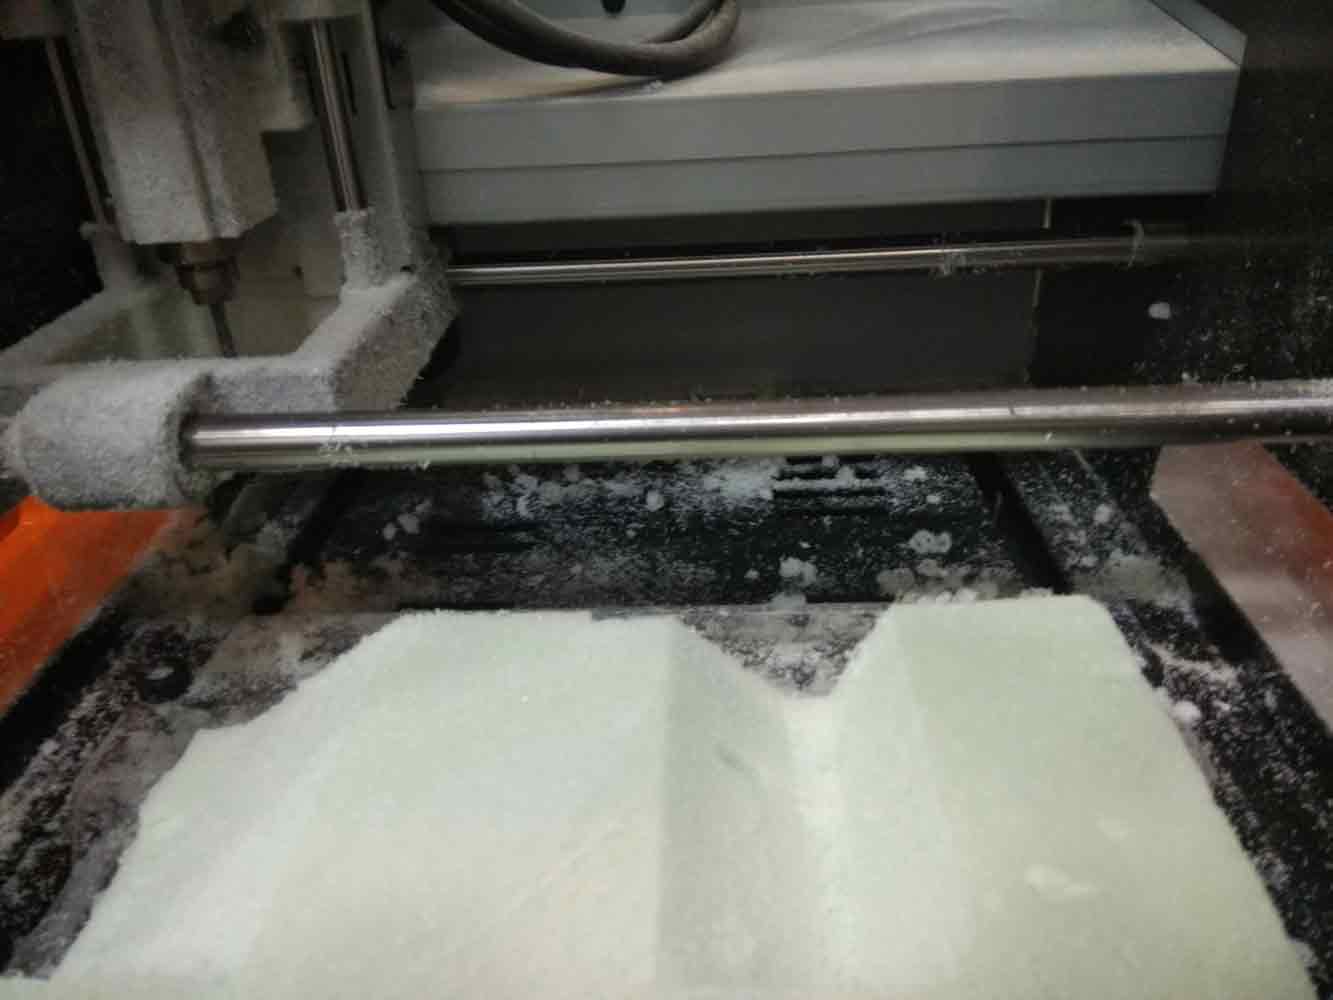
And now once I cleaned the machine and took my milled model out, I am ready to make a composite on top of this model.
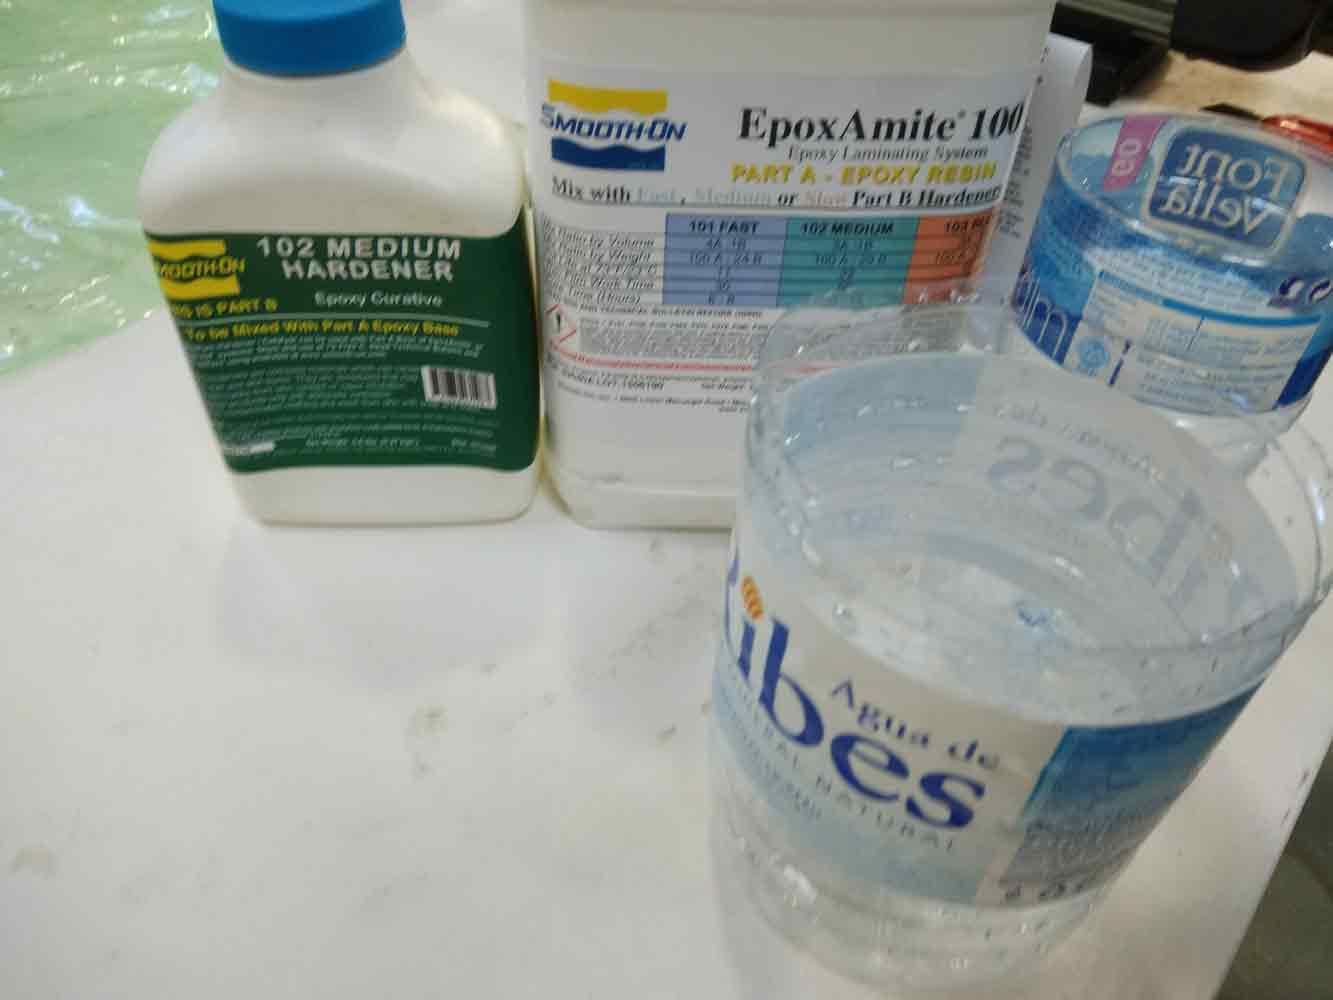
Now, I start to make the resin mixture for my composite of resin and jute fabric.For the resin, I use Epoxamite and medium hardner.Make sure you read the Material safety datasheet before you start.
Once the resin mixture is ready, I cut out the fibre, in this case it is Jute,in an approximation of the size I would need to cover my mold. I cut 3 layers of fibre, as this composite will have 3 layers of fibre mixed with resin .
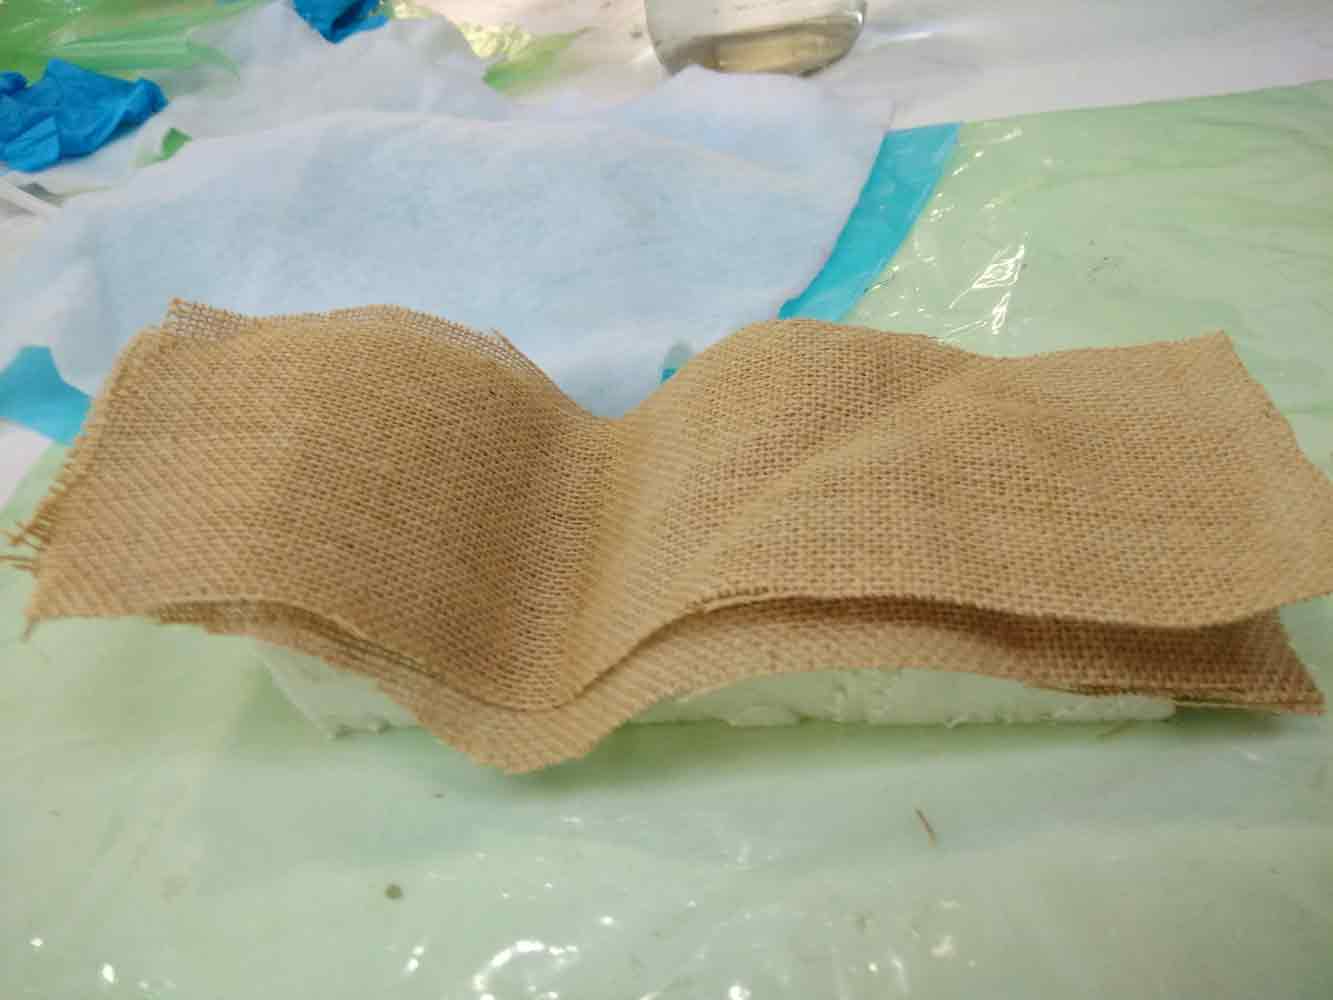
I start pouring the resing mixture carefully and in little quantities over my fibre, peice by peice.
It is important to spread the resin evenly and not too much.
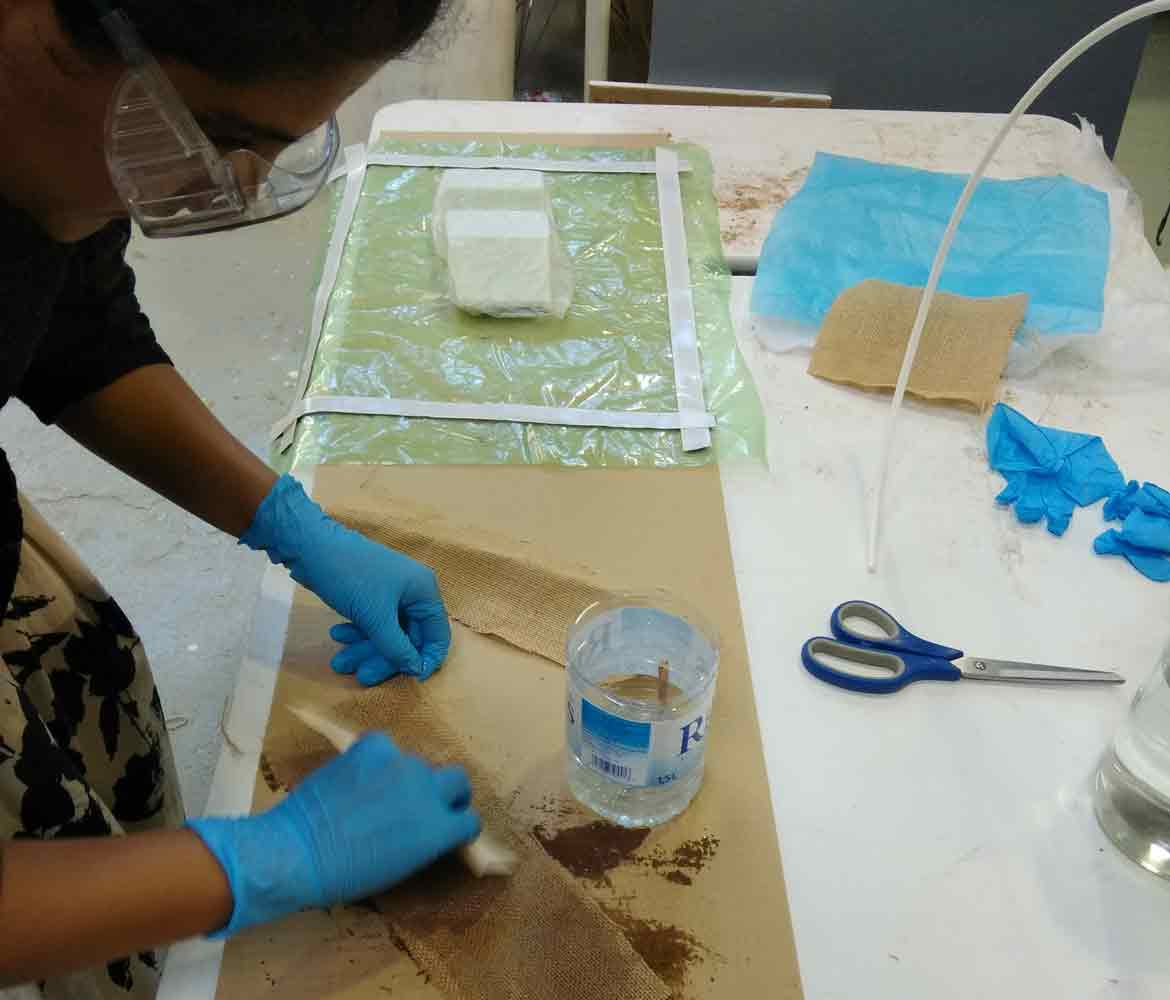
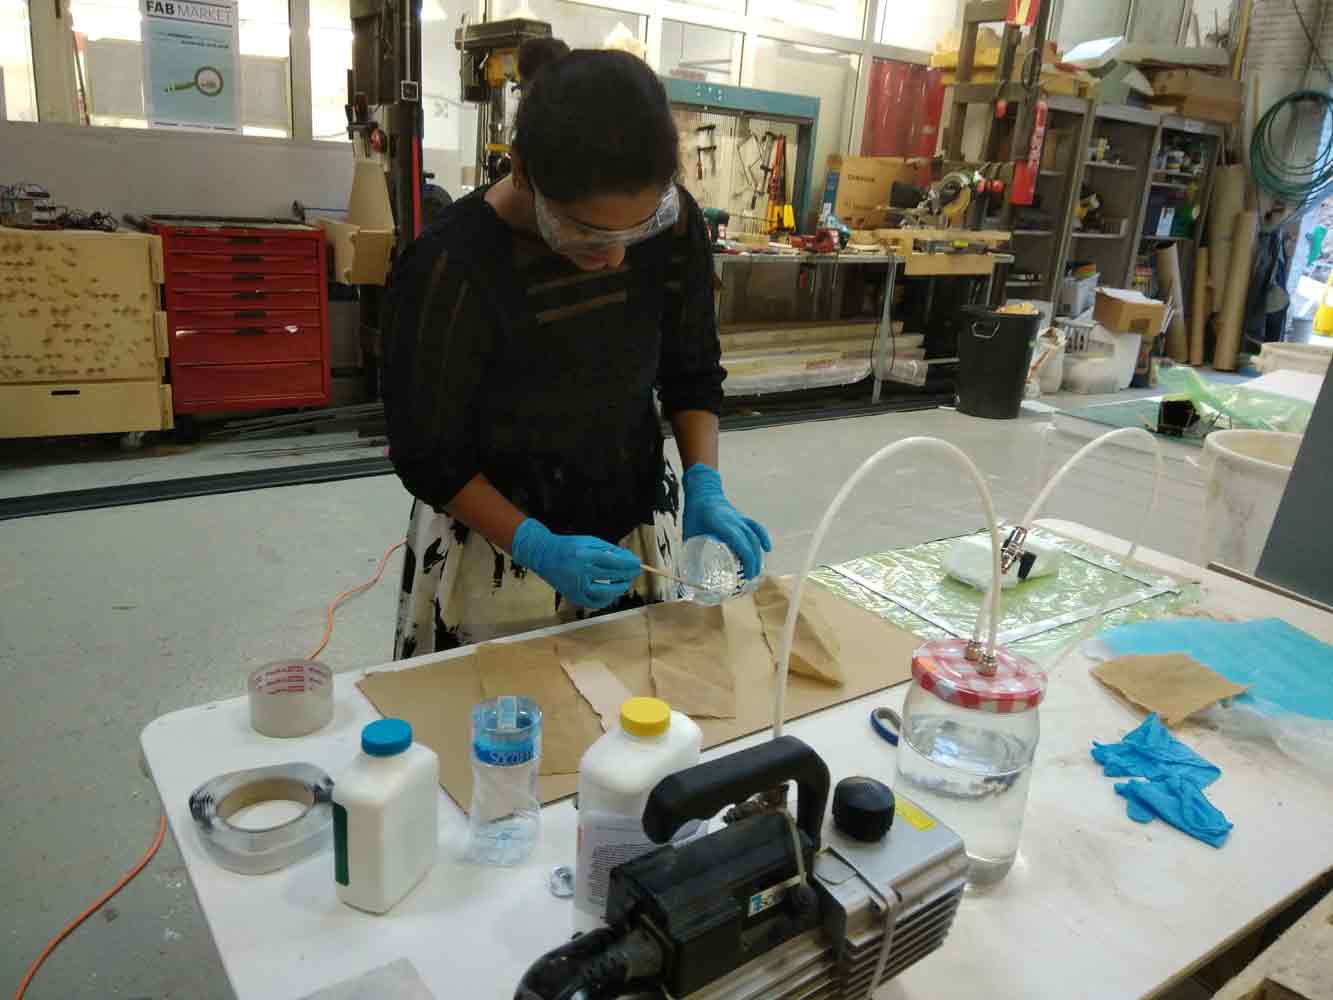
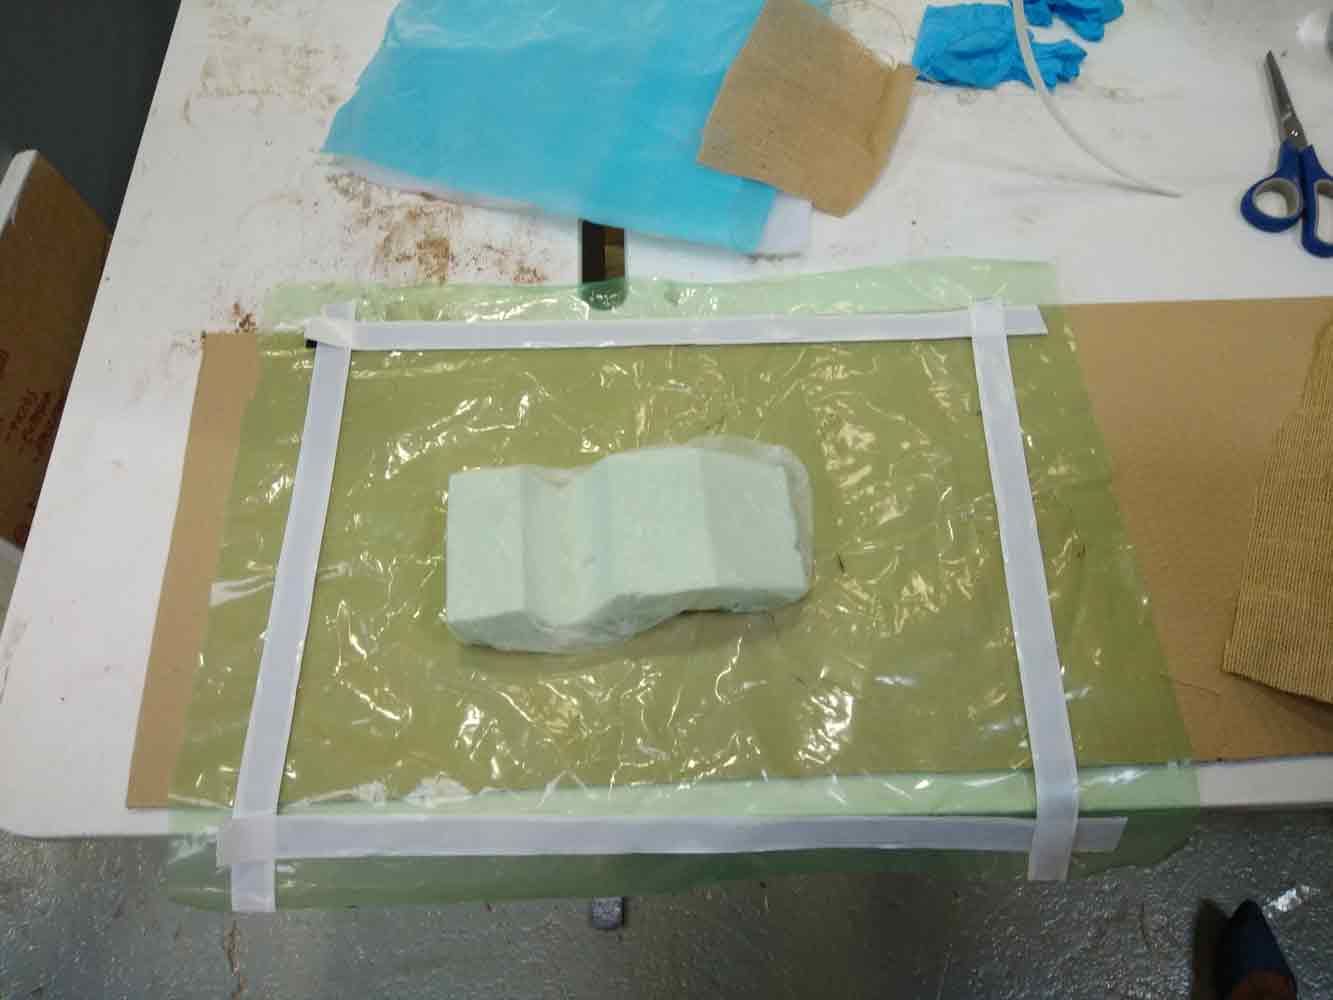
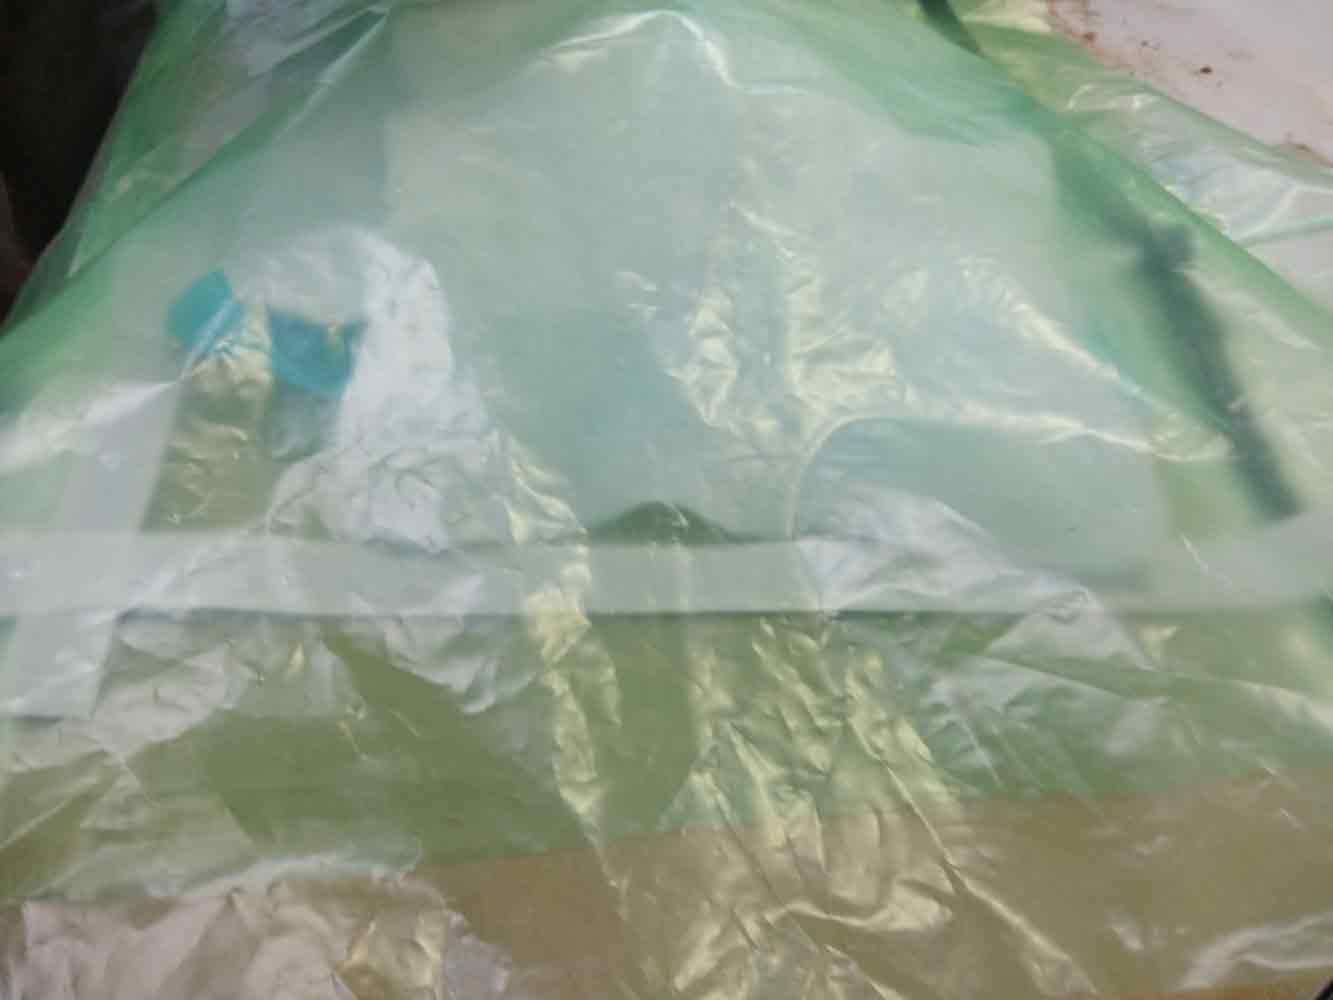
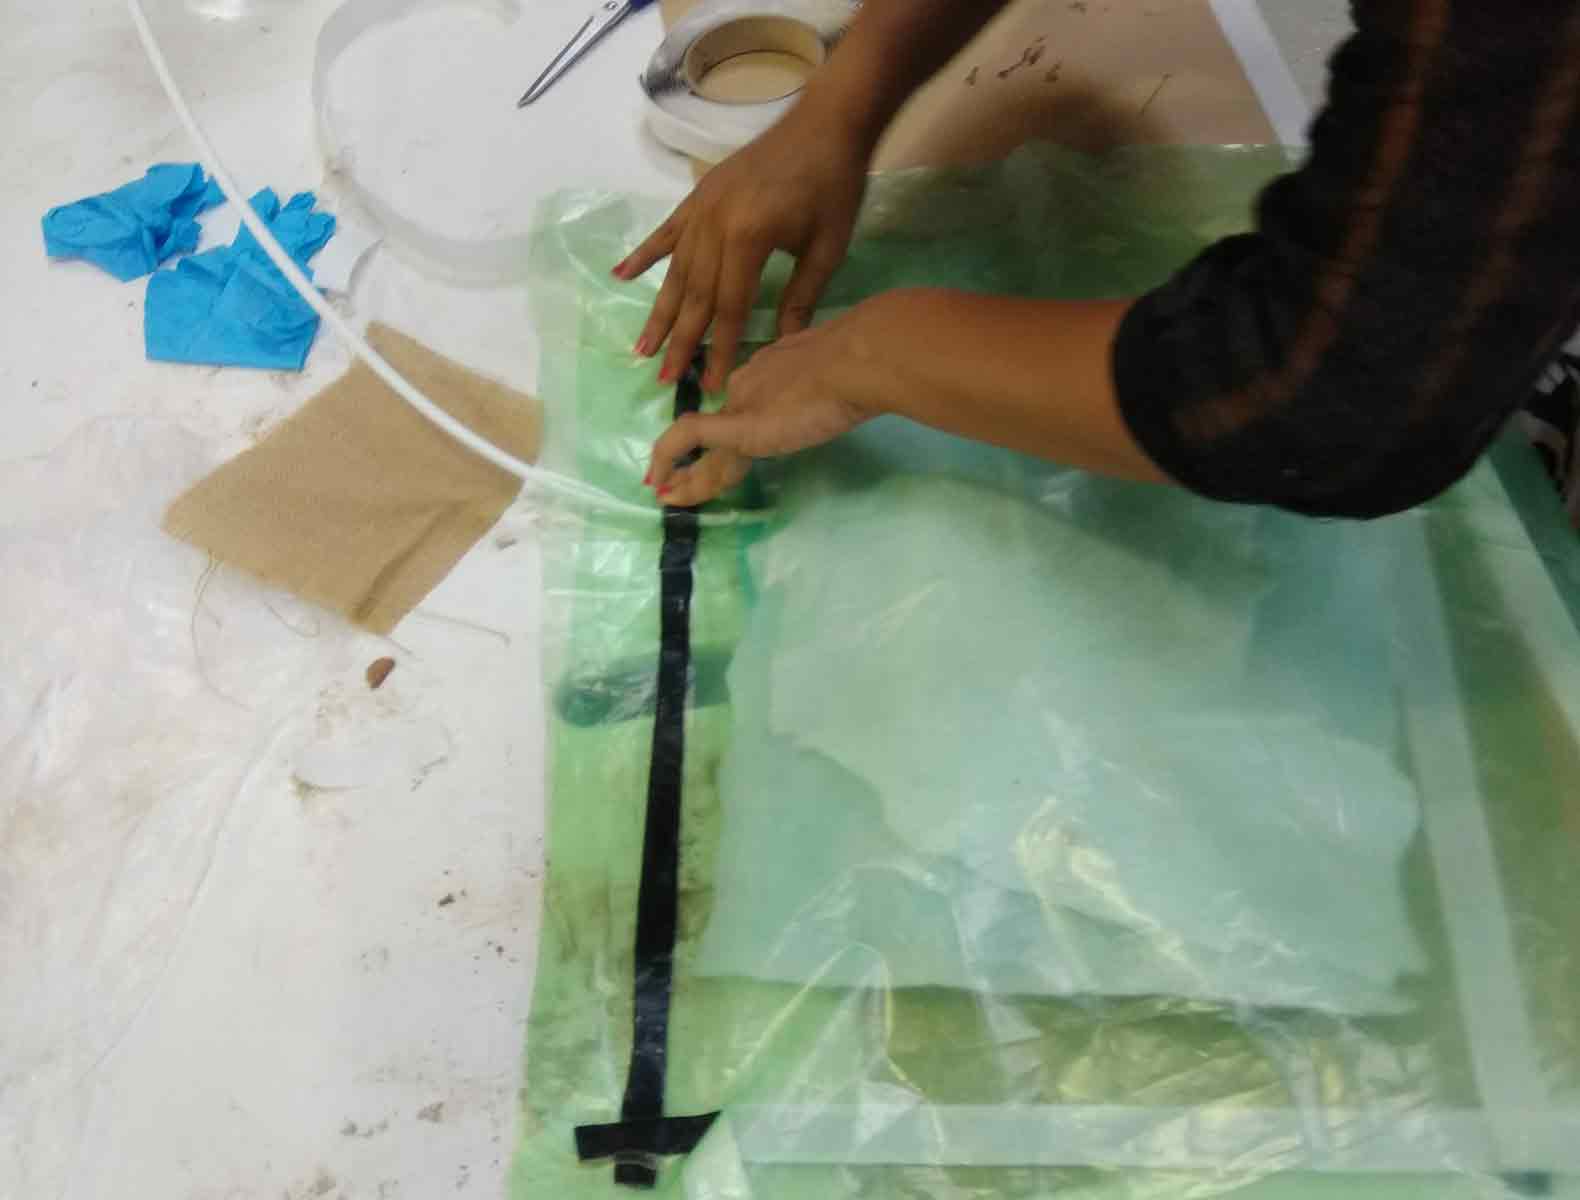
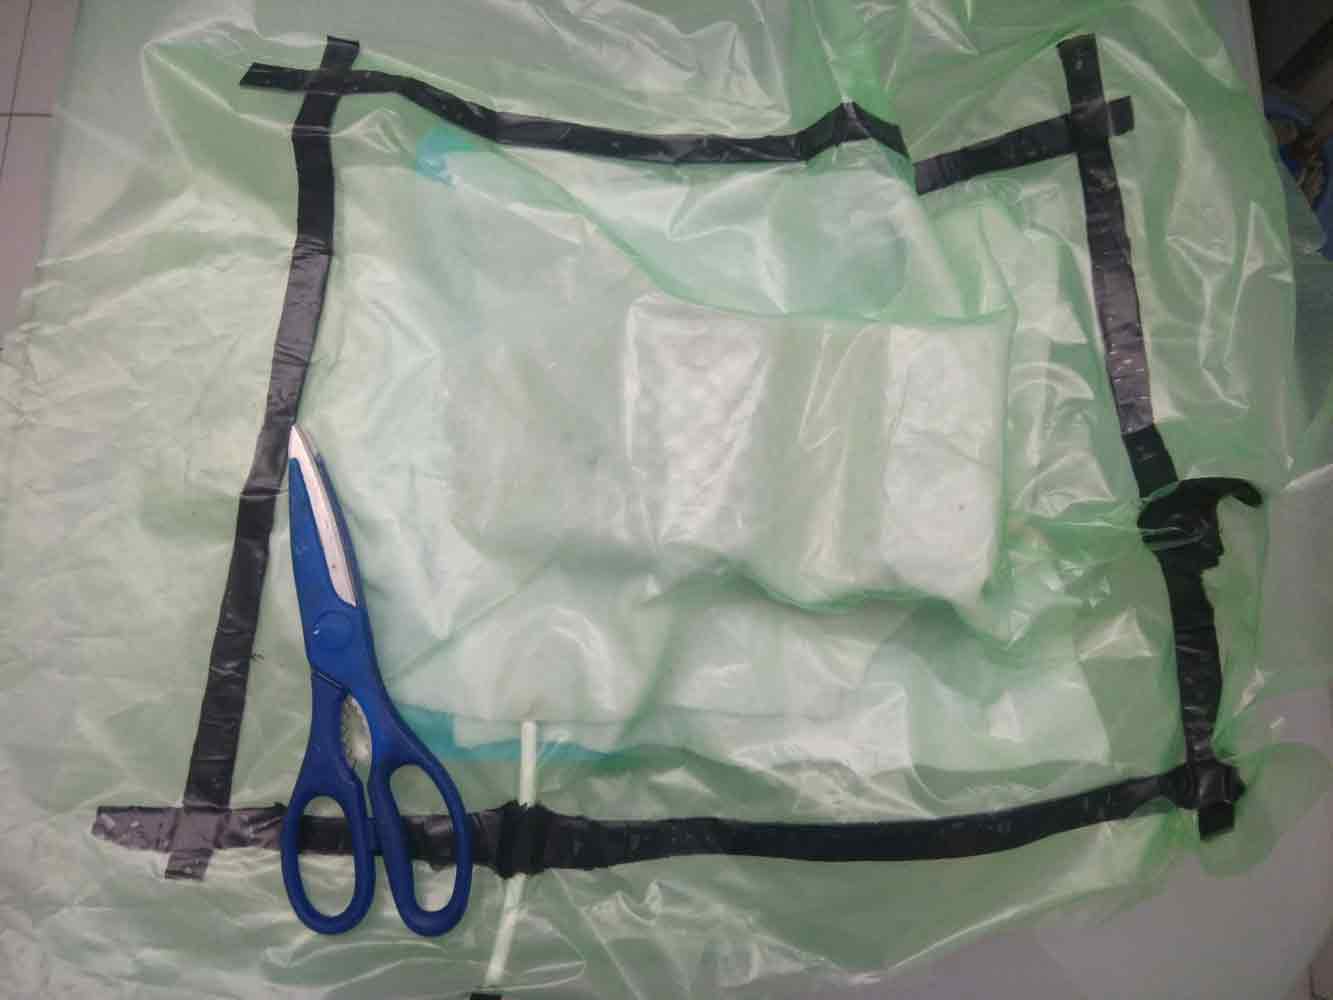
Once the fibre and resin is ready, I make sure my mold is ready and covered in plastic, so that the chemical reactions of the resin do not interefere with the shape of the mold. The mold sits on a plastic sheet bordered with special double sided tape material which is best suited to coverany kind of leakage of air during vaccum forming.
I would especially thank my tutor Santi for helping me learn and make my own vaccum forming procedure. Here we cover the mold and composite in a plastic bag kind of an environment, leaving only one outlet, for the pipe which is also sealed with extreme caution. This pipe goes into a glass bottle half filled with water. The lid of this glass bottle has 2 holes,one for the input of air pressure from the machine and the other for where it sucks in all the air from inside the sealed plastic bag.
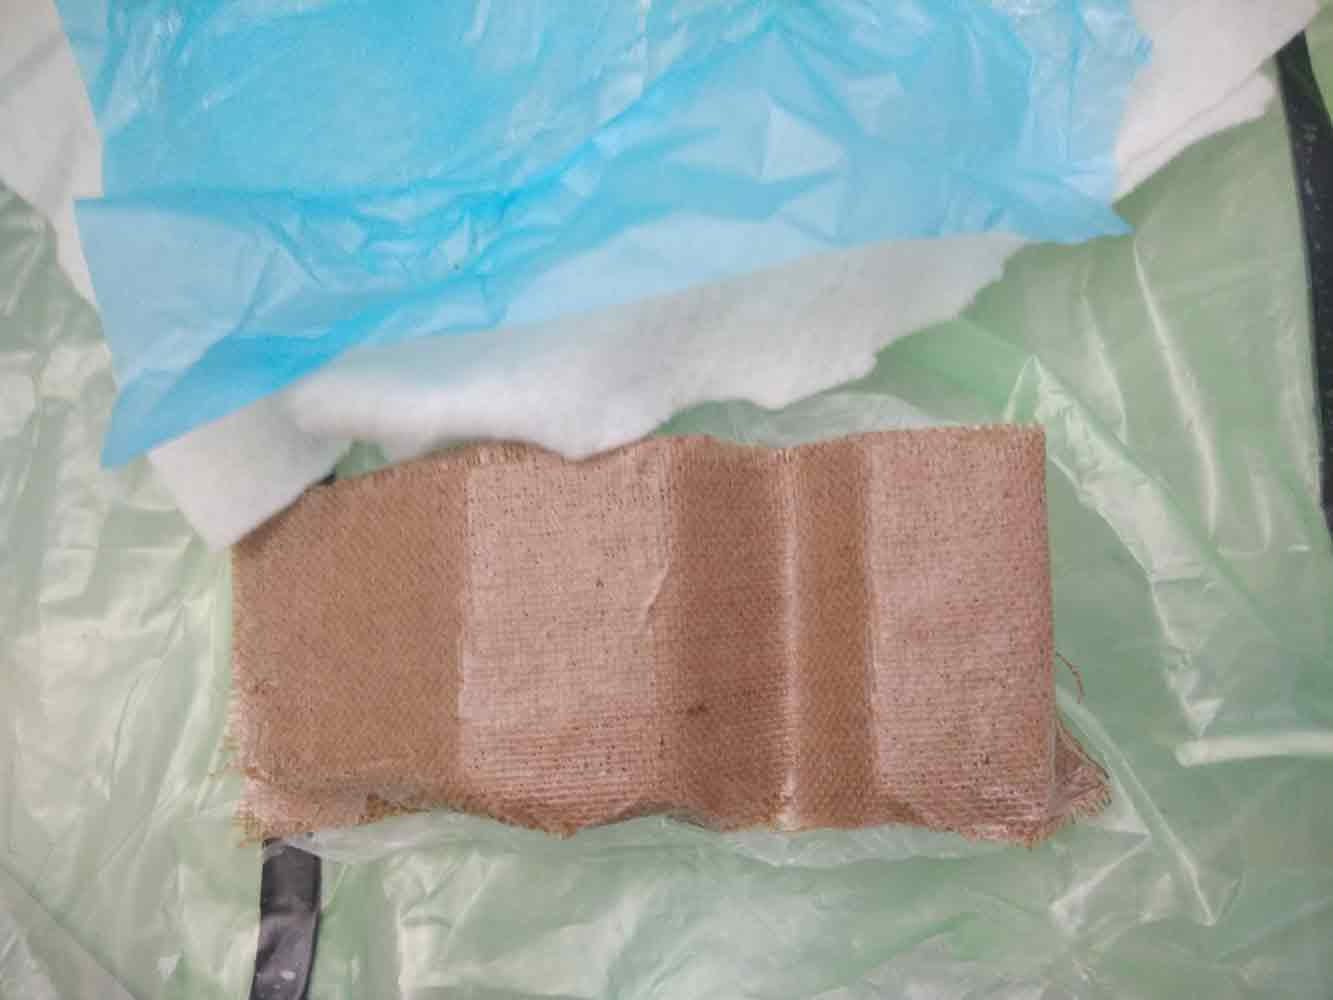
I place my fibre composite on top of the plastic covered mold.
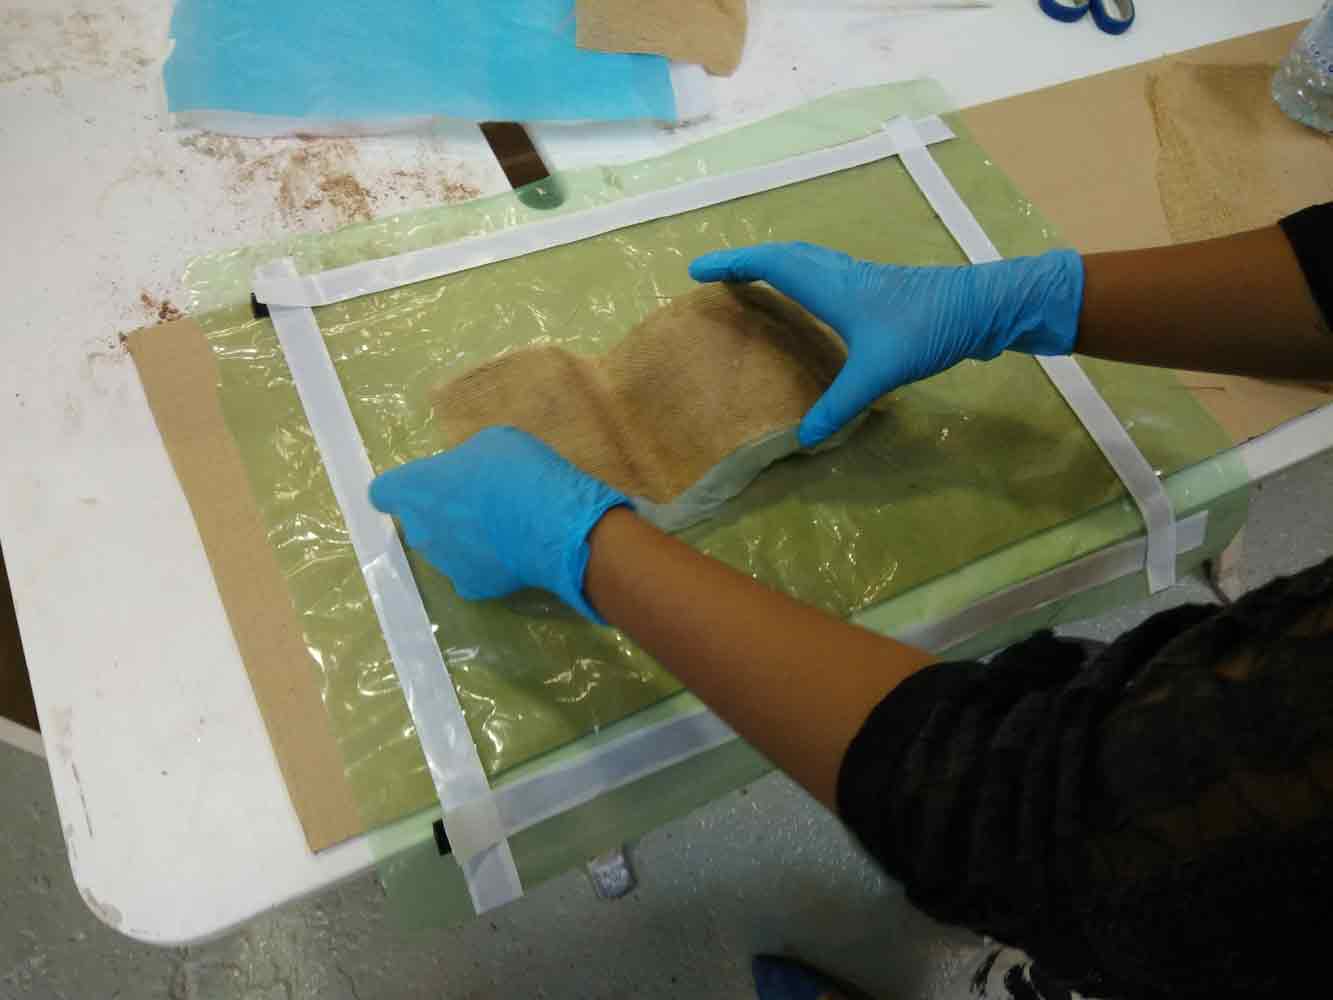
Once I have placed the fibre compostite on the mold, I cover it with layers of one porous plastic material, and 2 more layers of fibre material .
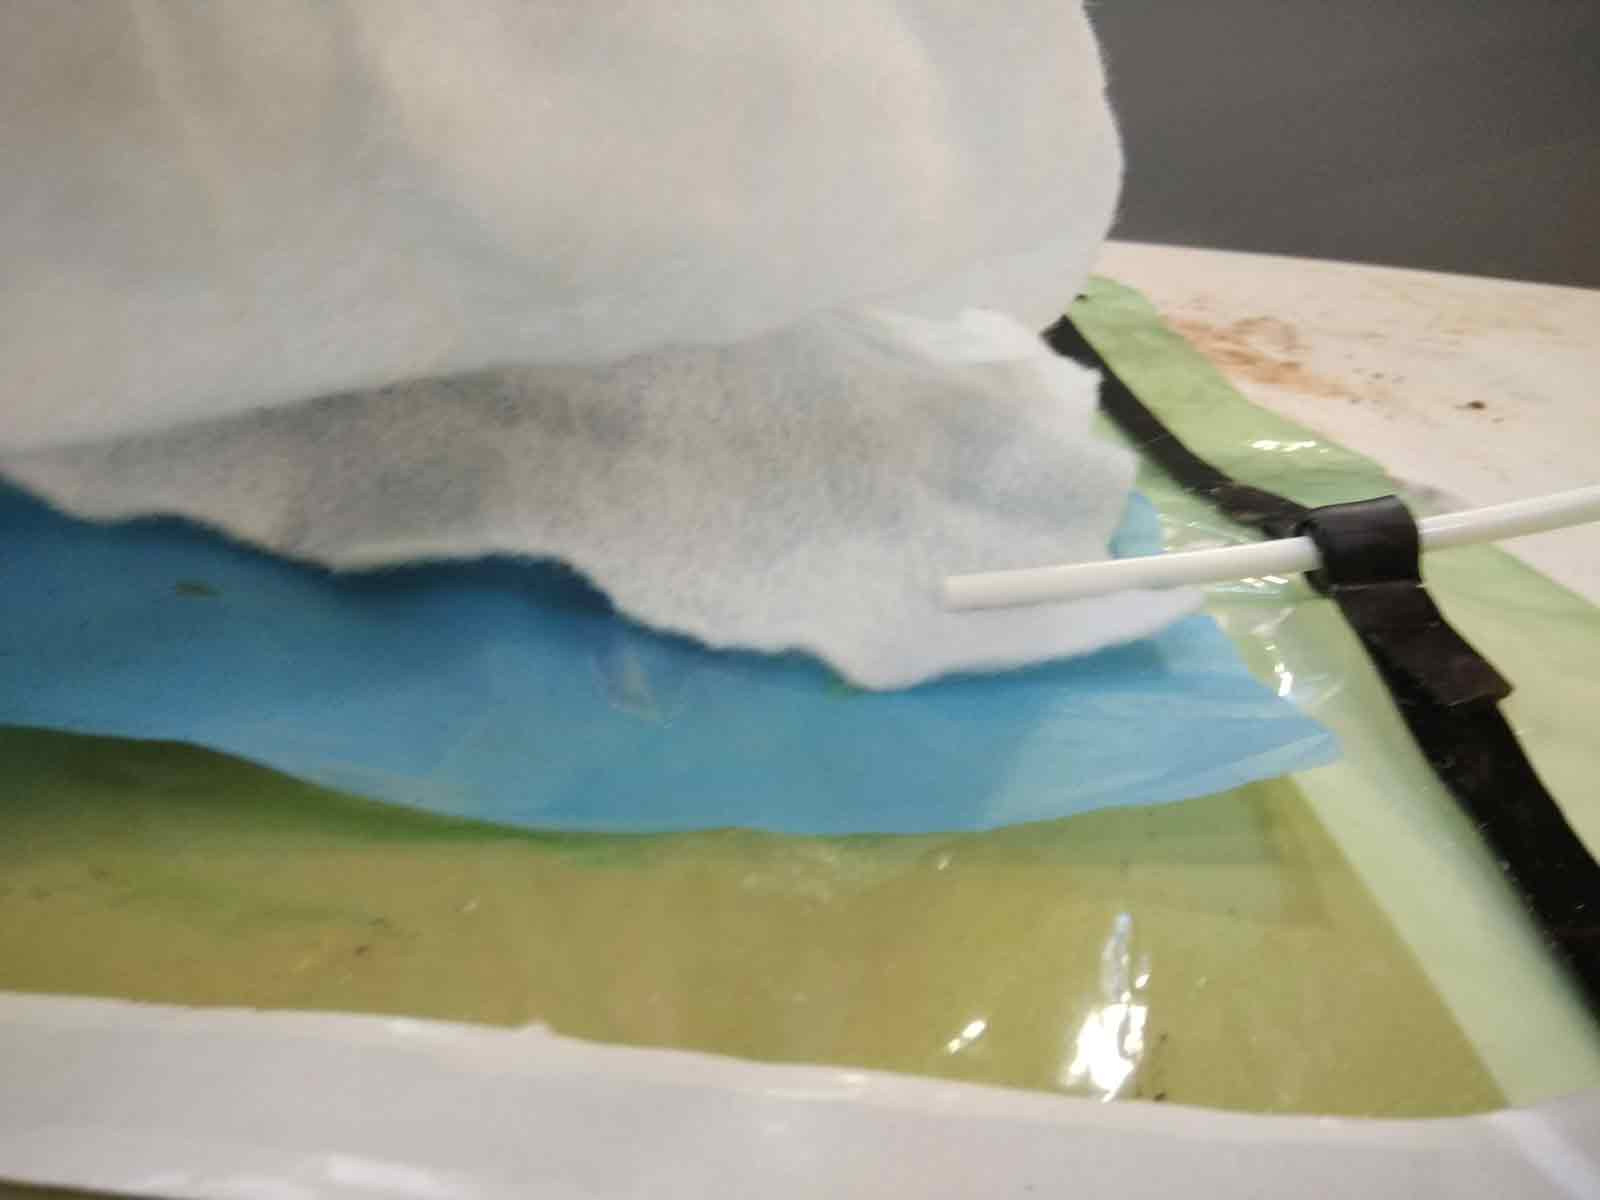
I then cover everything with another layer of plastic whic is going to be sealed with the bottom layer of plastic.
I had to be extremely cautious whiles sealing the 2 layers of plastic to make sure there is no air gap and the pipe outlet had to be double sealed to make sure that there are no air gaps around the outlet either.
Once all this is done, we ready for the suction of air from the plastic bag therefore giving the fibre compostie the shape of the mold. I repeated the suction preocedure quite a few times to make sure, the fibre composite take the shape of the mold and is set in tightly over it.

If the procedure goes right, After the vaccum process , the extra resin pours out of the porous material inside the plastic bag and forms small circles around, which is basically good as apposed to a large blob of resin coming out saying there was too much resin. In this case, It was just okay, so this is how it looked after the vaccum forming process.

I left the mold in the same state for about 3 days and finally decided to see how the mold had been formed.so I cut open the sealed plastic bag.
The mold looks pretty fine and is very strong as apposed to what I expected. It is amazing to see, how fibre can be hardened this way into any shape with resin and made so strong!
The fibre composite de-molded quite easily.
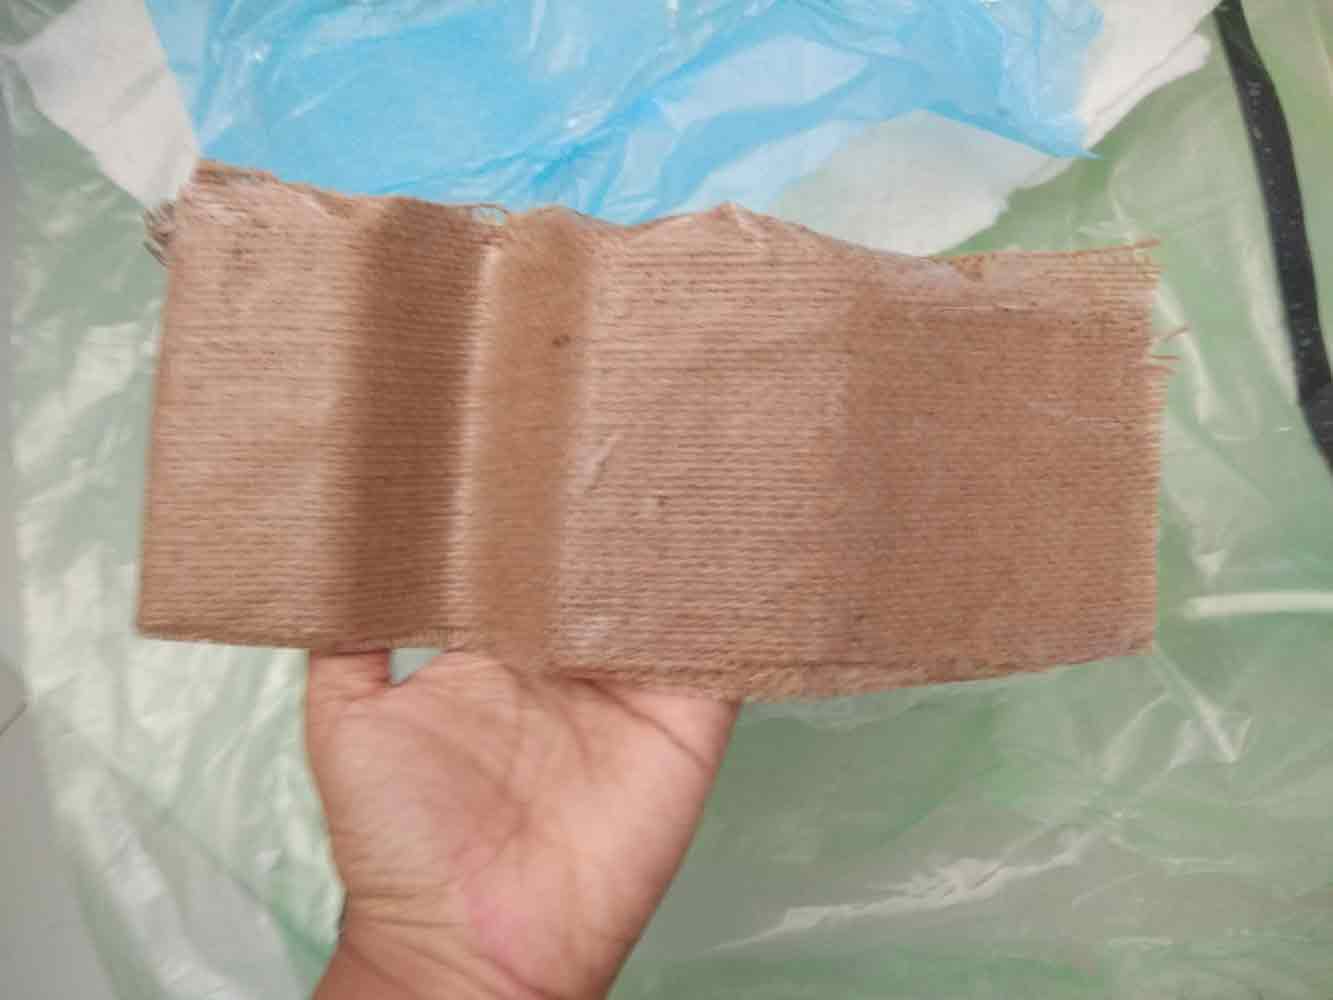
And , finally here, you can see , I am carrying it by the edge, with heavy keys and some coins placed in it, and, it looks quite strong and is also handy.
Composite For my final project
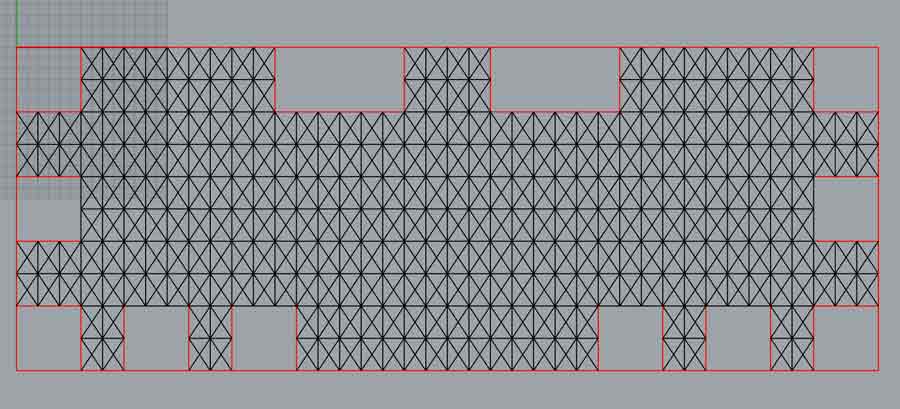
This assignment was important for me, because I wanted this to be one of the main strategies for my final project design. Although , everyone were going for the strong mold on a 3d object, I wanted to design the oppposite and make a strong material flexible but not fragile by using composites.I learnt this amazing technique at Fabricademy Bootcamp of making wood flexible using a composite of Fabric and wood, and putting it together using Cascamite glue.
The patterns on the design give it more flexure and flexibility and also adds to the design.
The next step was to make thw composite. For this I used 3mm wood, Jeans fabric, And Strong Wooden Glue powder called Cascamite which needs to mixed with 1:2 ratio with water.2 part of Calamite with 1 part of water.
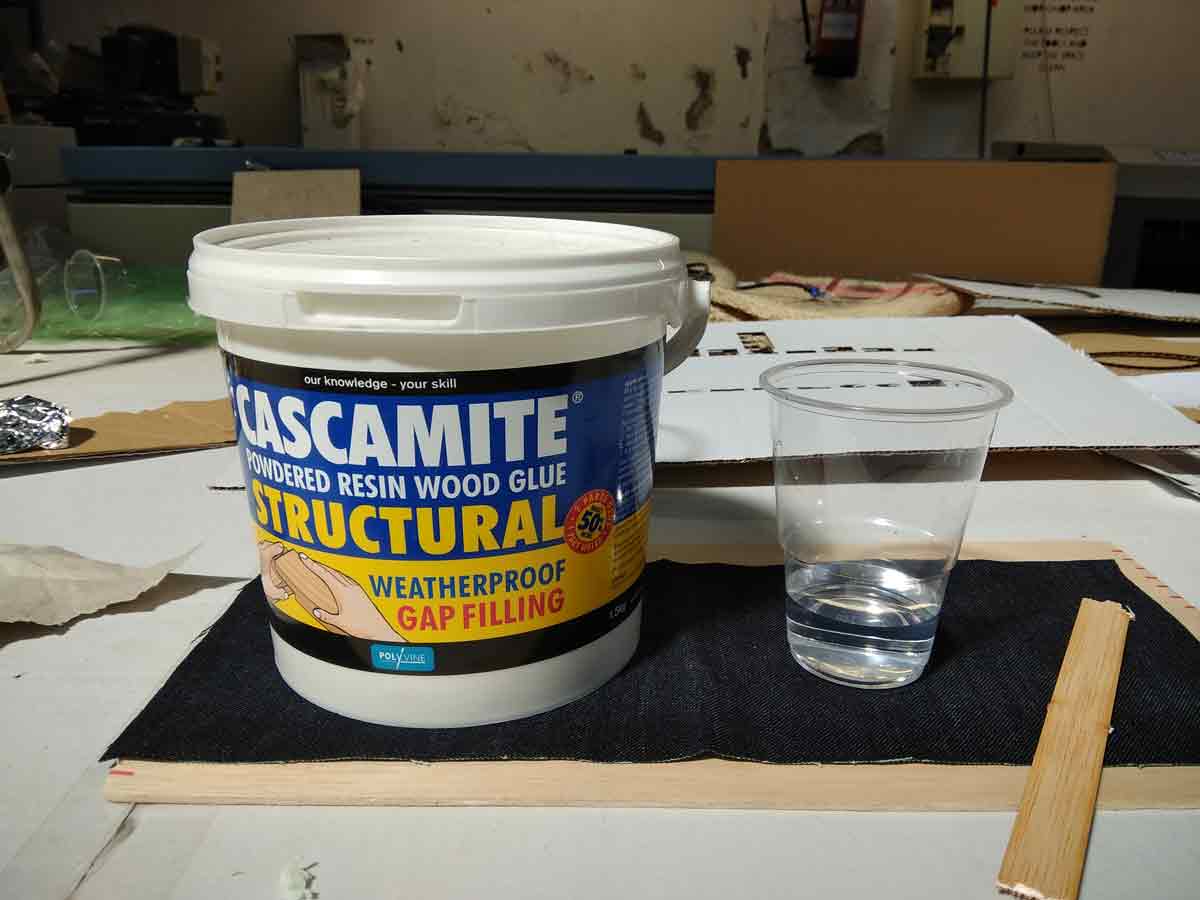
Once I had the glue mixed, I glued the wood and the fabric and clamped it so that it sticks well. As the Vacuum Forming machine was busy, I use dthis technique but it is recommended to use the machine to press it together and make it a straing panel.

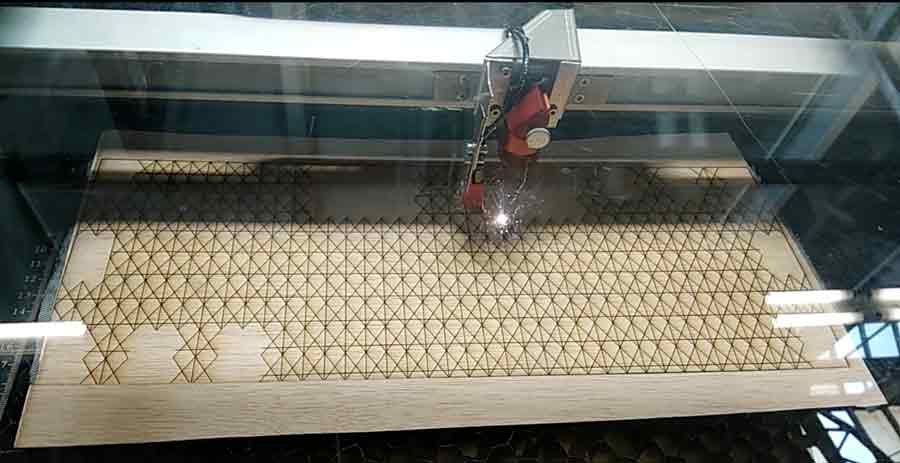
Once the glue dried, it was super strong, and I used the laser machine to engrave the pattern and the cut outs. For the seetings to use Laser machine for this composite, I got the basic settings from, FabTextiles page. The modified settings which worked for me and the one I used in the Trotec laser Machine was , Power = 70, and speed = 2 -- this was for engraving the pattern; power = 100, and speed = 1.2 -- this was for the cuttimg of rectangles where the buttons would be sticthed later.

Once the settings were set on the computer, I sent the file to the machine, and it cut perfectly.
Here is a video illustrating the basics of the process.
To view and download files click HERE
To download files click HERE