Week 13 : Input Devices
This week's agenda for Fab academy was :
Read the micro controller data sheet
Add a sensor to the board designed by you.
Read the value from the sensor(getting an output from the sensor)
Using conductive textile buttons as Input device sensors
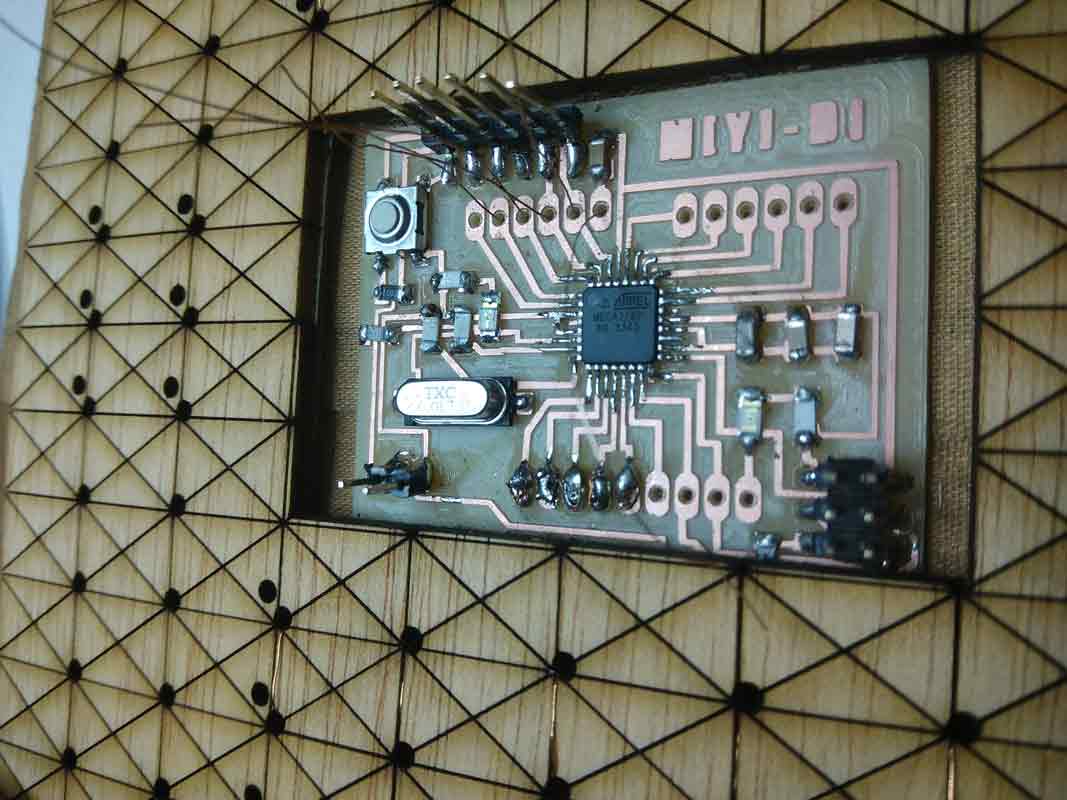
For my Input devices assignement, I wanted to use the board that i designed for my output devices assignement in week 10.The satsha kit use the ATMEGA 328P microcontroller. I read the data sheet of the ATMEGA 328P, and understood what each pin does.This Data sheet gives all the details of the atmega328p microcontroller. Also, This pin out diagram i svery helpful.

What happens with the satsha kit is that it uses all the pins of the microcontroller to give maximum number of piuns that can be programmed for input/output.In theory, The atmega 328 p has the same analog and digital pins an the arduino board , A0 to A5 analog pins and Pin 1 to pin 13 dor digital pins, whcih include the RST and SCK. But in the satsha kit,the Analog pins are from A0 to A7 and 16 digital pins which can be used for inputs and outputs.The schematic id n the week 10, output devices and there it can be seen that the number of pins are more than a normal arduino.For my board, I was not using the A6 and A7 analogue pins as I did not need them for my project.
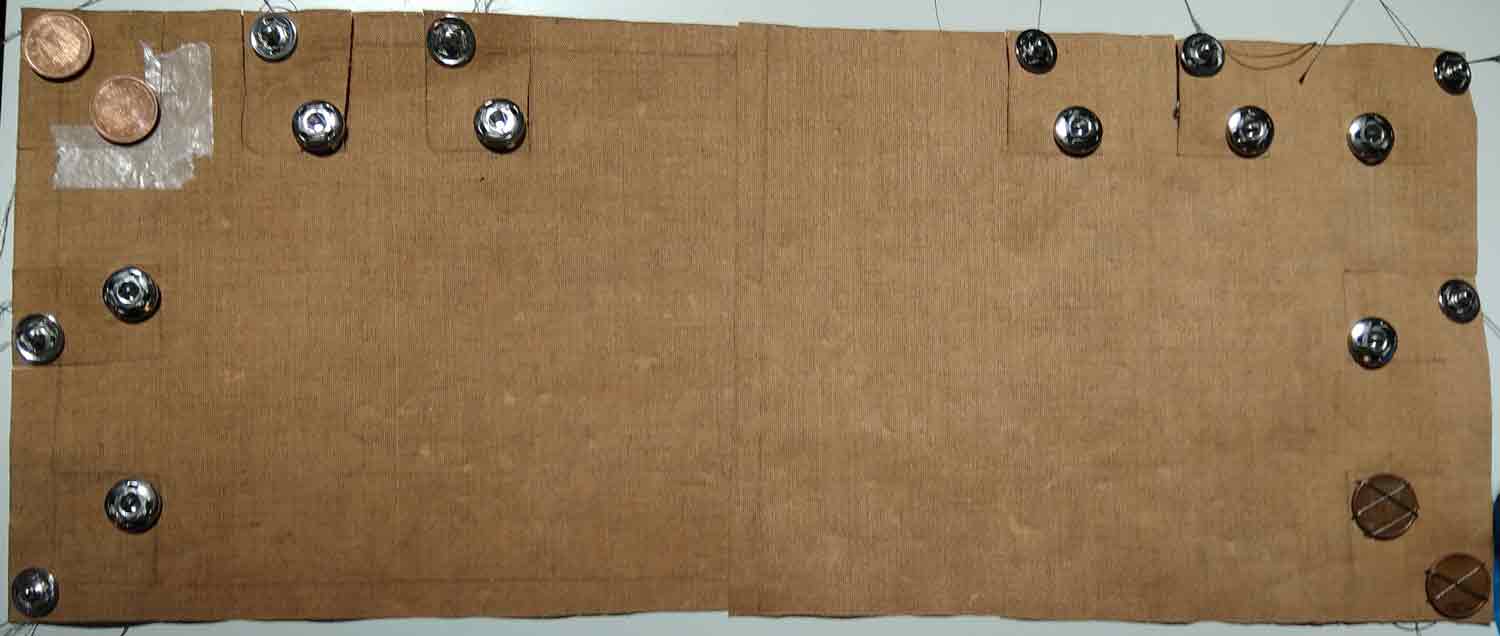
The next part was hand crafting my input device sensor. For my Final project since I want to make a SOFT MIDI controller with tetiles, In this assignmentr , I eill be using the buttons used in textiles and fabrics as my input sensor. The bittons are conductive and hence the give a value when connected to the board.
The materials needed were, conductive simple steel buttons, conductive thread, and the textile I was going to stitch the buttons on.

Once I assembled all the materials, the next step was to start stitching it. I stitched each button by hand using conductive thread. I had an idea about the number of buttons I want to use, so, I stitched 10 pairs of buttons. So, One button becomes the GND of the circuit and the other pair of the button goes to the pins in the board. So all the GND part of the button pairs are connected with the same conductive thread while stitching and the other button in the pair is stitched as an individual entity to connect to the board using enameled copper wires.
Once the buttoms were attached and stitched to the base layer, It was time to make the connections in the soft MIDI composite. In the holes that were laser cut into the soft MIDI, they acted as a Protoboard , but only here, it was fabricated to fit into the design. Here is an image below showing the holes throw the light coming from the lamp behind it.

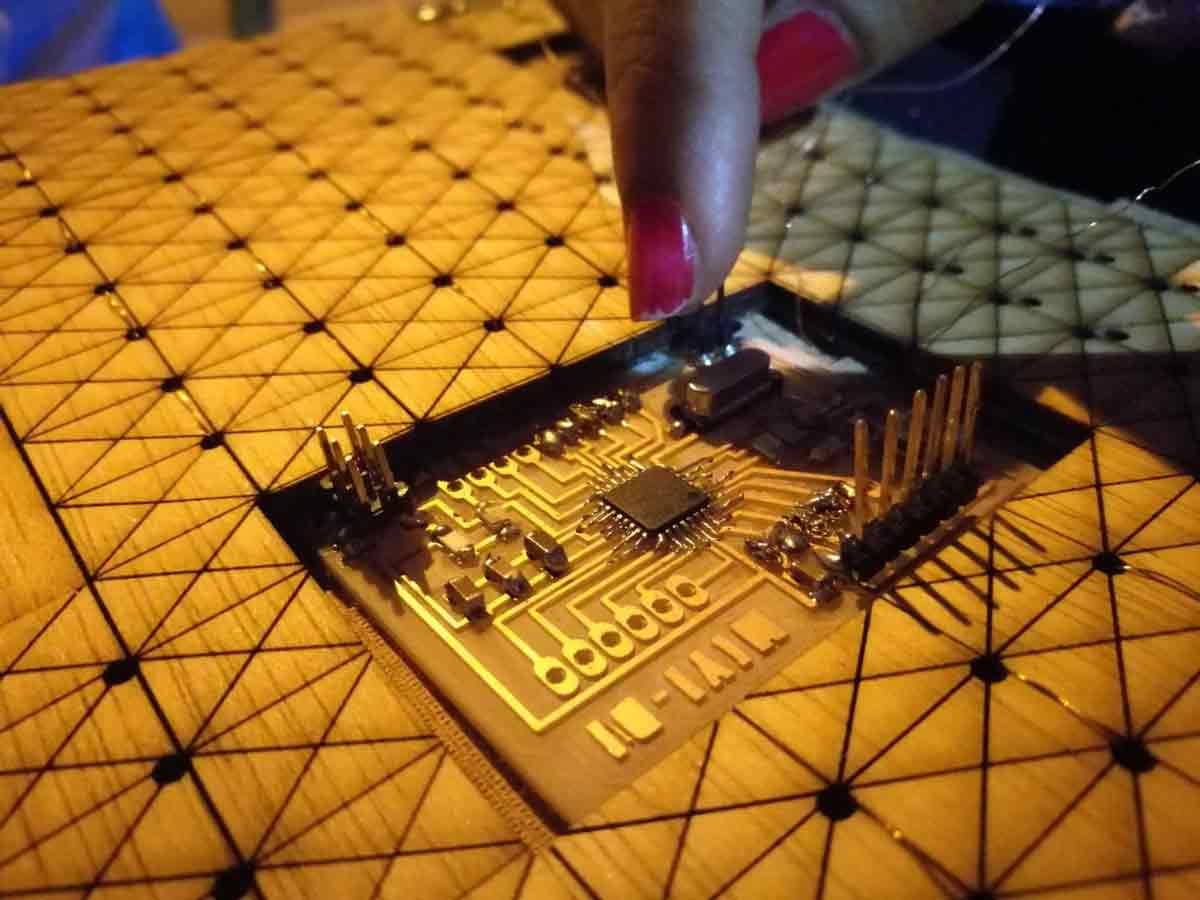
Through these holes, I sewed in the Enamelled copper wire of dia 0.3 mm by hand, up one hole down the other and back up through the next. Continuing this to each the last hole where it will be soldered to the condcutive buttons. And the other end of the wire to the MIDI board in the center to each pin respectively.
In this image below I am showing the enamelled wire soldered to the board.
In this image below , I am showing the enamelled wire, although really thin, you can see it shine through.


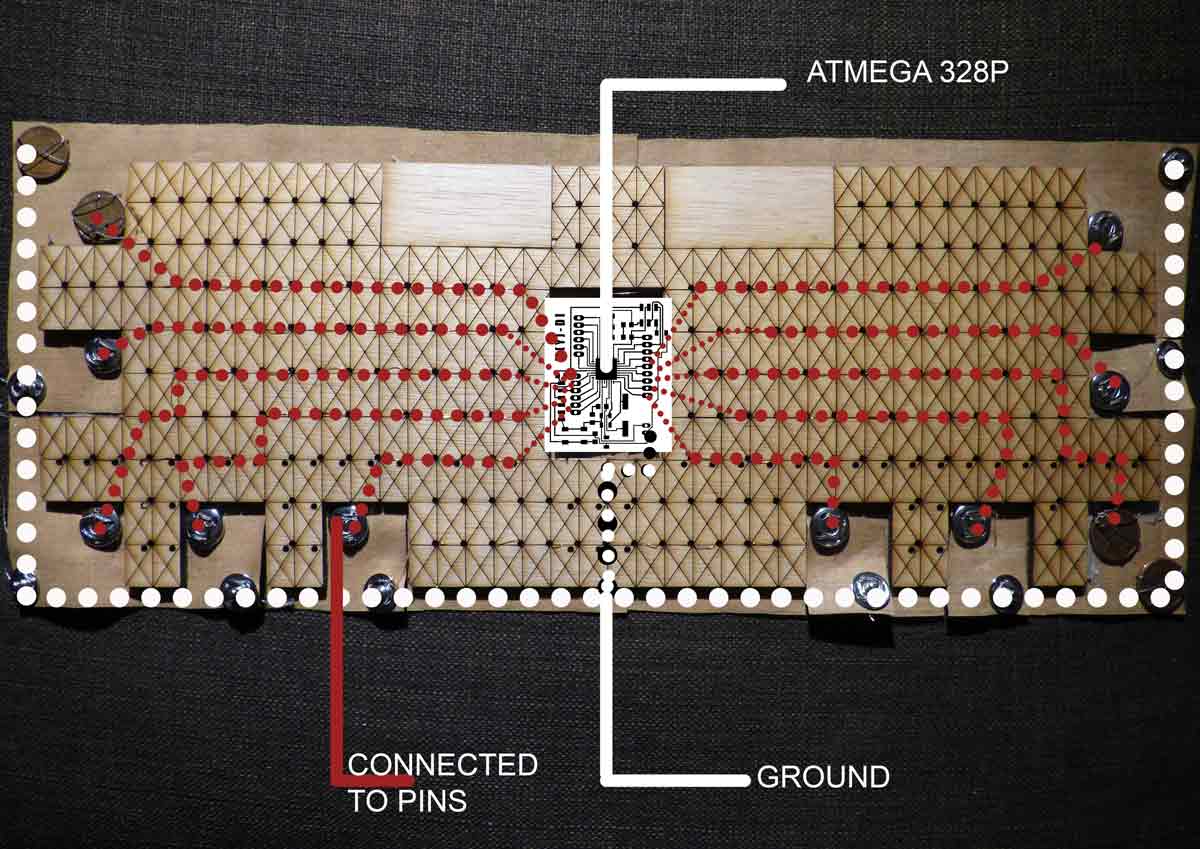
This image shows a schematic of how the buttons are connected to the satsha kit turned to MIDI controller board
In this video, you can see the process of me sewing all the connections as shown in the schematic image above and testing for its conductivity after stitching it together.
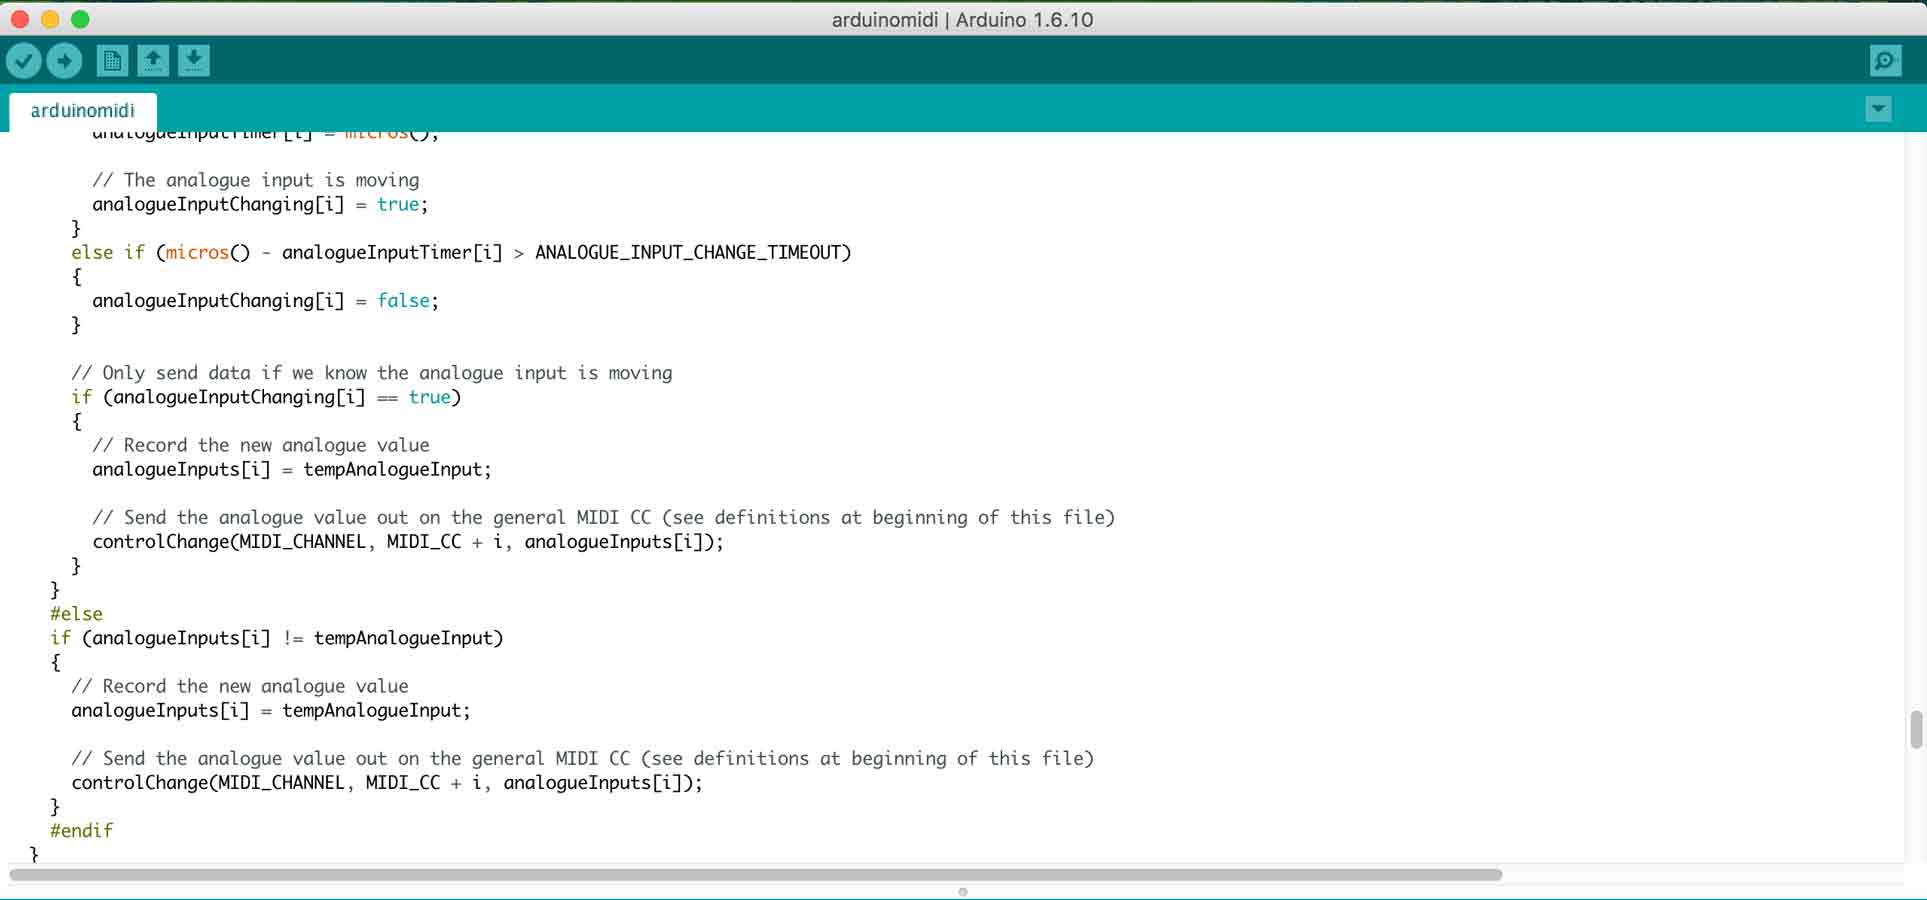
Before trying it with my board, I tried the script with an arduino and tactile buttons on a bread board, in order to test the arduino code and see if its working. More about the code and how i made it work is in the project development week. This arduino code that I am using works only on Arduino IDE 1.6 and I know this because I tried to make it work on the latest versions of the IDE and older, but this version is the only one compatible with my code. It convers each anolog and digital pin into a MIDI note. And with "noteOn" and "noteOff"commands, it works exactly like a MIDI Device.

What essential happens in a MIDI controller , well a MIDI is a Musical Instrument Digital Interface, so this Micro controller helps interface and communicate with a digital music tool or electronic intrument with analogue inputs.Lets understand what is happening in the code, breifly. In here, The first step, we define arduino, as the board/controller we are using as the MIDI controller board.
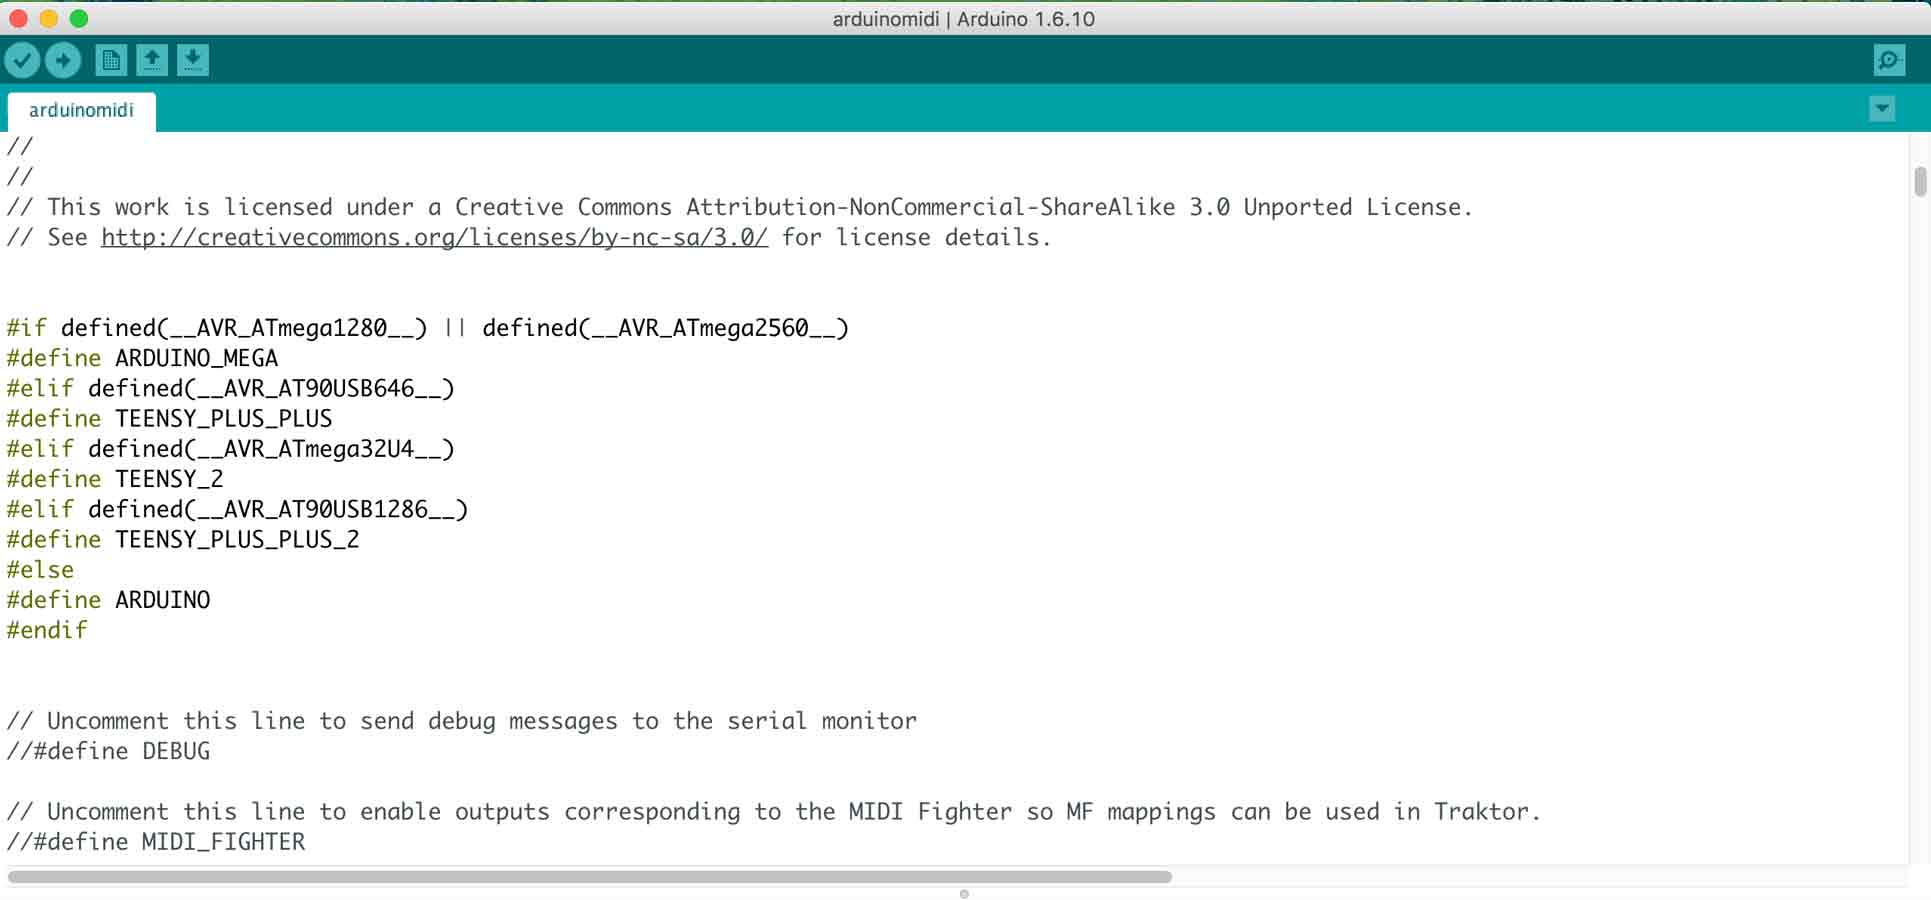
Then, we define the parts of the MIDI device which helps to make the music, that is, the MIDI notes, the reverb, chorous, controls, etc.,

The next part of the code defines the MIDI channel and notes in accordance to the pins.
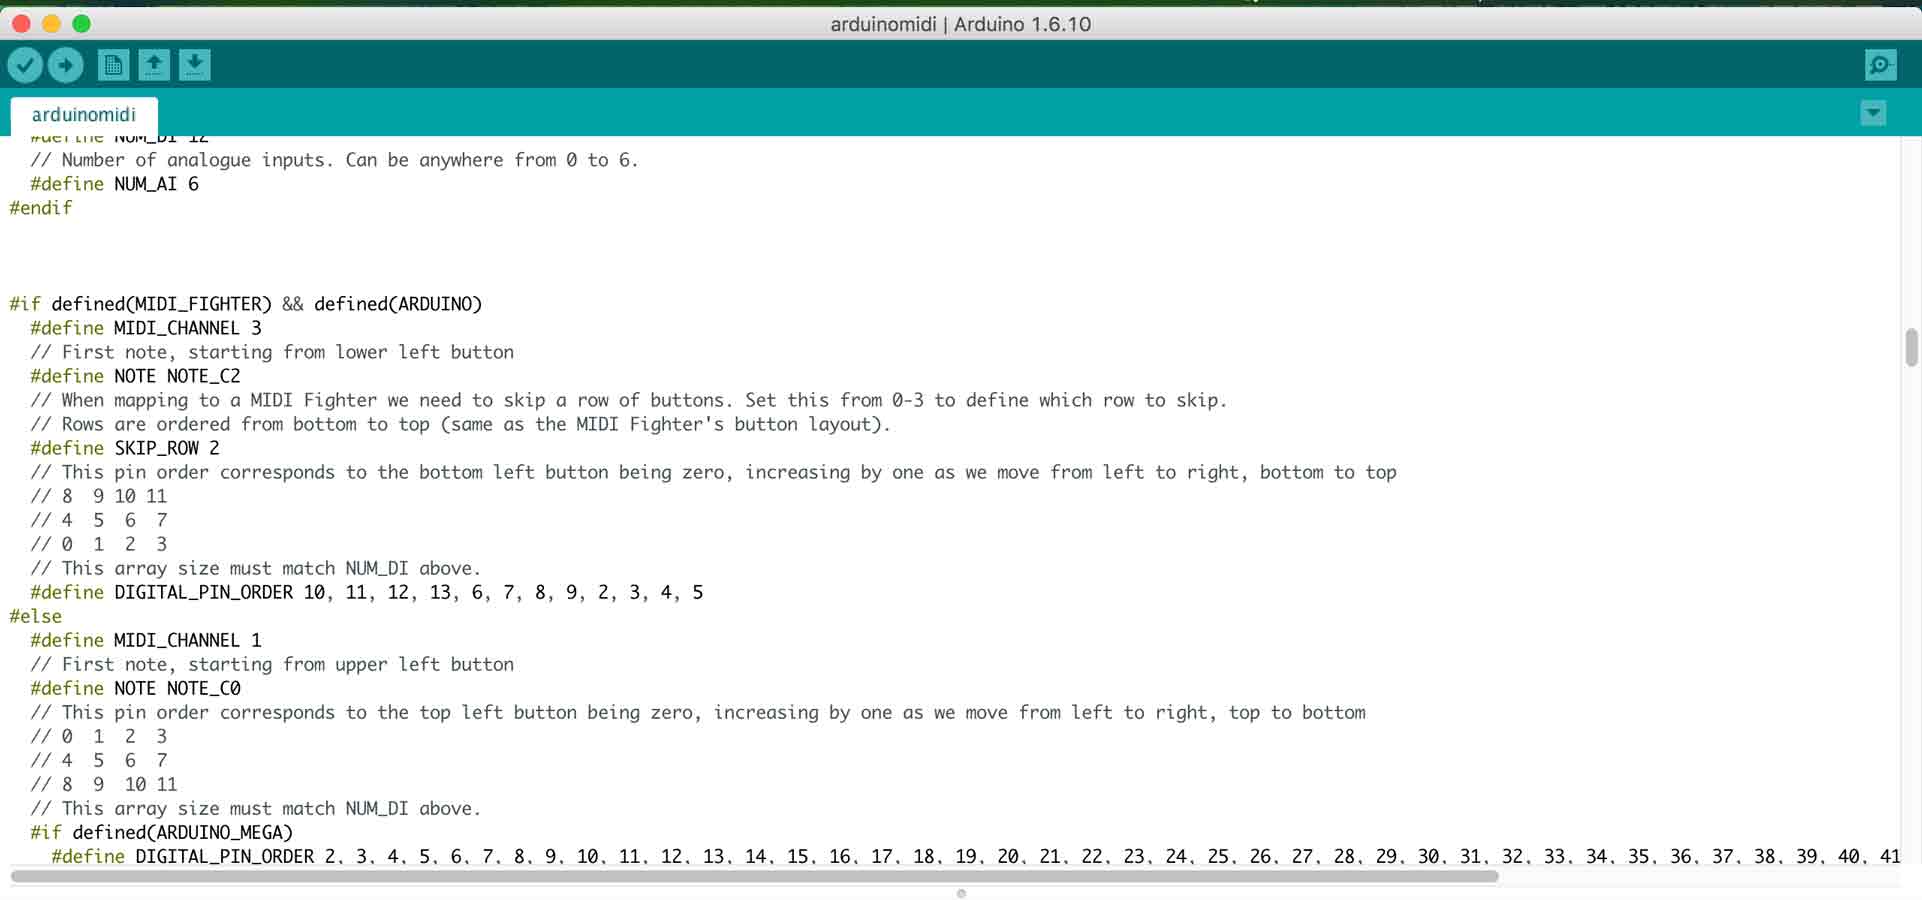
Then, we map the pins of the analogue input of the MIDI device which helps to make the music, to the MIDI notes.
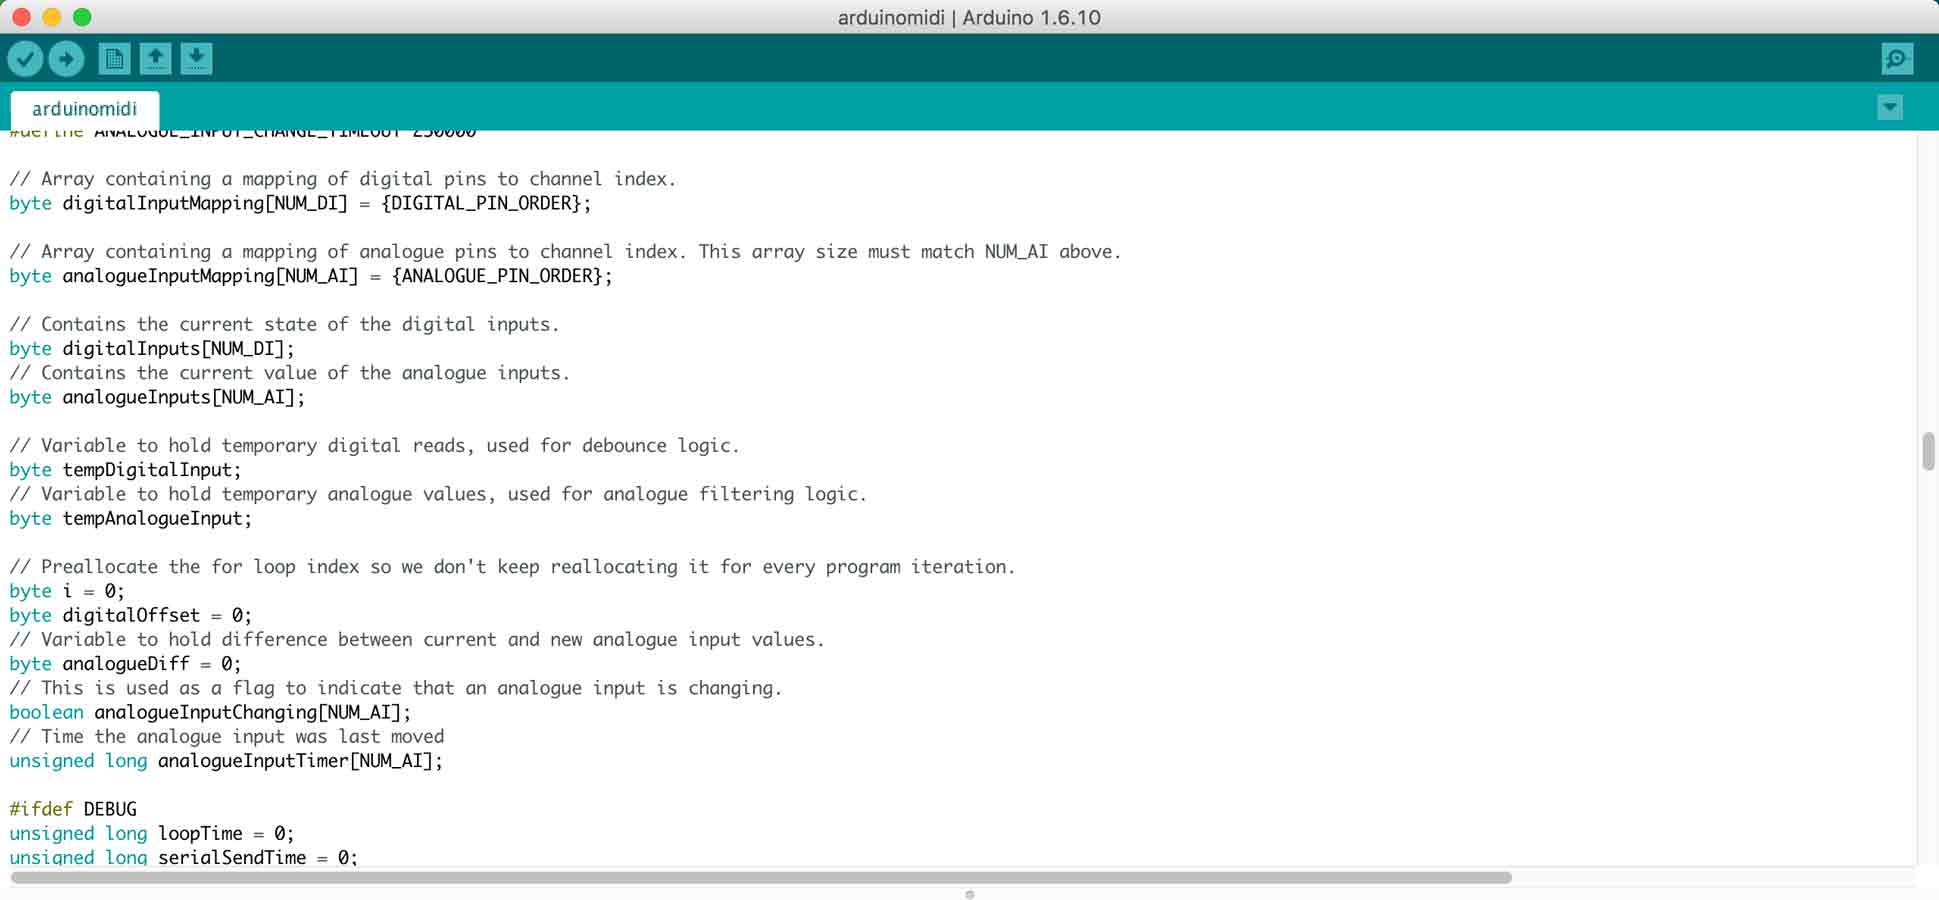
In the void set up, we beigin the serial, we call the pinMode and we intialise digital with a read to the input pin.

we then call the if and else functions for the MIDI note to turn on and off.
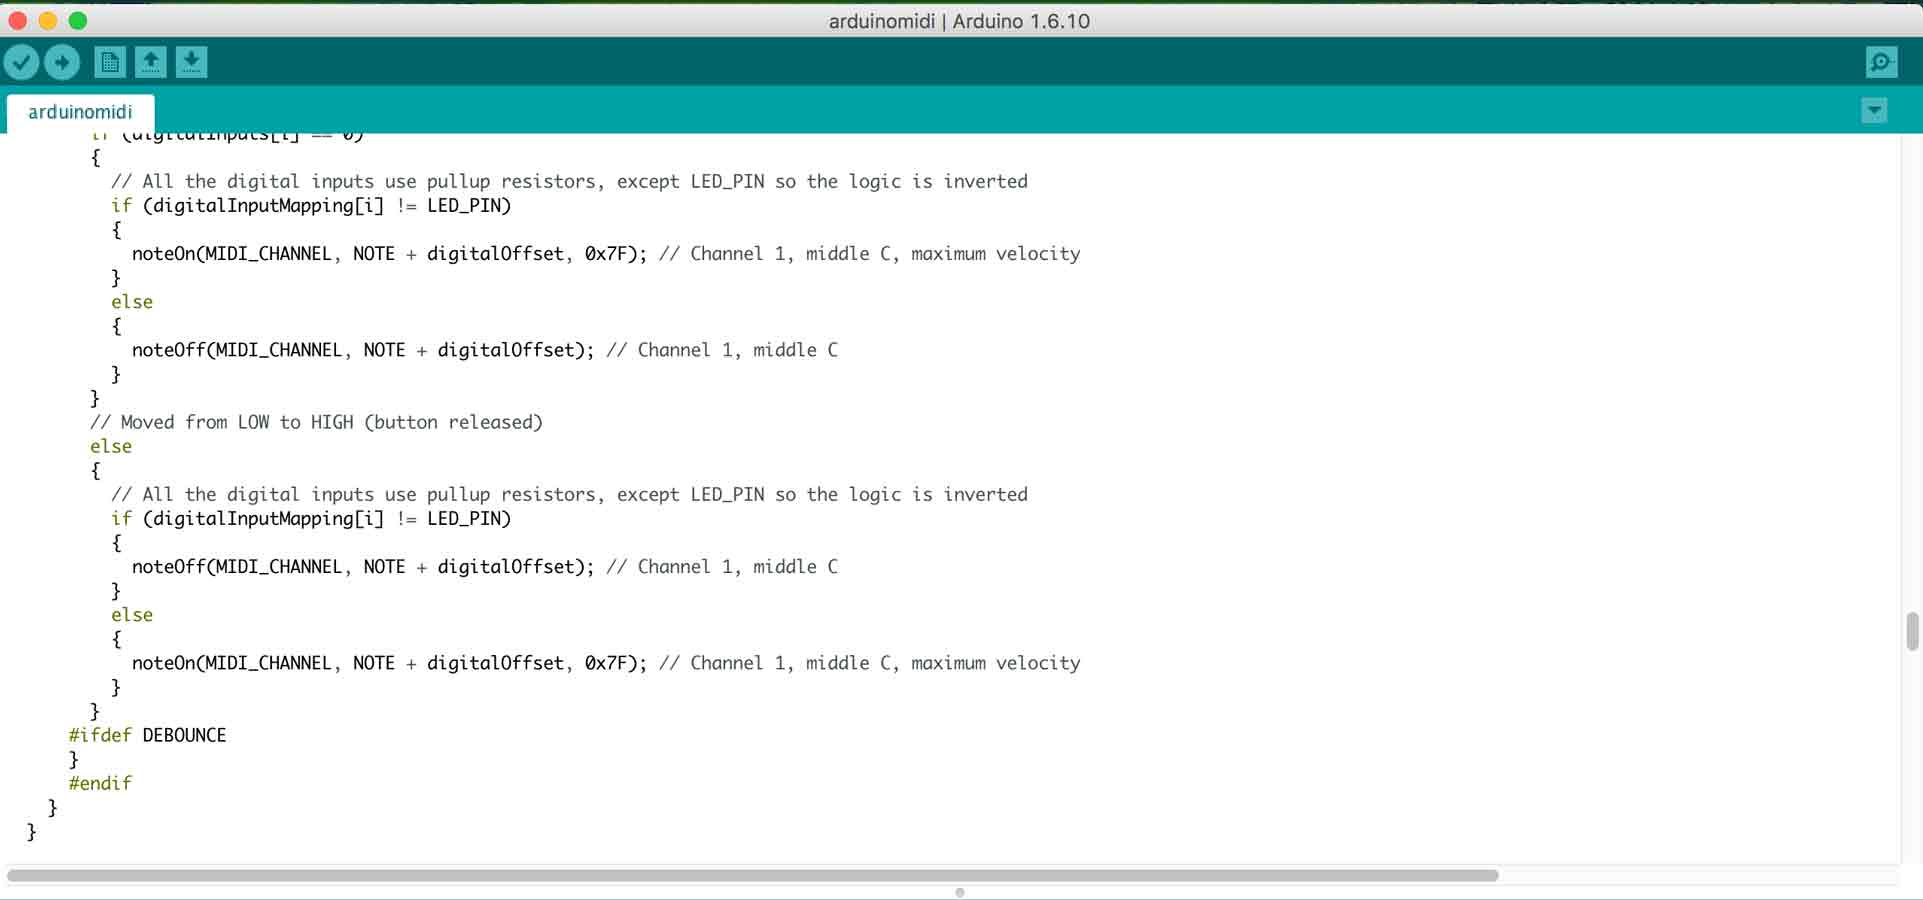
And finally define the functions of the Analogue input.
Once my board was ready and programmed , I uploaded the MIDI code from the arduino IDE on to my customised Satsha kit . In order to test it, I soldered one pin and connected it to the tactile button on the breadboard and the arduino was connected as a MIDI and was giving me the desired output and the board was successfully connected as a MIDI board.
In my final project video, you can see the stitched buttons connected and functiong as sensor input for my board acting as MIDI buttons.
To view and download files click HERE
To download files click HERE