05 - 3D printing and scanning
There are three objectives in this week’s assignment:
1 - test the limits of your printer
2 - design and print an object that can not be made subtractively
3 - 3D scan an object
TEST THE LIMITS OF YOUR PRINTER
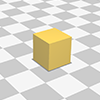
To test the limit of our printer we decided to do various experiments on
different printers. The first experiment we did was to print a 10mmx10mmx10mm
cube with various settings on a BCN3D Sigma printer.

In this experiment we wanted to see how much material a 3D printer adds,
that is why we made a model that is exactly 10mm on every side.
We made the ‘test cube’ in Fusion 360 and you can download the STL
at the bottom of the page.
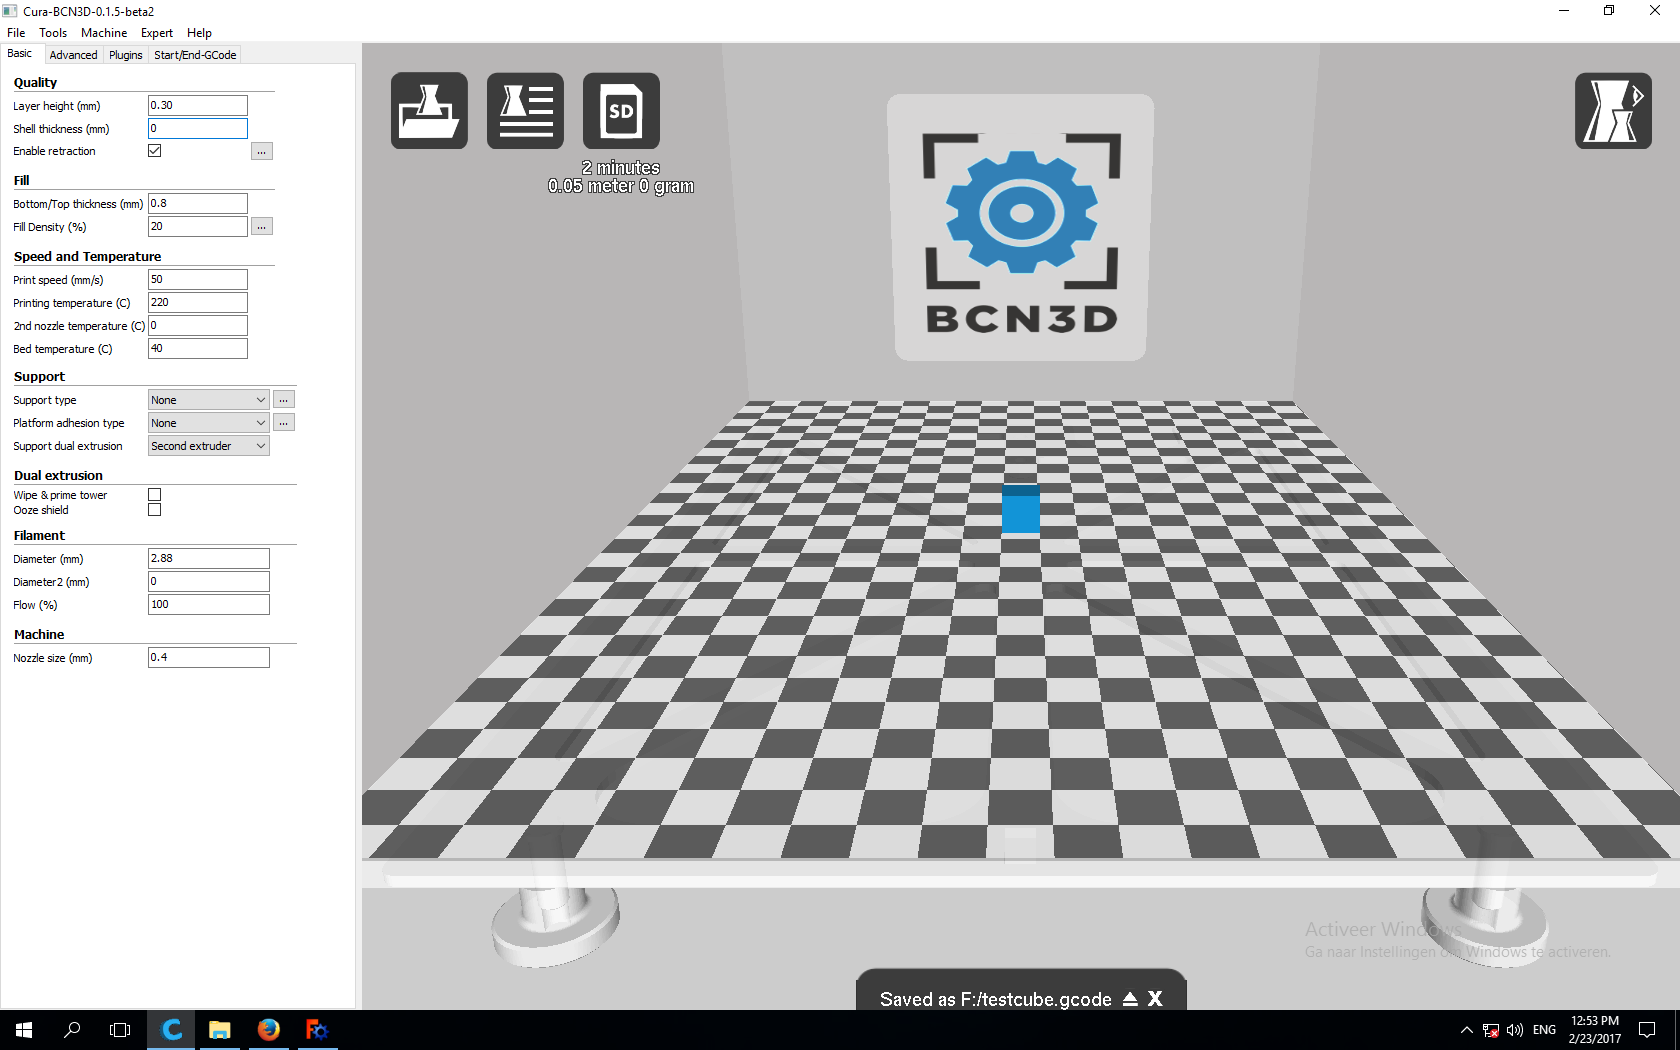
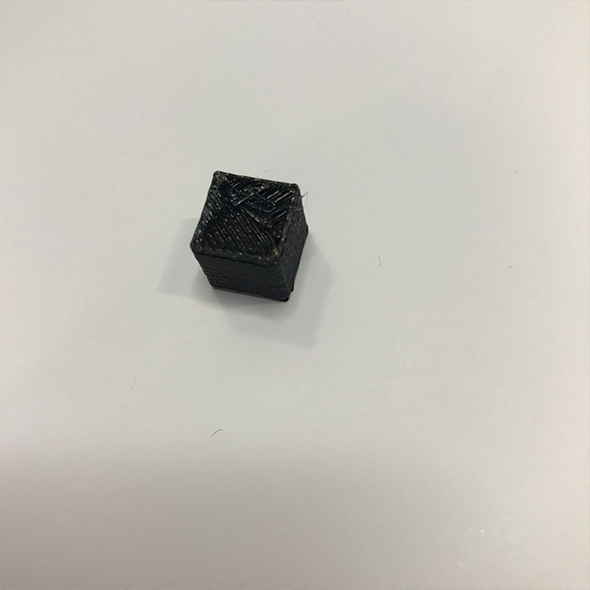
01 - the first cube has very conventional settings, an infill of 20%, a wall thickness of 0.8 and a fast printing layer height of 0.3.

The result as expected is a cube that is of medium quality but printed without failures or problems.

It measures:
10.01
10.01
10
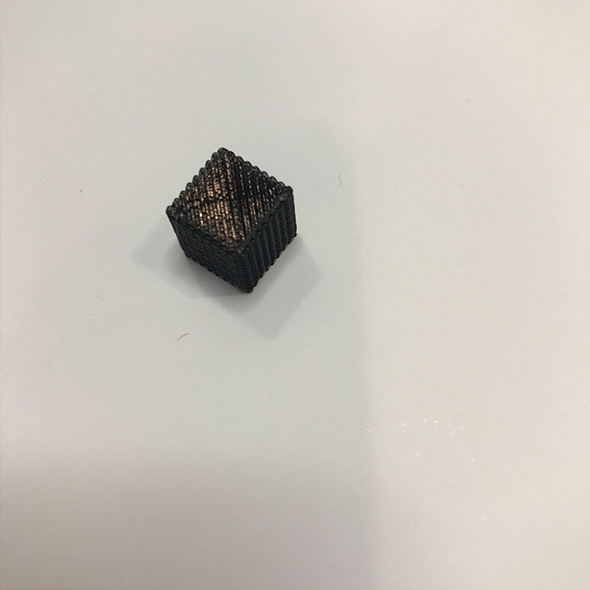
02 - the second cube we printed without a wall/shell thickness, as an experiment to see what would remain.
The result is a cube without outer walls that clearly shows the infill structure on the inside.

It measures:
9.5
10
10.01
03 - the third cube we also gave no wall/shell thickness, but we did give it an infill of 100%, so completely solid.

The result is a cube with an uneven finish, but very close to it’s original dimensions. Aesthetically this could be considered a design choice.
It measures:
10.01
10.01
10
04 - the fourth cube we gave no infill and a very thin wall of 0.4mm.

The result is a cube with good walls, but the top is dented because the printed layer has no internal support.
It measures:
10
10
9.5
The next test we did was with a pre-made 3D printer test model we downloaded from Thingiverse(http://www.thingiverse.com/thing:704409)
We printed it on the BCN Sigma, and the first print failed.

The reason it failed was because it did not adhere to the bed properly, to fix it we applied a fresh layer of glue to the printbed.
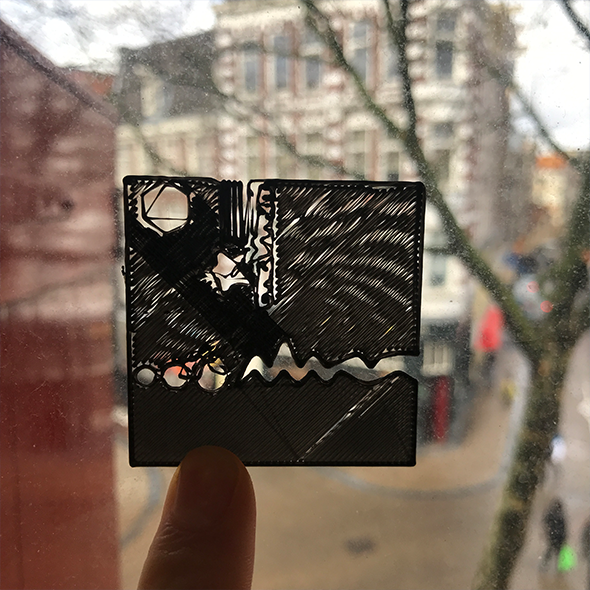
The second try also failed, but this time because the bed wasn’t calibrated properly, if you hold the print against the window you can see that one part of the print has a good result, but the top does not.
We recalibrated the BCN Sigma and gave it another go, this time the print came out perfect.
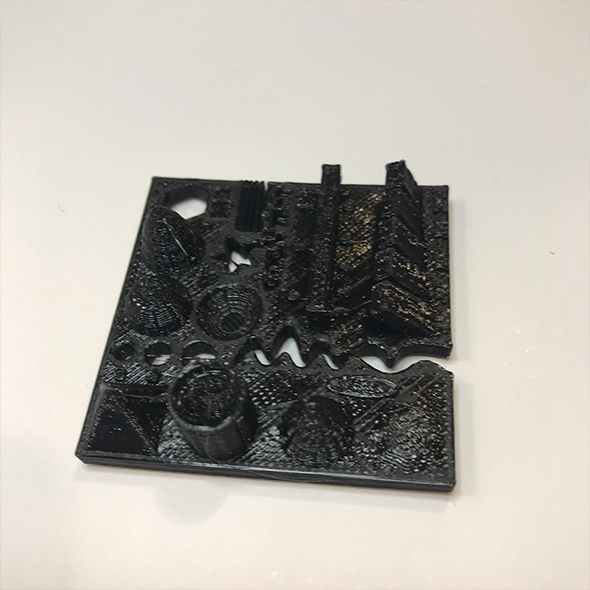
It scored a 100 points by printing everything perfectly, the overhang was no problem anywhere and the print looked good, even with a very high layer thickness of 0.3mm.
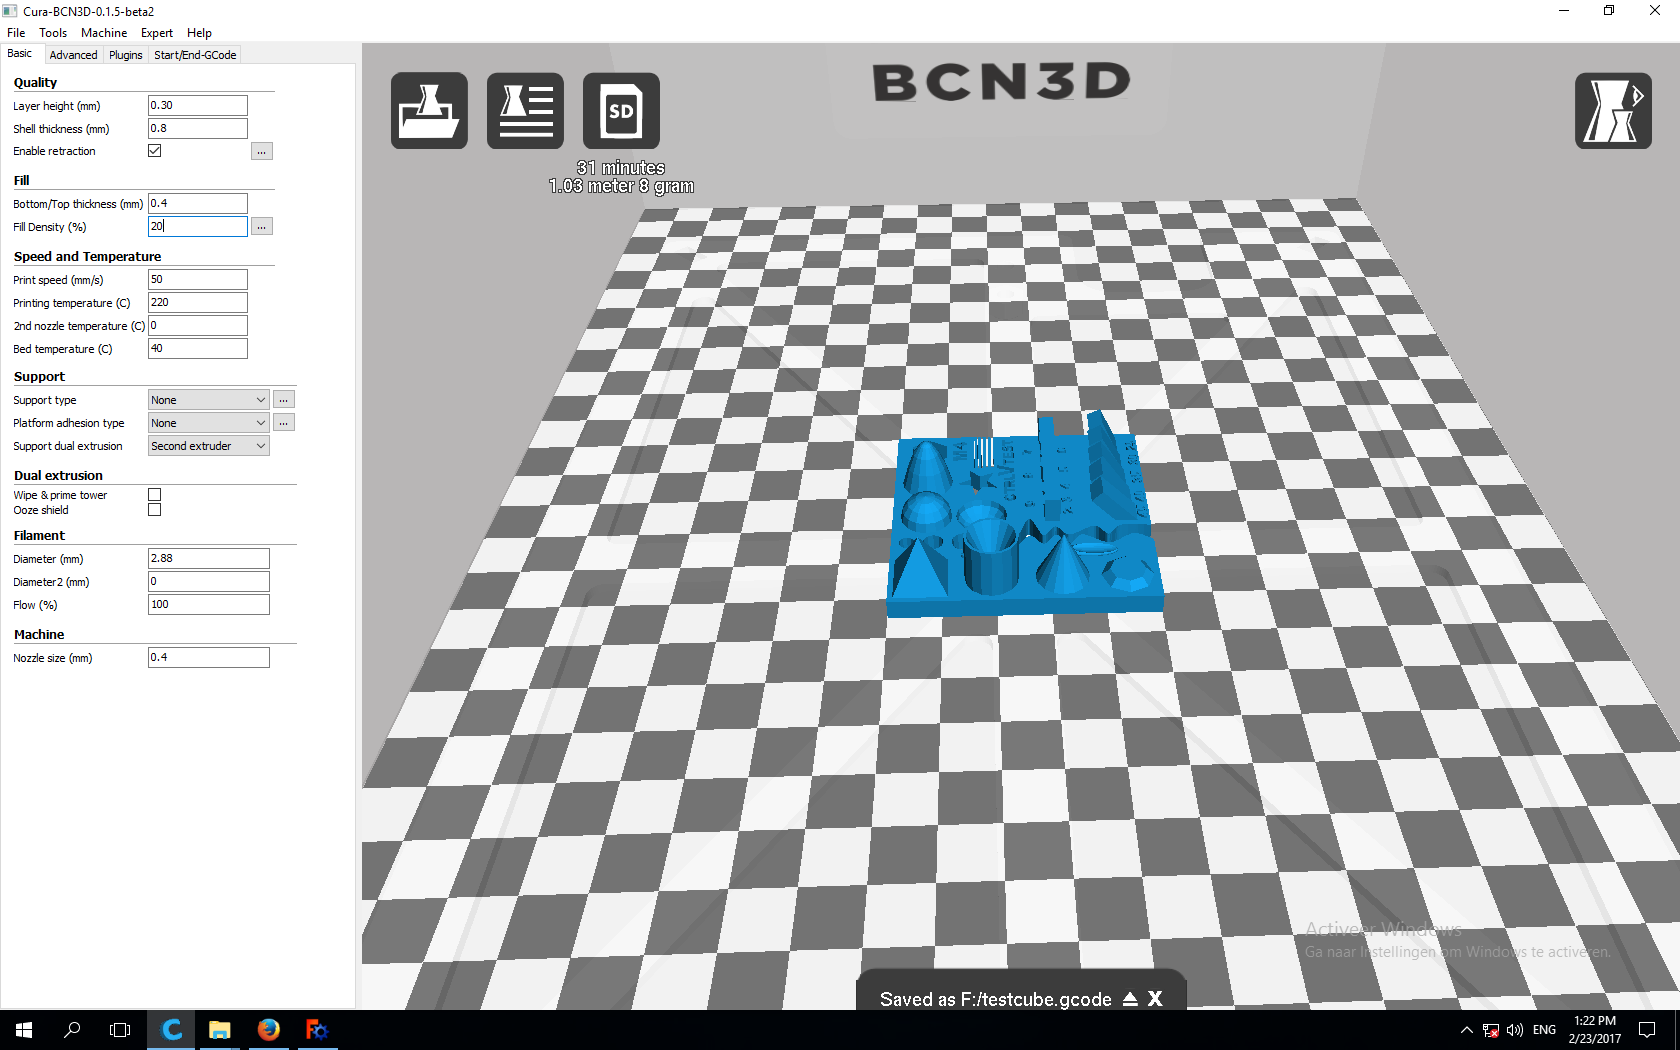
These were the settings used:
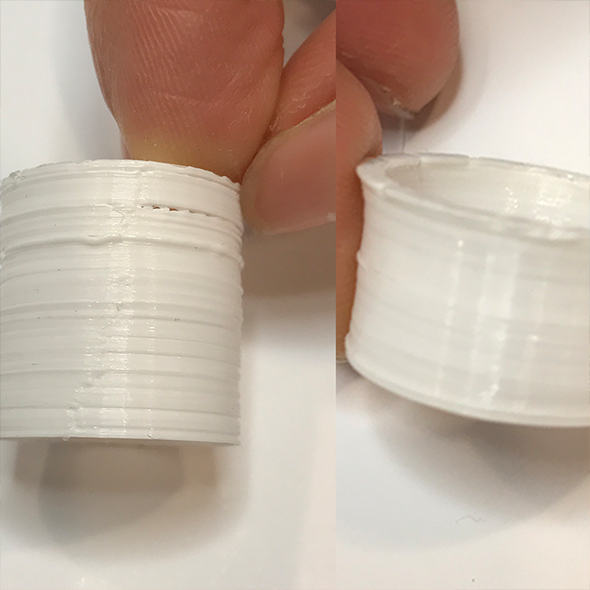
The final experiment we did was a small one on the Ultimaker Original and involved the so-called ‘Z scar’, this is a noticeable bump on 3D prints that occurs everytime the Z-axis moves down and it leaves a line on the print. One way to avoid this if your model allows is to print in what is called ‘vase mode’, which means the printer makes one continues extrusion, moving the bed down gradually as it prints. In the part about the 3D print I made that can not be made subtractively I will explain where to find it in Cura. We tried this on the Ultimaker Original.

This the result, the first cylinder was printed in the normal mode, the second one was printed in the ‘spiralize outer contour’ mode. It’s a little hard to see, but the second one did not have any visible tactile scar across the print.
2 - DESIGN AND PRINT AN OBJECT THAT CAN NOT BE MADE SUBTRACTIVELY
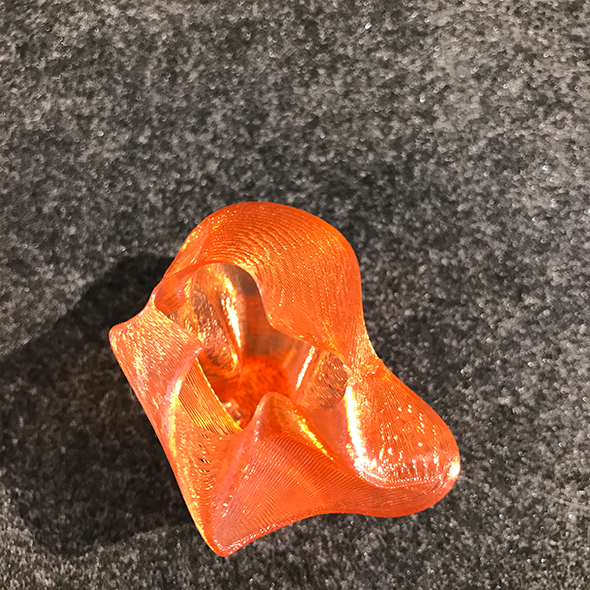
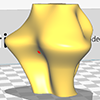
To do this, I wanted to stretch the limits of the printer and use the spiralize contour function, as this is a way of building up layers that is unique to an additive process. Because the entire object will be made out of one continuous extrusion of material, this in itself is very different from something put together out of various layers. I designed an abstract object in Fusion 360 that is both great for this way of printing, but at the same time will challenge overhang on the machine.

To make this model, I did the following:
First, make some freehand sketches, any shape goes, as long as they form a closed loop.
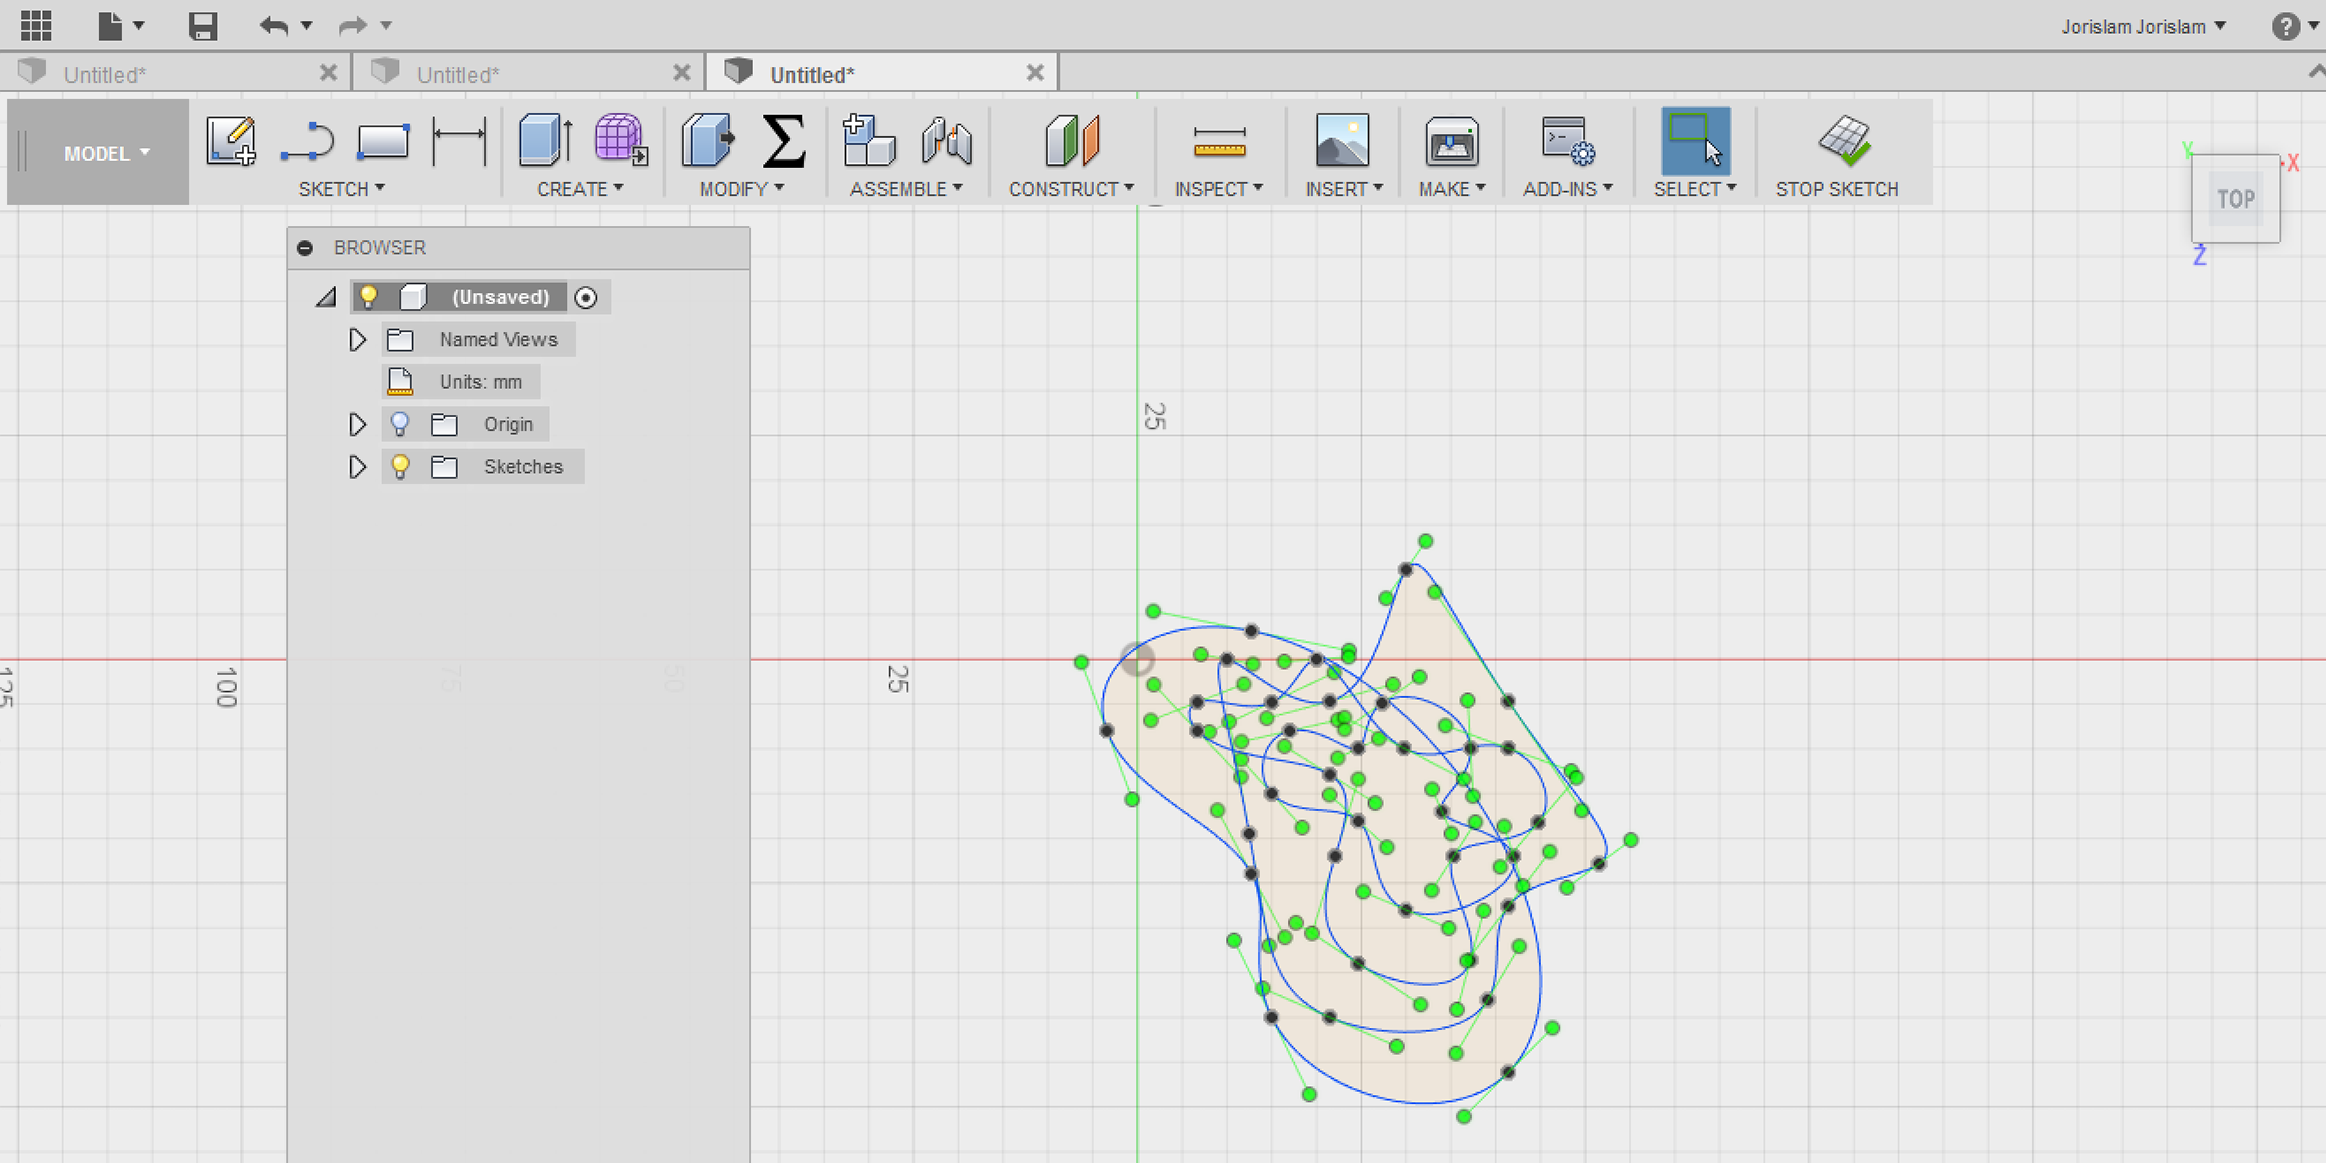
Stop the sketch, and in the 3D view, lift the shapes up with the ‘move’ command. Leave one on the bottom pane.

Now use the ‘loft’ command to create a surface between your lines, moving from the top down.

Done! Now just make an STL by using the ‘make’ menu in Fusion 360 and either send it straight to Cura or save it as an STL in a folder.
Let’s talk Cura, to make this model in the spiralized contour mode, you do the following:
Drag your STL file into Cura, and open ‘Expert Settings’.
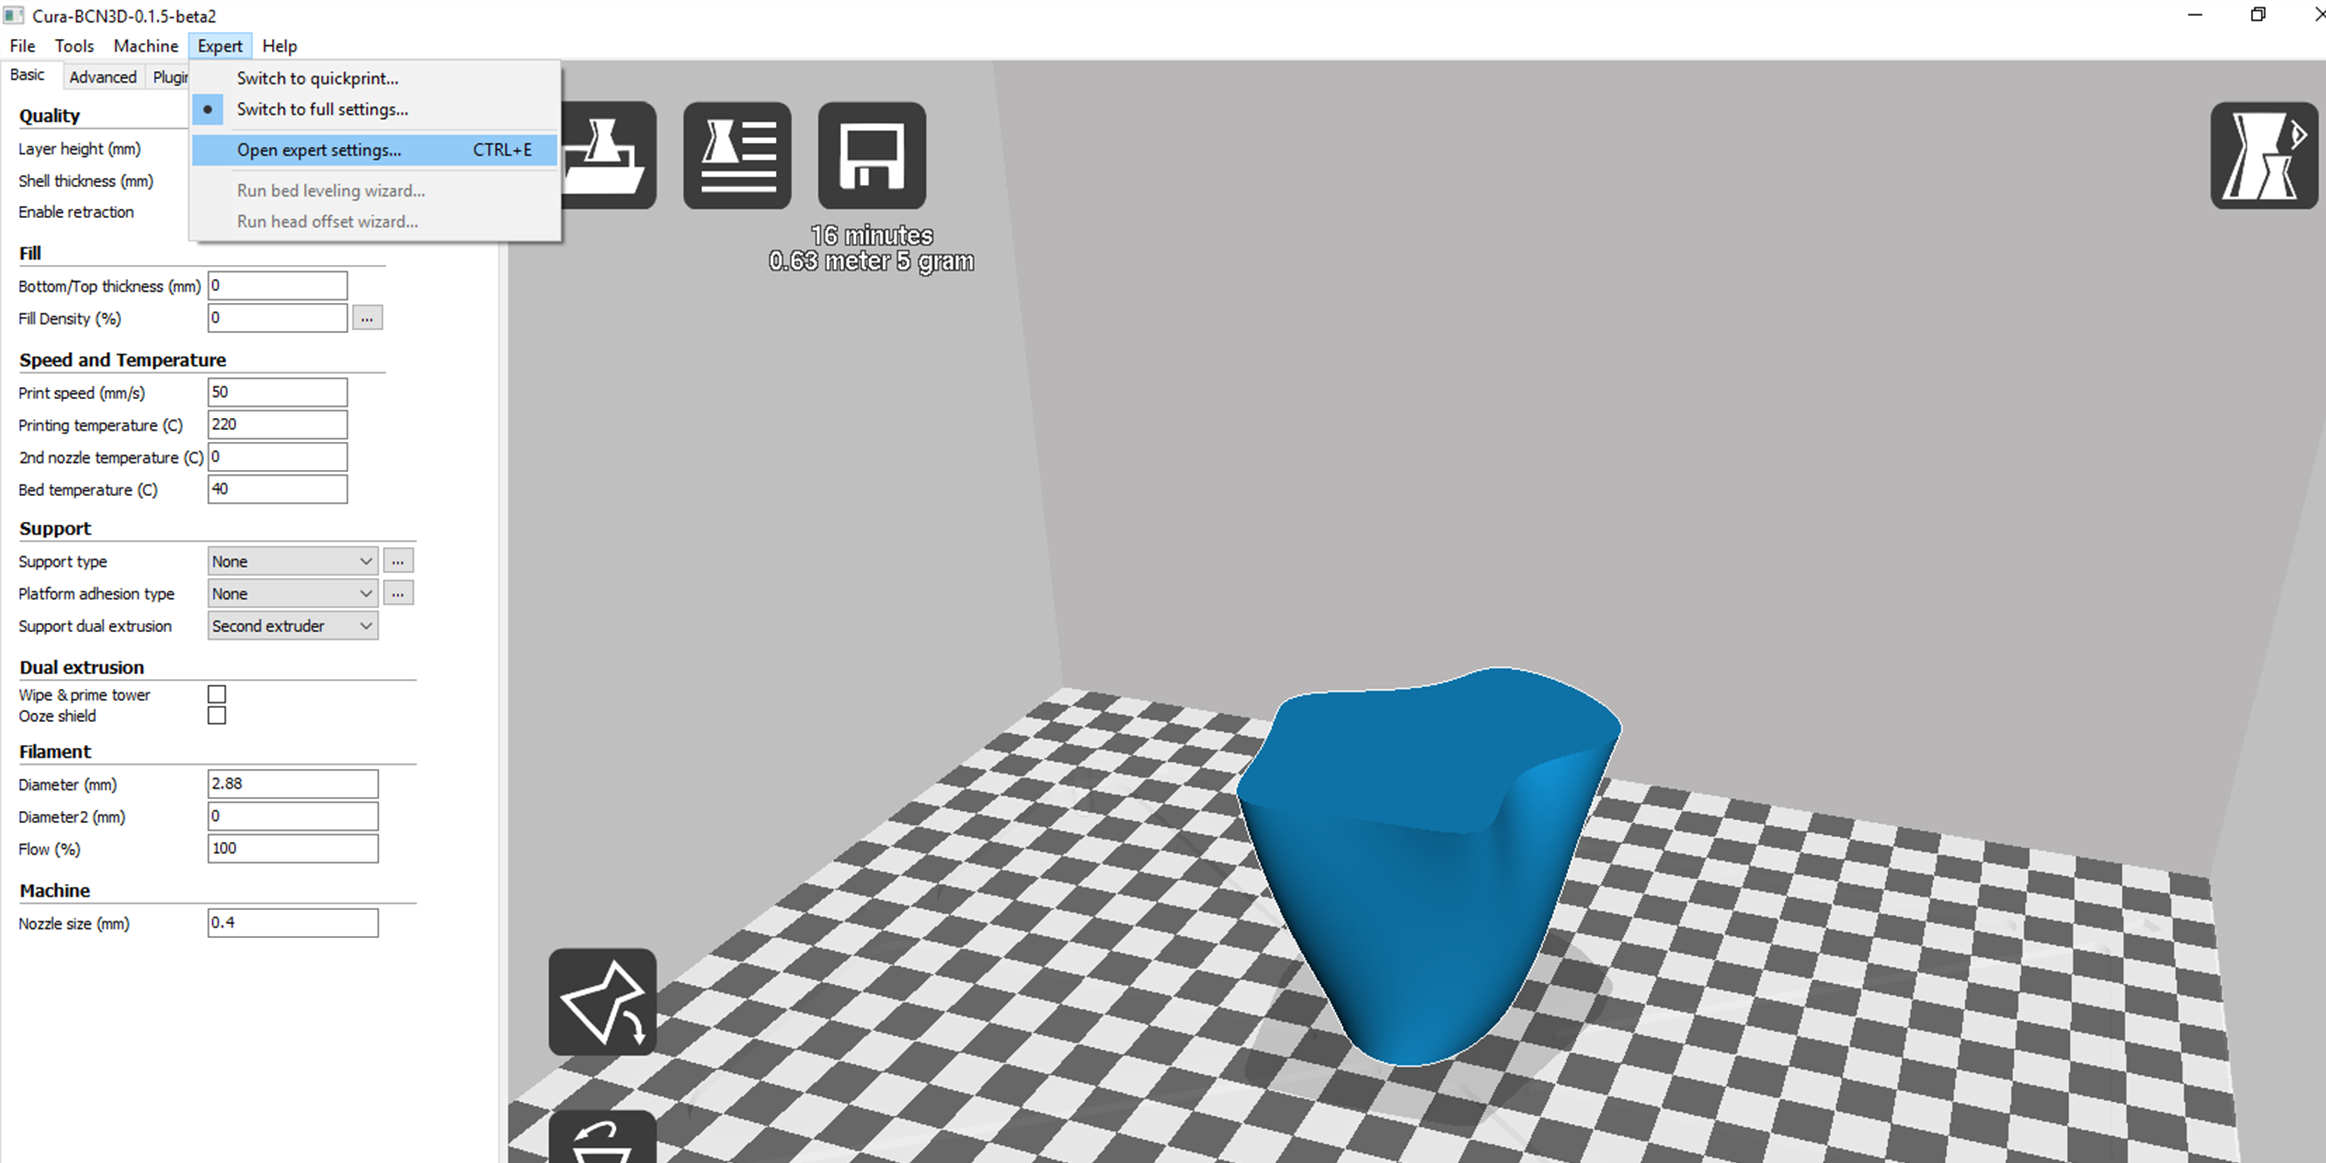
From the expert settings menu, click ‘spiralize the outer contour’ in the black magic tab. Also, make sure to deselect the ‘solid infill top’ box.
In the regular settings on the left, make sure to give a 0% infill percentage.

Now you save the file to an SD card(if that’s how your printer works) and pop it in the printer.
The first print I did this way failed, because it didn’t have a bottom at all, which did not provide enough adhesion to the bed.
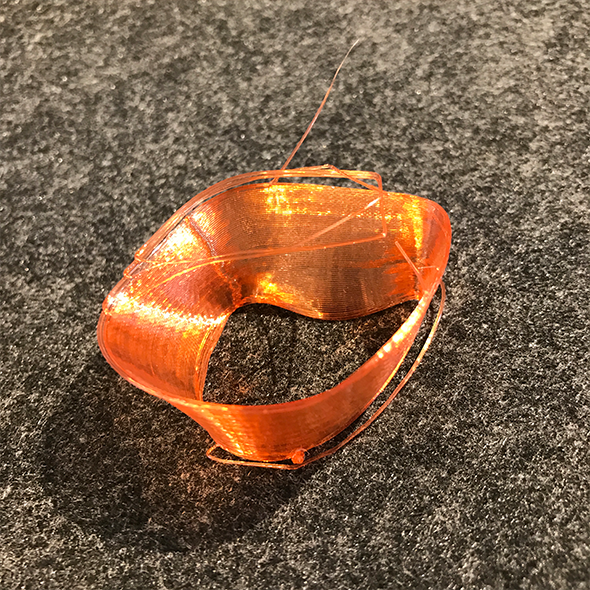
The second time I added a solid bottom which worked much better, here’s a timelapse of the print:
This is the result:

03 - 3D SCAN AN OBJECT
To 3D scan an object I used the Sense 3D scanner.

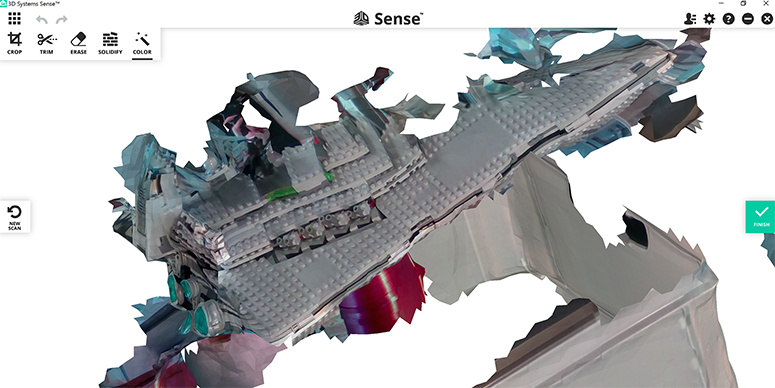
First we tried to scan a LEGO Star Destroyer, but the thing we did wrong was that we thought that the scanner should stay in place and the model should move. So we put the model up on a piece of string and placed the scanner in front of it, we moved the model around, but the results were pretty bad.

After some tips from our local Fab Lab hero Nicolo we found out the object was supposed to stay in place and that we should move the camera so we tried again to scan each other.
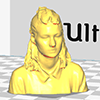
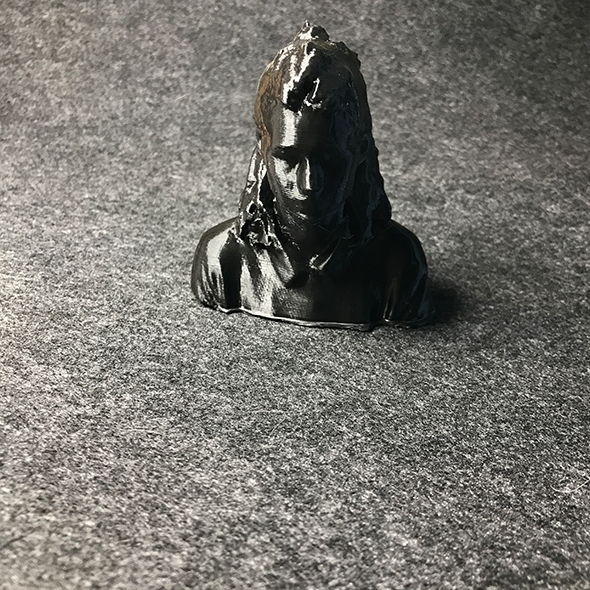
I made a scan of my fellow student Blanca, and it came out quite alright except for some holes in her head.
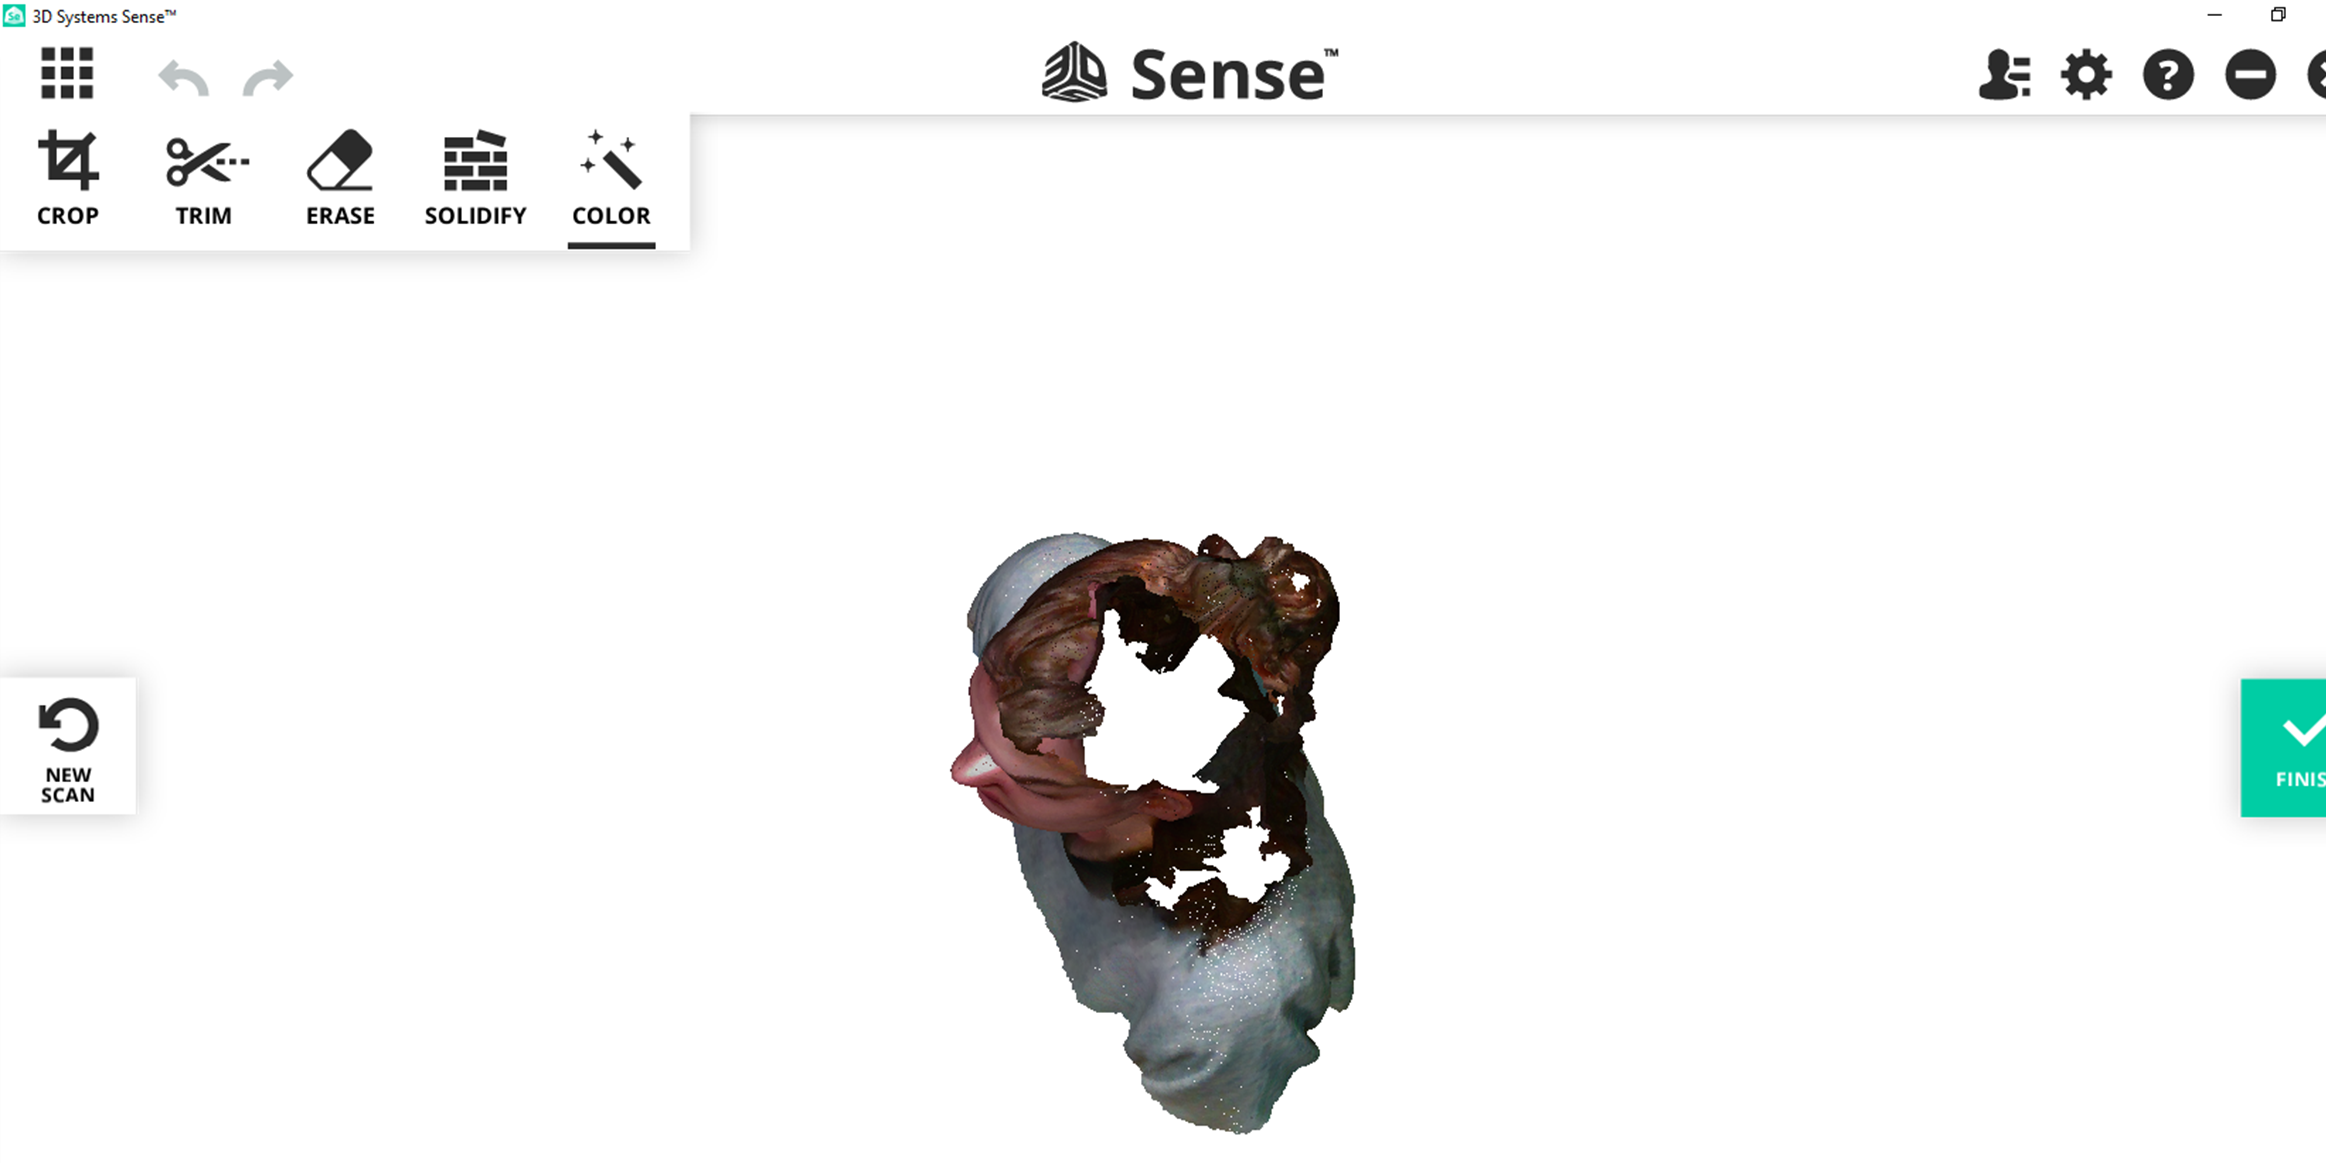
In the 3D scan software I clicked ‘solidify’ and the holes were patched. After that I saved an STL of the scan.
In Cura the scan looks like this:

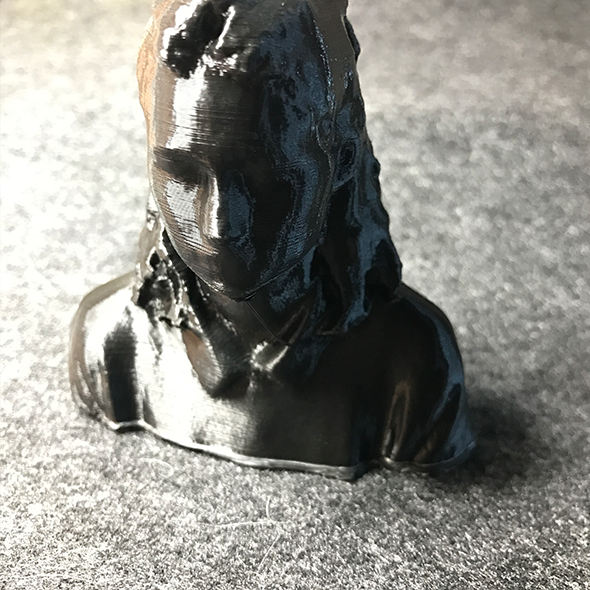
I also made a print of the scan which turned out like this:
test cube STL
thin wall shape STL
Blanca scan STL