project management
This week’s assignment is, make a personal website on the Fab Academy archive repository to introduce yourself, give an idea about your final project and that lets you document all your work, like this post!
To keep track of all our work and iterations in the repository we are required to work with the GIT system. Setting this up and getting used to it took some getting used to, but I found a really great Windows tutorial that takes about 20 minutes to cover the basics:
The most commonly used commands to upload and update an HTML website on the repository are:
how to git pull:
ls (this is a generic unix command)
cd (this is a generic unix command) fablabamsterdam/
pwd (this is a generic unix command)
git pull
how to upload a change:
git status // check if changes are made
git commit -am “change index” // between the brackets is a note for the change log
git push
how to upload an image:
git add .
git commit -m “plus a description here”
git push
To get everything working on my Windows machine, I followed these steps from a former Fab Academy student.
You will find all the steps in great detail on this page, but these are the steps in short that I took:
-create an account on Fablab.import
-log in with the fablab.io account on Gitlab
-install GIT for Windows choosing all the default options
-in GIT I generated a ssh key by typing the command 'ssh-keygen -t rsa -C
-display the key with the command 'cat <~/.ssh/id.pub'
-find the key on your computer via this path: this PC > (C:) > users > your name > .ssh > id_rsa
-copy the entire key, also the words before and after, and upload it in the 'SSH keys' menu in Gitlab
now onto the final GIT commands!
git init
git config --global user.name "‹your Gitlab user name›"
git config --global user.email ‹your Gitlab e-mail›
git clone git@git.fabacademy.org:fabacademy‹year›/‹your fablab name›.git
cd ‹your folder path›
git add -A
git commit -m "‹name your action›"
git push origin master
Again, all of these steps I got from the great page of Patxi Arruabarrena.
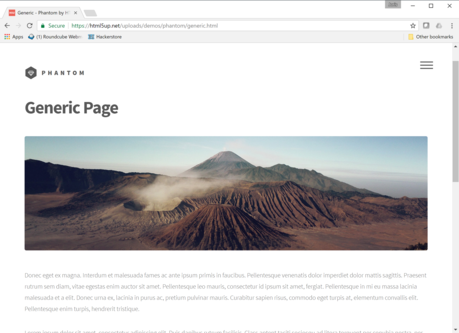
After that it’s on to building a website, my HTML knowledge is quite limited, so to get a responsive website up and running within a week I customized a theme from html5up.net called ‘phantom’.
First it looks like this:
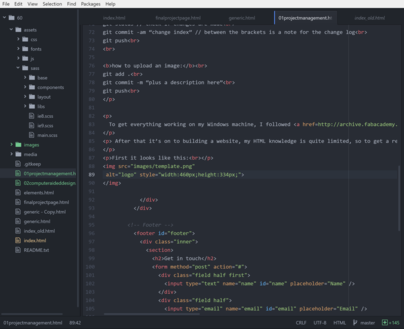
The code looks like this:
And now you’re using the customized version.
Although HTML code can be modified in a simple default text editor, we got the tip from our local instructor to use Atom, which makes digging through the lines of code much easier.
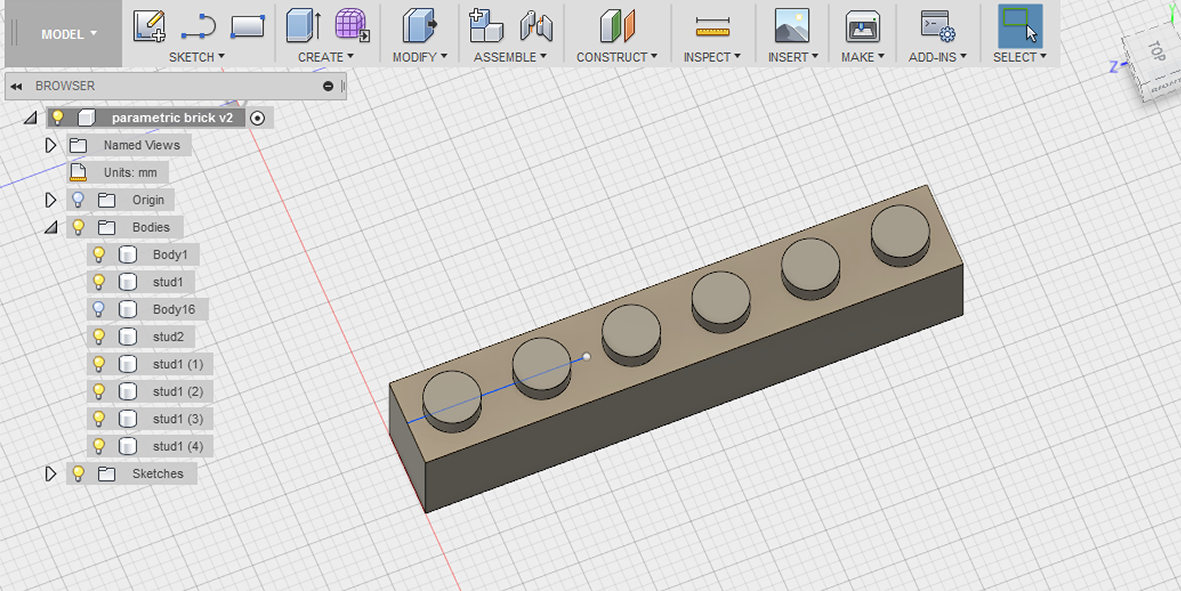
Part of the assignment of the first week is to show a sketch of the proposed final project, for the final project I have made this page that shows a sketch and concept for my proposal.