This weeks assignment was to design, make, and document a parametric press-fit construction and do a vinyl cut.
BoxMaking
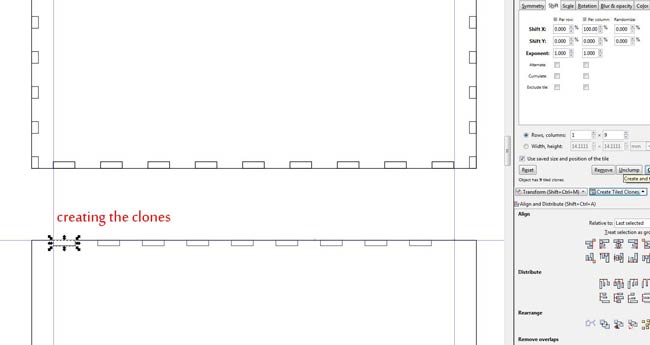
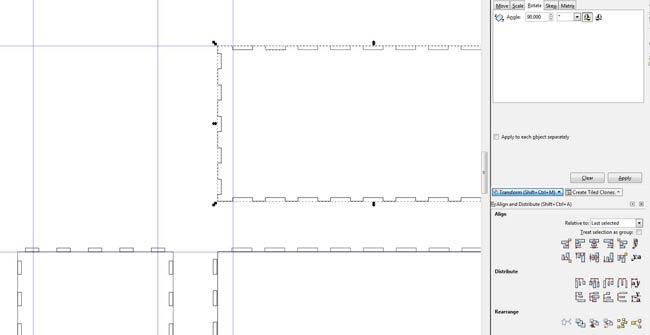
I used Inkscape in order to create two parameters: size of box s as well ides, and the size of the cuts on the connecting edges.
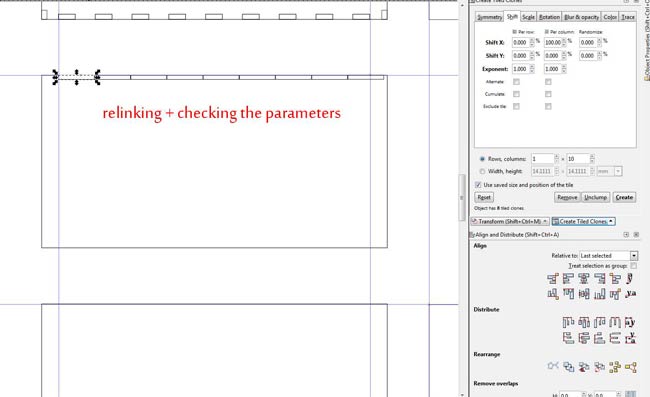
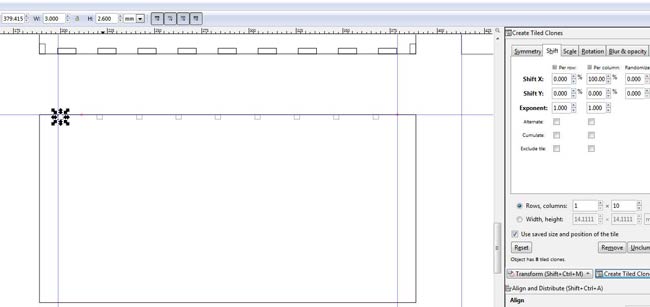
To control these parameters I used cloning of the elements on Inkscape.
Step 1 : Designing according to the material
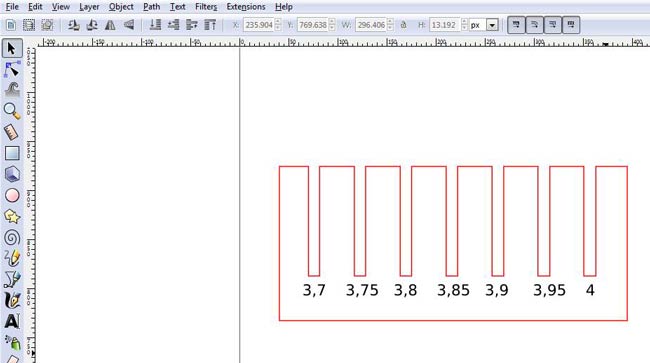
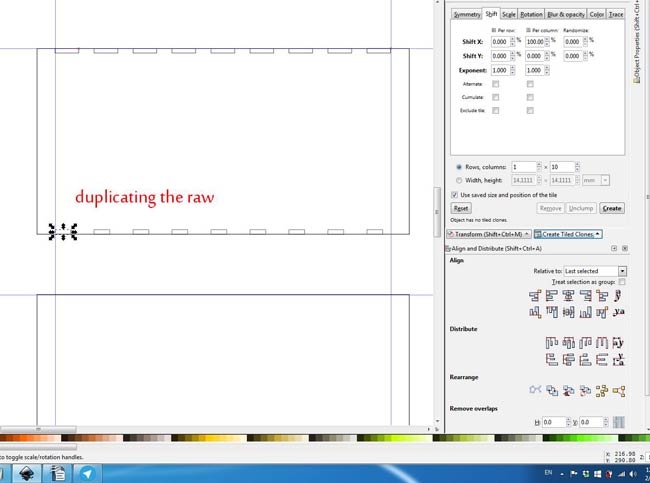
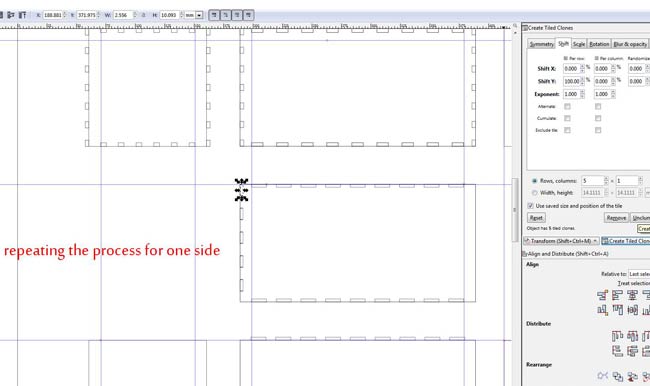
Designing a press-fit scale on Inkscape:
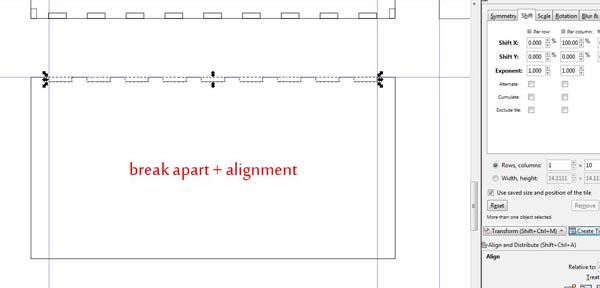
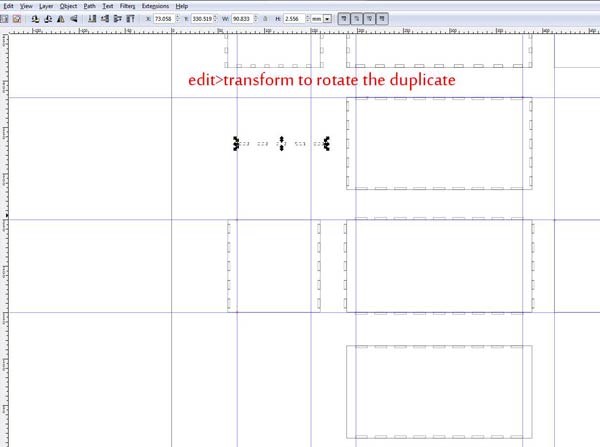
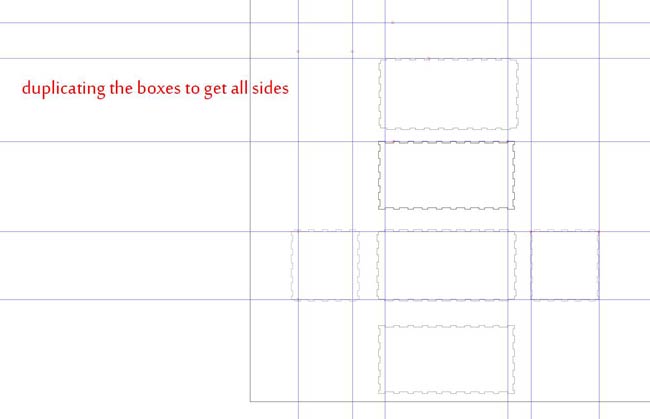
Draw square, decide on values, clone orthogons, change dimention of each item.
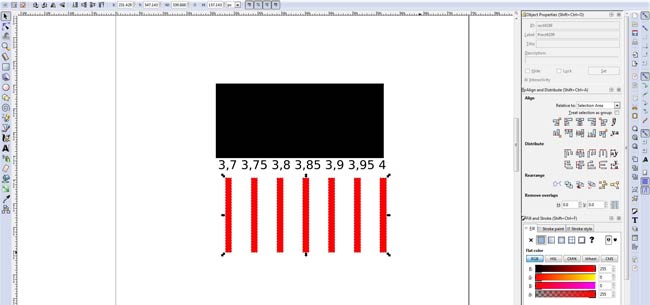
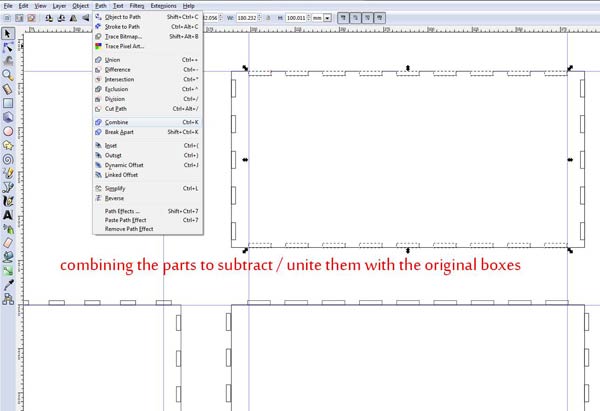
Unify the geometries using boolean operators [Difference]
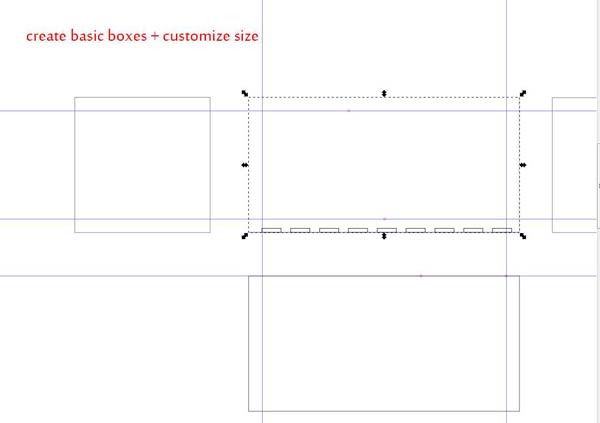
Step 2 : Designing the Box
The box had to be customizable and assembled using the press-fit technique.
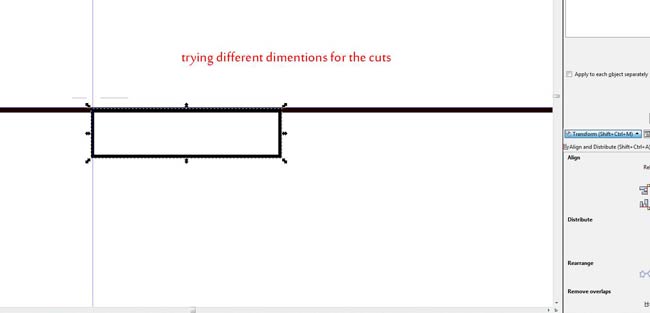
This means that the size of the kerfs on the two subtracting edges should differ around 0.5mm in this case that I'm using cardboard.
My working process, based on the example above, is presented in the following slides.

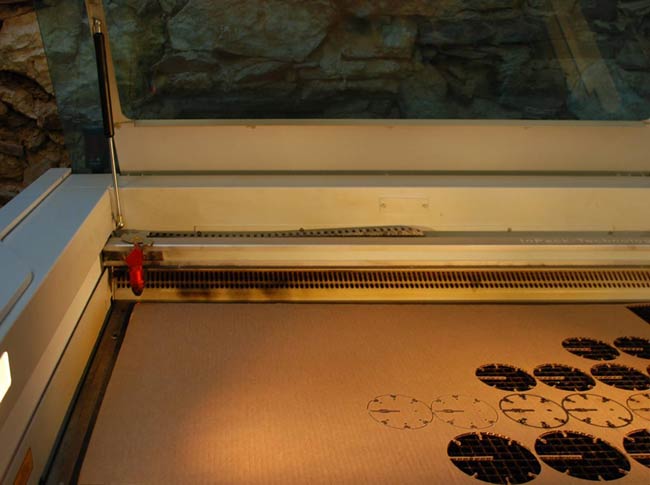
Step 3: Laser Cutting
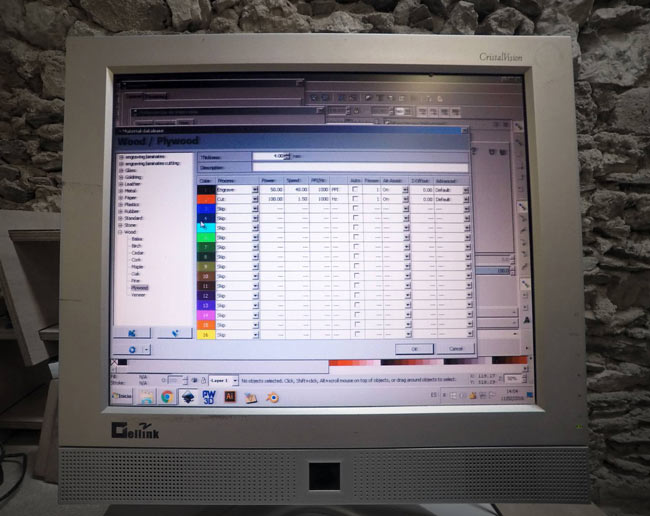
The laser cutting part was really exciting and easy, as I cut directly from Inkscape on the Trotec laser-cutter.
Checking the settings on the laser cutter control software.
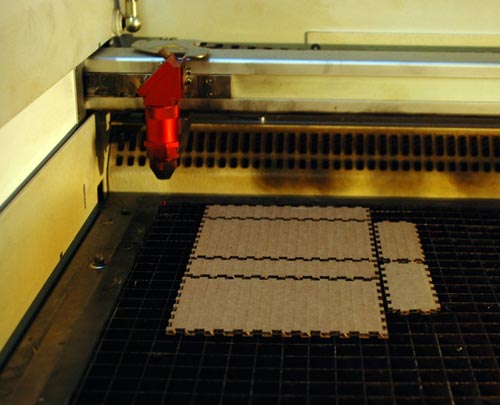
Preparing the machine.
Setting the z axis:

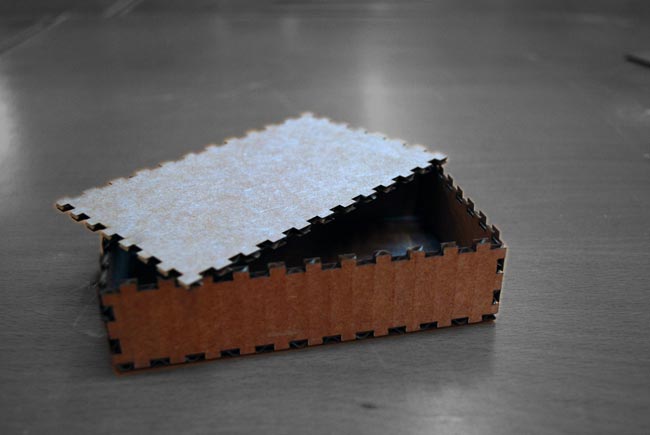
After cutting:
So, that's how I got my final result.
While trying to get a bit more familiar with the process, I tried as well to cut an origami box.
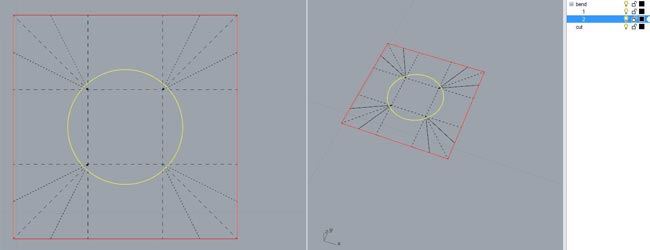
My initial intention was to cut on acrylic, but I'd never tried it before so I made trial cut with cardboard to check the design.
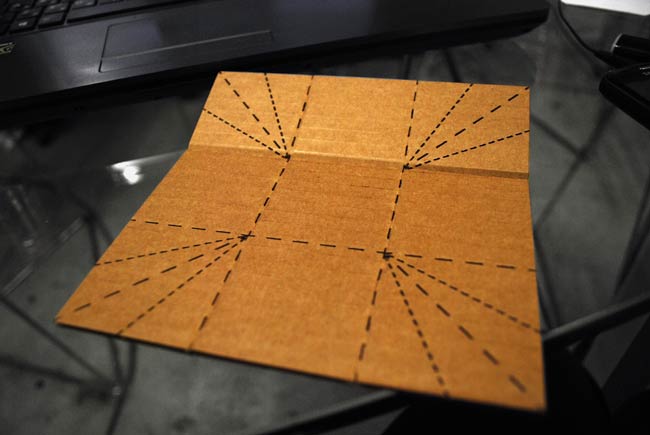
Quite obvious thought it was from the very beginning there was no possible way to fold the cardboard, I managed to rip off the upper layer of carton in order to get glimpse of how the box would look like!
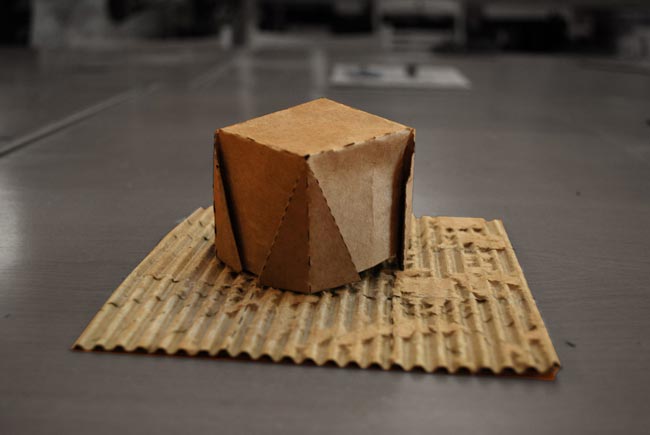
Although my intentions where to create an acrylic origami box, I chose to leave it as it is and return to it next week with a more interesting idea and design for it.
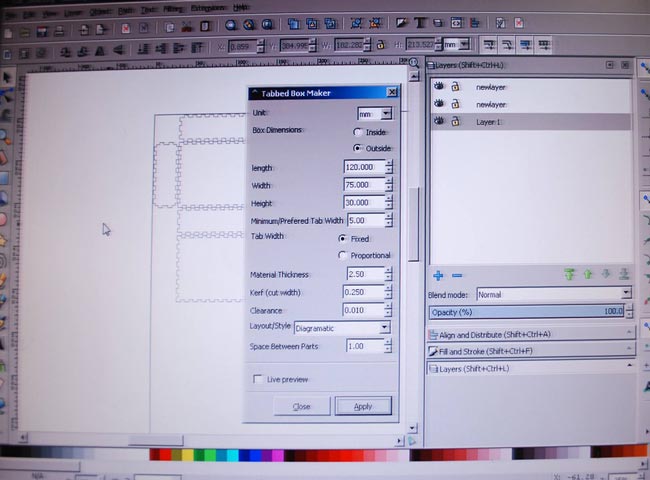
While trying to learn more about the laser cutting techniques, I found some interesting tools such as Autodesk's 123D Make with witch it's quite simple to generate contours from a 3D geometry, or Boxmaker, a really handy Inkscape extention that creates the outlines of custom boxes.
Last but not least, I downloaded and tried the following Grasshopper definitions for generating contours from complex geometries.
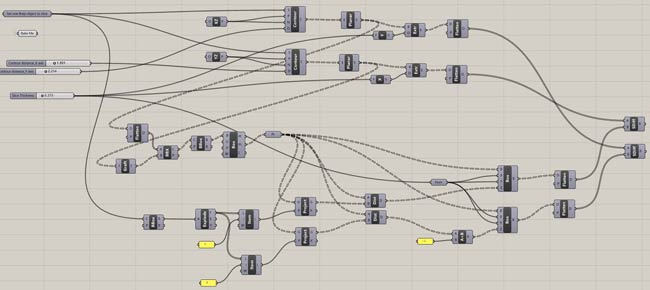
A Solid Waffle for Laser Cutting
The first one wouldn't work but still was interesting to follow the logic of generating the pieces in Grasshopper.
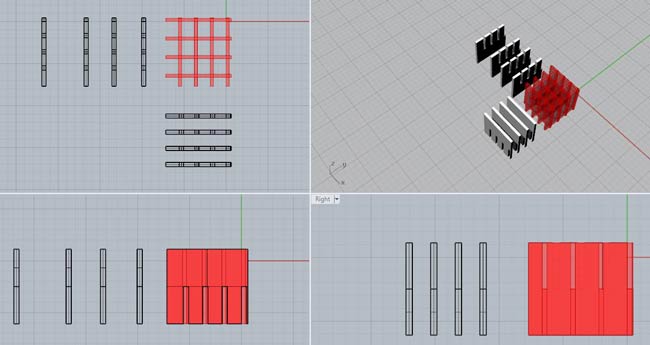
The Solid Waffle worked but the level of control it provides over the exact position of the slices is limiting, especially for symmetrical geometries like the box below on which I tried it.
A Solid Waffle for Laser Cutting definition:
Box application:
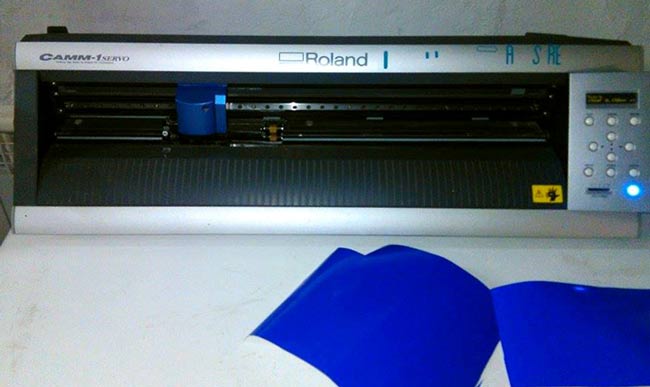
Using the Vinyl Cutter
A Roland CAMM-1 Servo vinyl-cutter was available at the FabLab, its software running on Linux through a Ruspberry Pi.
The first thing to decide on for this assignment was what to vinyl cut!
There were two colors of vinyl sheets available to use: a blue and a silver one.
I thought of finding a nice image and make a cool sticker out of it. I decided to use the silver paper which I liked most and paste it on a black background.
Being particularty interested in japanese art and calligraphy, I decided to work with this image of a crane i found in the internet. The first thing to do would be to edit it on Inkscape in order to work on the bitmap.
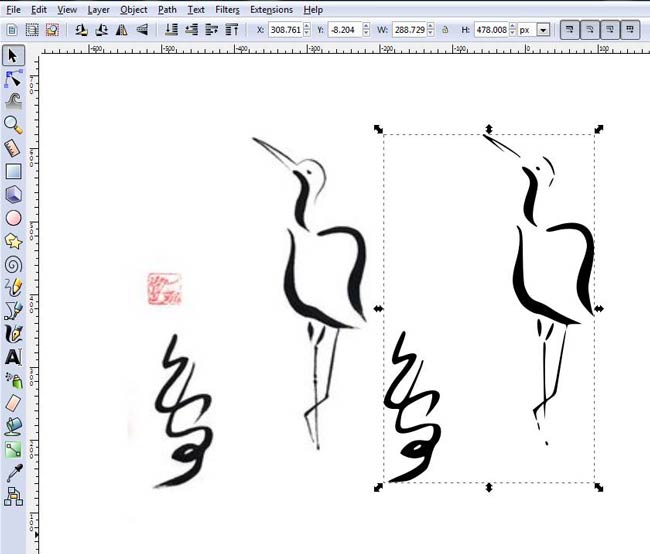
Breaking apart the bitmap makes it easy to work on the parts.
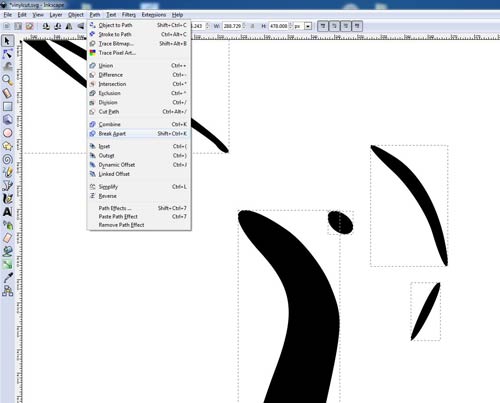
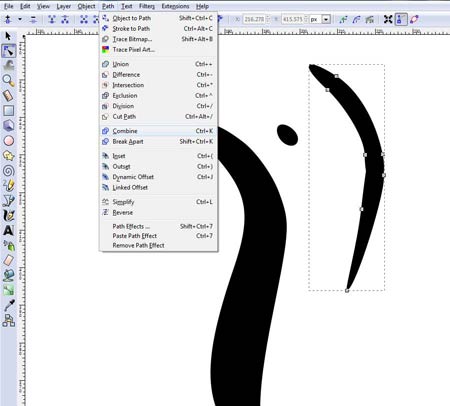
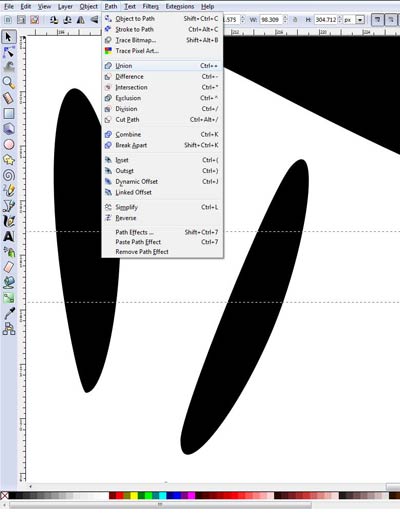
Some parts of the original image were too small to cut and it would make it quite difficult to extract from the vinyl piece. I worked with the vectors and shapes to unify, enlarge and add vertices so that the final file would be ready for cutting.


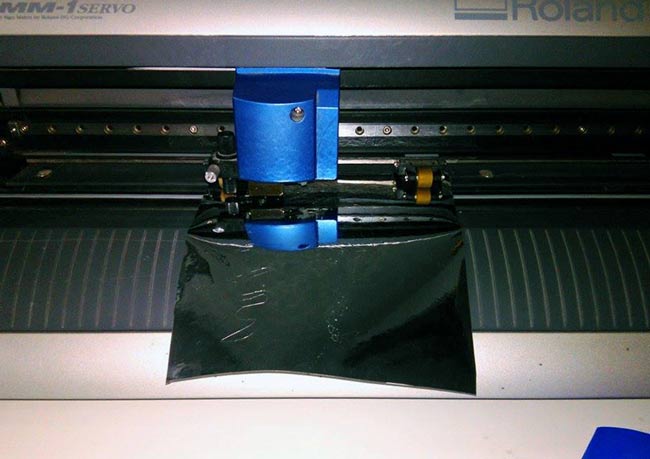
Setting the cutter.
I would cut on a vinyl piece, so I chose the Piece option on the cutter. I placed the vinyl piece between the white traces on the cutter, feeding it from the back side, and the machine measured it.
Tracing the path.
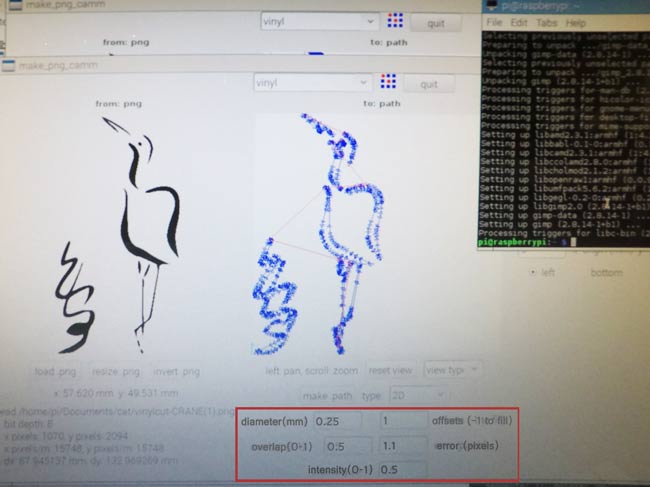
(*Apart from using FabModules, vinyl cutting can also be done by feeding vector files on the cutter software.)
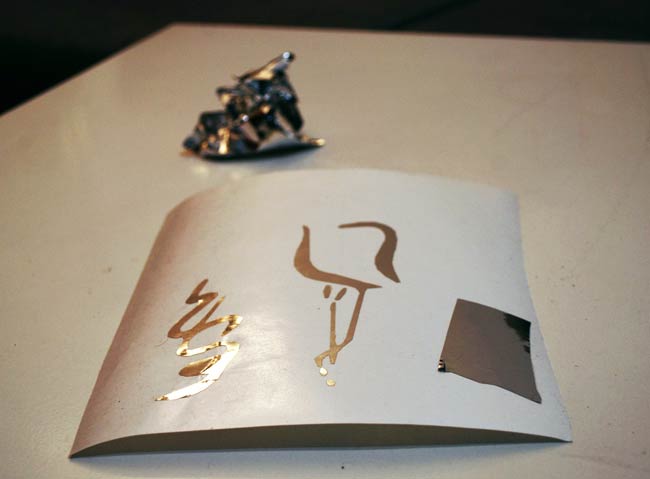
Cutting the piece.
Troubleshooting the process: The final piece was far from perfect! First, the head of the crane was not cut. Although the size of my canvas was smaller than the size of the vinyl sheet it turned out that it needed more space from the outline in order to cut the whole file. It's interesting that the software didn't display a related message in before cutting.
Removing the sticker background allowed me to see that the resolution of my shapes was not high enough to show the curves, resulting in altering the design by cutting small straight lines instead.
-------------------
Going through the whole process again allowed me to correct my mistakes and get the desirable results:
-
On Inkscape:
Document Properties > Resize document (page content).
I added 1mm margin to my canvas so that I would have the whole design cut this time.
File > Export > Bitmap --> set Resolution to 400dpi.
Exporting with high resolution would fix the splines curvature problem. A detailed tutorial on Inkscape can be found here. - On FabModules:
Input: Drawing (.svg) // Output: Roland Vinyl (.camm) // Cut Vinyl.
Instead of loading the png file, I used the svg file and set the input resolution on 400dpi.
After placing my piece of silver vinyl on the cutter (a tutorial that explains the whole process can be found here) I was ready to cut my sticker. Finally, I got the desirable cut. Still haven't stuck it anywhere.
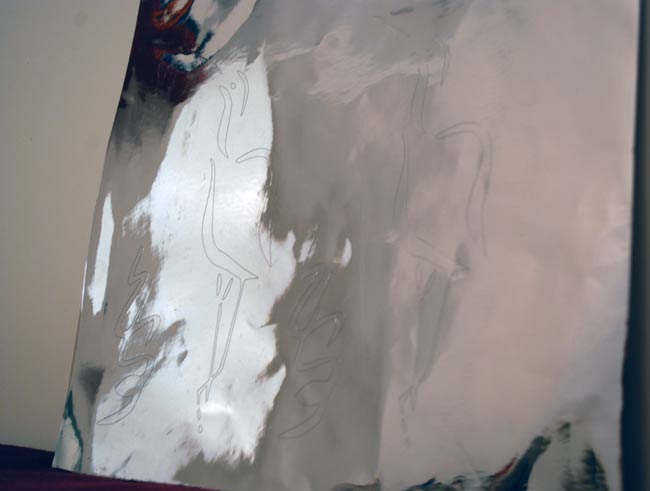
The .stl file of the vinyl cut can be found here.