Computer-controlled cutting
How we could understand a press fit kit?
We could understand a press fit kit as a 2D and 3D puzzle that have pieces that we would be able to connect with precision that gifs a solid structure to the puzzle.
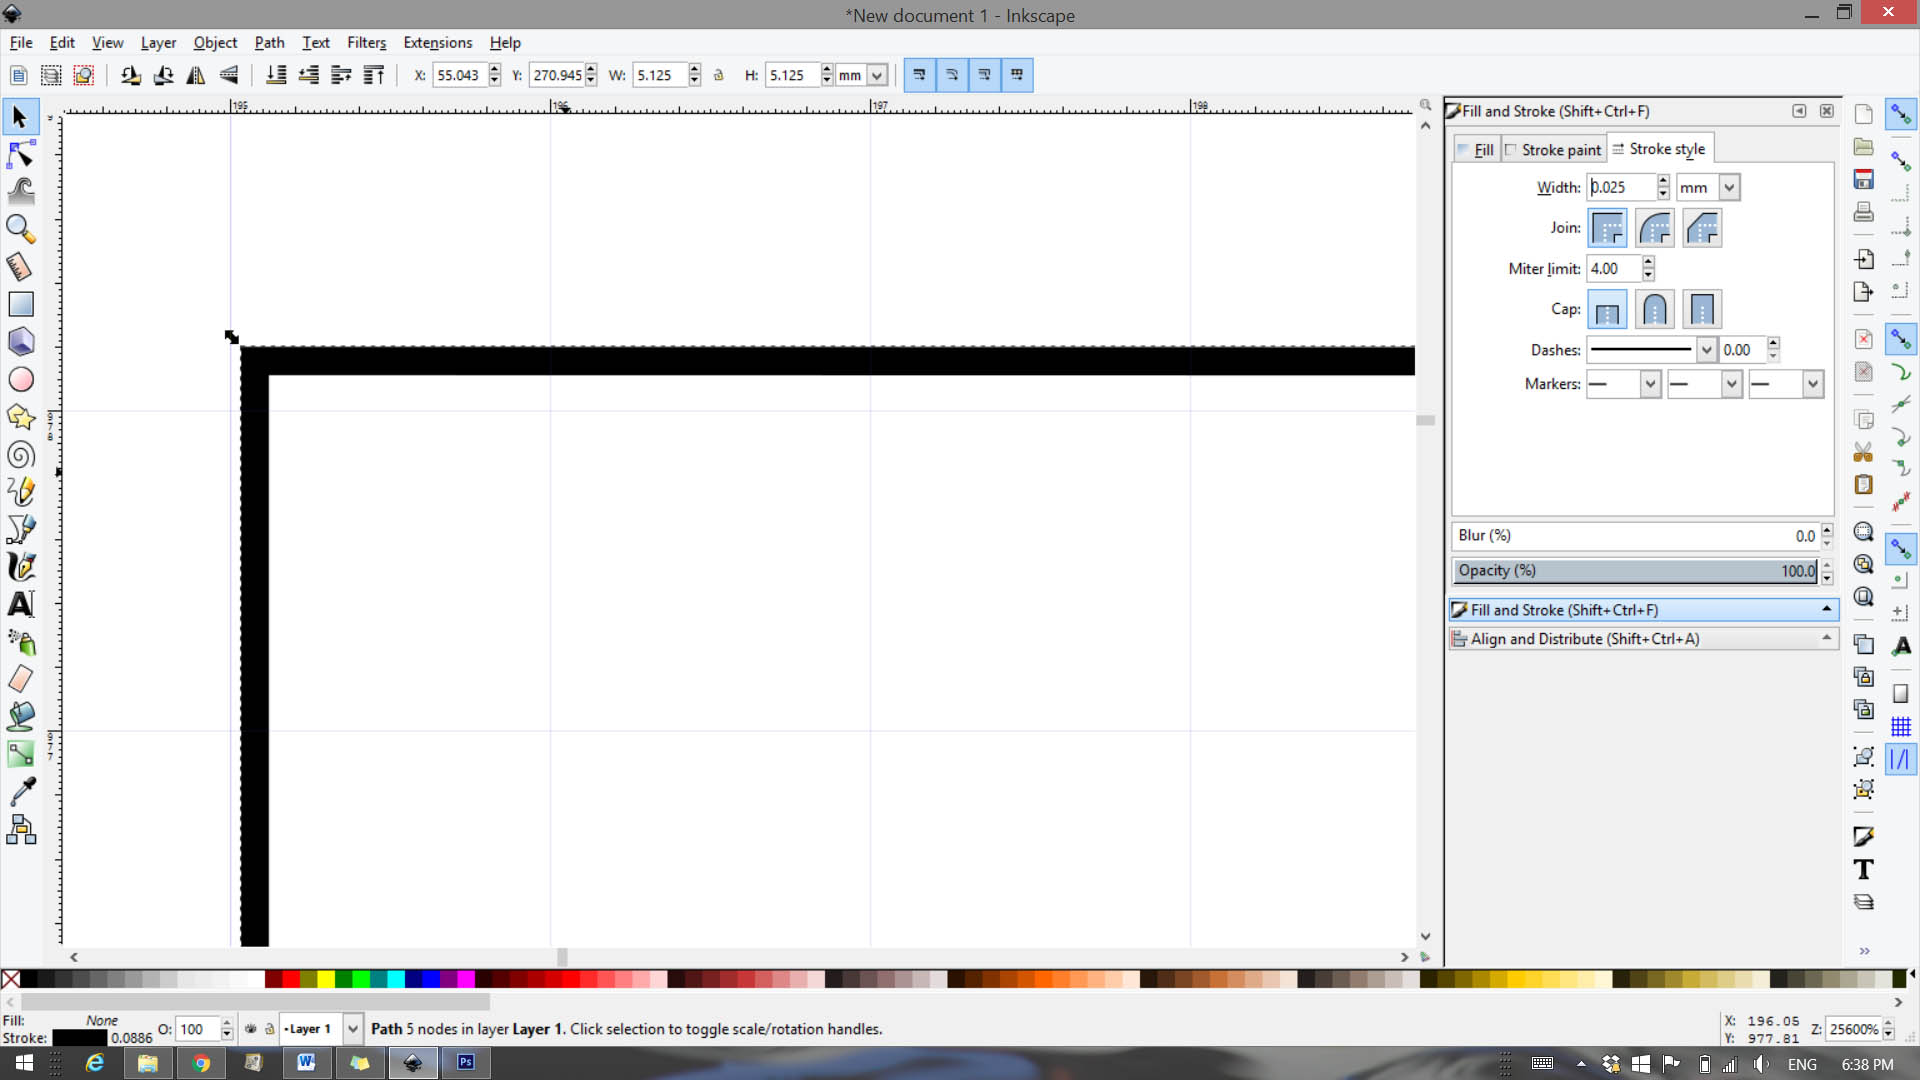
I decided to start my exploration with inkscape:
I have no experience with inskape software but in a first view I found it sort of Adobe Illustrator but quite different. At the beginning I started with line and clone functions, immediately I notice that I can´t make clones of the line points. Now I understand that we just can clone open and close lines. That disappoints me a little bit because if we would be able to clone the points that are inside of the lines we could control everything in the design. So the option that I see at this moment is to make closed lines to have clones of whole shapes and measured them to the thingness of the material. So it means that I would have some different shapes to conform just one piece of the puzzle and if I need to change material thingness I would modify the conned shapes in order to get a great fit press parts.
The material that I’m using is acrylic with 6.15 mm of tightness that will be cut by 40 watts Epilog laser cutter.
• In my first chance I would look over the thingness of the laser cut
In the digital design that I heve made I used a 0.025 mm width line. In theory I would need to add 0.0125 mm to the digital design in order to get a good joint to make a press fit joint. To know the real distance that I would use in my fiscal design I’m going to cut a square inside in another and measure them to fine the difference between them. As well I will test it with some power changes.
What I find at this point (as you can see in photography) is that the distance or error between the squares is different than digital design distance that inkscape shows:
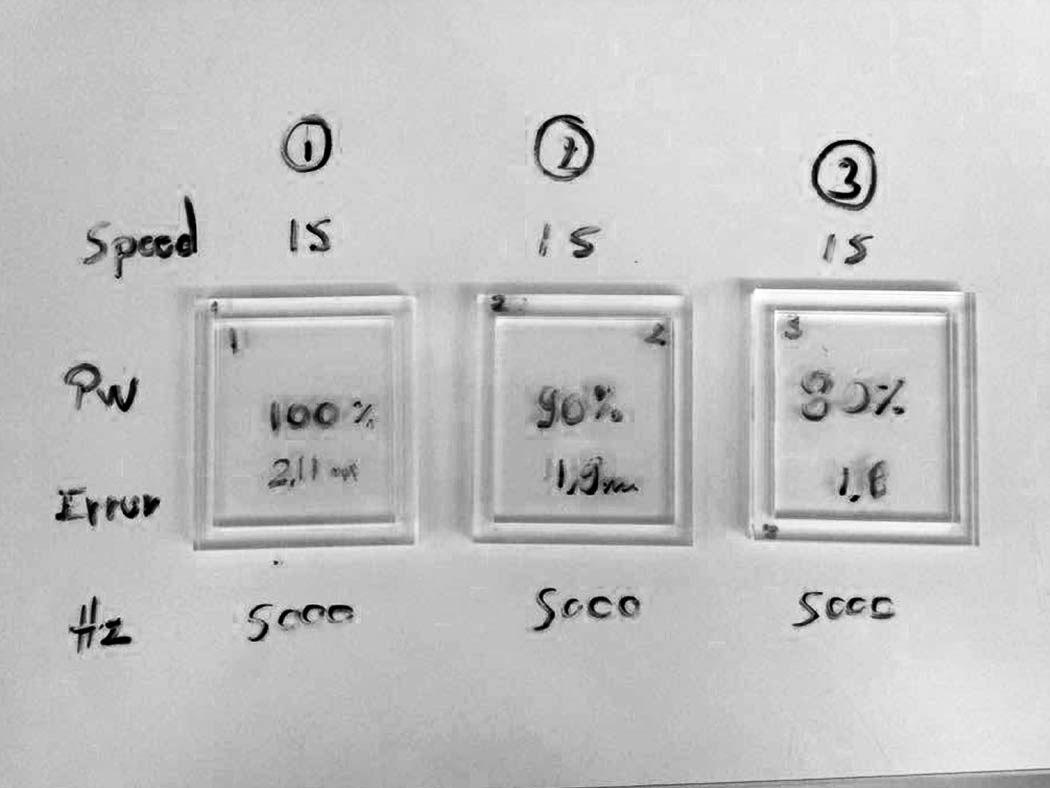
With:
100% of power the error is 2.11 mm
90% of power is 1.90 mm
80% of power is 1.80 mm
This means that the laser changed the digital design in the real world. According with the options I prefer to use 90% of power to start testing the precise design of my puzzle pieces because I think that conferring the information that I already have I would be able to take better decisions than take the limits. So I will proceed with the design decrease 0.95 (half of the error) in the joints. So, I’m going to design tanking as that the tightness of the material to the joints will be 6.15 - 0.95 = 5.20 mm. Wait a minute! It would need a taste!
Ok, what I am going to do is use 5.20 mm as a references. So I’m going to design a test piece to look the better option with the pattern: 5.10, 5.15, 5.20, 5.25, 5.30, 5.35 mm
What I find making the piece is an important observation, in Inkscape the mature that the program shows you of the size of a square includes the stroke of the lines. That means that I have to add the half of the stroke to get a precise cut or that is what I understand by I can see in the screen. Stoke / 2 = 0.013
The results of first test failed joining the pieces but it shows a clear pattern of error, since 0.05 mm in digital design it increments approximately 0.10 mm in real life (considering the error that inkscape has in strokes).
Digital / Physic
5.10 + 0.013 / 5.30 mm
5.15 + 0.013 / 5.40 mm
5.20 + 0.013 / 5.47 mm
5.25 + 0.013 / 5.50 mm
At this point, I could have more certain that if I have a tightness of 6.15 in the sheet of acrylic I would need to design digitally a 5.60 mm hole to get 6.20 mm.
I’m going to try with:
5.55 + 0.013
5.60 + 0.013
5.65 + 0.013
5.70 + 0.013
5.75 + 0.013
Well is not working, I’m having problems to join the biggest size:
5.75 + 0.013 / 5.95 mm
That tells me that the pattern is not what I have to follow so I will continue with the sequence since 5.85:
Digital / Physic
5.85 + 0.013 / 6.07
5.90 + 0.013 / 6.12
5.95 + 0.013 / 6.18
6.00 + 0.013 / 6.23
Finally I get a press fit connection in acrylic!! The best options are 5.90 + 0.013 and 5.95 + 0.013 mm in digital design. I will use the second option to make my pieces because it feels better. All this part takes me a day to complete it.
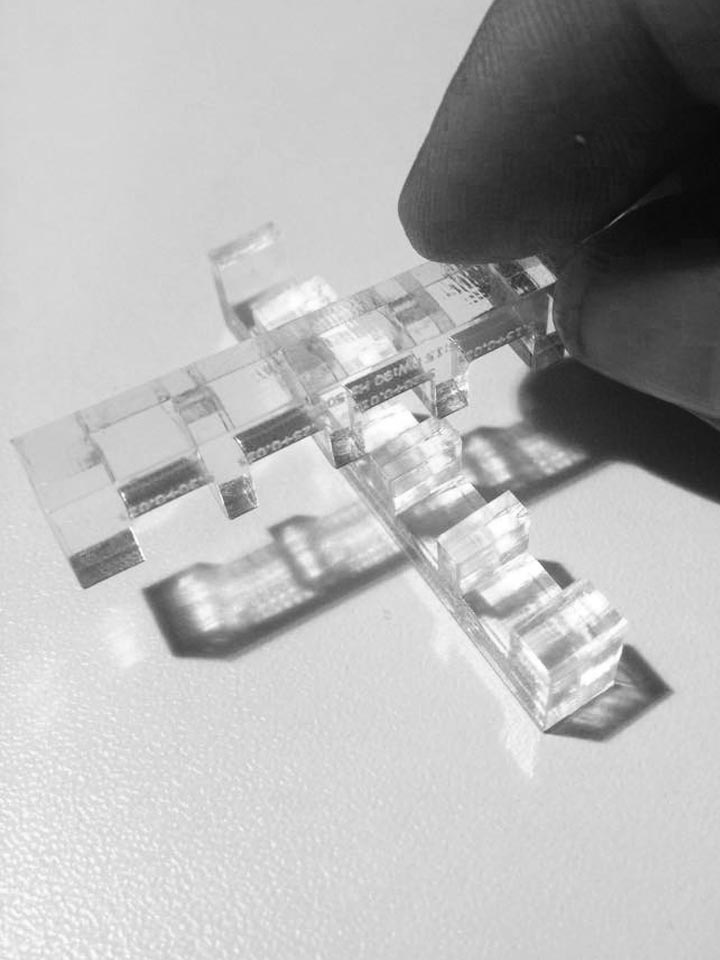

I continue designing the piece that I have been working on. I’m having problems to get used to inkscape line tool because I’m missing a way to connect points with new lines automatically. That takes me a lot of time to draw with the precision that I determinate to my press fit kid.
When I was trying to cut and join my pieces I notice that something was different because they were smaller than yesterday so I decided to ask everyone in the Fab if they changed something in the matching. Yes, they changed something they just cleaned it. At that point y decided to change the values of:
Speed: 15
Power: 90 %
Hz: 5000
to
Speed: 12
Power: 100%
Hz: 5000
In order to have more thingness distance
And now I can say
“finally it works”
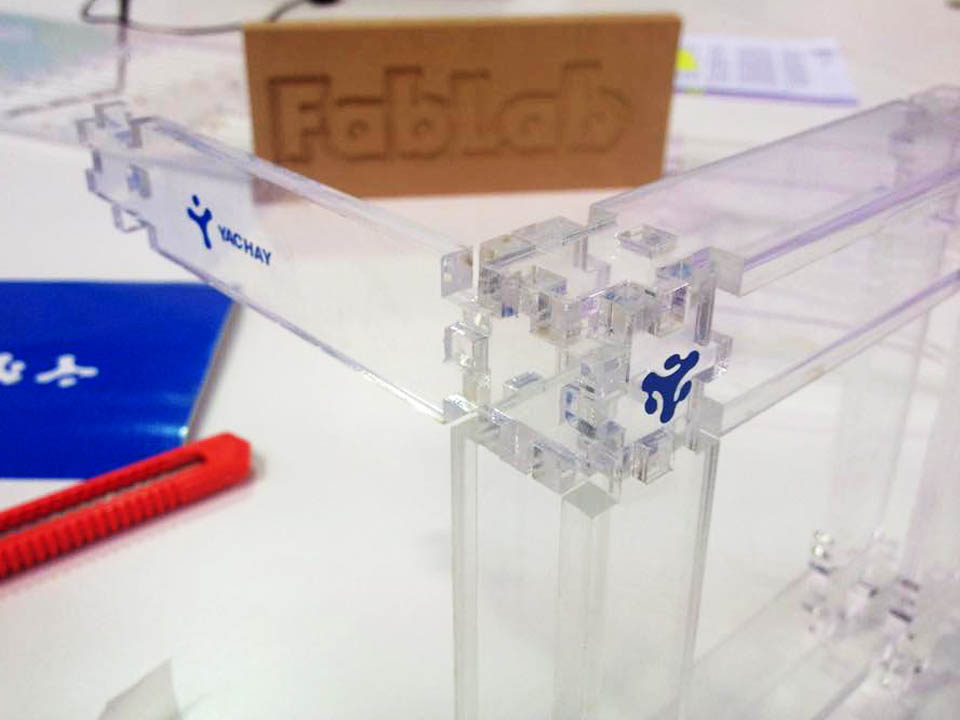
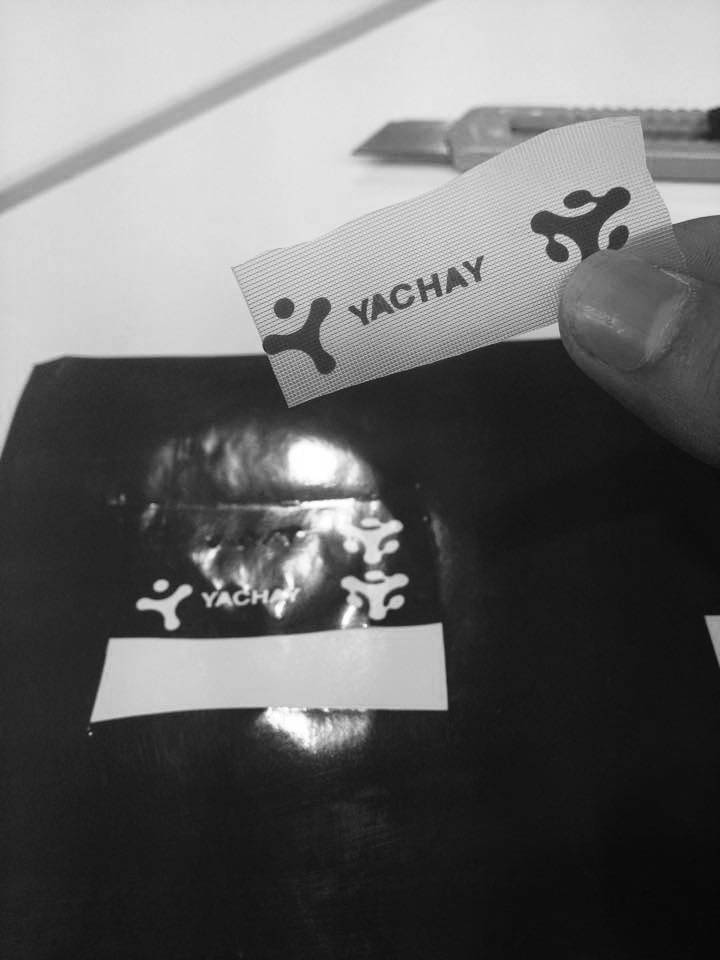
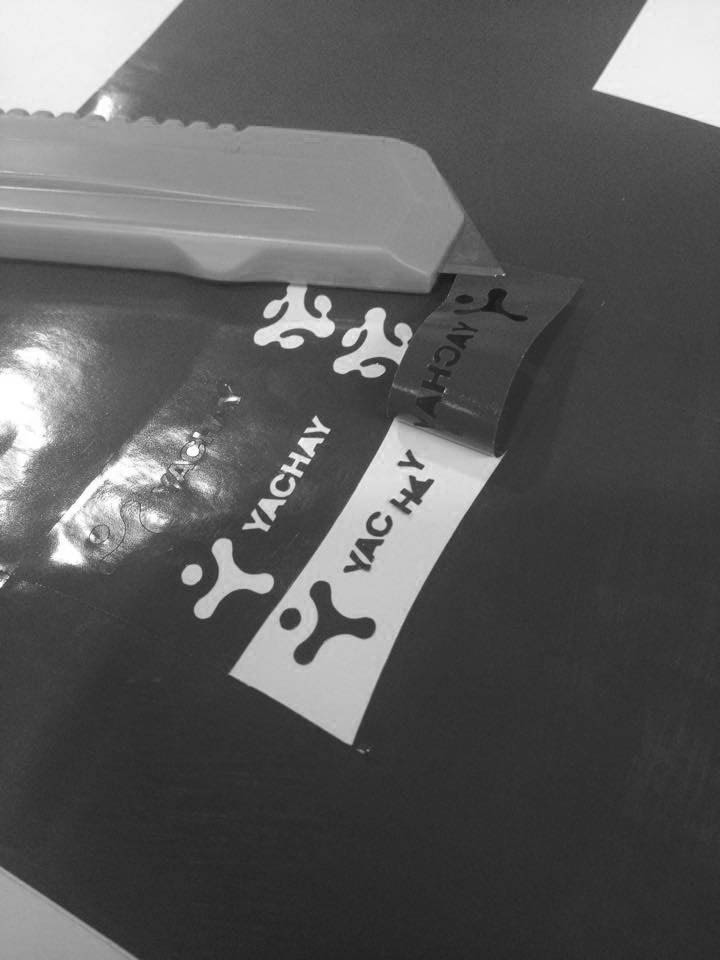
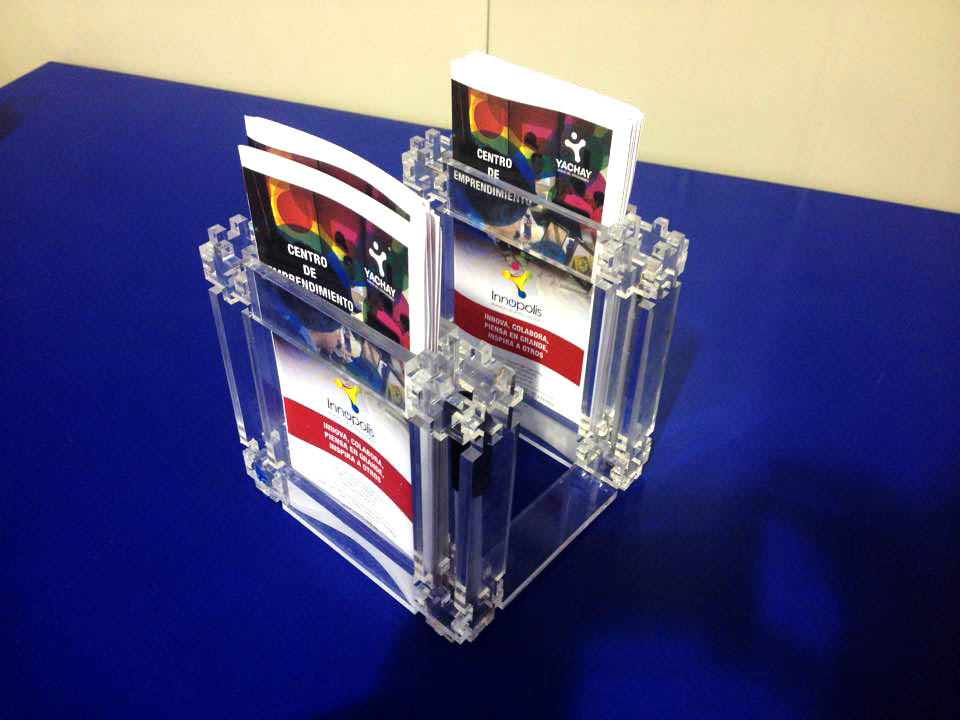
I have used the vinyl cutter to make sticks to the product in order to apply Yachay brand in it. I haven’t thing in a function to this product at the beginning, I leave the experimentation purpose it. And as result I get an office object holder.
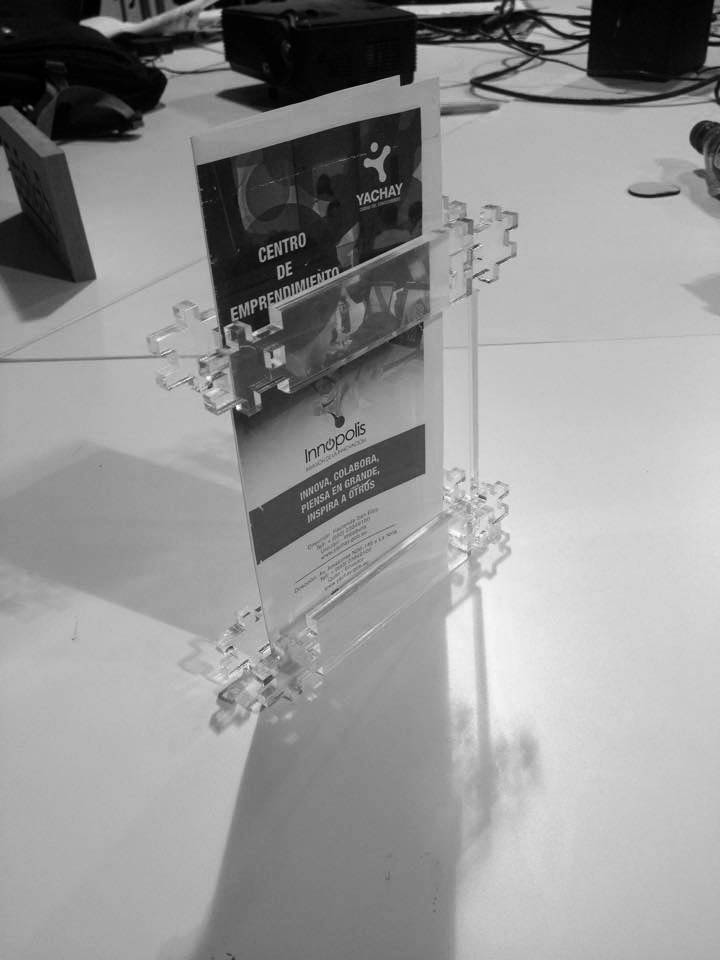
Result
Conclutions:
1.- Do not measure your material, define the perfect press fit distance and laser cut something in different day. Make everything in the same day and if you can’t, be sure that no one change something in the cutter matching as cleaning or calibrate it.
2.- If you try a new software be sure that you have enough time to spend.


