Inputs
Assigment objetive:
1- measure something: add a sensor to a microcontroller board that you have designed and read it
Measure something
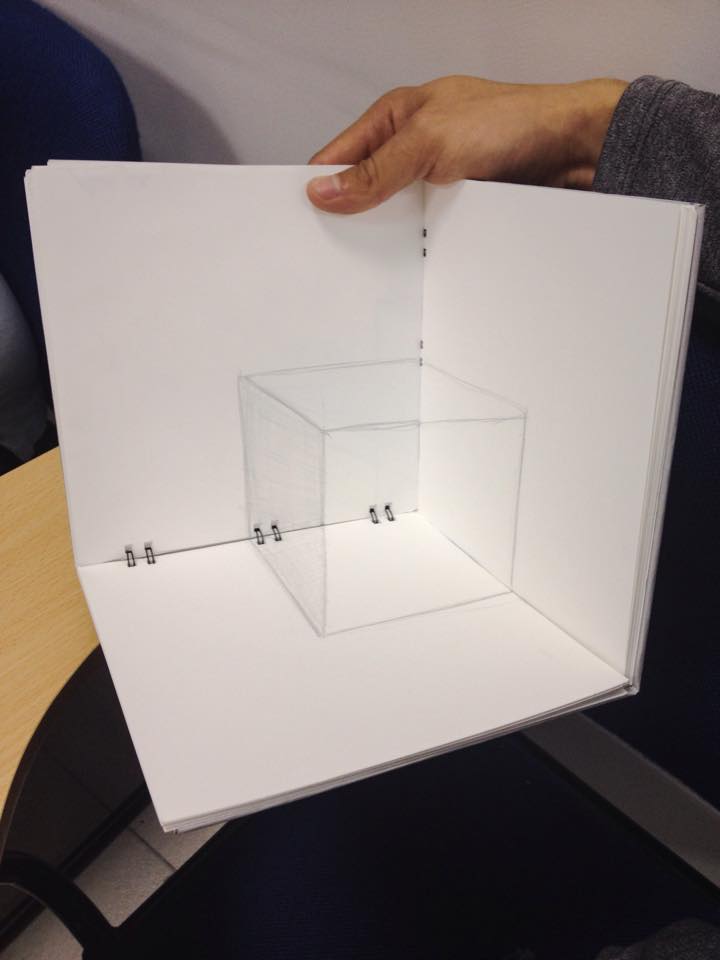
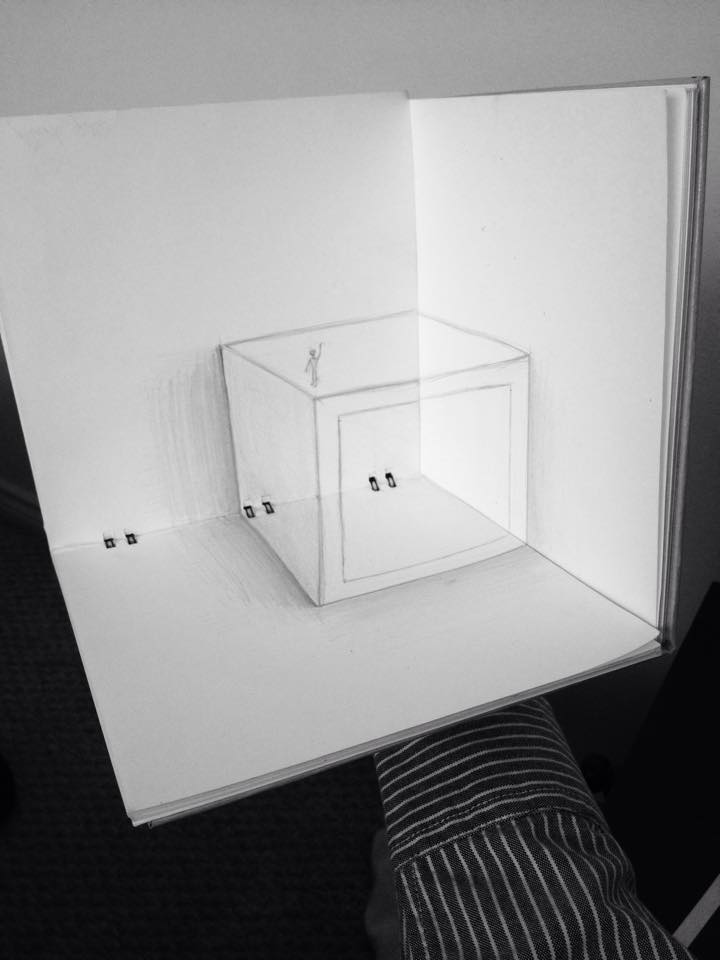
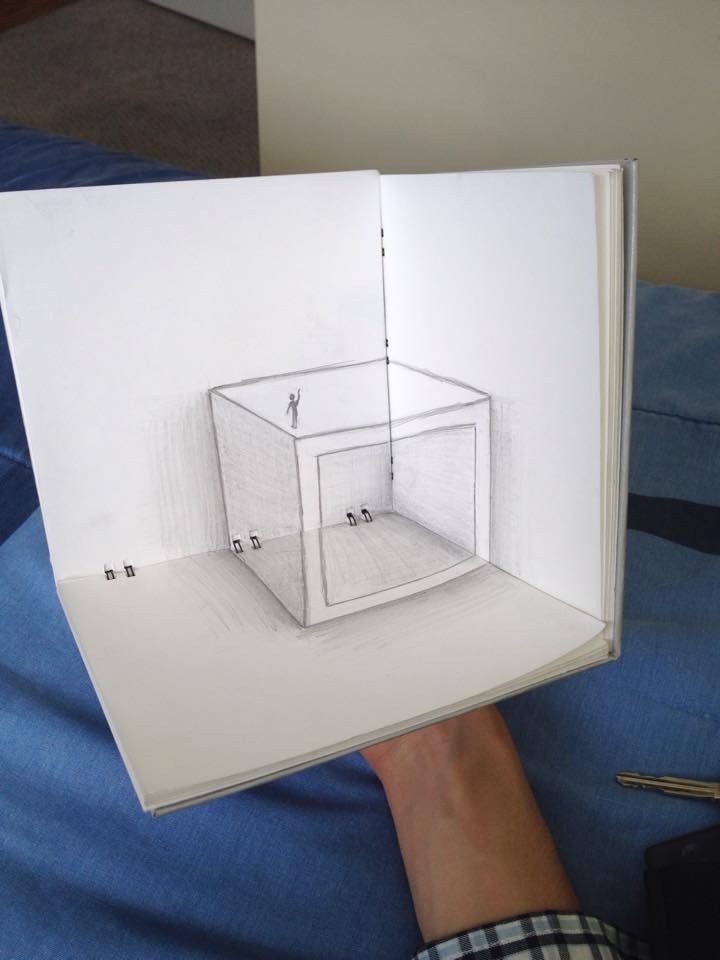
This Inputs class inspired me to retake a one of the projects that I have been working on since 3.5 years ago. My 3D sketchbook it’s a folding sketchbook that allows you to draw things in 2D and 3D. The 3D drawings happened as an illusion by a perspective principle called anamorphosis. In this 3D sketching research I have found an interesting sensor to make that I found too complex to make before start Fab Academy classes. Now after 2 months assisting to Fab Academy classes I feel that I’m able to make it, so I tried.
The sensor that I found is a capacitive 3D tracking sensor. The next video would show you all the information that I have use to make this sensor. As you can see the capacitive 3D tracking sensor works with Arduino and what I decide to do is a circuit board in order to replace Arduino and apply what I learned in Fab Academy.
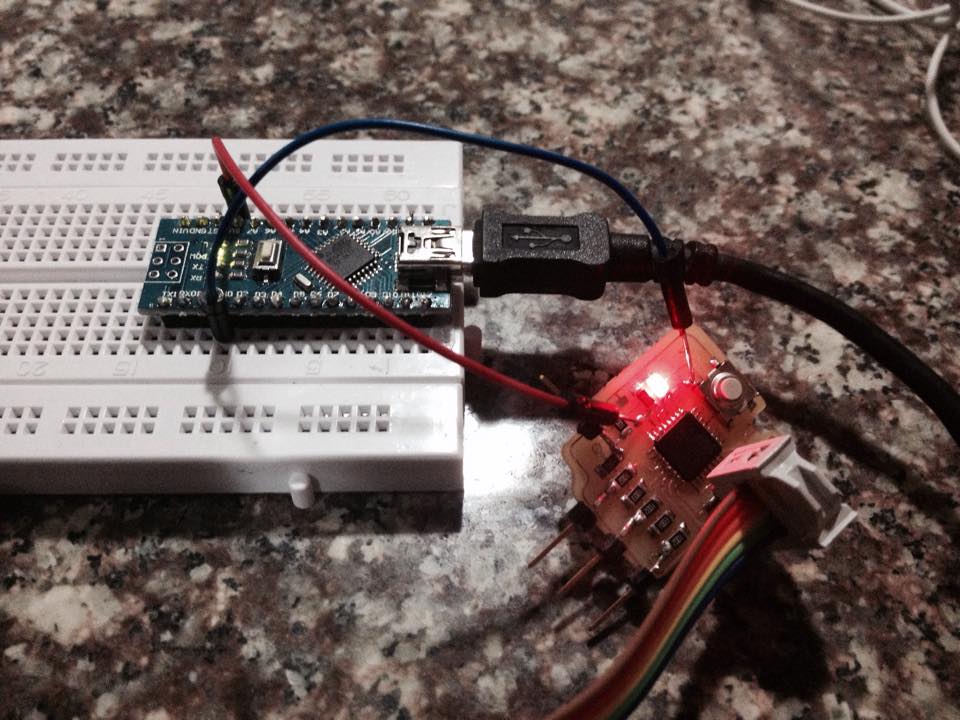
At this point I used my sketchbook as the video shows you to support the aluminum sheets and I connect the Arduino system with resistors and all its parts.

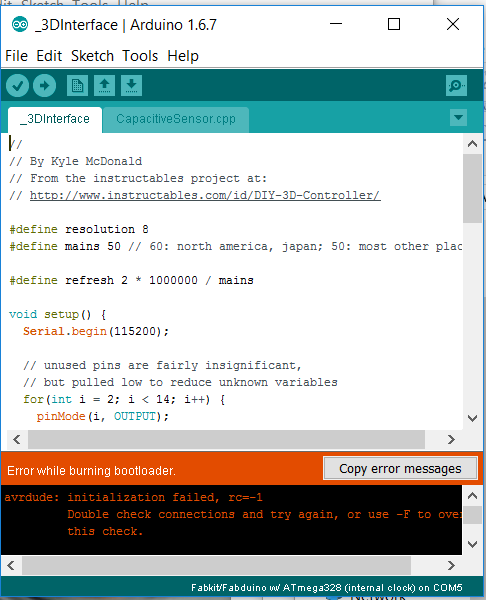
Here every hardware part was installed. I started with programming that the tutorial gives. At the beginning I found some errors. Most of them happened because I didn’t configure correctly my computer ports and the main problem that I had was a Arduino and Processing software version. I mean, you have to use the same software version that you can see in next image.
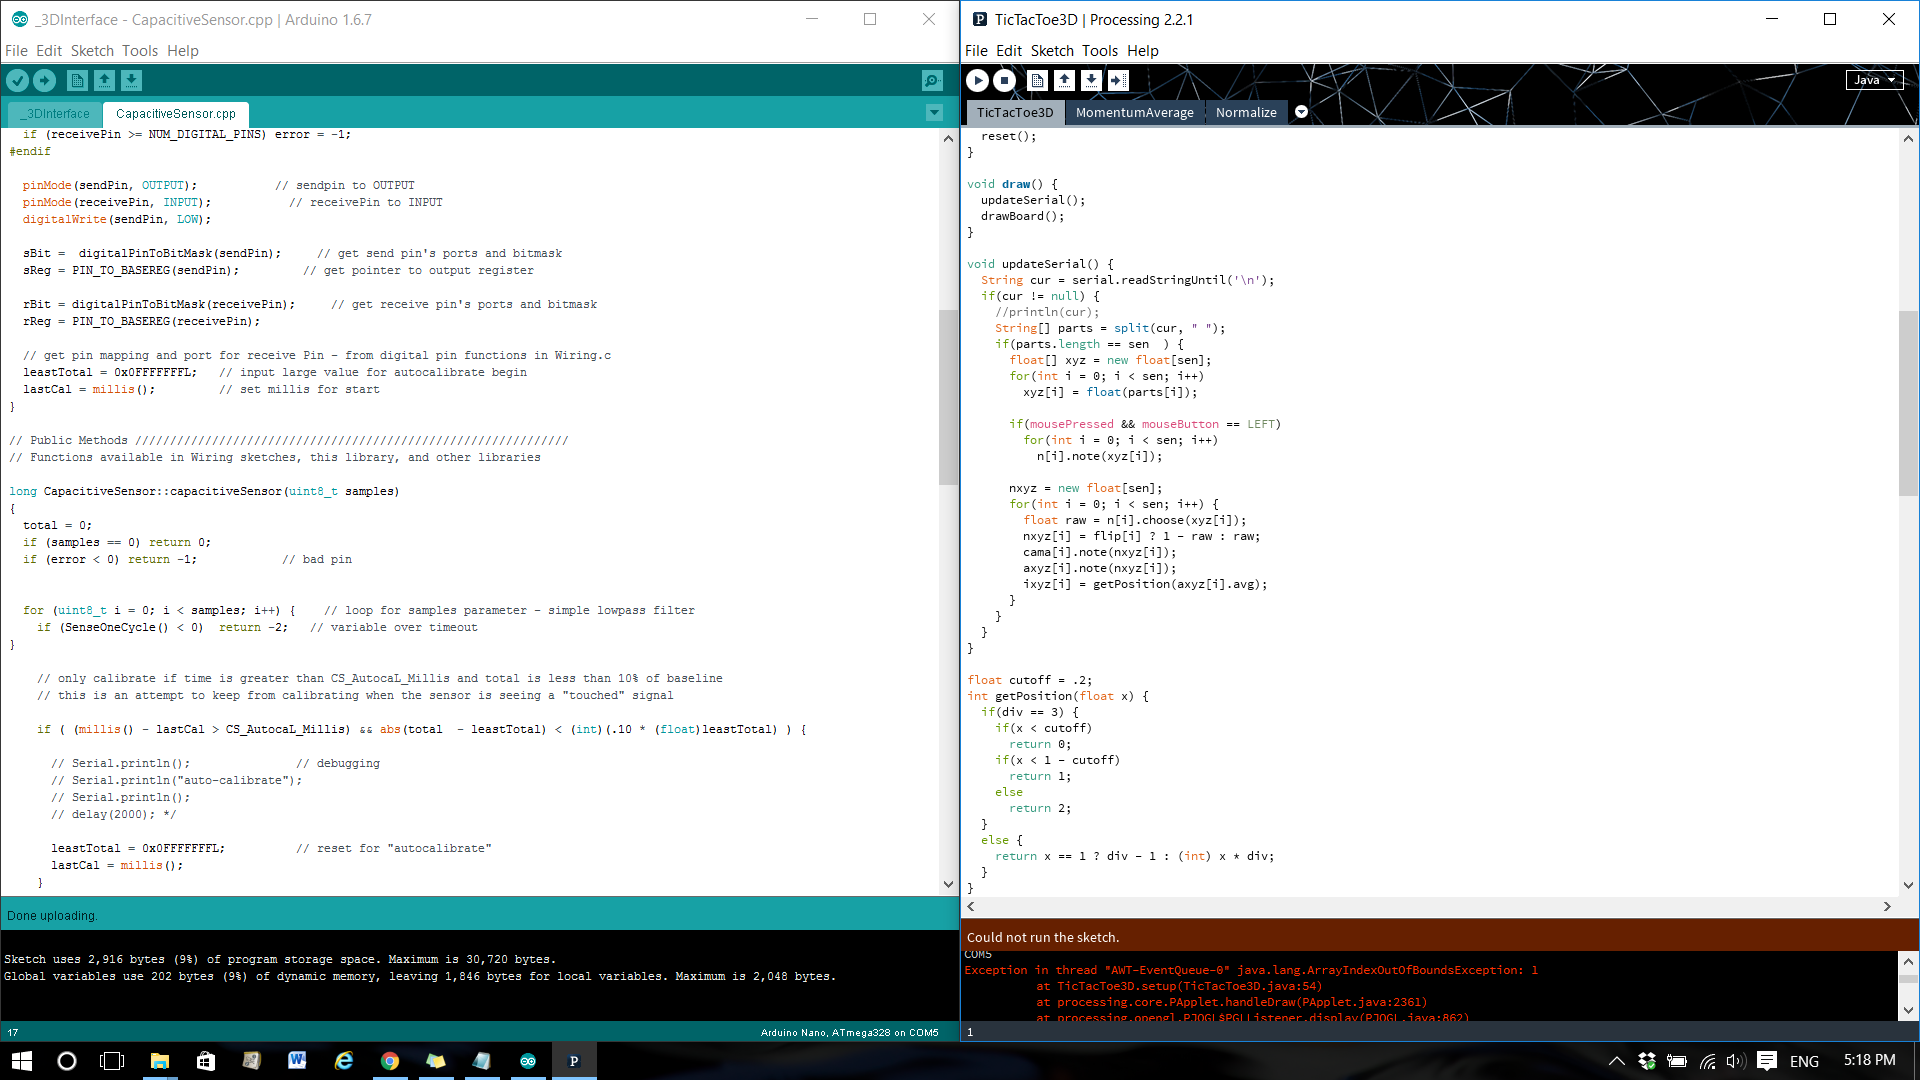
After checking the main developed source font I make the Processing program work. I recommend people that are starting with programming or projects like this to check and verify the ports that the program is using in order to minimize the error factor and the time that them will be sepending researching errors information.
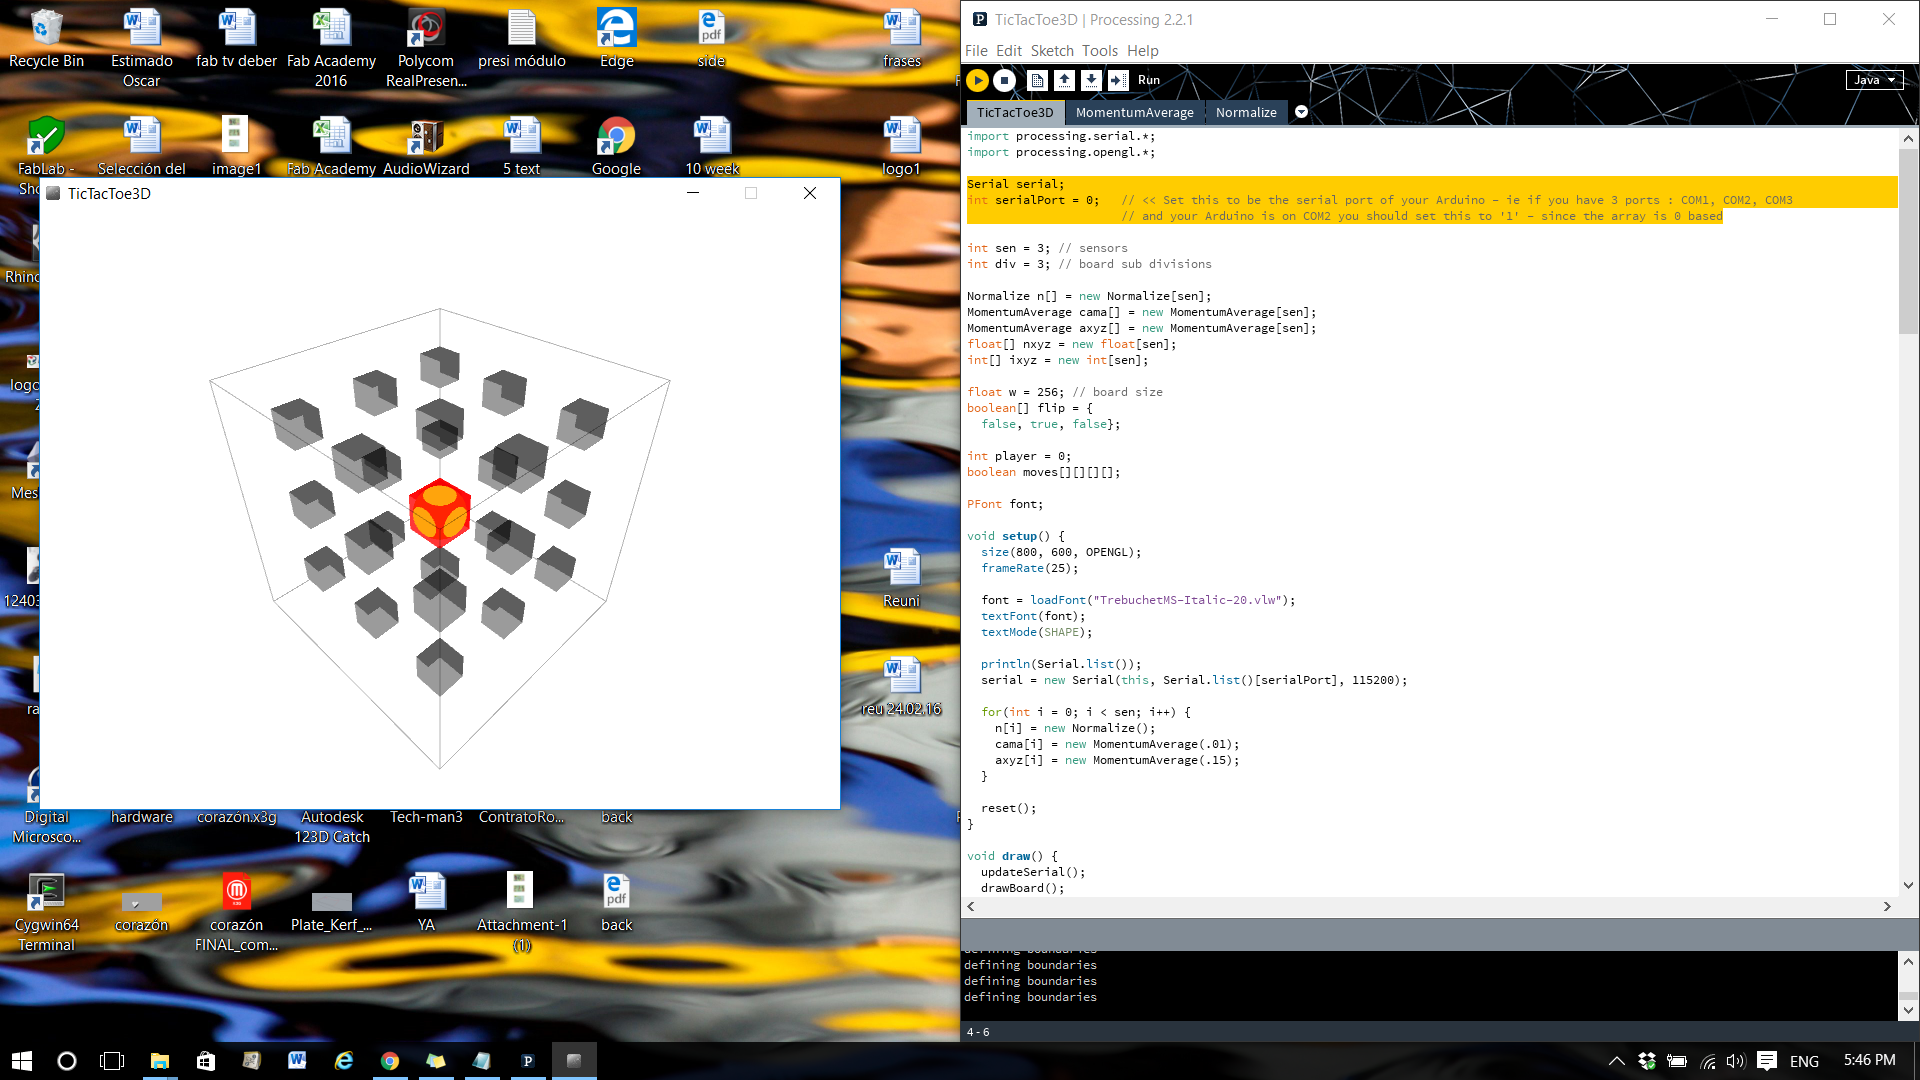
As you can see in next photography is highlight in yellow the part of program that we have to change in order to get data of computer.
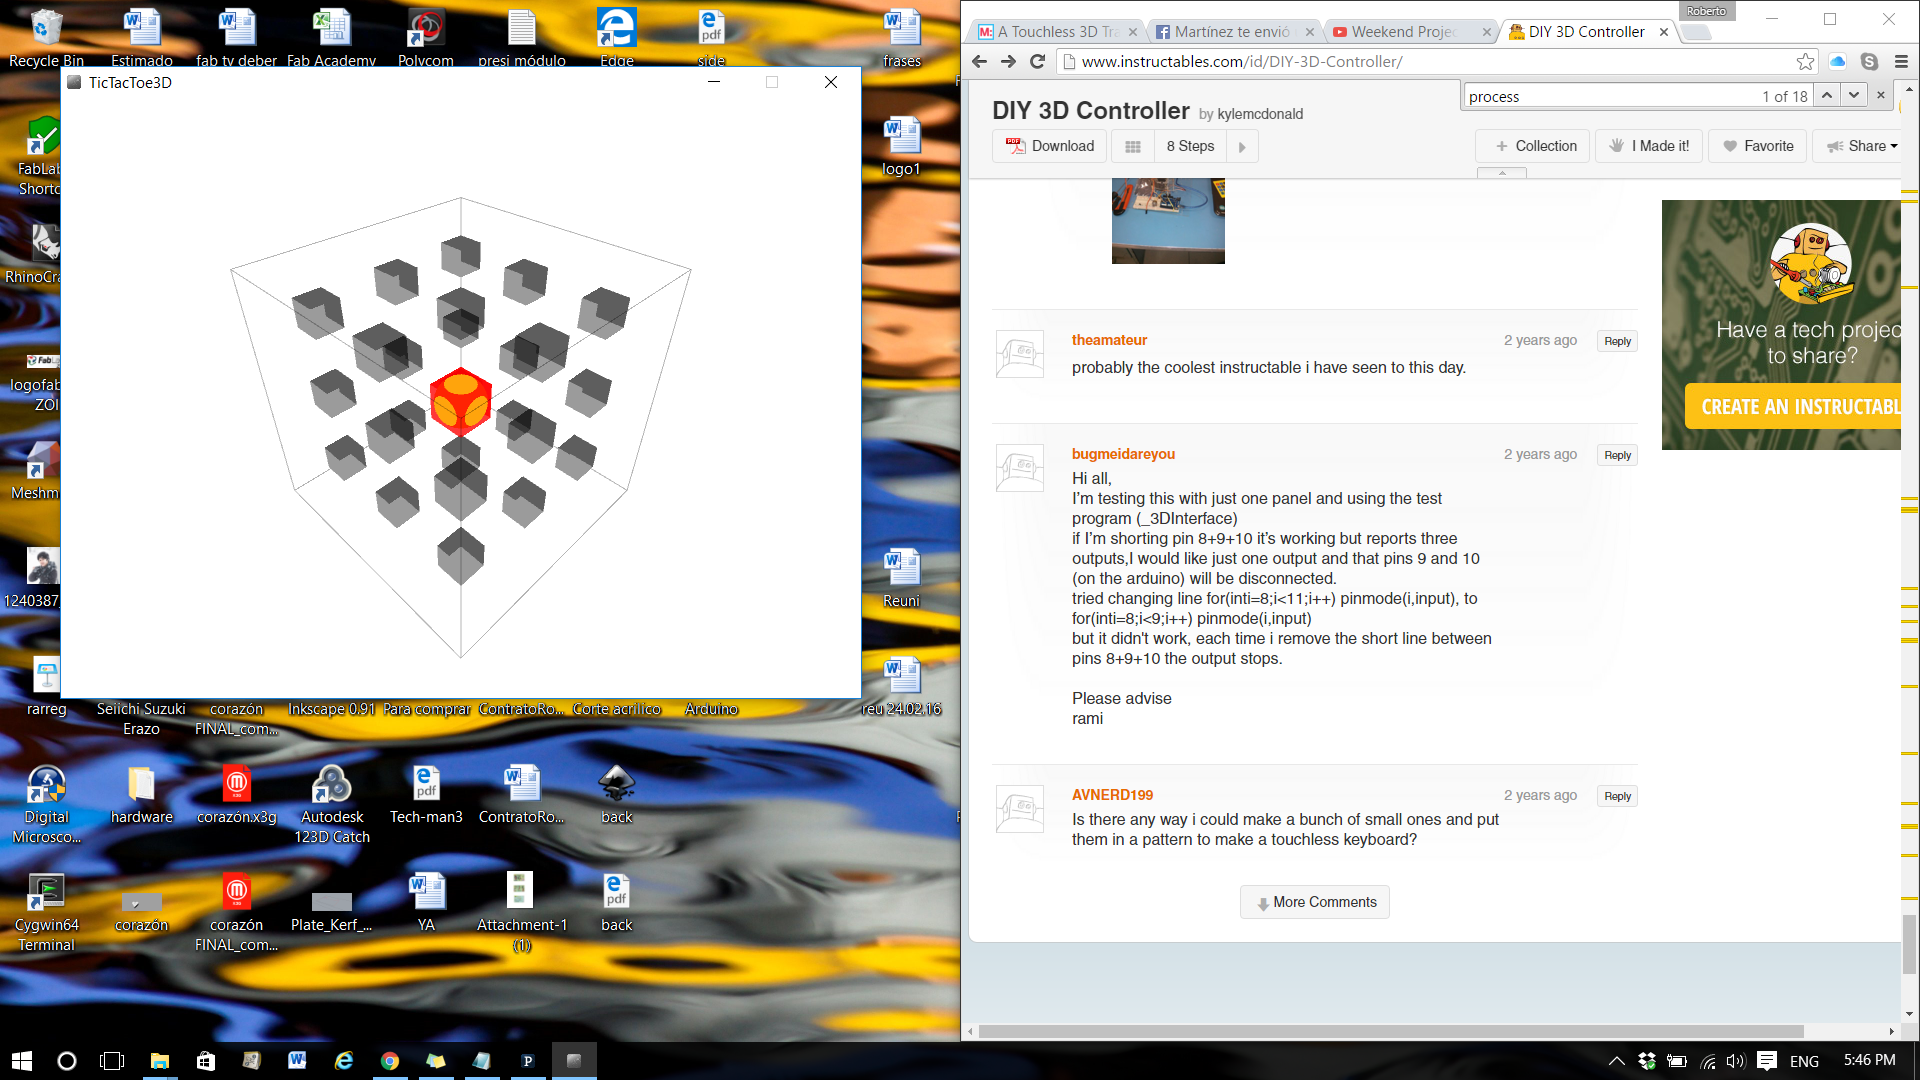
And finally I become my 3D sketchbook tracking in 3D as a sensor. This is a short step to make digital 3D drawings differently. A new way of drawing is coming.
2- Circuit board
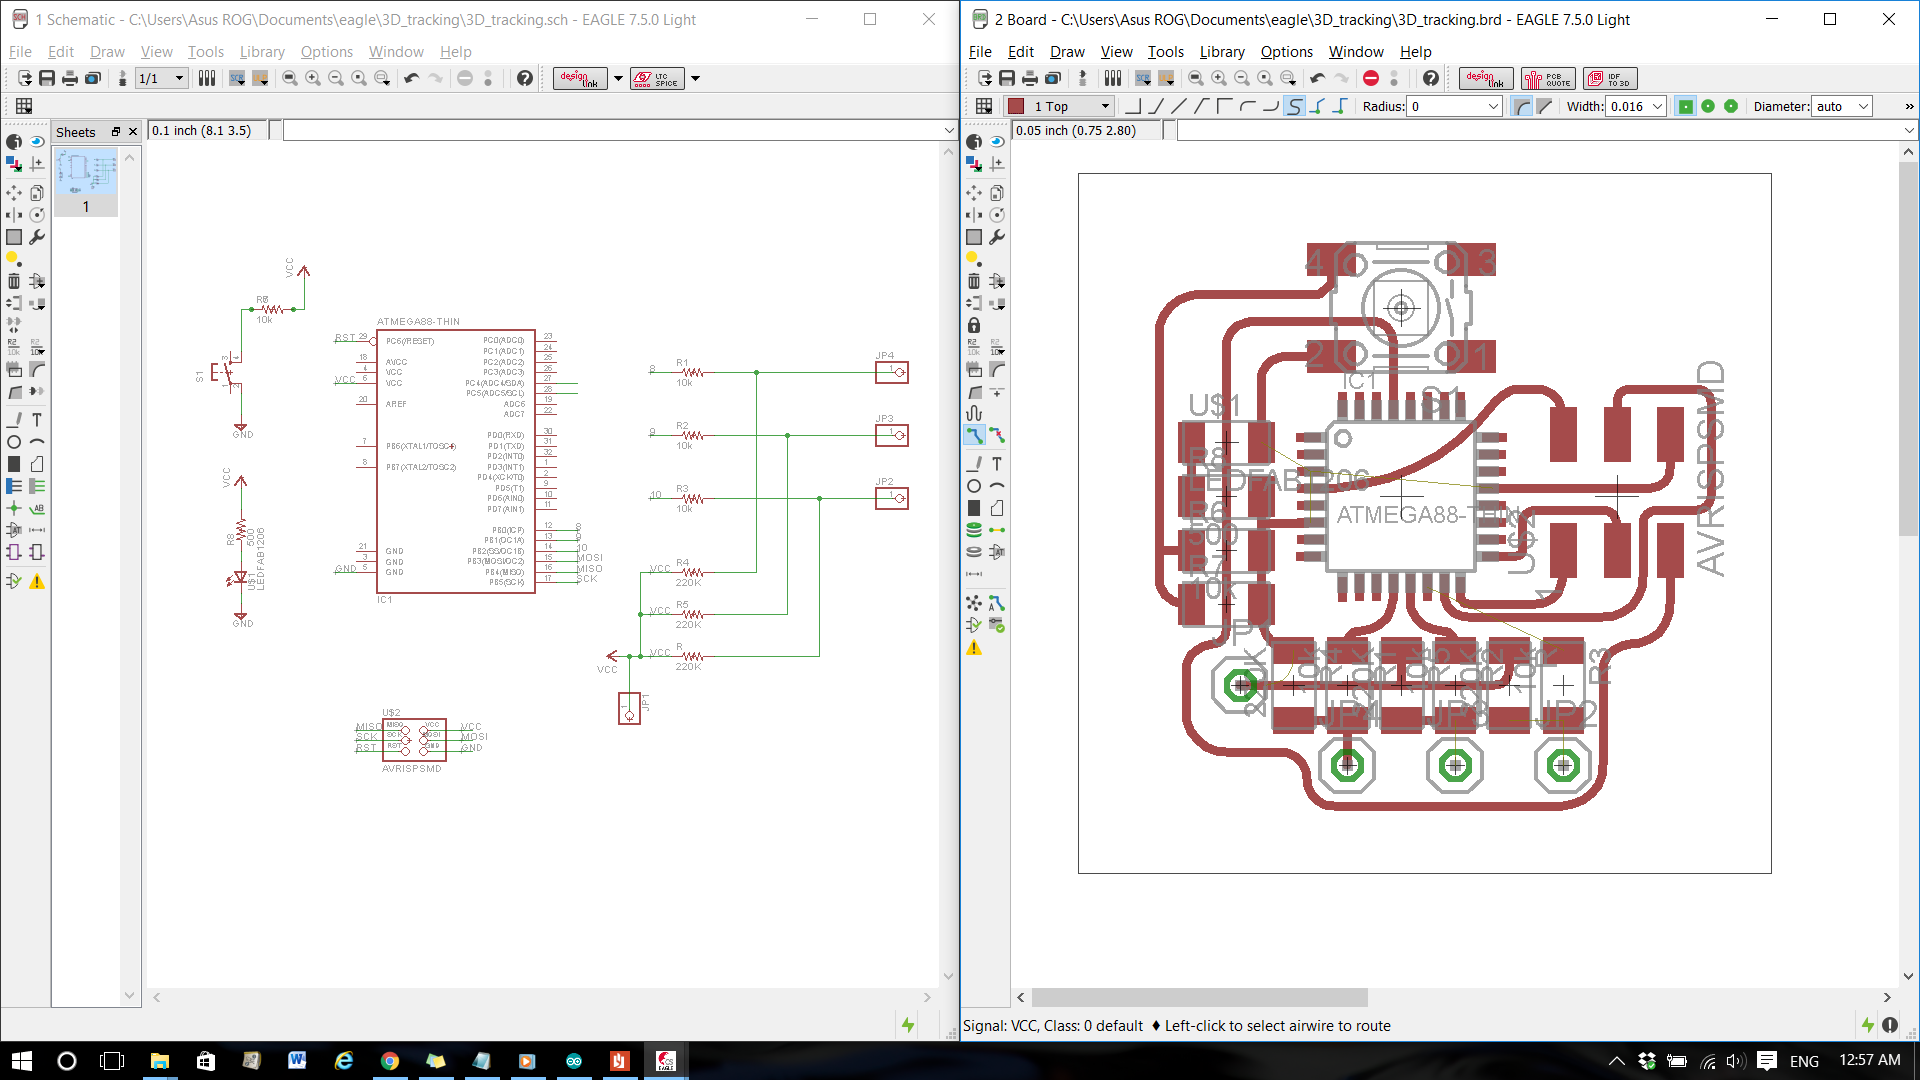
Once I proved that 3D tracking system works I started with in-circuit board design. To save time and other sources I decided to research about ATMEGA 328 processor and find a processor with same characteristics to my board. Then I found ATMEGA88PA at Fab Lab. I find the way to use the same program that I had applied to ATMEGA328 from Arduino board.

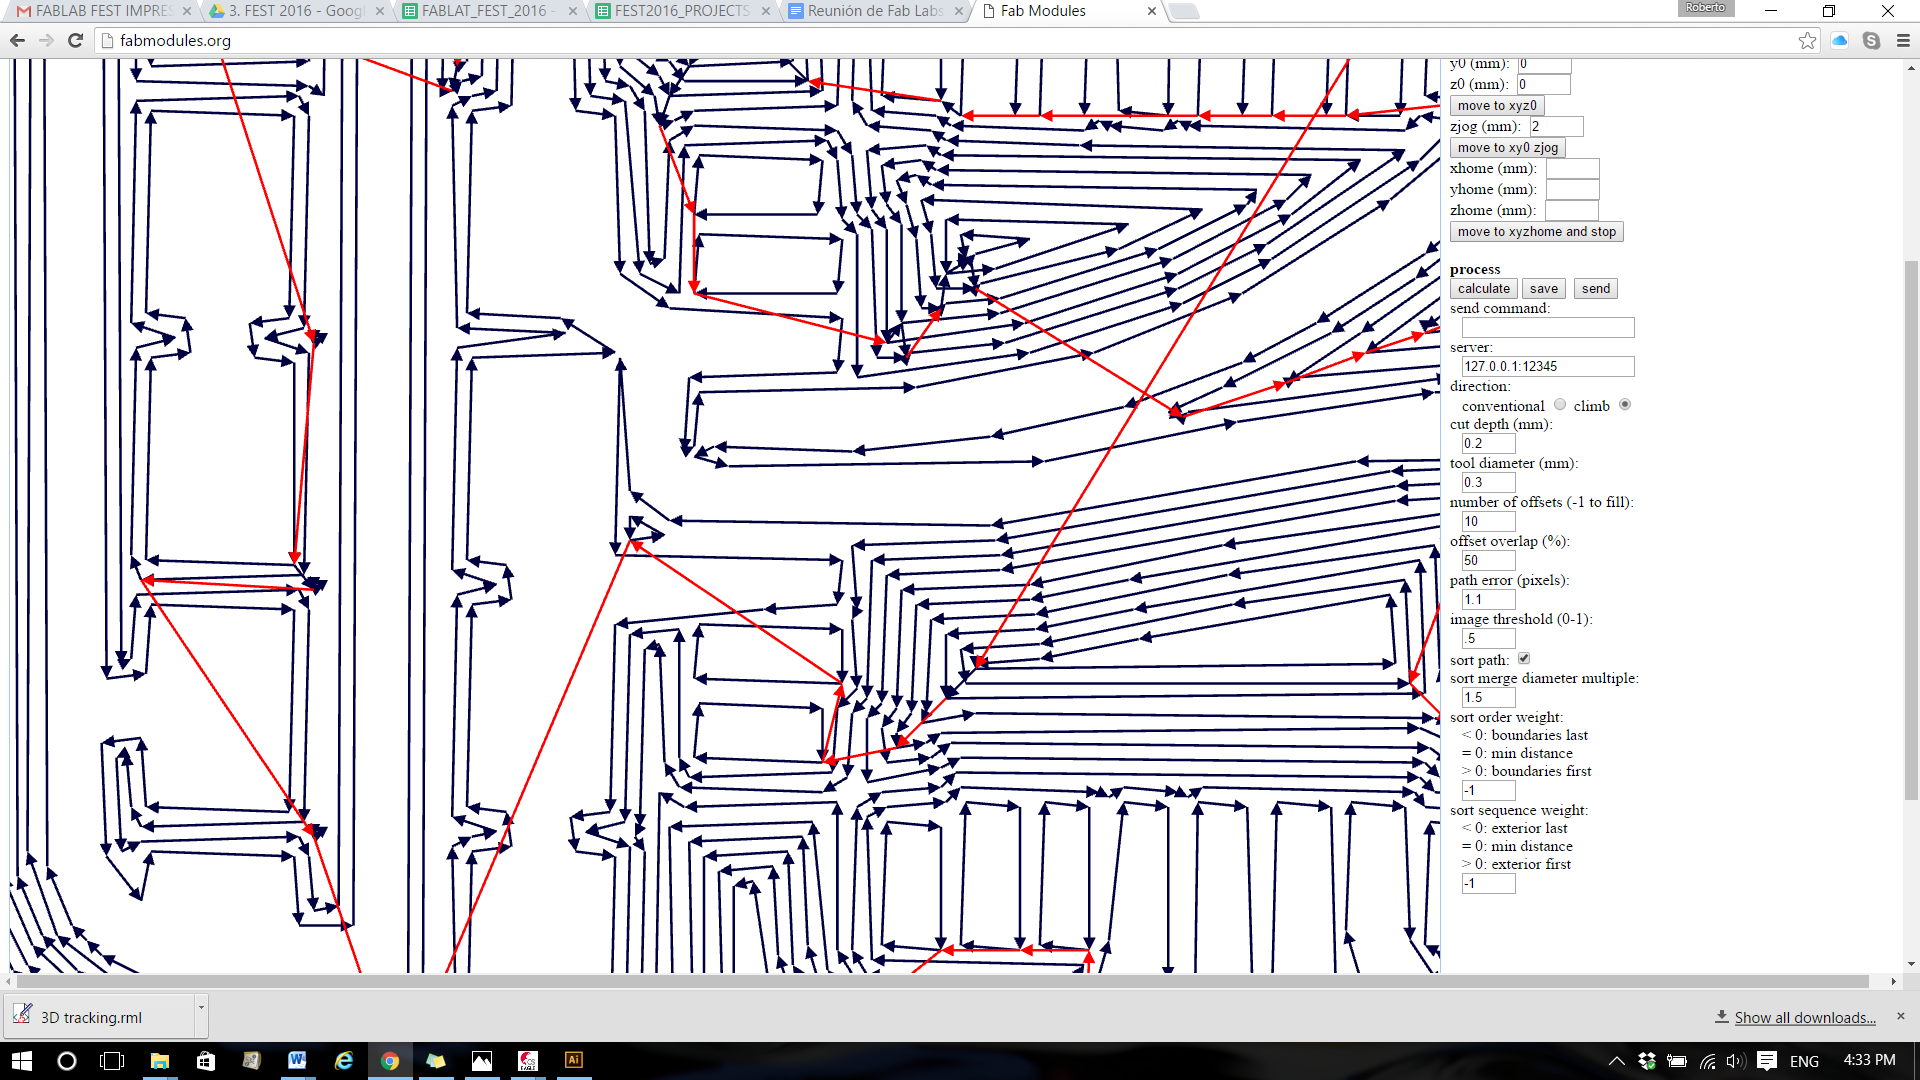
As you can see in next images I use Eagle to design 3D tracking sensor board, Fab Modules to get G code and Arduino and processing software to take and draw data.
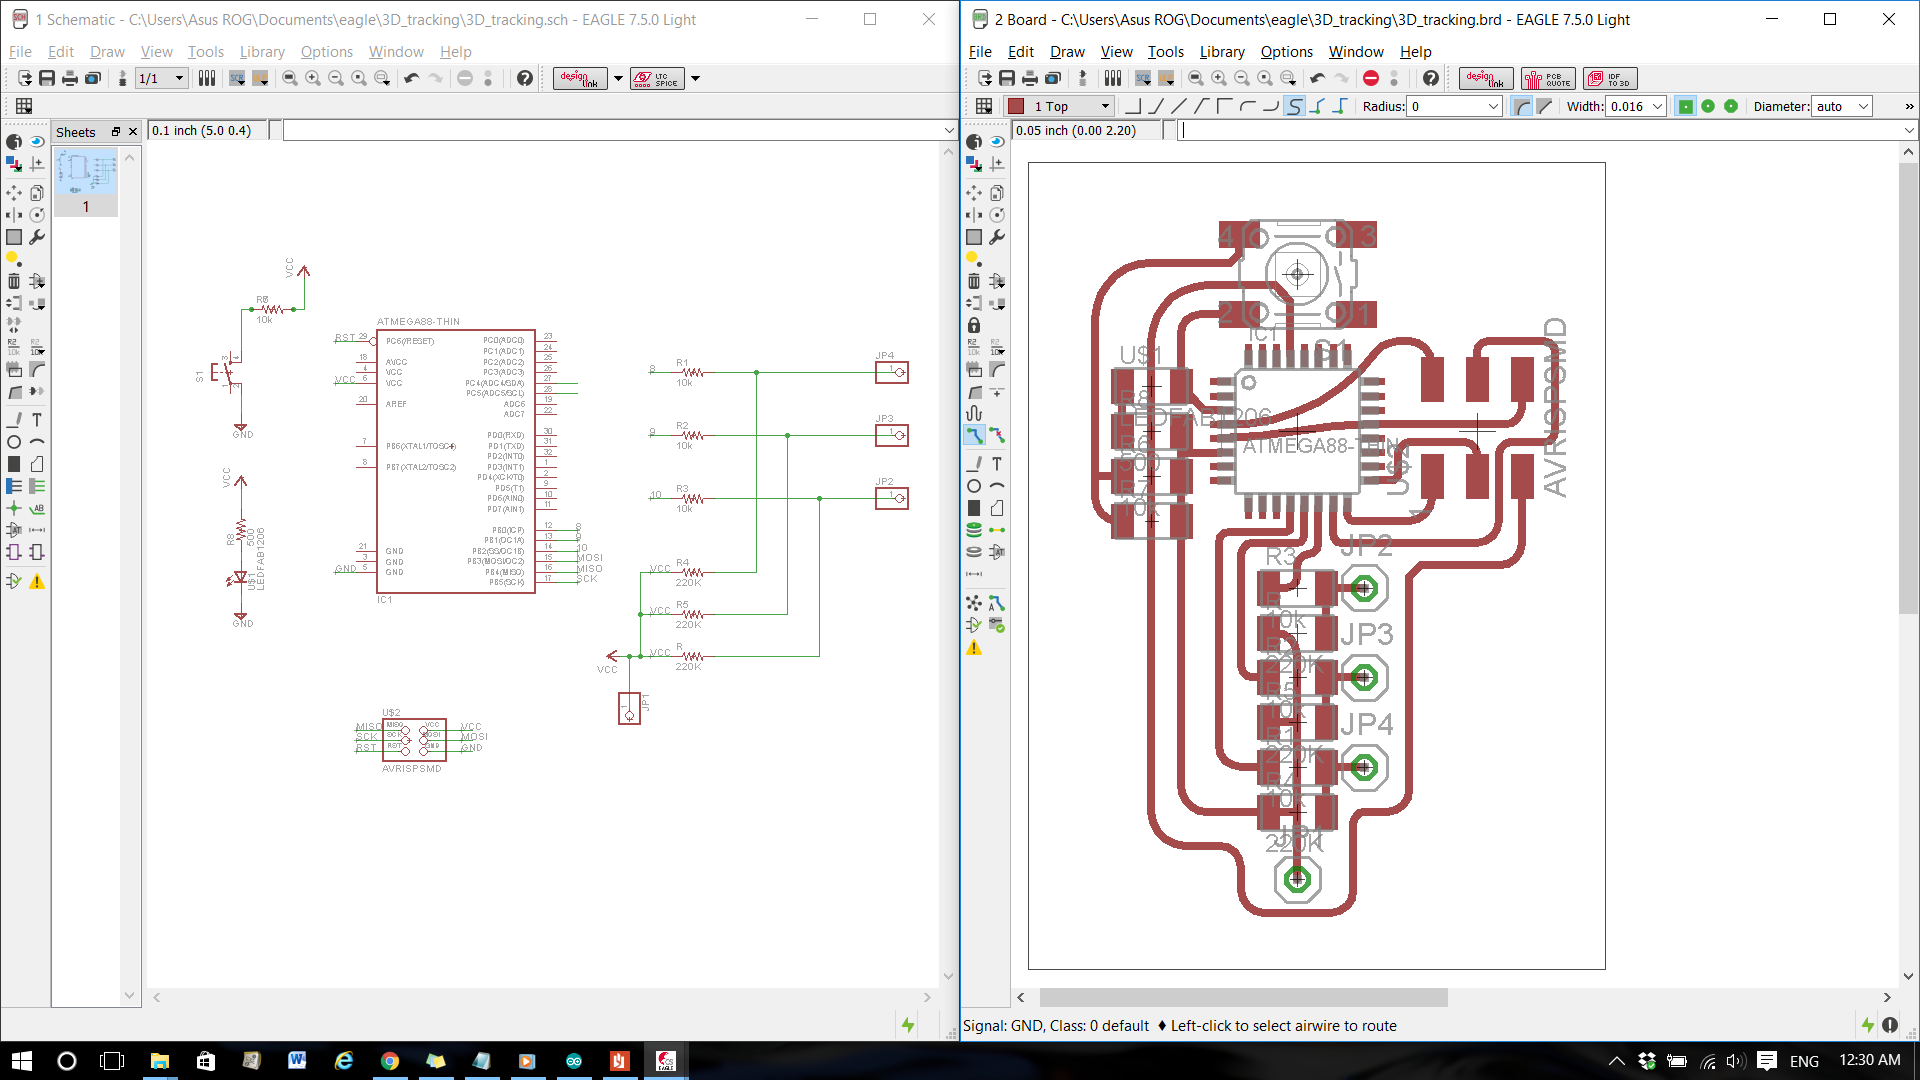
I have been optimizing the board design to get the smallest size as possible.
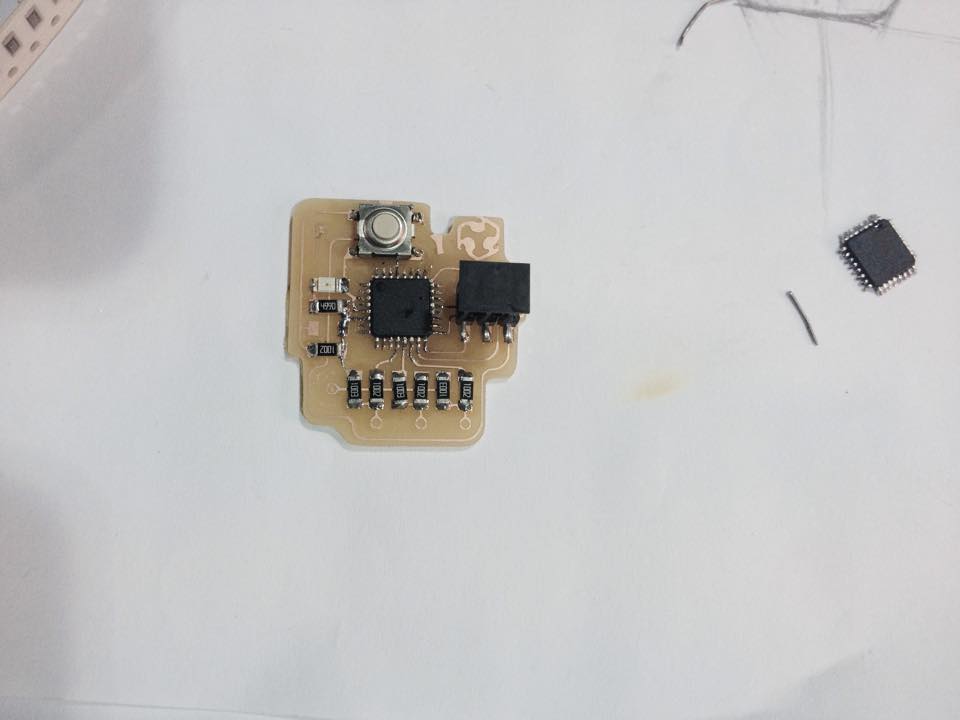
I have used a Modela 40 to fabricate the board.
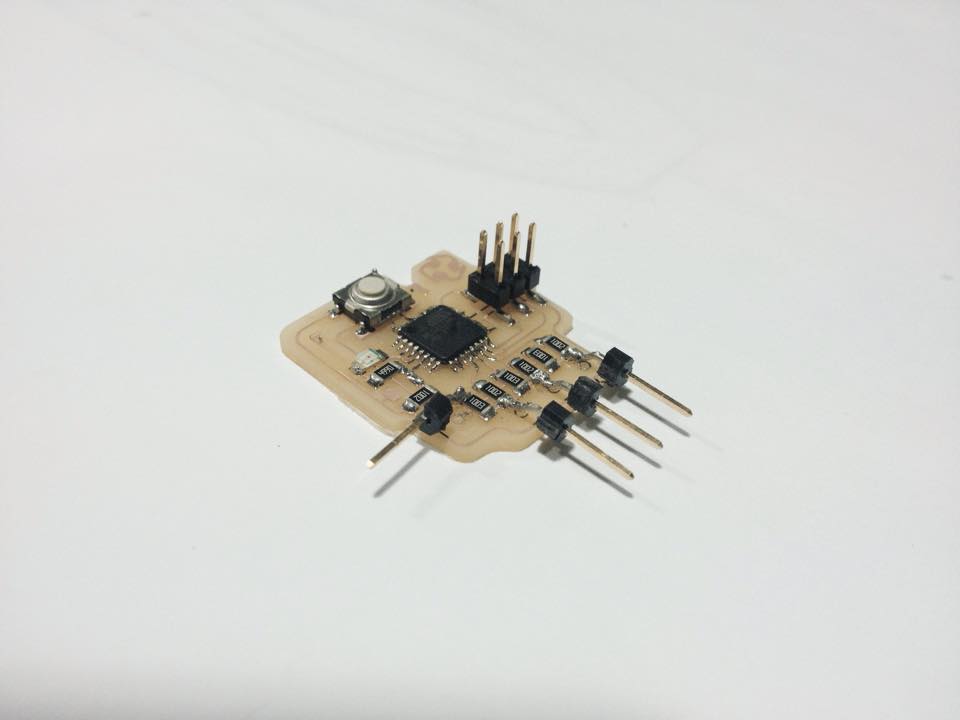
In order to Burn Bootloader I have polarized my circuit board with VCC and GND arduino pins.
Then I changed the speed to 8HZ and Serial.begin at (9600)
And finally, I had received data in serial monitor but I had not enough time to configure better the data receive. I will retake this project in the future after Fab Academy.