Design Rules
This week the assignment was to:
- Test the design rules for the printer.
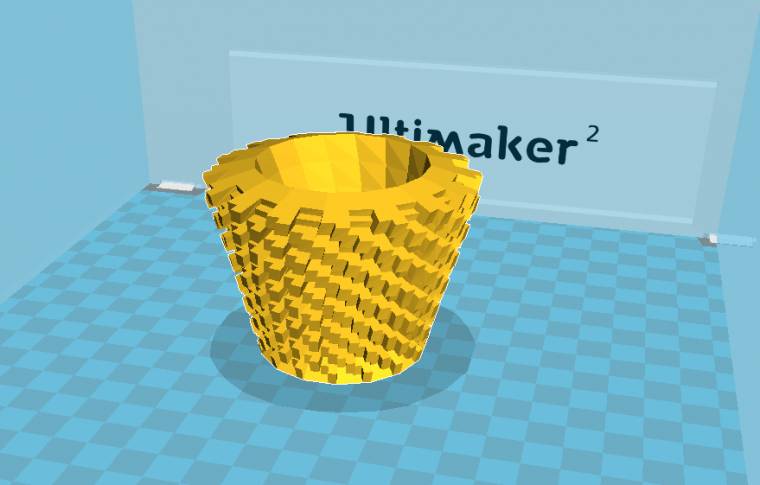
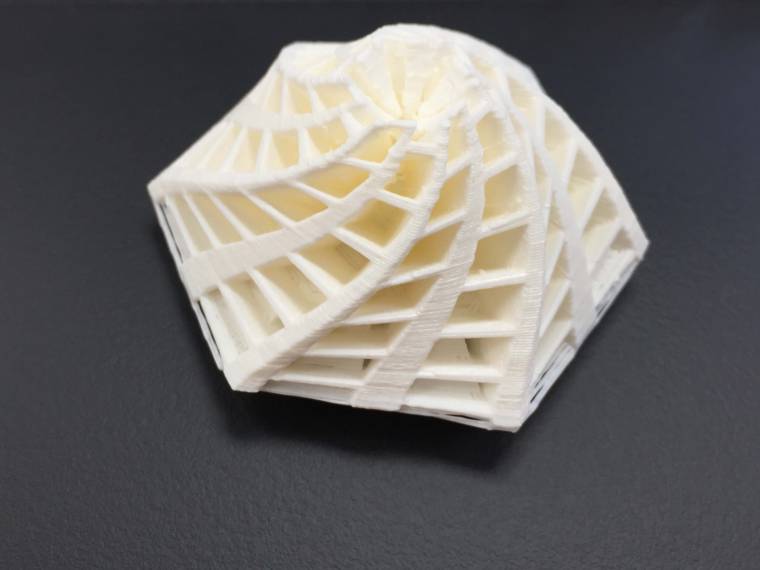
- Design and 3D print an object, that could not be made subtractively.
- 3D scan an object (and optionally print it).
So starting off with the design rules, this one was a group project so me and two of my friends did each of our separate test, testing different things. Here’s a link for their pages: Arnar and Aron
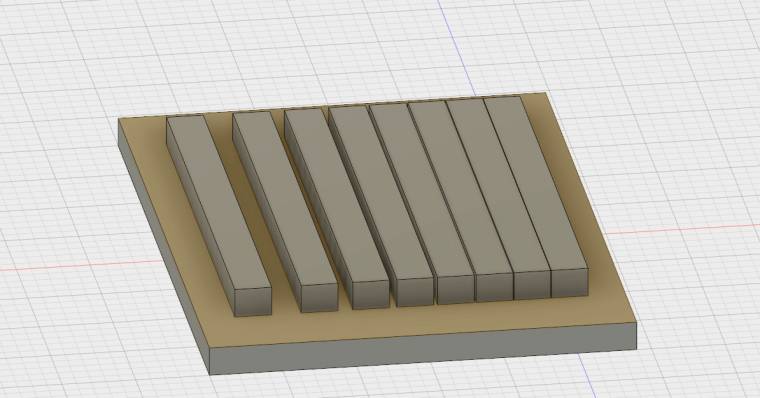
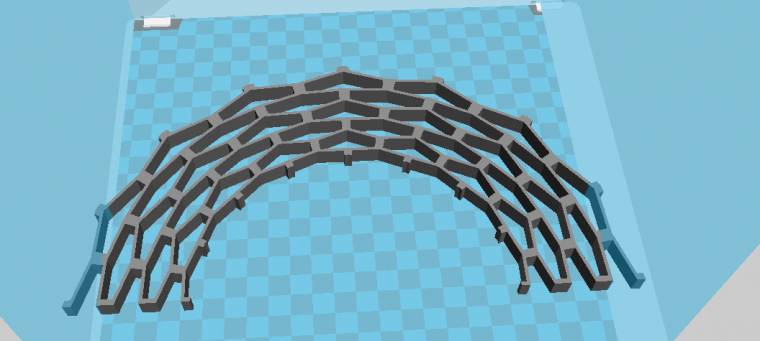
I was testing the minimum space between objects before they would conjoin. I did my test using Fusion360 starting with a platform raised up 2mm and bars extruded also 2mm up.
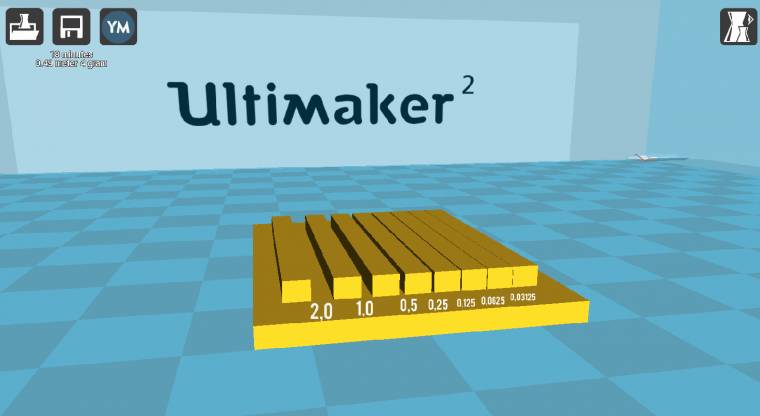
I started with 2mm between the bars and the space between the next would be half that. So it was: 2.0 - 1,0 - 0,5 - 0,25 - 0,125 - 0,625 - 0,03125 (mm).
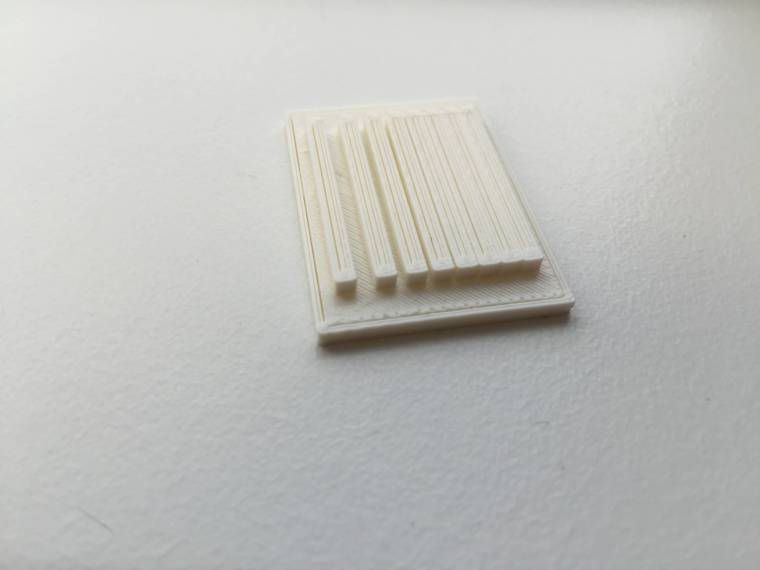
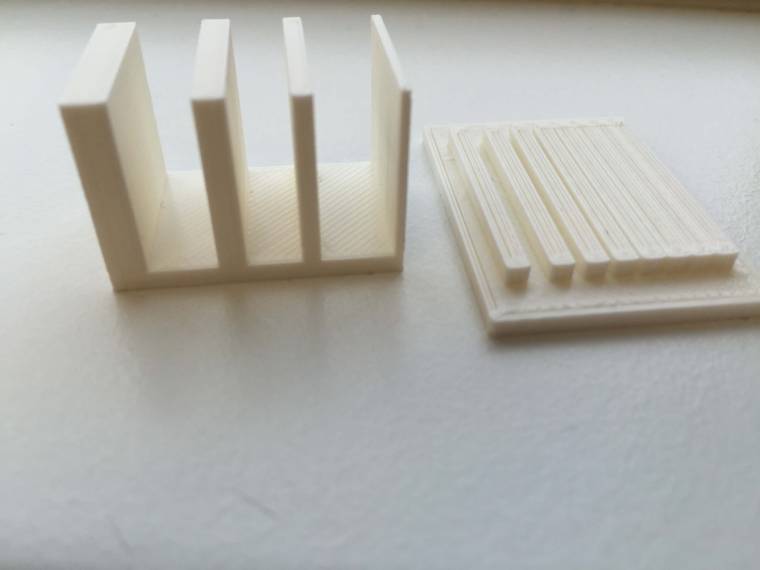
The print didn’t come out perfect but it still showed the results I was looking for. According to the test the minimum space between two objects in this printer is 0,25, anything lower than that and it’ll start conjoining. Here's a printed version of the test and next to it is Arnar's test.
The reason we do these test is to see the limits of the printer we are using.
3D printers can do overhangs and create 3D objects that something like a CNC machine could not achieve. There are still limitations, for one the printer will have a hard time printing an object where there is nothing beneath so objects often need support material, costing time and material. Some objects do not need support however, but you should definitely keep the printers limitations in mind.