Assignment
- Design and make a 3D mould (~ft2 /30x30cm), and produce a fibre composite part in it.
- Demonstrate workflows used in mould design and construction.
- Select and apply suitable materials and processes to create a composite part.
- Shown how you made your mould and created the composite.
- Described problems and how you fixed them.
- Included your design files and 'hero shot' photos of the mould and the final part.
Design and make a 3D mould
This week's assignment is to built a composites model, I am planing to make a "Shield" using composites. A "shield" is a type of personal armor, meant to intercept attacks, either by stopping projectiles or redirecting a hit from a sword, mace, battle axe. I used rhinoceros software for designing purpose.
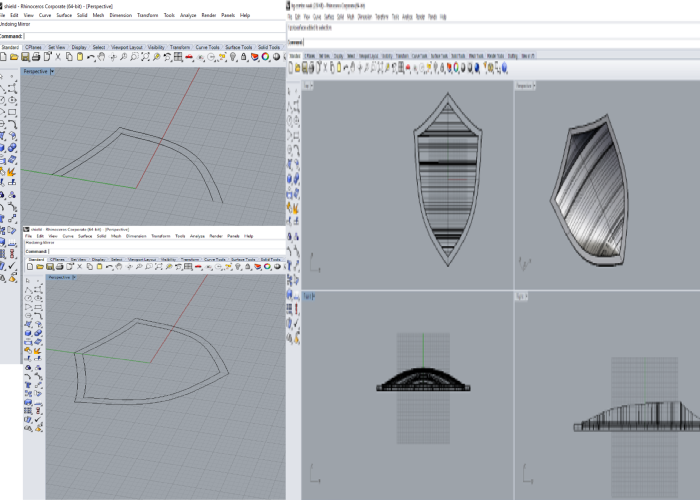
After complete my design, next step I have to make a mould of the shield. I planned a wood based mould using Shopbot CNC. The Design file open in partworks 3D software and give the actual parameters for the job.
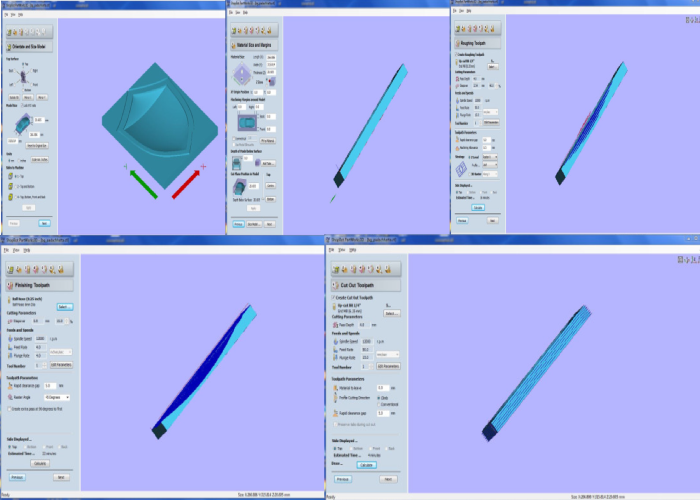
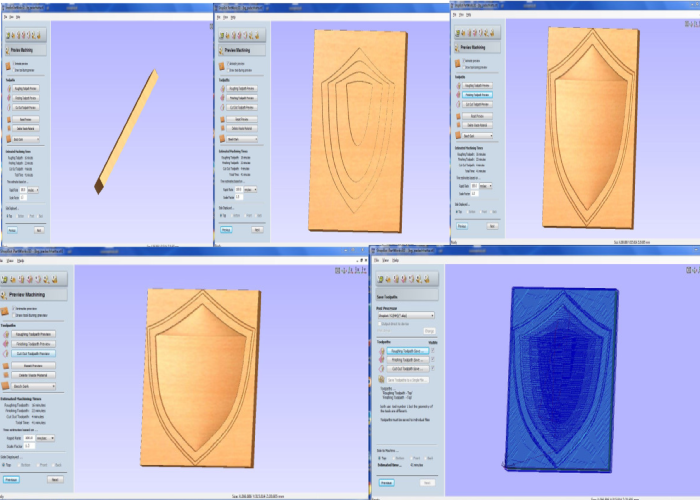
After setting all parameters for Roughing, Finishing and cut out the corresponding profile files were saved as 1. Roughing Toolpath - Top, 2. Finishing Toolpath - Top and 3. Cut Out. Before starting the job we need to select the corresponding bit for roughing, finishing and cutting. The one I used for my finishing job is 1/4" ball Nose (6mm Dia) bit and for roughing & cutting I used 1/4" Up-Cut Bit. The bit is fixed in collet and tight the collet nut using ER25 spanner wrench. All other settings for roughing and cutting is already discussed in week 7.
Mould making in Shopbot CNC
Operation on shopbot is already explained in the machining week, we have to set the bed then after swicthing on the machine set the three axes and then using shopbot3 software give the path files one by one. My mould making in shopbot is shown below.
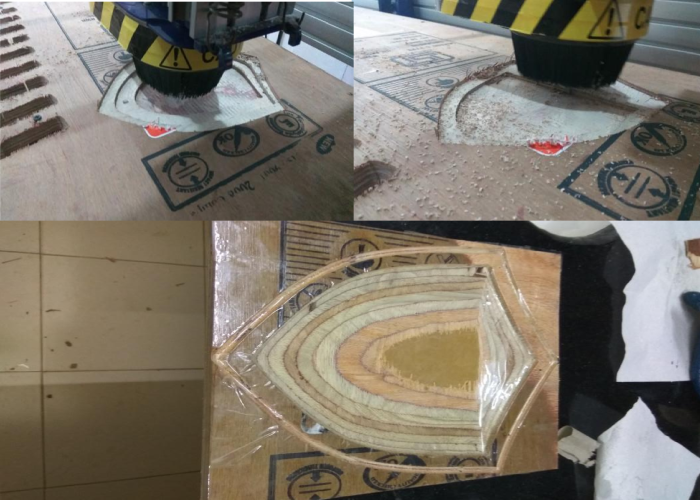
After one hour of operation in CNC my mould of shield was ready.
Composite Making
For making composit I used cotton as fiber material and epoxy as matrix material. Due to the non availability of matrix material in our fab lab, one of my friend Mr.Puneeth Raj had bought the matrix material through online shop. After completion of his assignment, he gave the matrix material to me. Here we have used EASY CAST EPOXY-33. It is a Transparent Epoxy Resin. It will cure at room temp in 24 hours. Next I have to select the fiber material, in Fab lab we have swap cotton & sackcloths are available. So I have selected Swap cotton & sackcloths as fibre material. Next the mould which I had made earlier is covered with the transparent adhesive tape, Since the epoxy can stick over the wood mould. Now its the turn to mix the epoxy, I had taken 1 gram of resin (EPOXY-33-A) and 500 mg of harndner(EPOXY-33-B) for 100%:50% ratio recommended by the manufacturer. After mixing the two parts the three layers of fiber material was dipped in the mixture and placed over the mould, Now 50% of my assignment is over.
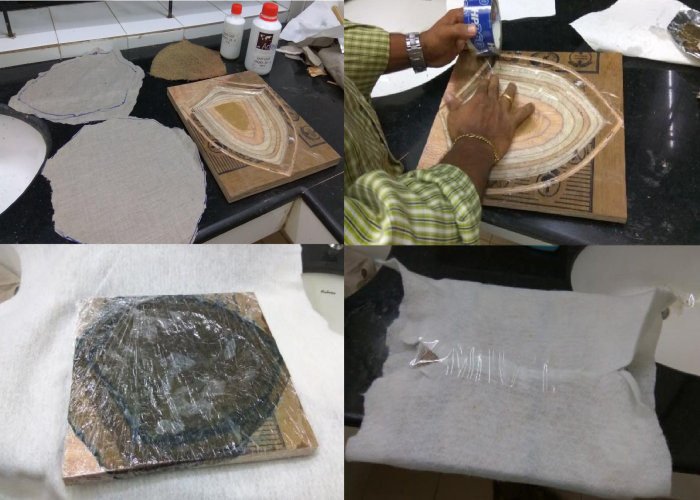
Next the composite need to be vacuumed under a vacuum bag, so the plan is to make a vacuum bag.
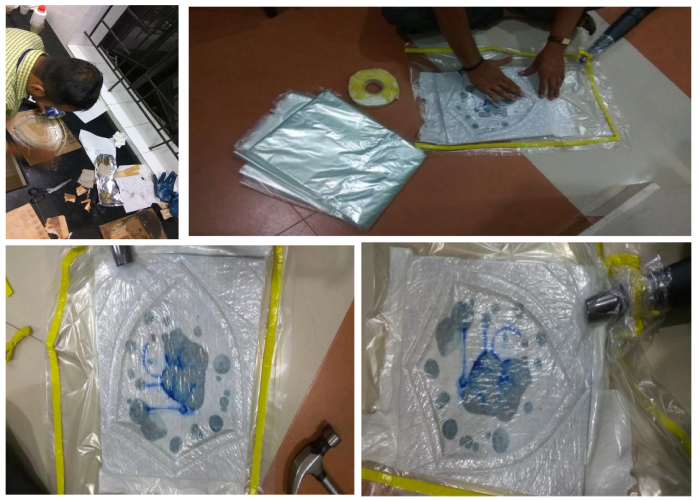
How to make a vacuum bag?
I have gone through previous Fab Academy archieves and got an idea of how to make it. The materials used for making vacuum bags are :
- A vacuum pump
- Mastic (putty) tape
- Vacuum bagging film
- Breather material
- Peel ply release fabric (perforated)
First cut a piece of the vacuum bagging film available as the part of fab inventory. Fold the film it in half. The resulting "bag" should be large enough to fit your mold in with a little room to spare. Line the edges with the mastic tape, but leave the white non-stick paper on until you are ready to seal your bag. Also cut a sheet of breather material (fuzzy white cloth) and peel ply.

Start the vacuum pump. The excess epoxy will be forced out of the lay up.
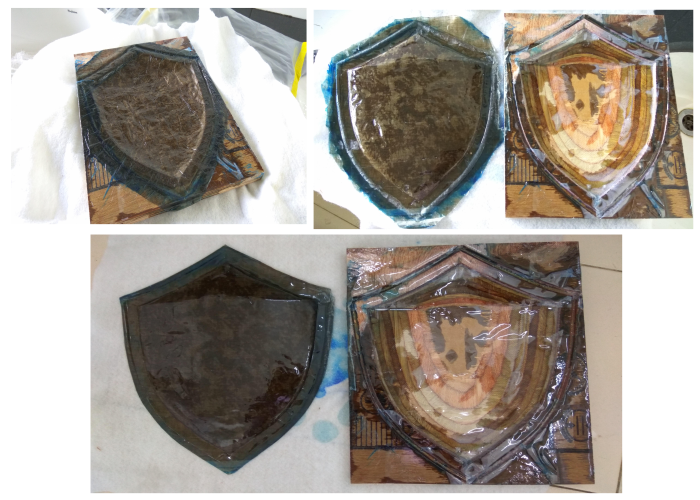
After one day of waiting, I got my "Shield".
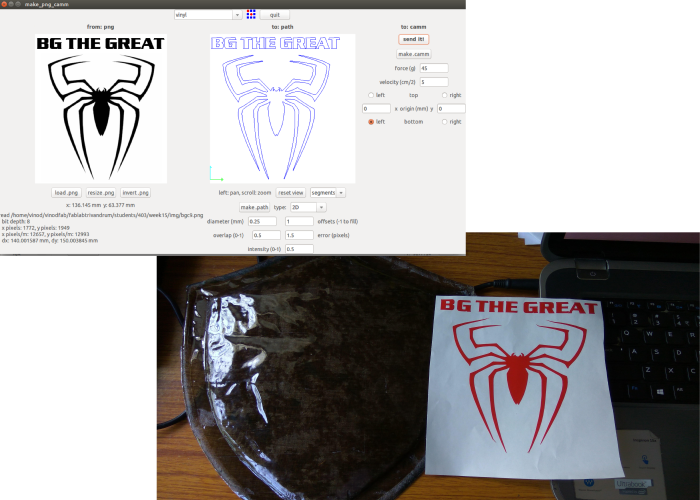
Logo making

Download My Production files
BG Shield
Partworks 3D file
Extra Assignment -1
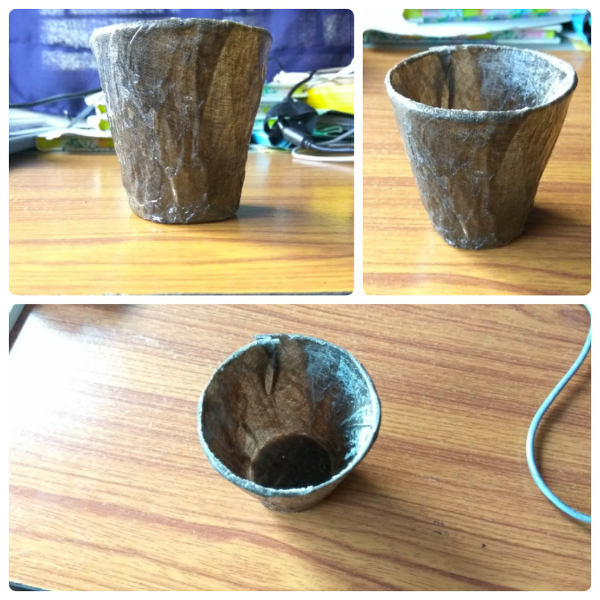
As the part of my assignment I also made a small cup composite, so I design a small cup using the rhinoceros software.

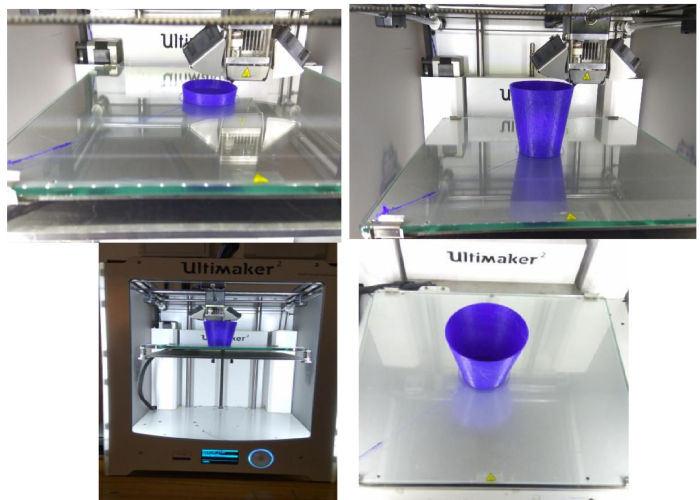
My design give to 3D printer and make a mould of my project. Design check with the cura software.
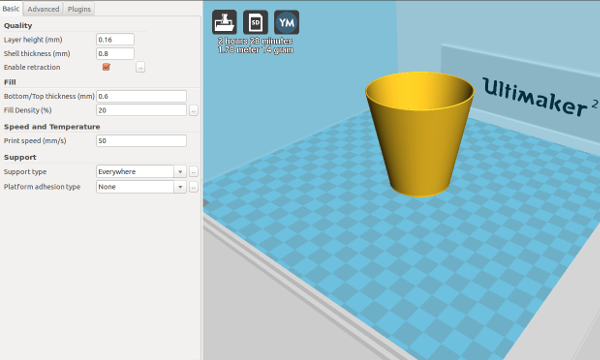
Start to print my dream cup in Ultimaker2 printer
I used cotton & sackcloth as fiber material and epoxy as matrix material. I mixed 200 mg of resin and 100 mg of hardner for 100%:50% ratio recommended by the manufacturers.
Start to make the composites
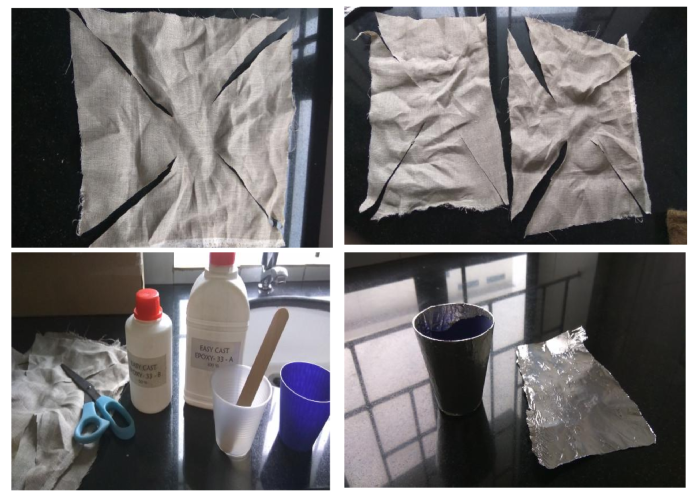
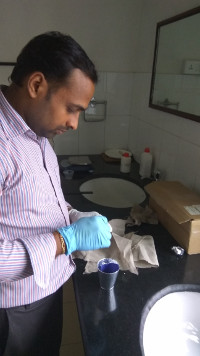
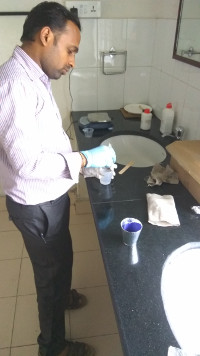
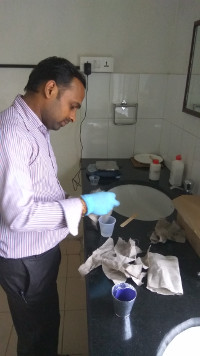
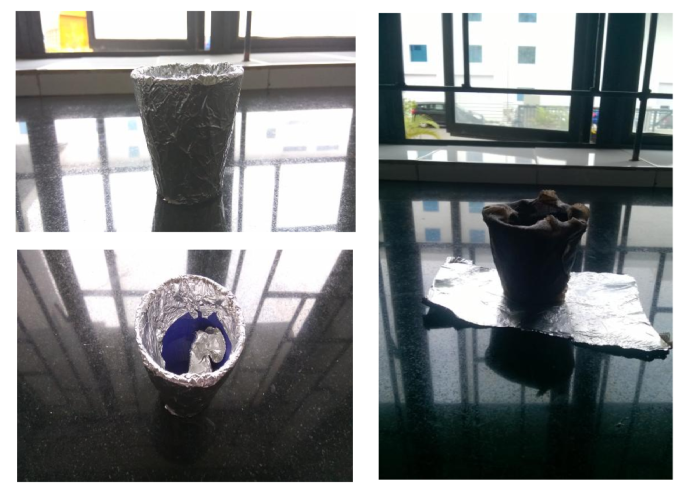
After mixing the matrix material, create layer between my model and composites material using aluminium foil.
Download My Design files
Extra Assignment -2
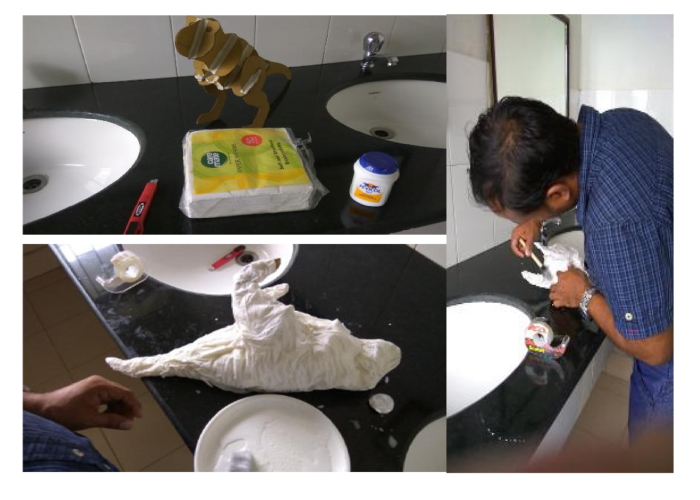
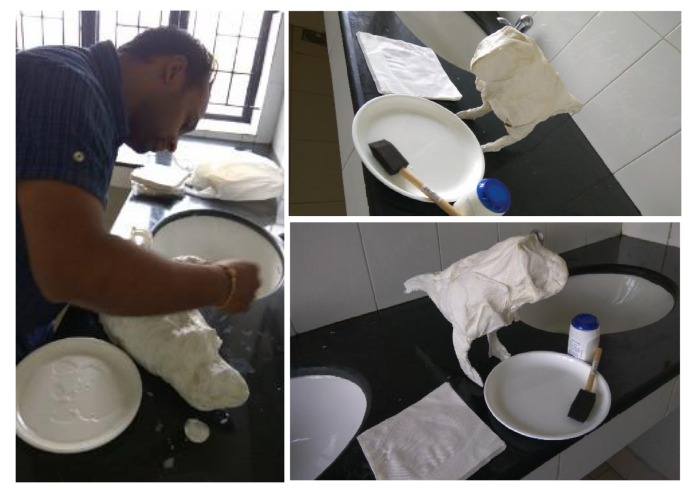
I tried a new composite method using tissue paper and fevicol
I choose my previous week's project pressfit model "Dinosaurs".
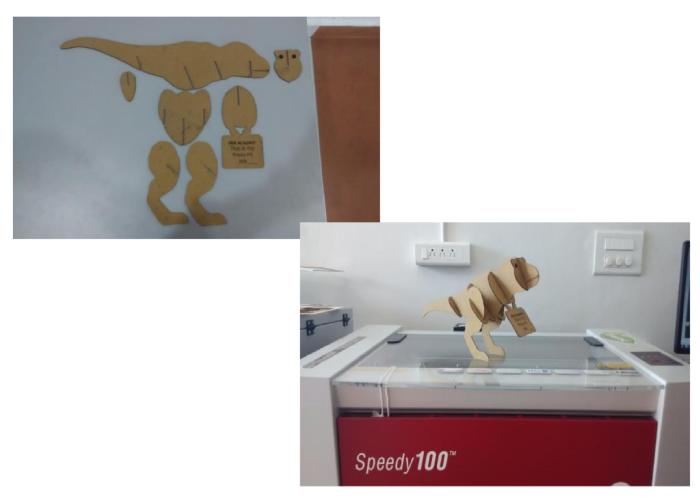
Hear I choose tissue paper as fiber material and fevicol as matrix material.
The design file of "Dinosaurs" is in the week 3