This weeks assignment is to learn to use vinyl cutter and Laser cutter. We can use vinyl cutter to cut out stickers or make flexible PCB’s or mask for screen printing etc. Laser cutter can be used to make almost any cutting and engraving work.
Laser cutting
The machine we use is Trotec Speedy 100 which houses a CO2 laser which have enough power to cut through wood some plastics, cardboard, acrylic etc. It cannot cut metals but can engrave on its surface.
1. Design
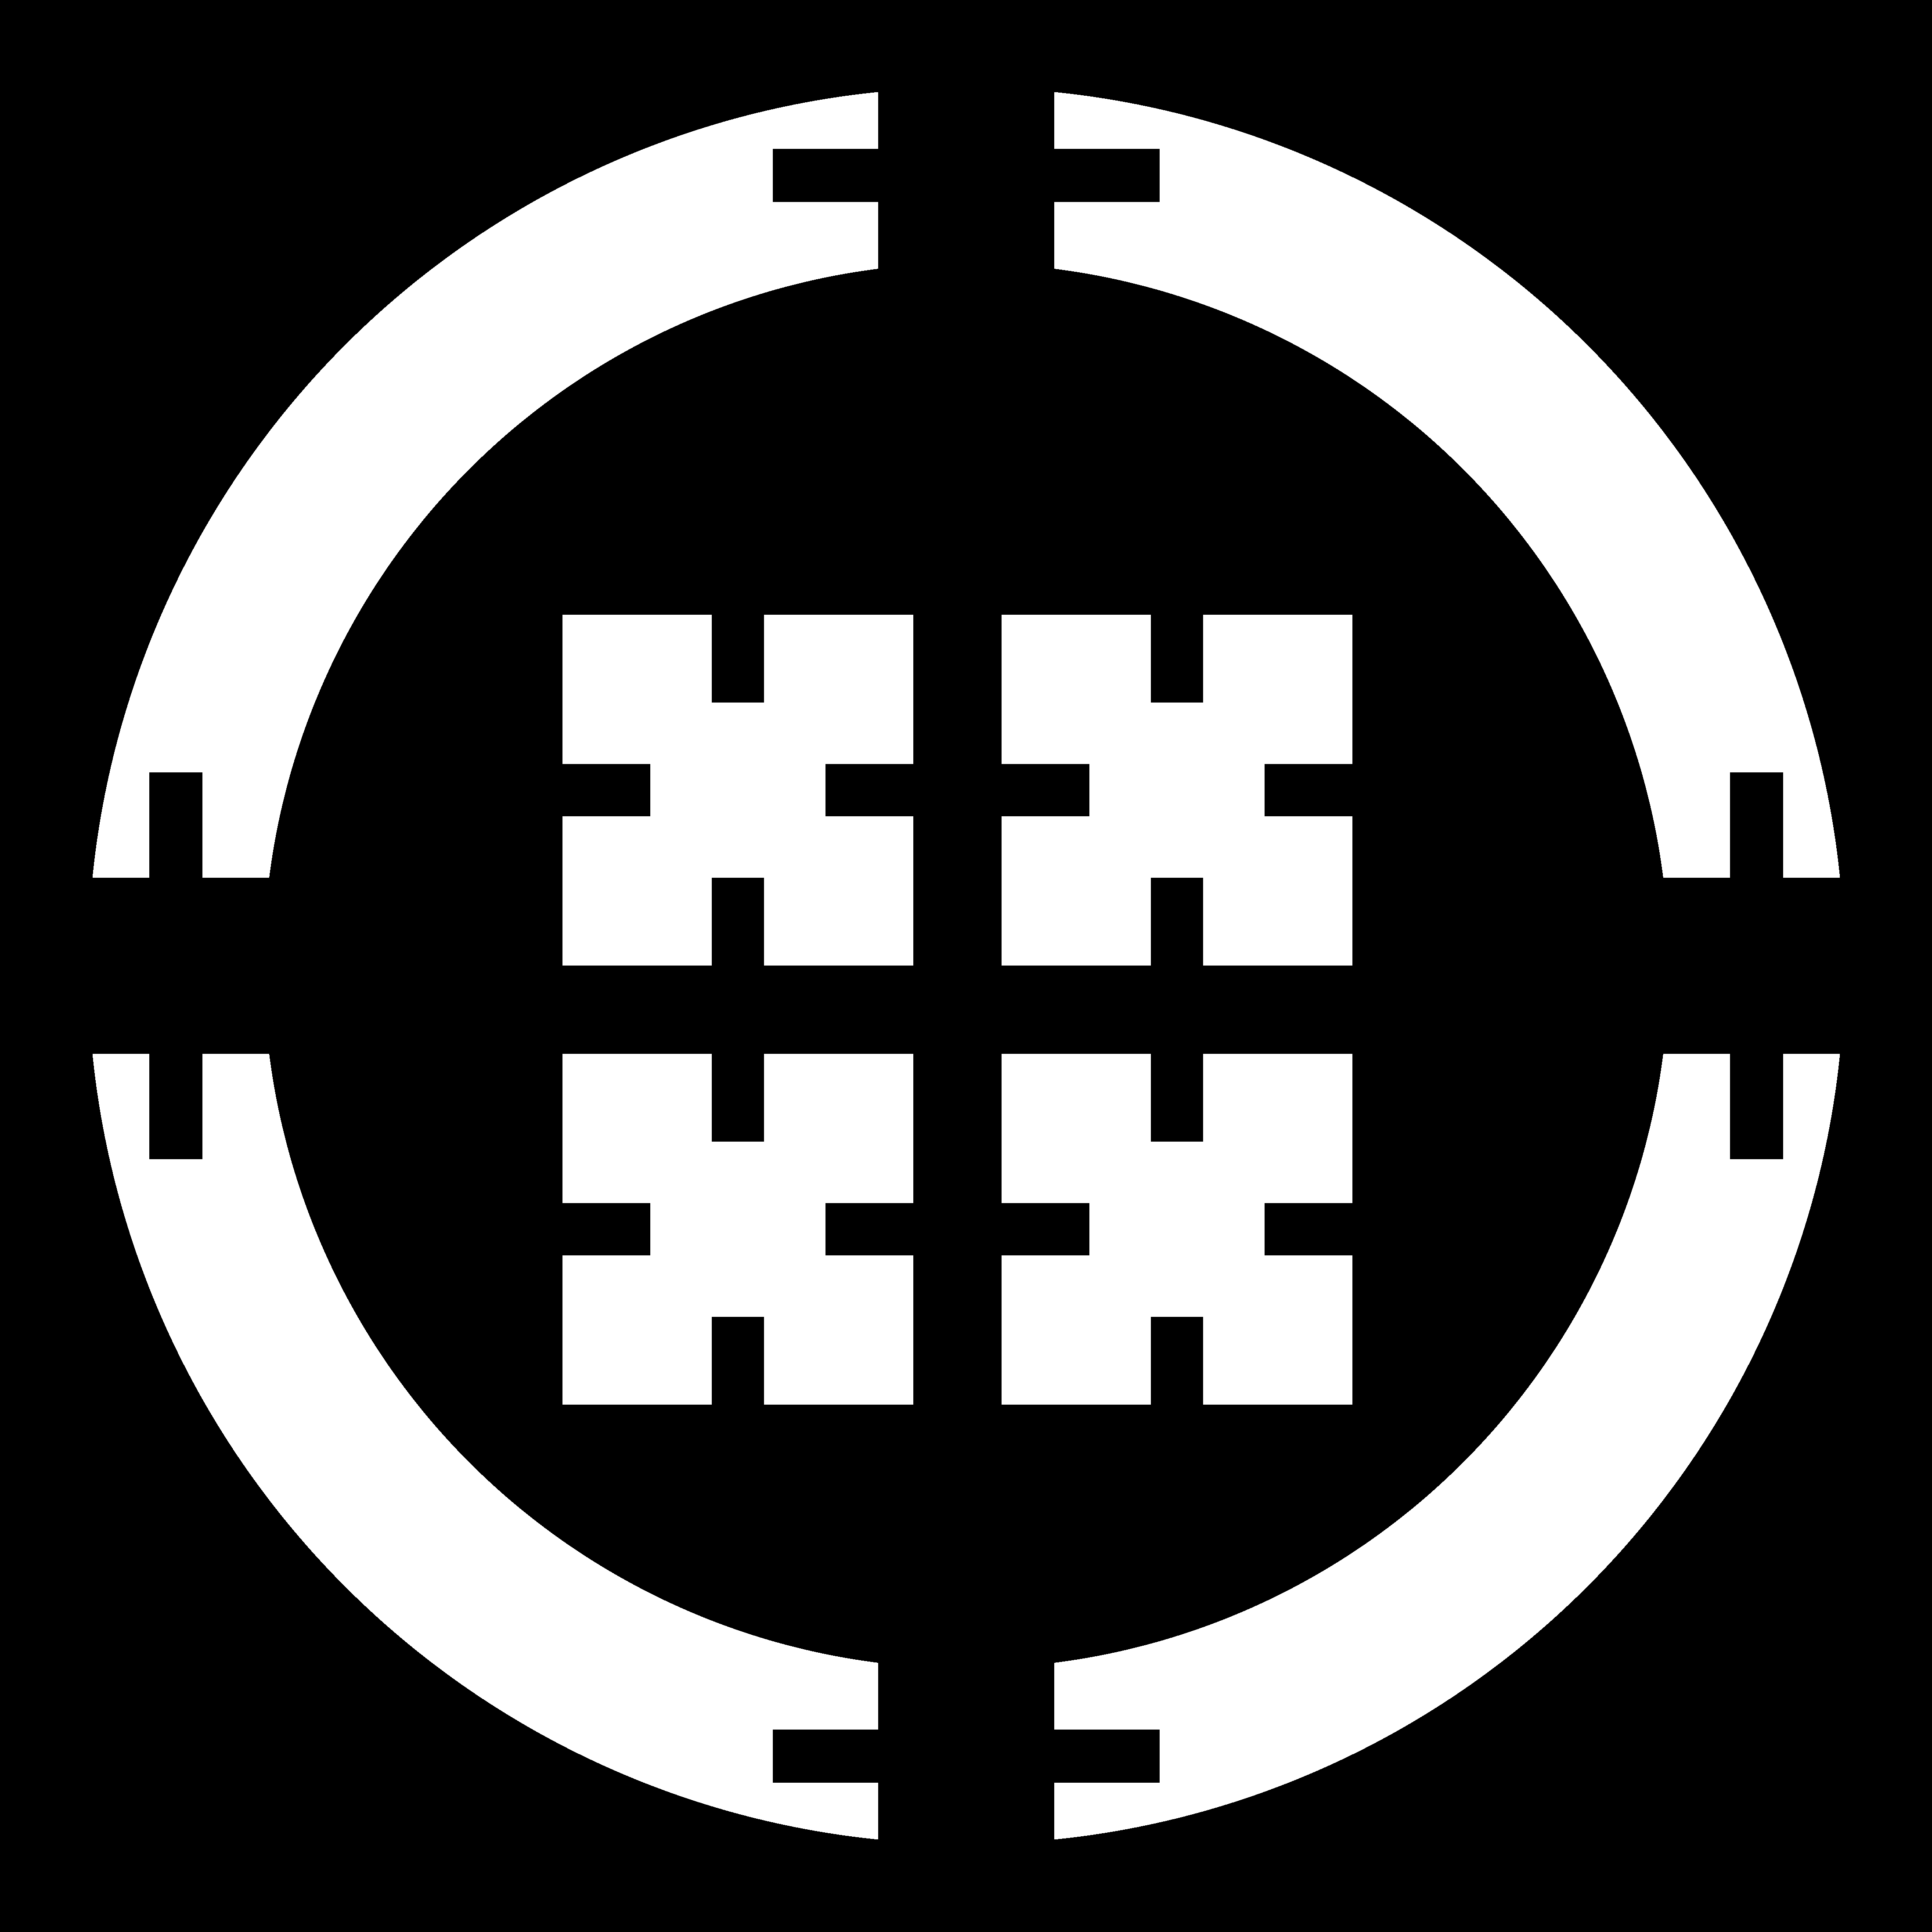
I have designed a pressfit model in antimony. Press fit means that the model will be designed modularly with each part having sleeves and slots which fit together to form the final figure. I have designed a sphere in that manner and it is the first time I am trying out such a work. Fingers crossed !
Steps in Designing
- Started with drawing my idea roughly in a paper and then drawing it in antimony.
- Started by drawing 2 concentric circles and taking heir difference. Drew rectangle with slots and then made polar array forming 4 copies of it 90 degree apart.
- Designed another rectangle with grooves on all edges for holding the arc’s cut.

2. Software
Antimony along with Fab Modules came to my rescue. Well not completely true as i have still trouble configuring the JavaScript version of Fab Modules in my laptop. Facing some issue while executing mod_serve which will initiate a local server. This issue is not fixed yet. I will update here how i solved the bug
Update : The bug is not still fixed. I am fed up with antimony as it is crashing frequently and making my system hang. I had great difficulties while designing in it. Here itself after exporting the design as .png file i used Inkscape to further make it compatible for laser cutting. It was such a bad experience that i have decided to give up using Antimony.

3. Laser cutting
It took me a while to get the work done as I was trying to have the web Fab Modules to work in my computer. But till date I have not succeeded in doing so. Later I used Inkscape to make the exported image compatible for laser cutting.
First I tried out the design in cardboard. But when I tried to insert the pieces into the slots they started bending, as the material was delicate. So I cross checked the dimensions and did the cut in Craft Plywood of 3mm thickness.
Note: My design is parametric. So dimensions of the design can be changed according to the material used easily. Here I use something that has 3mm thickness. So the design is made accordingly.
Errors Occurred
I designed in Antimony and hoped to use the new fab modules to directly cut in laser. But I was not able to setup fabmodules correctly in my system. So I had to use import it into inkscape and modify. The steps I followed are
- Select the image and use the
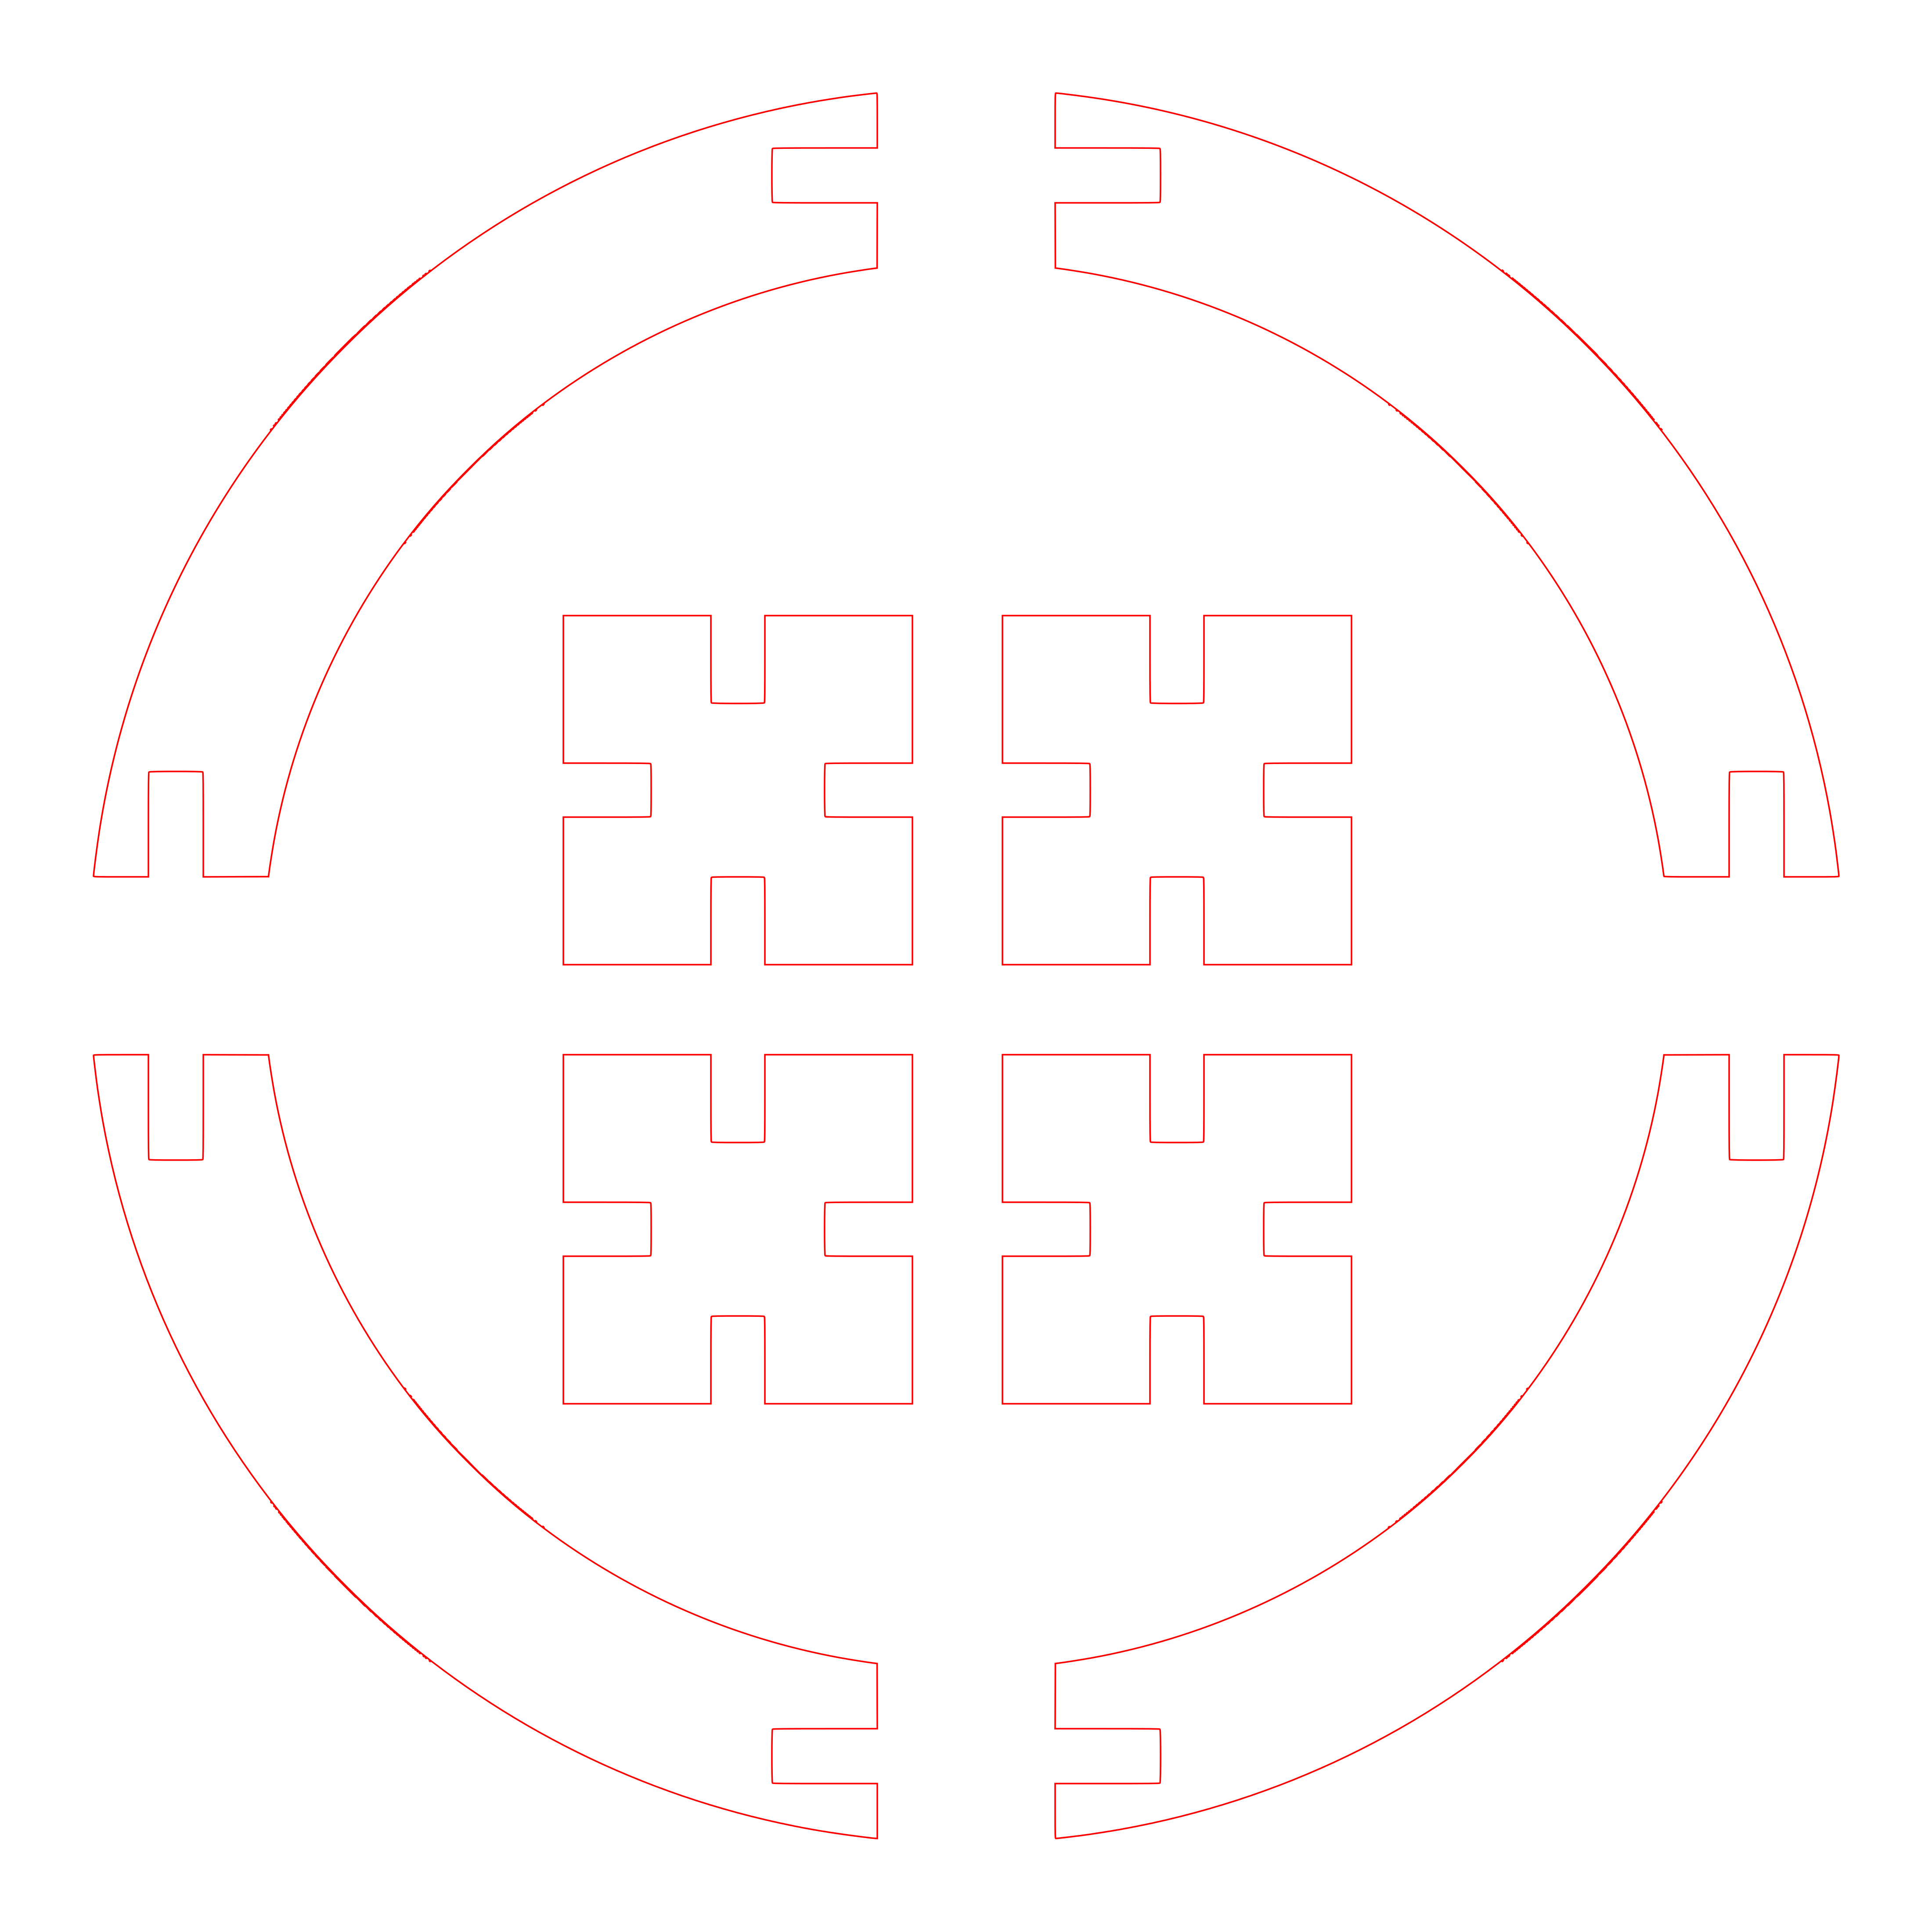
Trace Bitmaptool underPathtoolbar. I choseBrightness cutoffmethod with default threshold. I also chose to invert the image. - After tracing the bitmap, separate it from the original image. You can remove the original image as it is not needed anymore. In the traced bitmap open the
Fill and Stroketool. You can find it when oyu right click over the image. In there select the fill asNo paintand stroke paint asFlat Color. after doing al these you should get something like this I used this directly to laser cut. But if you look carefully i was not able to correctly trace the bitmap which led to imperfections. While laser cut, there where multiple passes through same lines.
Thing to remember while laser cutting
- Have the thickness of the cut lines minimum. It can go down till .001 mm. If we have thicker lines the machine will automatically divide it into several thinner lines and do multiple cuts even though we just need a single pass.
- Give a buffer of atleast 1mm when setting the canvas of the work.
- Trotec job control software give you option to change the
speed,powerandfrequencyof the laser. Speed is how fast the head moves, Power is relative value of the power of laser beam to its maximum power. The laser is not emitted as continuous beams but as short pulses. Frequency let us control the number of pulses. - We can make profiles fixing the speed, power and frequency for a particular material and save it permanently. Before working on a new material change the parameters and fix on optimum value for cutting and engraving.
- Don’t leave the machine alone when their is a work in progress because their are chances of the material catching fire leading to fire accidents !!
- Read through the machines manual to know what all materials can be laser cut. Some materials like PVC can harm the focusing lens of the machine.

Design Files : Antimony CAD : PNG File of Antimony : Inkscape PNG
Vinyl Cutting
Vinyl Cutter uses a sharp blade pressed against the cutting surface to make the necessary cuts. The blade can automatically adjust itself to the direction of cutting. The machine we have is Roland CAMM-1 GX-24. In Linux systems we need to add the cutter as printer. We can make use of CUPS for doing the same. Installing vinyl printer in CUPS (compiled version)
- http://localhost:631
- Connect Roland Vinyl cutter via USB
- Add printer named vinyl. Care has to be taken while naming the device, it should be “vinyl” and it is case sensitive.
- Make: RAW
- Model: RAW
I made a design for cutting in GIMP using the Text Tool for adding the text and Path Tool for drawing the curve.

Design - File
