
COMPOSITES
Let me brief you about what I understood about composites, A composite material can be defined as a combination of a matrix and a reinforcement, which when combined gives properties superior to the properties of the individual components. In the case of a composite, the reinforcement is the fibres and is used to fortify the matrix in terms of strength and stiffness. The reinforcement fibres can be cut, aligned, placed in different ways to affect the properties of the resulting composite. The matrix, normally a form of resin, keeps the reinforcement in the desired orientation. It protects the reinforcement from chemical and environmental attack, and it bonds the reinforcement so that applied loads can be effectively transferred. Inshort the composite is a material made from two or more constituent materials with significantly different physical or chemical properties that, when combined, produce a material with characteristics different from the individual components. The individual components remain separate and distinct within the finished structure. The new material may be preferred for many reasons. common examples include materials which are stronger, lighter, or less expensive when compared to traditional materials. More recently, researchers have also begun to actively include sensing, actuation, computation and communication into composites, which are known as Robotic Materials.
The term composite can be used for a multitude of materials such as..
I wanted to try and make a Table Tennis Bat as my composite assignment this week. I am not perfectly considering the asthetics or exact dimensions in my first version as I would like to first learn the composite making process and then make a more professional bat to sart playing.. well gets started..
The 3D mould was designed is Rhino, a quick glance at it.

The mould is going to be made using shopbot..I fixed the wood required for that, we were running out of material in the lab and hence had to reuse an already engraved part of a board..

This time to carve the mold the Partwork software is used.
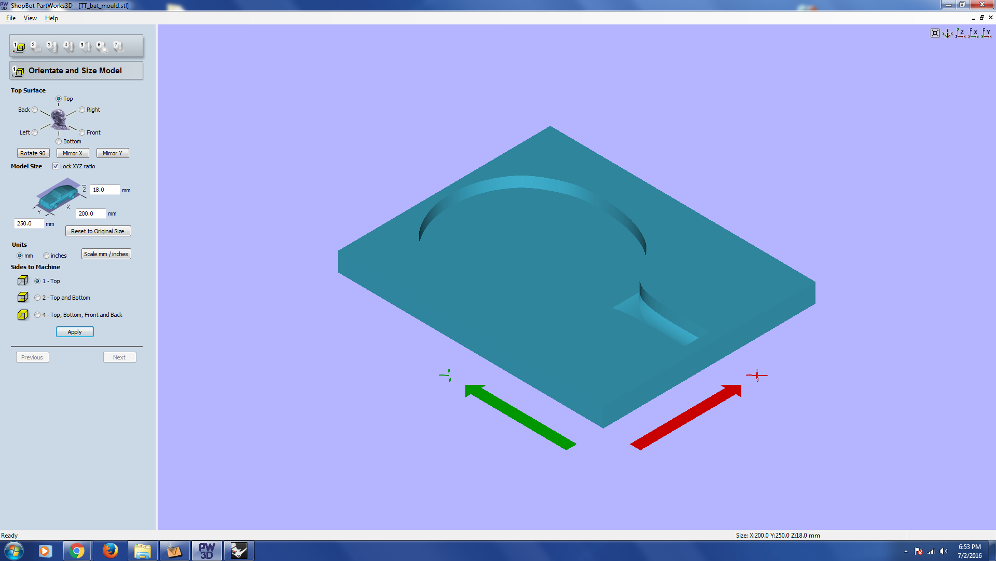
Towards the left side you can see the Orgin settings, set Z --> TOP option as we will be milling down, here by default the dimensions of our drwaing will be selected by the software..
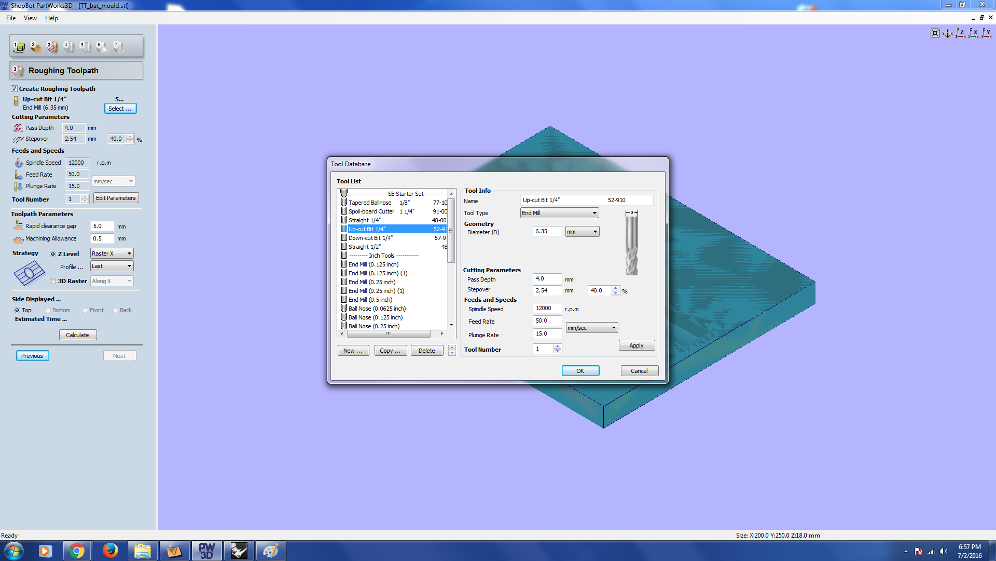
Now setting up the Roughning Toolpath options, you can choose the end bill here.
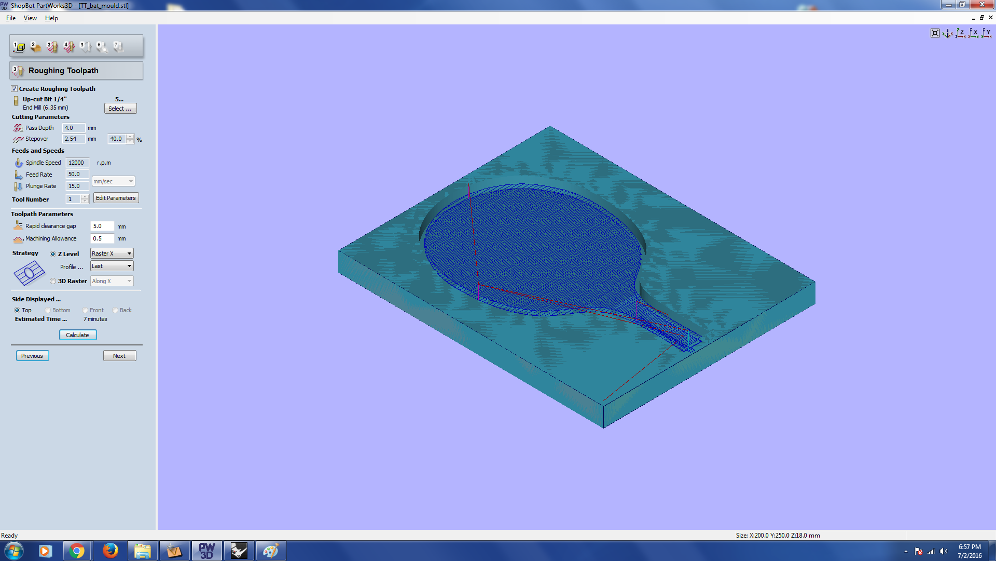
The roughing toolpath.
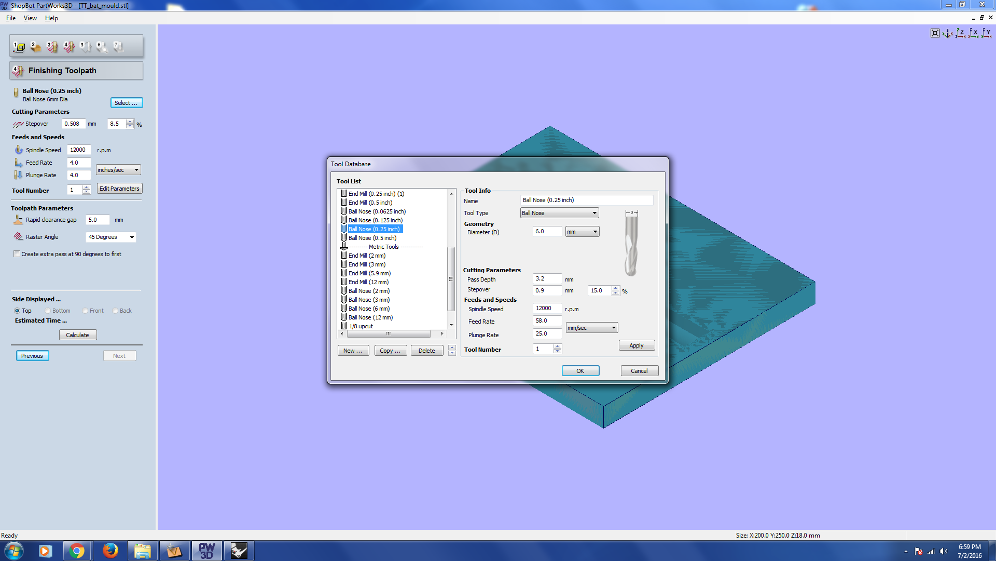
setting up the finishing toolpath settings, here we choose a ball nose type end mill.
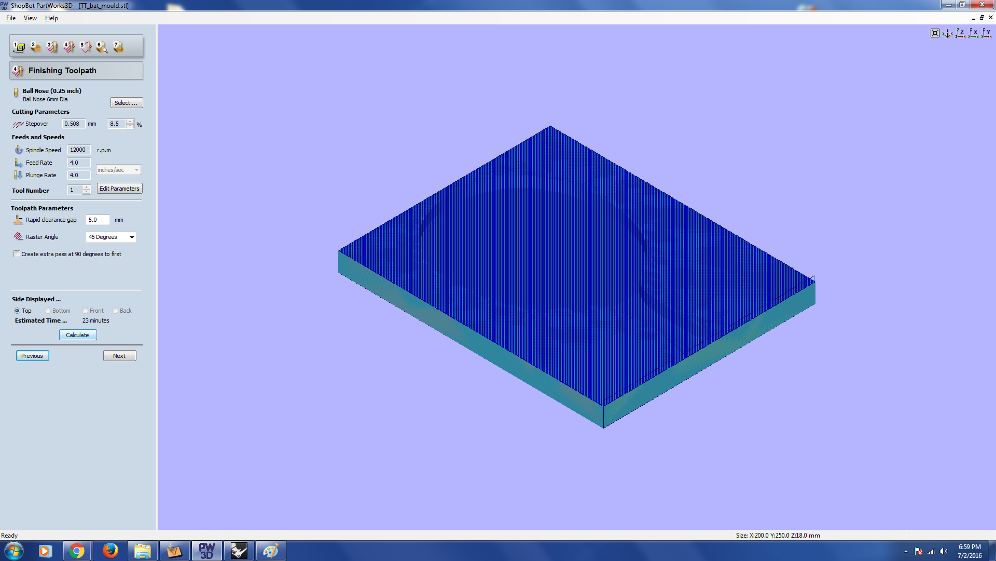
Toolpath for finishing.
Roughing toolpath preview.

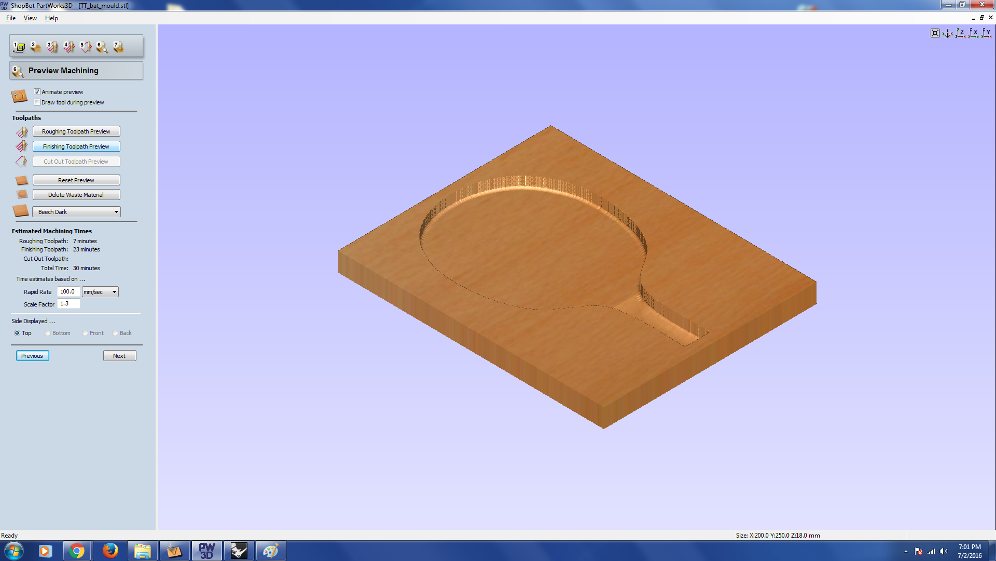
Finishing toolpath preview.
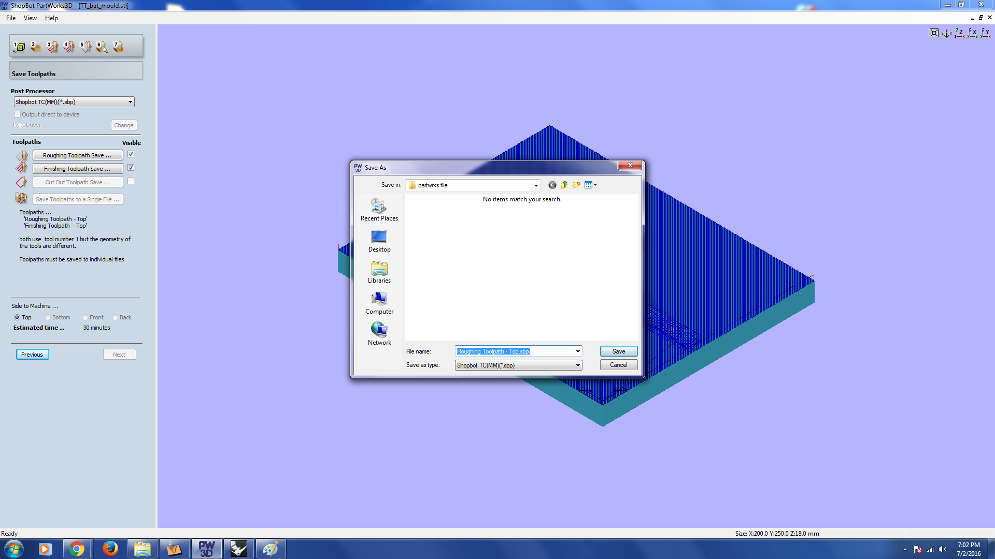
Now Save the Roughing, Finishing and Cut parts .spb files for final cutting in shopbot.
THE SHOPBOT PROCESS
Creating the molud using shopbot.. I am not explaing the Roughing , Finishing and Cut part in detail as working on shopbot is documented in detail in my Machining week
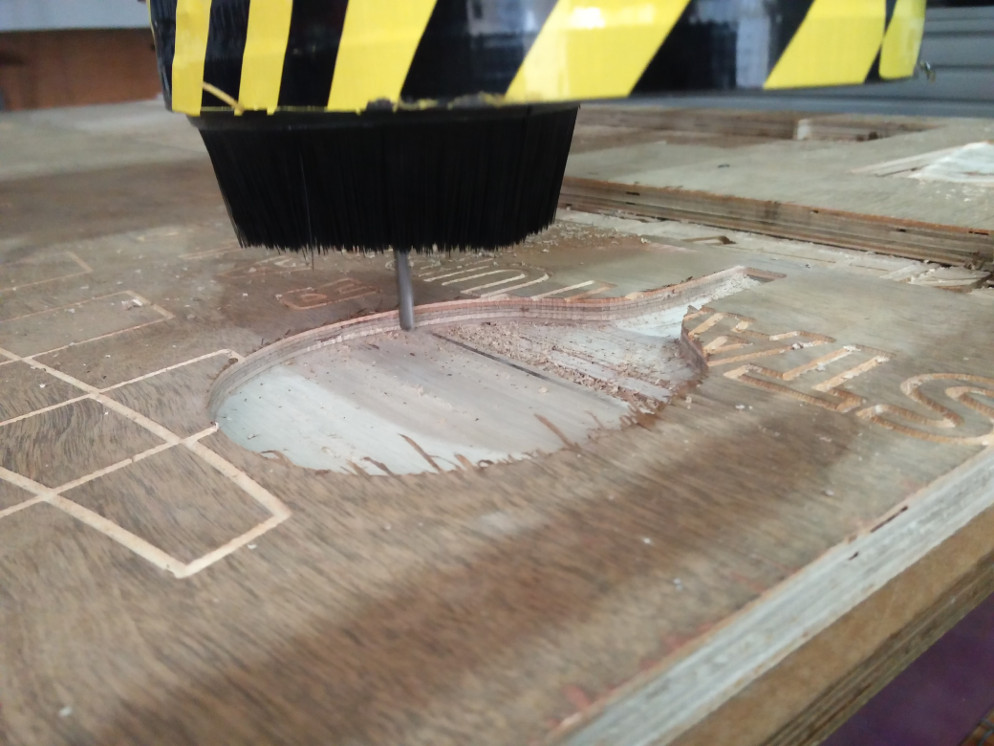
About to finish the job.
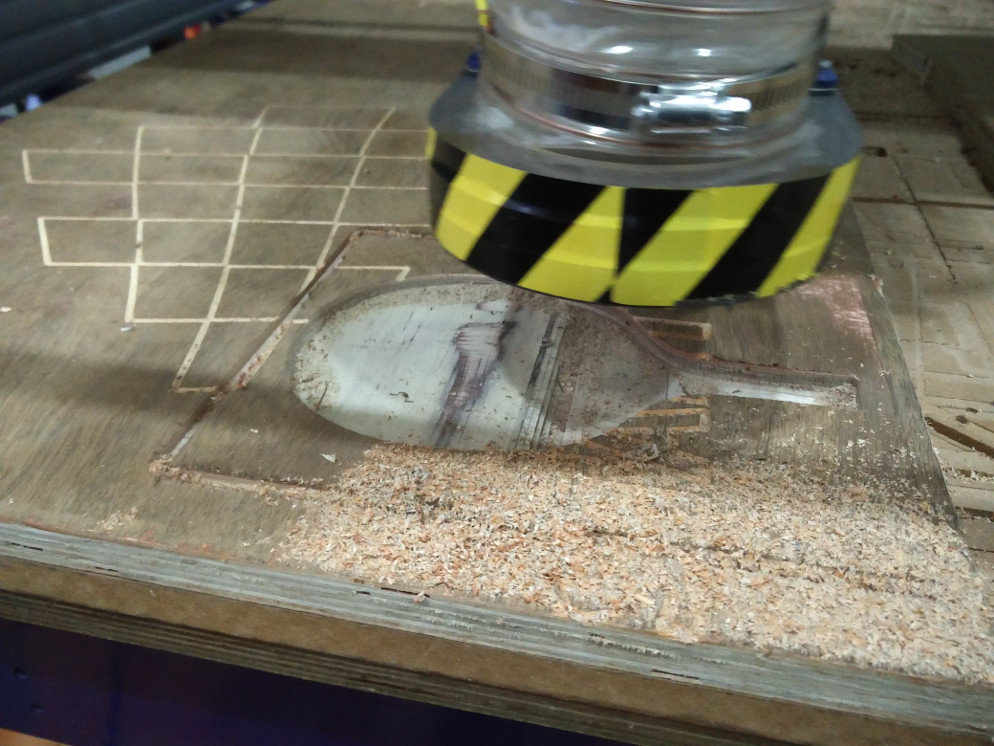
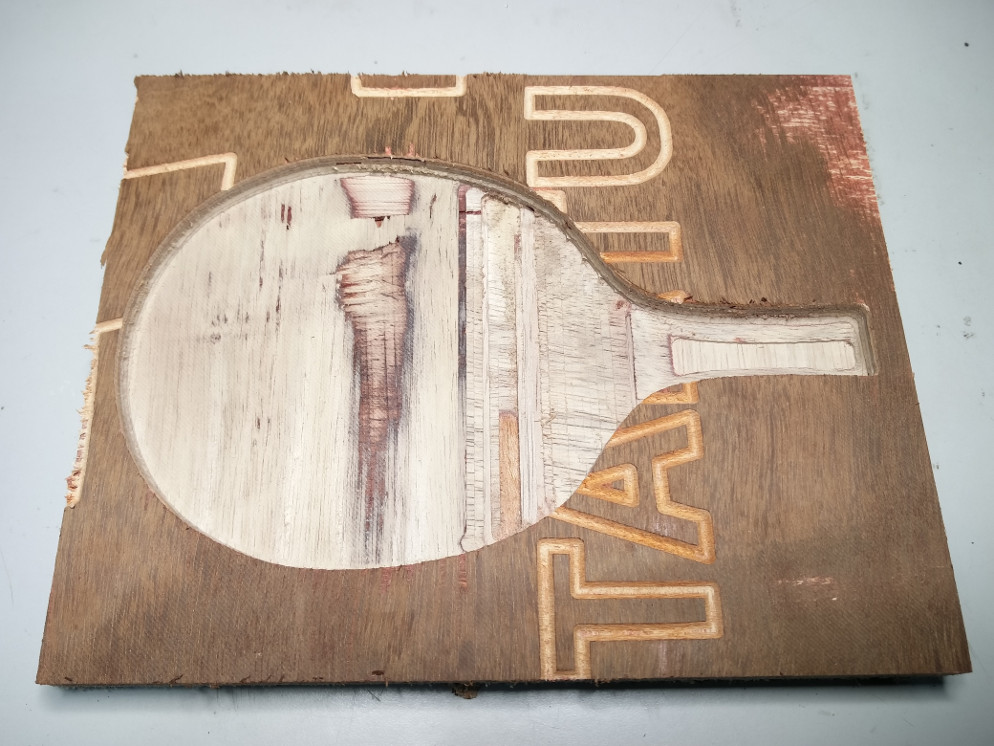
The completed 3D mould.
OVER TO EPOXY WORK
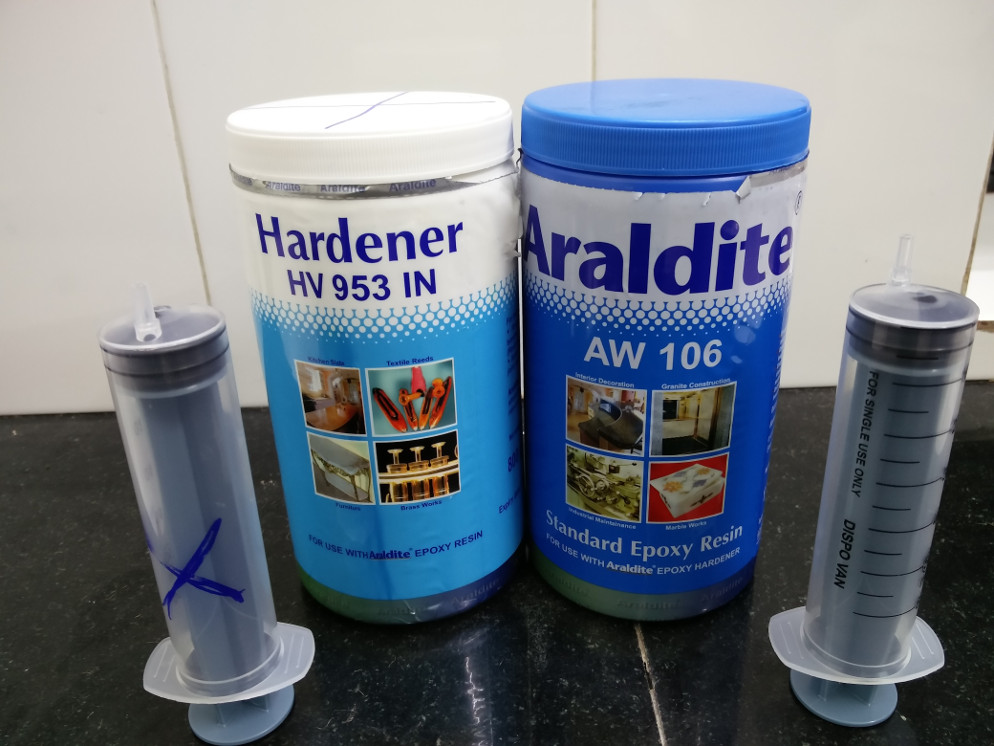
In our lab most of us are using the locally available Araldite Epoxy as the lab was in short of material in inventory..
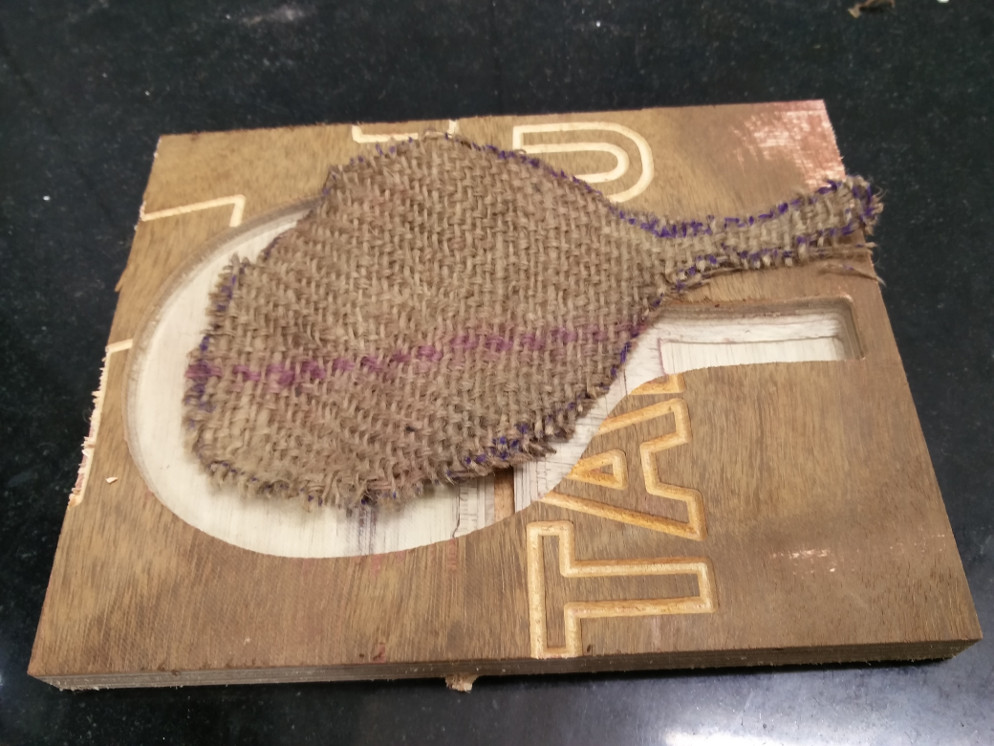
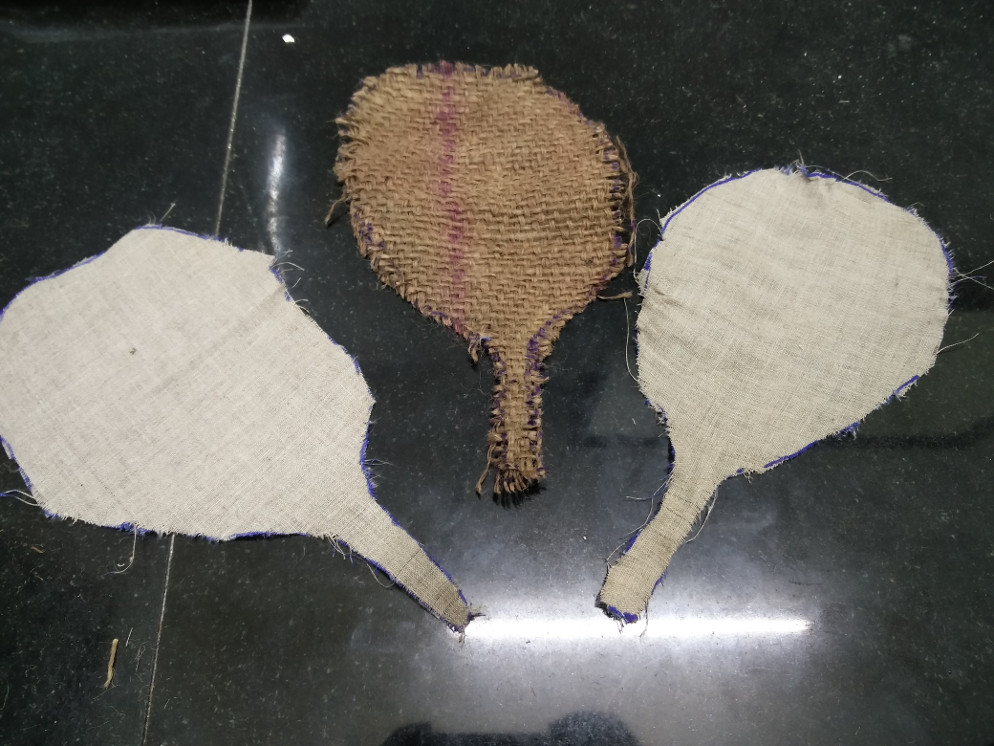
I am using jute in the middle layer and two more layers of cloth.
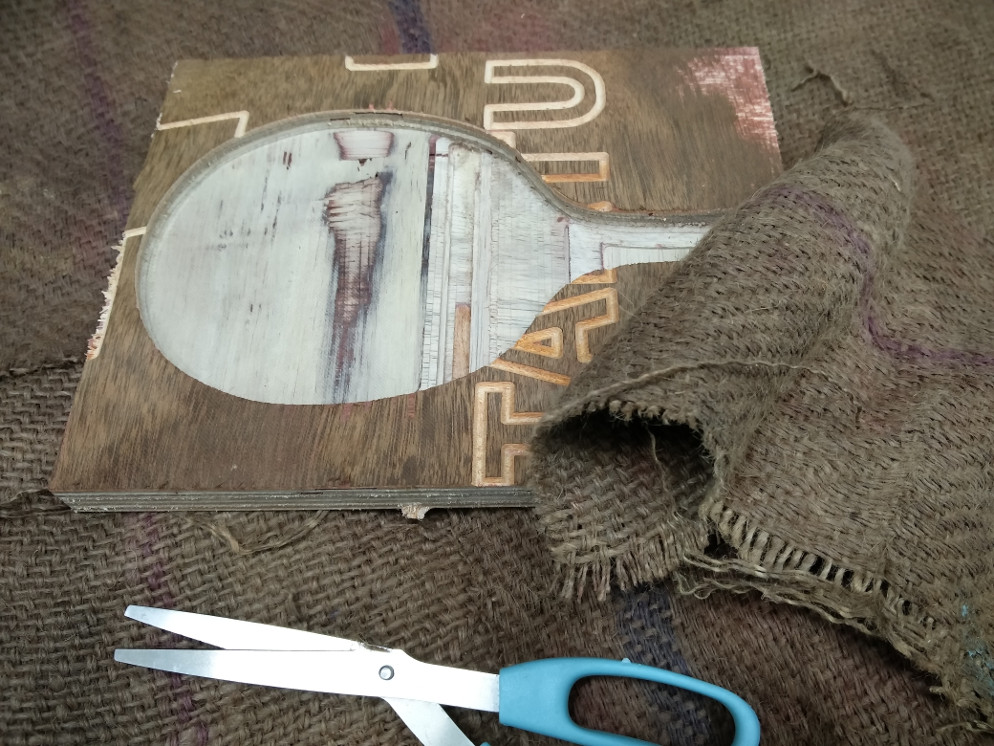
Getting the jute layer ready.

Almost in correct size.
All the three layers ready.
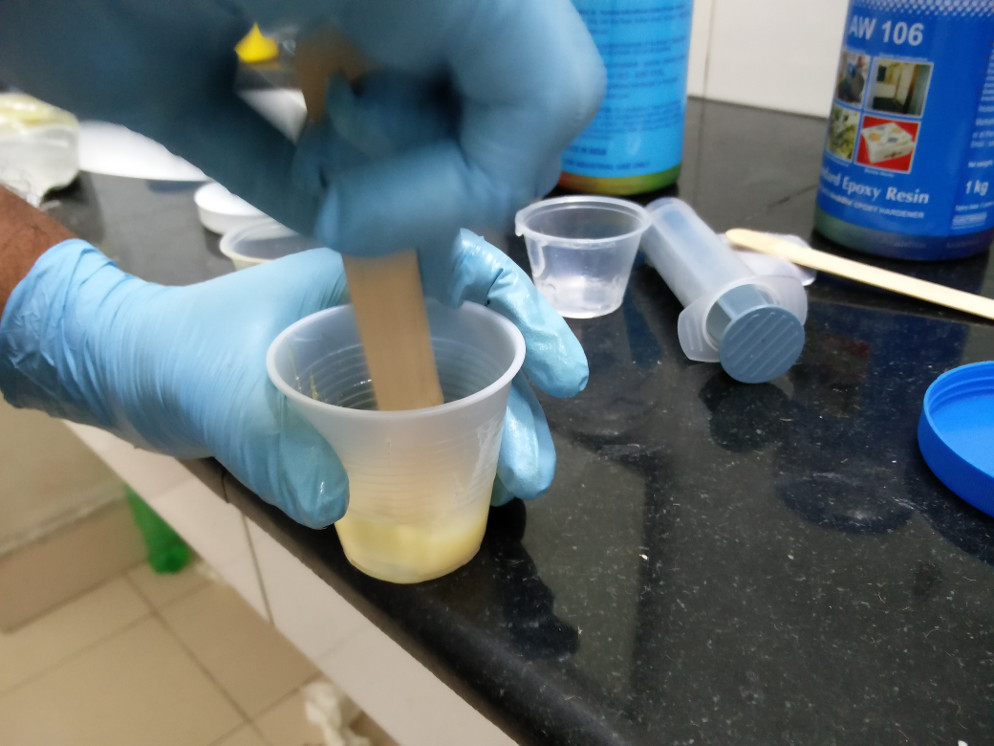
Using the Hardner and Resin in equal proportions..
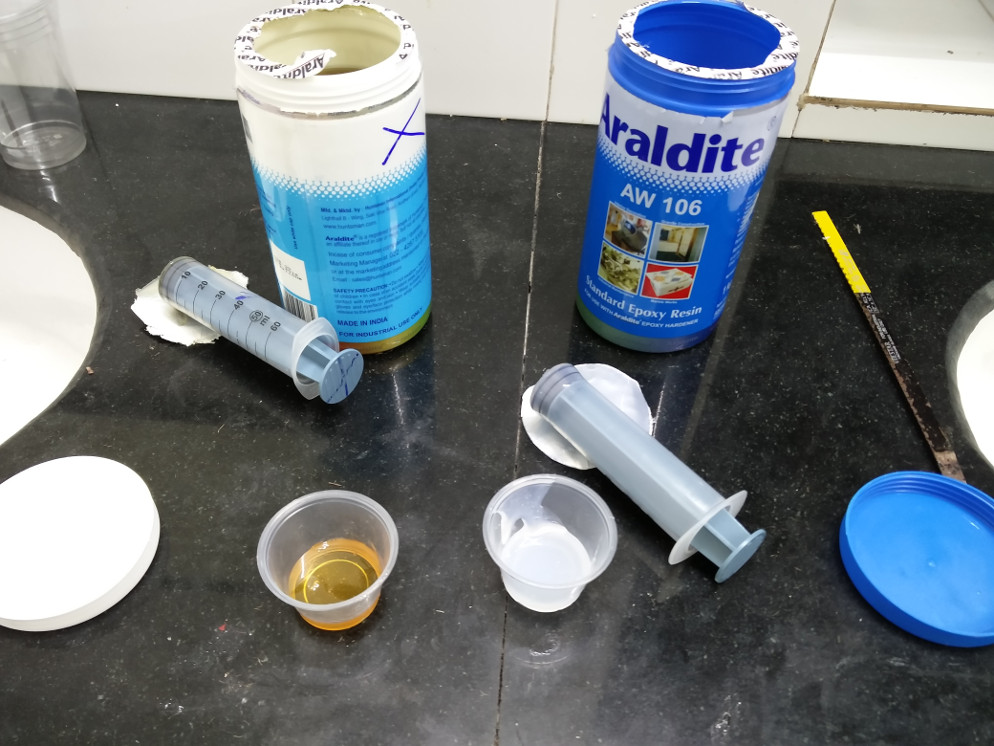
Mix them thogoughly.
Applying them.
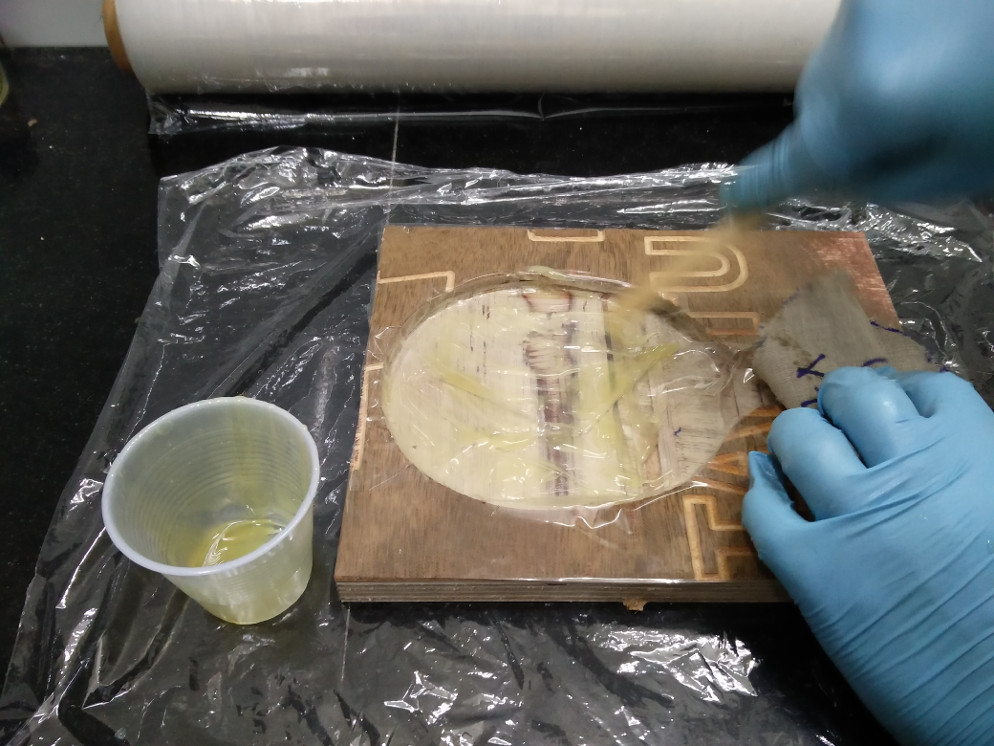
Jute layer on top of the first cloth layer.
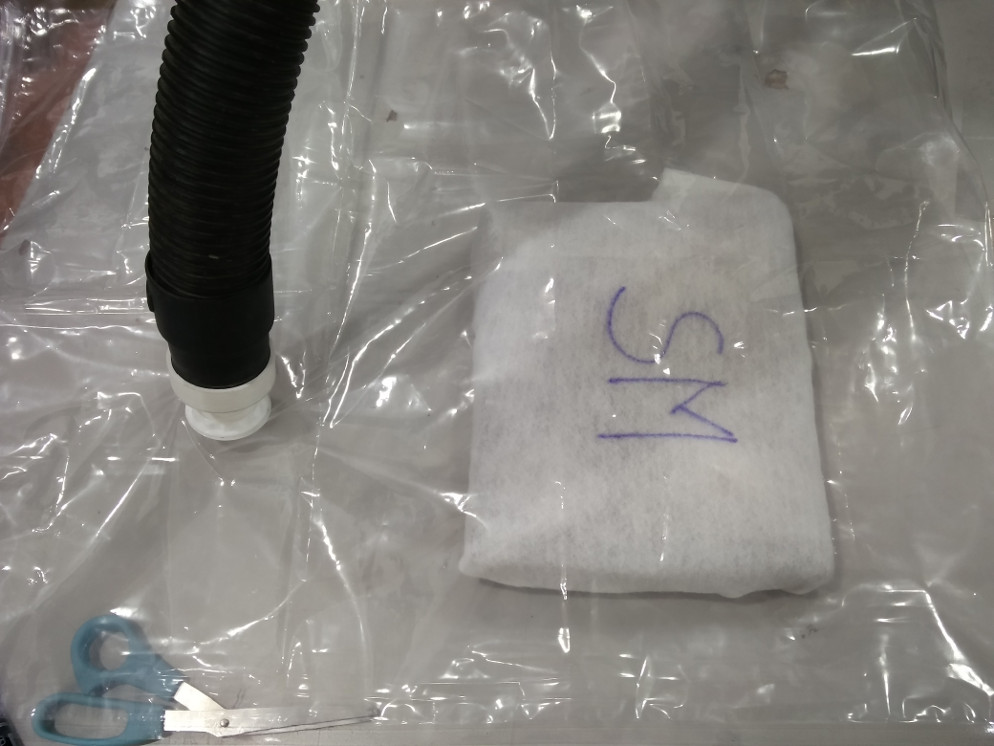
All the three layers in place as the epoxy dissolved witht the soft cloth you can hardly see it in the picture..To help you locate it I have written SM on top of the final softcloth layer, which is some what visible..
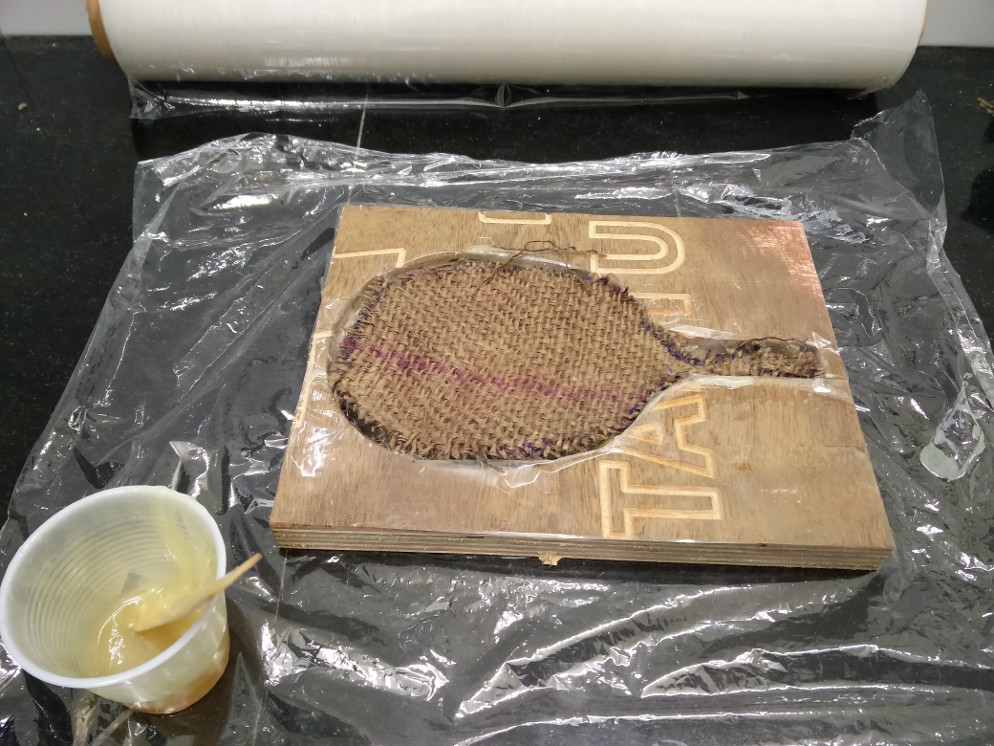
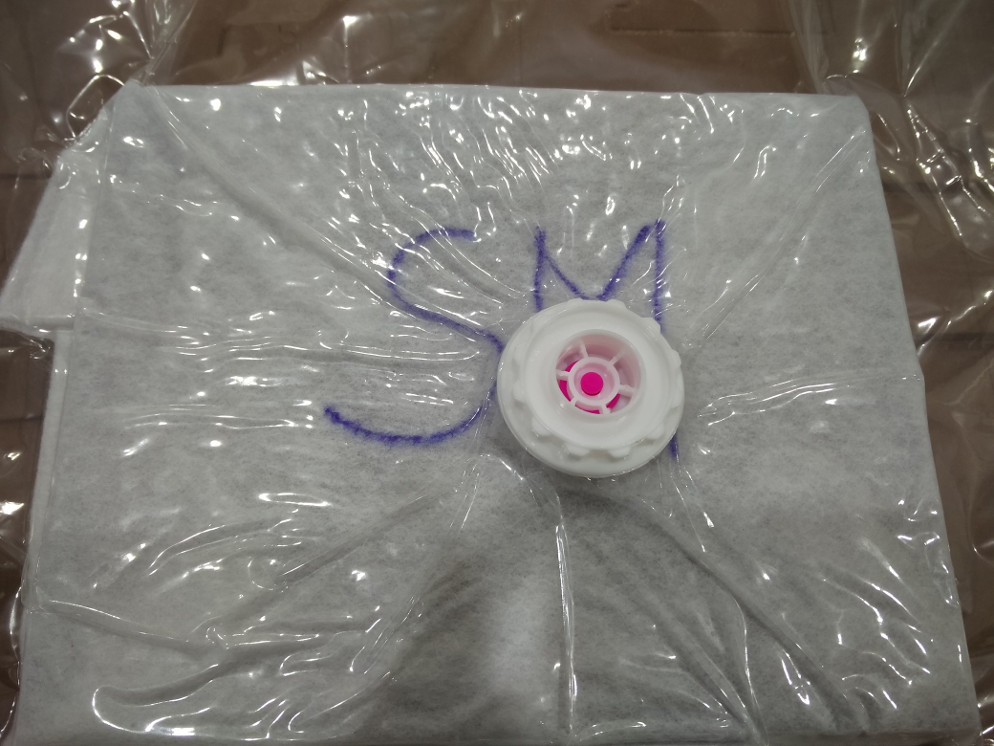
Cover it with thin plastic sheet so that the epoxy will not leak and spoil once kept inside the vaccum bag, also cover using a soft cloth on top it so tht the edges will not tear the vaccum bag..
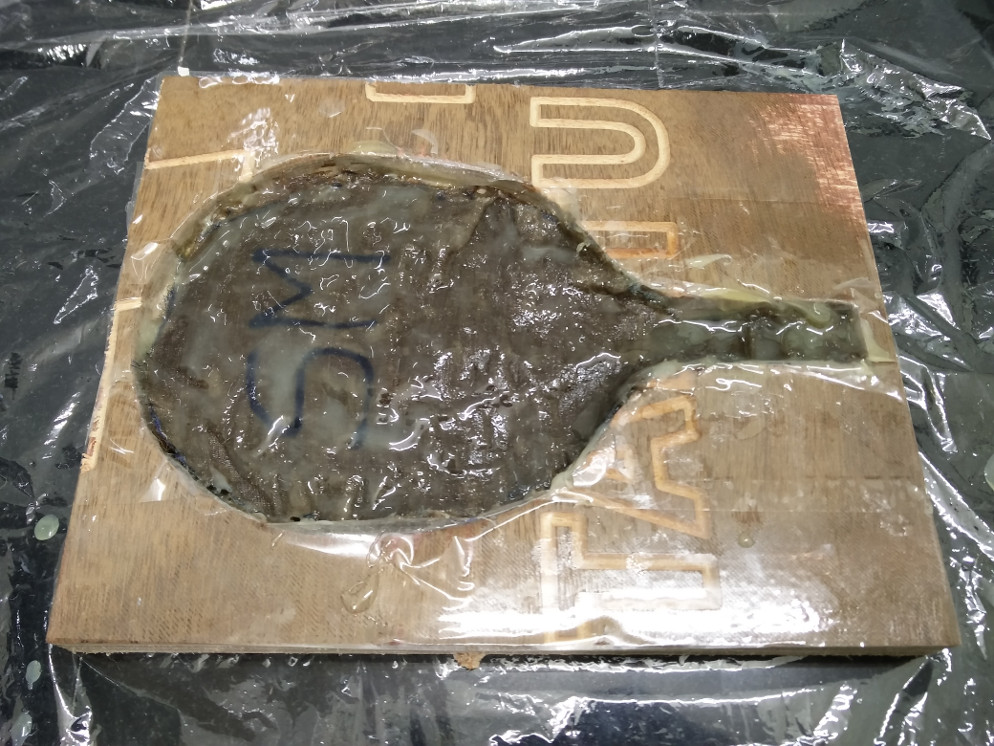
Mould kept in vaccum for setting.
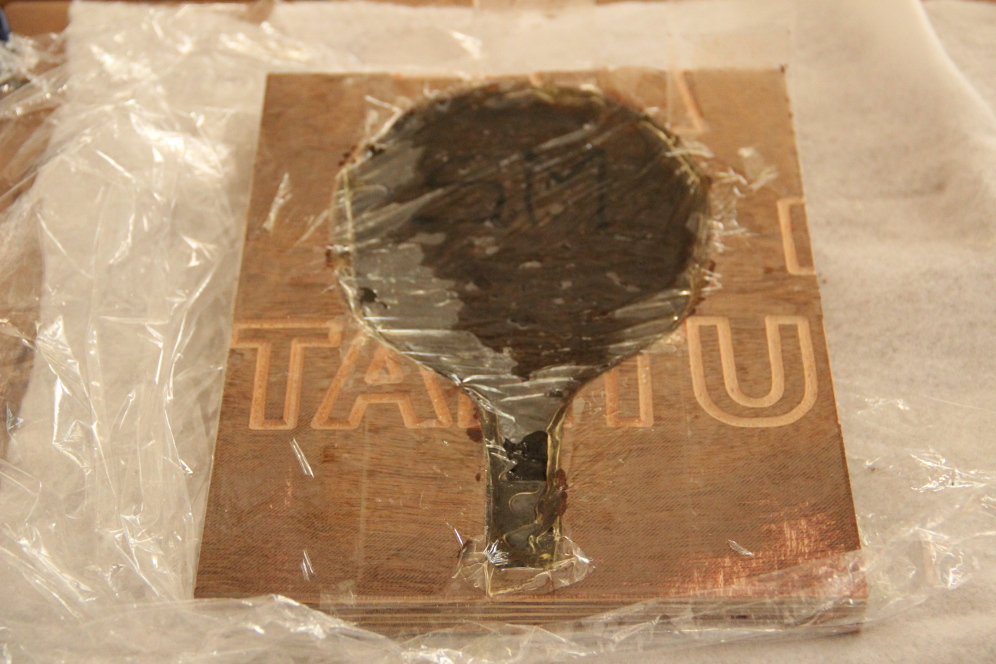
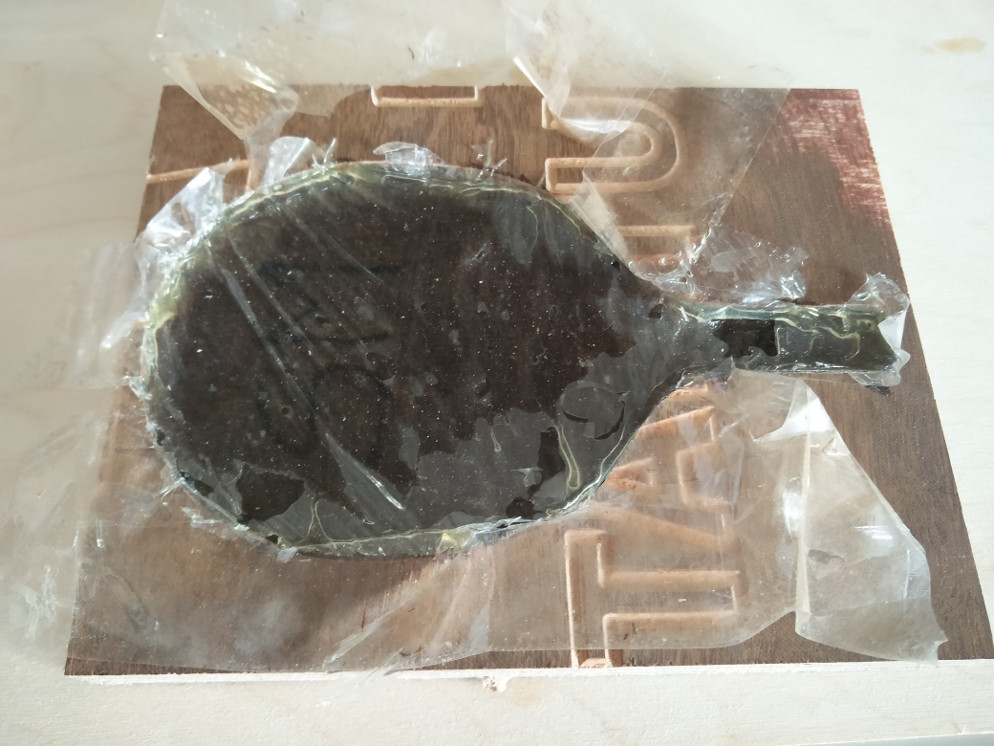
Now its time to see if everything is fine, opening the bag the next day.
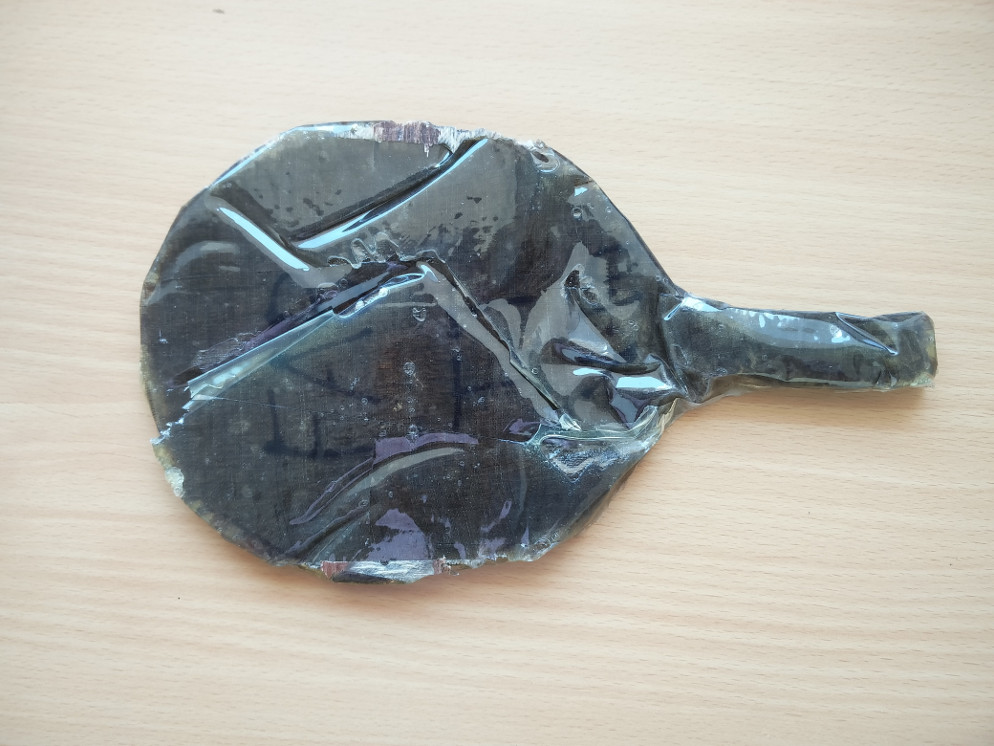
Here is my finished bat.
This is the rear side where you can see the 3D Handle formation.
The design files can be downloaded from here.