Table Of Content
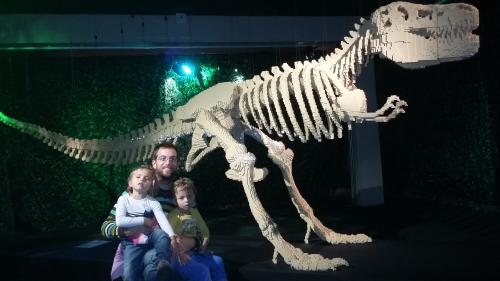
Regarding the final project I decided to challange myselfe with something that could be useful in dayliy life. Having a couple of 4-years-old twins I thought about something that could help me in the goodnight storytelling since every night my kids ask me for some new story to be invented. If you want to invent a story at the beginning it is funny to diverge and just start randomly to tell something but soon you realize that you cannot go too much further this way. You have to follow some basic plot scheme.
Some help comes from the basic plot diagram of most child stories:
First main characters are introduced.
Then something happen that break the initial equilibrium until the story reach the climax.
Then the story have to close with the relaxation.
My idea for the final project is to develop a device that can help me to follow this path while improvisating a story. Moreover this device should suggest characters, scenarios and actions.
I created a
final project
page using HTML first, then as it was growing I moved to Markdown as other Class pages.
Before I started writing my HTML page I downloaded and installed UBUNTU in a partition on my HP Pavilion dv6. I had many problems doing this that made me waste a lot of time, in the end I was successfull using the free Windows program “we-erease” to partition my HD.
To edit HTML I installed Notepadqq
 sudo add-apt-repository ppa:notepadqq-team/notepadqq
 sudo apt-get update
 sudo apt-get install notepadqq
Also Chromium was useful since it enables direct inspection of HTML code for any web page. This is a good way to learn how CSS describe the style of each section of complex web pages.
I decided to start from scratch with HTML, the final project page is written by hand on notepadqq just following Mozilla HTML Guide. I was impressed to see the power of HTML5, for example
Web RTC
, where the browser can use the webcam and stream video with no plugins.
To make the final project page a little bit prettier I used Google Font. Just add the link to an external CSS resource:
<link href='https://fonts.googleapis.com/css?family=Oswald' rel='stylesheet' type='text/css'>
And a style TAG:
<style>
    h1 {
       font-family: 'Oswald', sans-serif;
       font-size: 48px;
    }
</style>
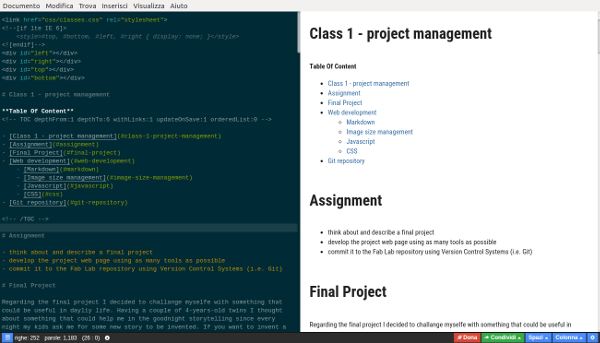
Regarding the class pages I decided to use markdown. This is very much practical since this way I can easily translate my .txt class notes into nice HTML pages.First I tried translator
Dillinger
but from class 2 I had to move to
StackEdit
since because the first do not enable the use of embedded HTML.
For my homepage I used Bootrstap. I just downloaded and edited a free template “Freelancer” from
Startbootstrap
.
After a while I moved to a
local application
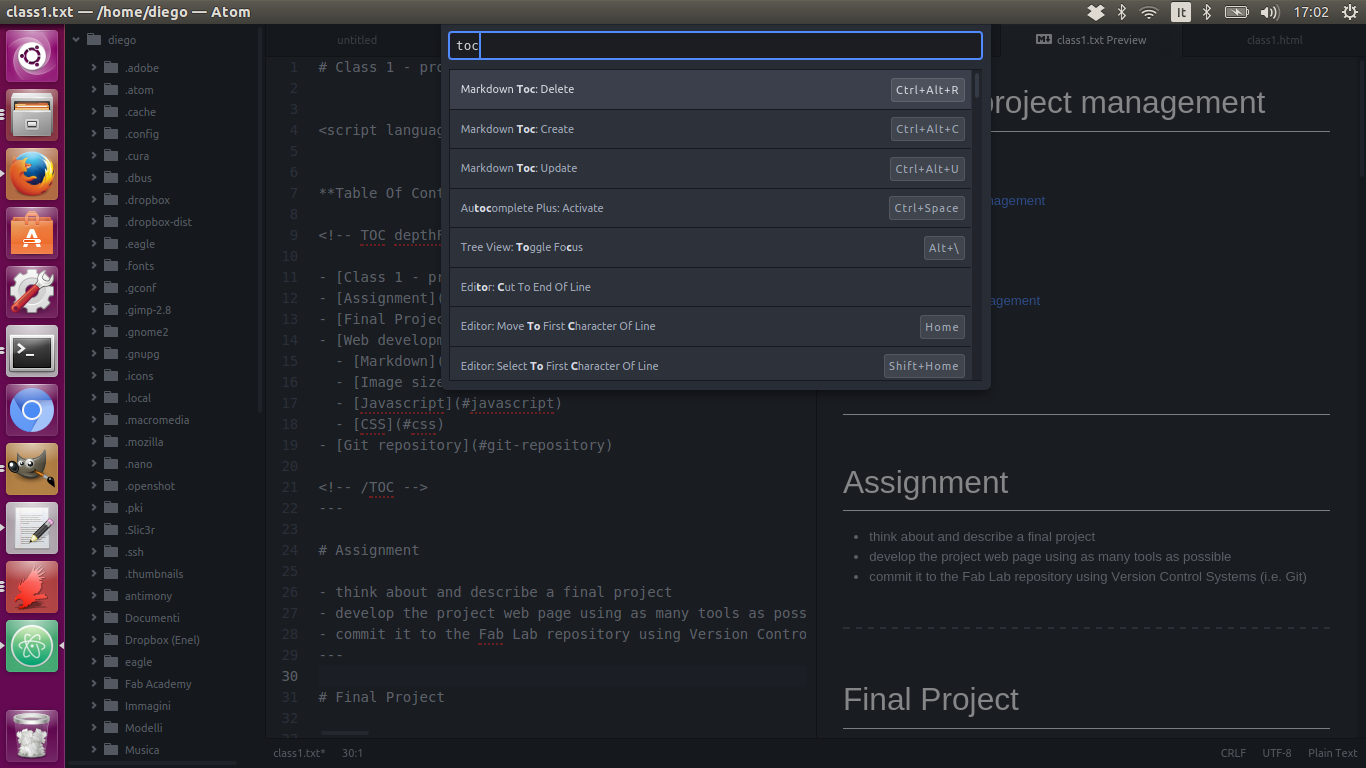
in place of web editors. In installed Atom:
sudo add-apt-repository ppa:webupd8team/atom
sudo apt-get update
sudo apt-get install atom
Installed Packages:
tidy-markdown
markdown-scroll-sync
markdown-writer
language-markdown
markdown-toc
markdown-preview-plus
markdown-themable-pdf
markdown-preview
To use packages functions use command bar: ctrl+shift+p
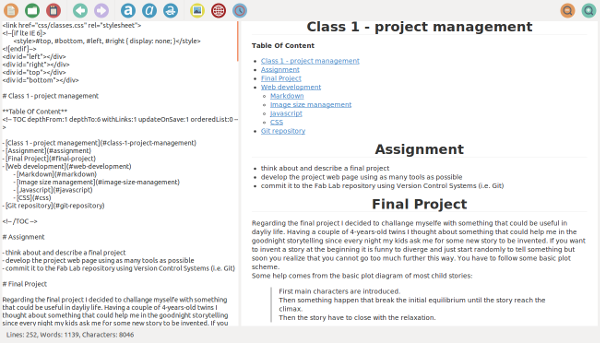
I wasn’t satisfied by Atom Markdown editor since many packages used to crash and generated HTML was a mess. So after a short trial of Haroopad I moved to Remarkable .
A good resource to keep small the size of photos from high resolution cameras which usually range to 10 to 20 MB is Imagemagick, this ended up to be very handy given the big amount of pictures produced across the project and the constraint of 2MB/week:
sudo apt-get install imagemagick
cd ~/Documents/img
mogrify -resize 75% image.jpg   [75% of original size]
mogrify -resize 75% *.jpg   [* = all images in folder]
mogrify -resize 640x480' *  [resize to 640 × 480 px]
mogrify -resize width='640' *   [640 px wide keeping proportion]
mogrify -resize width='x480' *  [480 px height keeping proportion]
I used a small piece of Javascript to add “last update field”:
<script language="Javascript">
    document.write("This page was last modified on: " + document.lastModified +"");
</SCRIPT>
I used CSS style to make images responsive adding this to my CSS sheet:
.responsive-image {
        width: 950px;//Any width you want to set the image to.
        max-width: 100%;
        height: auto;
}
A simpler way which doesn’t requires a CSS style sheet is to embed the style into the HTML TAG:
<img src="IMAGE LINK" style='width:100%;' border="0" alt="Null">
Then I used tese HTML tags first to add a “stylesheet”, then to recall the “responsive-image” class for all images:
<link href="css/classes.css" rel="stylesheet">
<img class="responsive-image" src="img/home/me.png">
Another way to add images directly in Markdown is:

I also added a Background themes as left and right border. Here is the CSS code:
#top, #bottom, #left, #right {
    /* background: #a5ebff;*/

background:
linear-gradient(63deg, #999 23%, transparent 23%) 7px 0,
linear-gradient(63deg, transparent 74%, #999 78%),
linear-gradient(63deg, transparent 34%, #999 38%, #999 58%, transparent 62%), #444;
background-size: 16px 48px;

    position: fixed;
    }
    #left, #right {
        top: 0; bottom: 0;
        width: 15px;
        }
        #left { left: 0; }
        #right { right: 0; }

    #top, #bottom {
        left: 0; right: 0;
        height: 0px;
        }
        #top { top: 0; }
        #bottom { bottom: 0; }
@media

/* Fairly small screens including iphones */
only screen and (max-width: 500px),

/* iPads */
only screen and (min-device-width: 768px) and (max-device-width: 1024px)

{
    #top, #bottom, #left, #right { display: none; }
}
And here the HTML code:
<div id="left"></div>
<div id="right"></div>
<div id="top"></div>
<div id="bottom"></div>
<!--[if lte IE 6]>
    <style>#top, #bottom, #left, #right { display: none; }</style>
<![endif]--></p>
Git and Linux shell where brand new challanges for me. Basic git commands are pretty simple but I mistake the repository address using the HTML one instead the SSH and this made me stuck for a while before I realized the problem thanks to the instructor. To start learning about git I found useful and fun
Try Git code school
. A good resource is also te
Git cheatsheet
.
Main commands that I used were:
sudo apt-get install git
sudo apt-get install ssh
Check if a public key is already available
cat ~/.ssh/id_rsa.pub
if not then generate a key
ssh-keygen
the again with cat ~/.ssh/id_rsa.pub it is possible to see the psw e copy it to paste in the gitlab profile
git clone git@git.fabacademy.org:fabacademy2016/fablabtoscana2016.git
git add 211 . to add my folder
git commit
git push origin master
Before any commit it is important to pull to get an updated version of the archive.