#Exercise_13
04/05/2016
Assignment
CompositesDesign and make a 3D mould, and produce a fibre composite part in it.
Surfaces experiment
Source filesFor the assignment I have decided to experiment different materials and methods, in order to find the best way to produce the shell of the extruder for my final project.
In the first experiment I have used the CNC milling machine with RhinoCAM to make a polystyrene mold and produce a composite fiber of linen and epoxy resin using a the vacuum techinque.
In the second one I have used a 6axes robot arm with an hot wire tool to make a polystyrene negative and positive mold, in order to produce a composite fiber of linen and polyester resin.
In the third one I have used different mold, in order to produce a composite of fiberglass and epoxy resin, cotton and polyester resin and fiberglass and polyester. We haven't use the kit from Fabeconomy because was sold out.
CNC milled mold
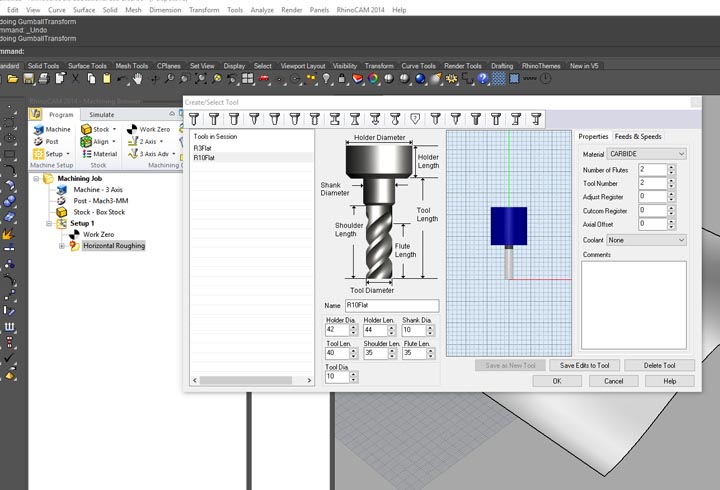
1rst step: set up the tool that we are going to use, 10mm end mill for the roughing and 3mm end mill for the finishing. To cut the polystyrene I will use a feedrate of 3000mm/min and 300mm/min on z axis.
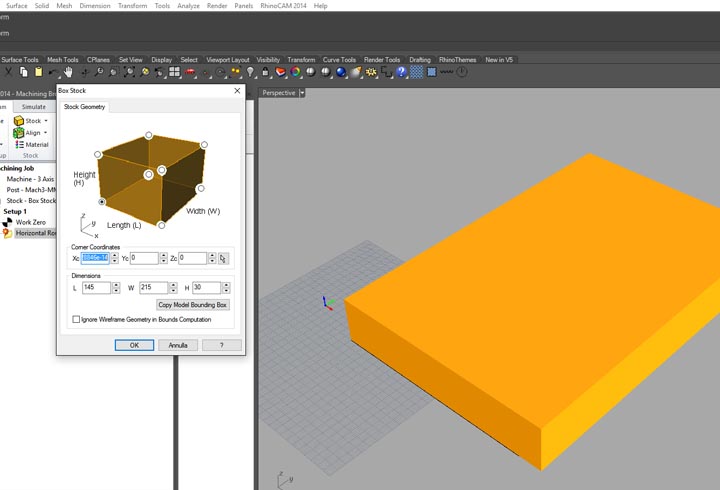
2nd step: set up the stock material dimensions that we are going to use.
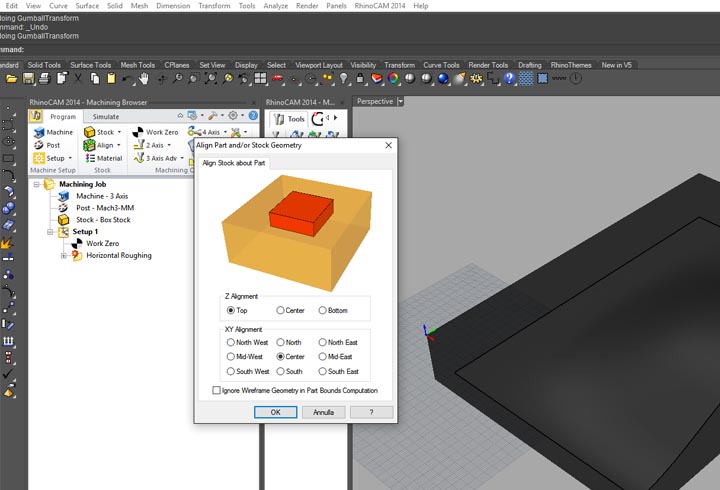
3rd step: align the stock with the part to machin.
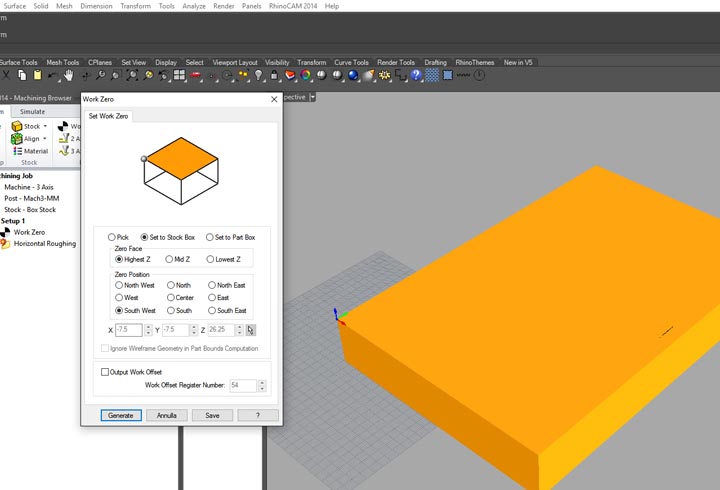
4th step: set the work coordinate zero.
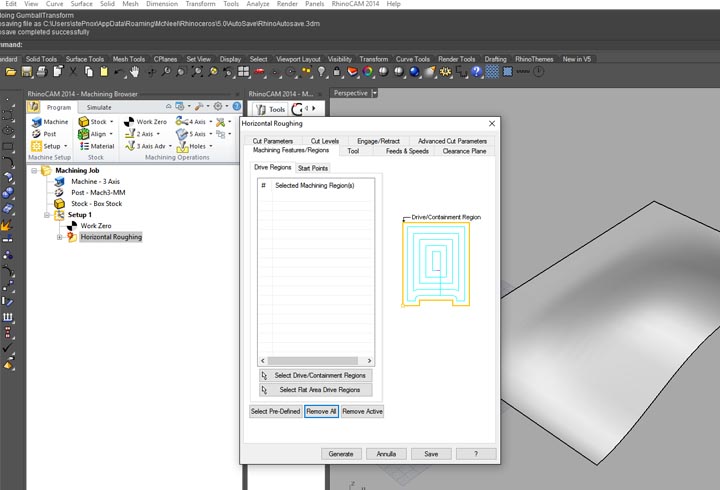
5th step: add the first machining operation of horizontal roughing.
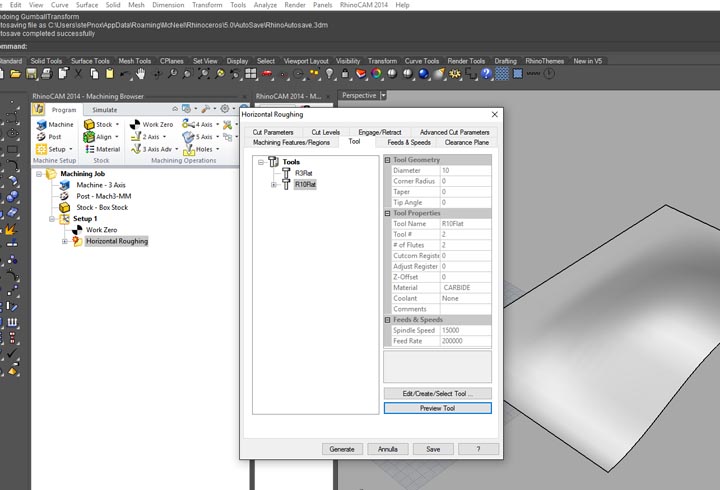
6th step: select the tool that you want to use, in this case the 10mm end mill.
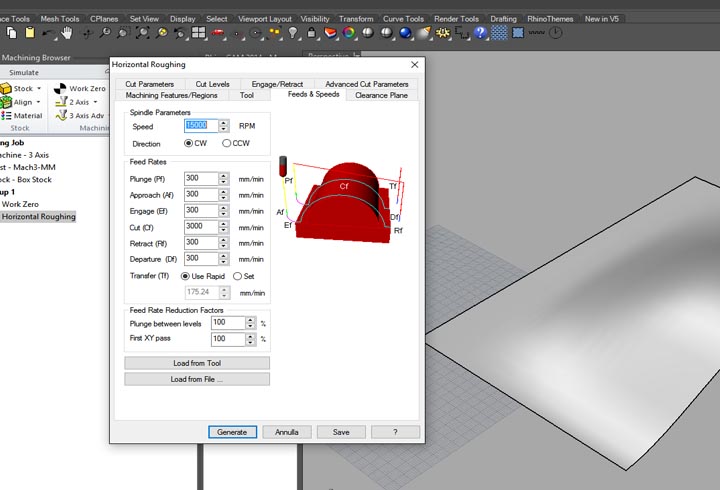
7th step: set up the appropriate feedrate, in this case 3000mm/min cutting feedrate and 300mm/min z feedrate.
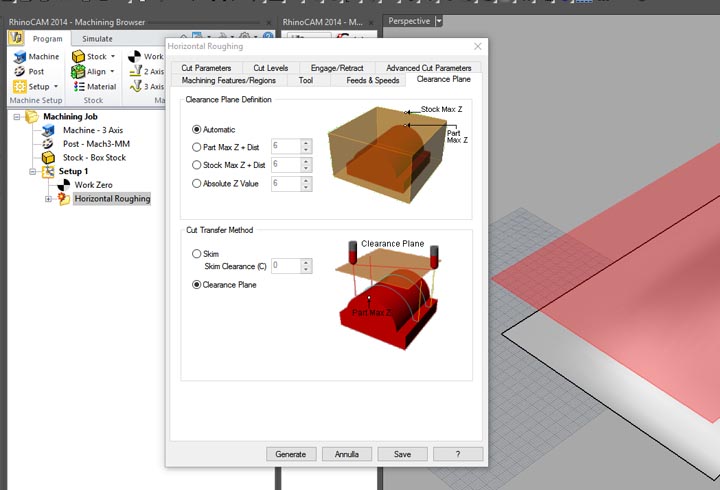
8th step: set up appropriate clearance z plane.
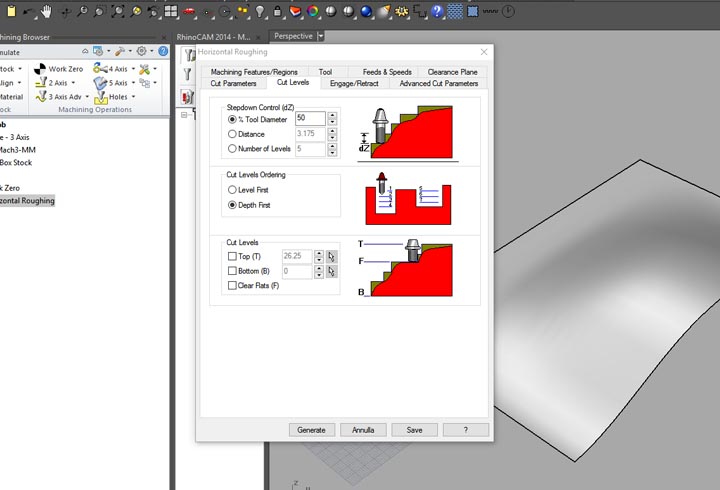
9th step: set up the cut levels, in this case I have used a stepdown of 5mm.
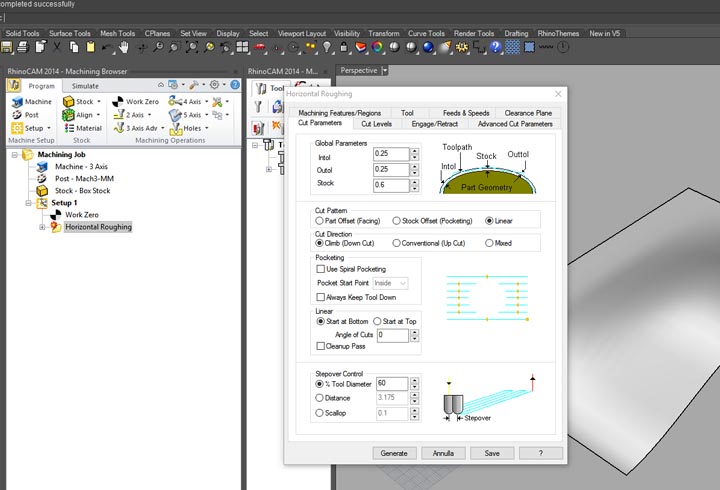
10th step: set the stepover (60%) and the cut pattern.
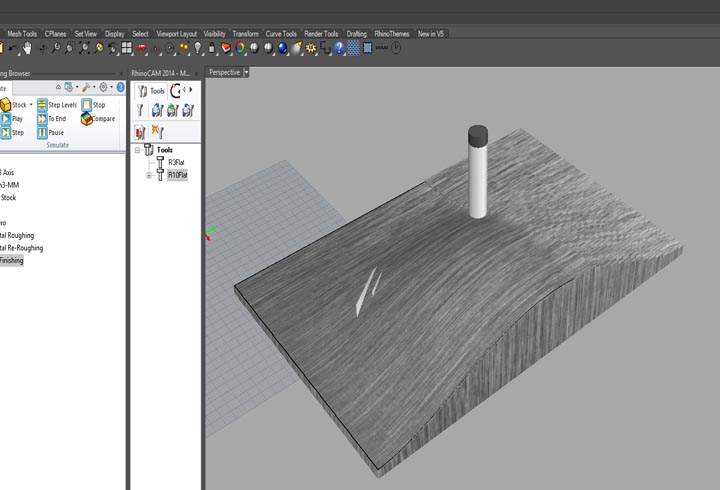
11th step: at the end we are ready to simulate the cut and postproces all the machining operations with the Mach3 mm postprocessor.
12th step: I have stuck the stock with some points of hot glue, and set up the zero of the machine ( here you can find the week 7 tutorial on how to use and set up the machine).
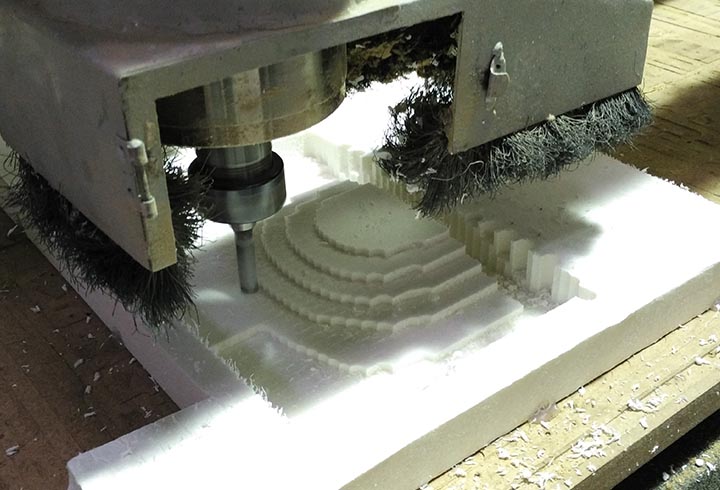
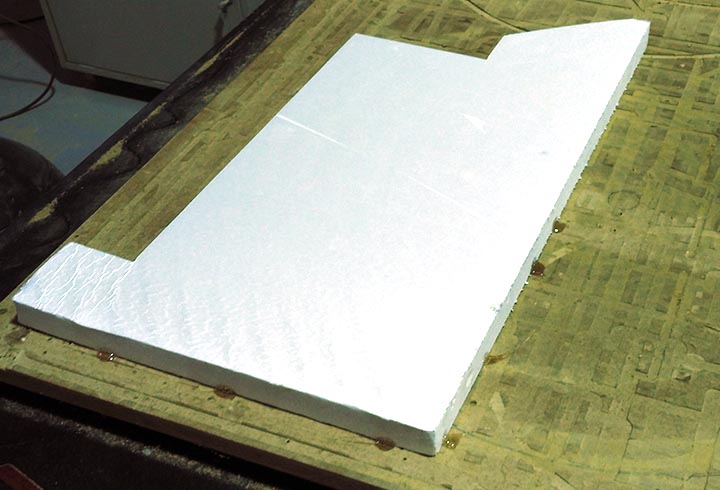
13th step: cutting the mould, here a shot of the roughing.
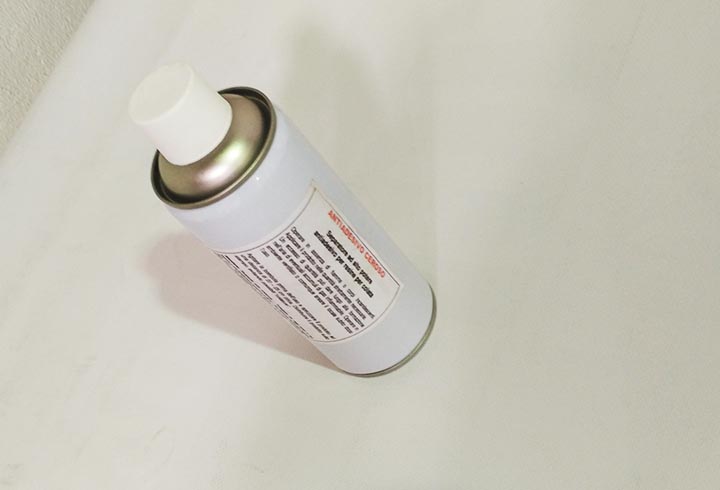
14th step: waxy release agent.
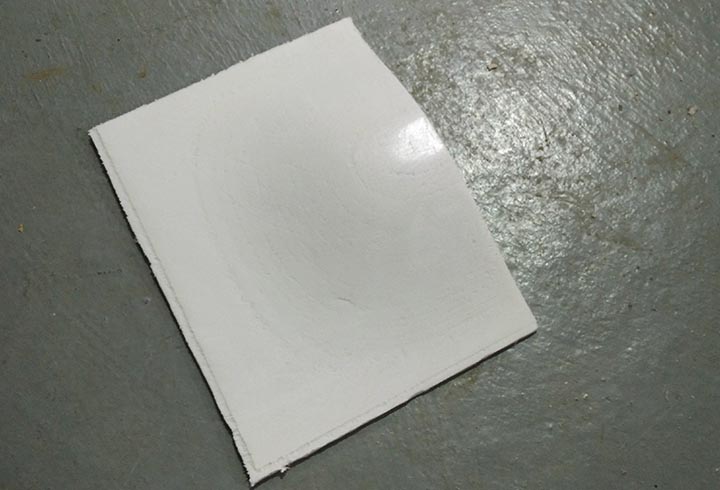
15th step: prepare the mold surface with a waxy release agent.
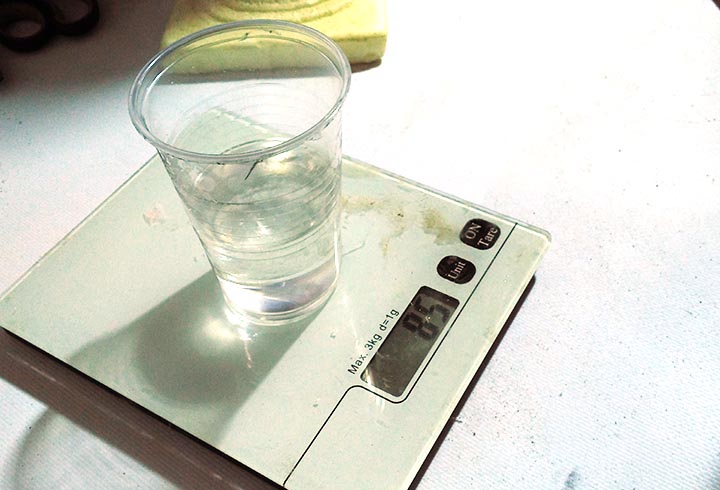
16th step: mix the epoxy resin with the curing agent at the 60% and mix it very well.
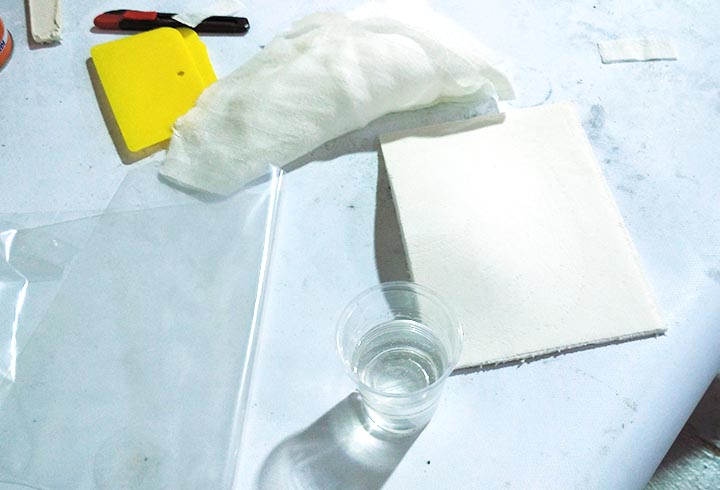
17th step: prepare the linen layers to use.
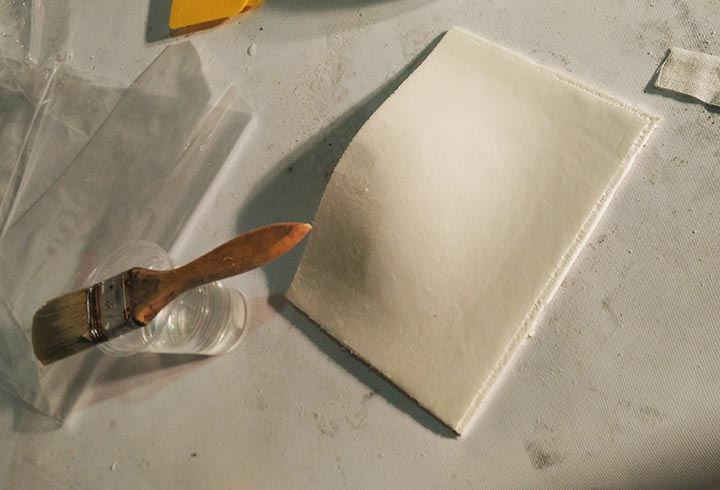
18th step: spread a layer of the mix on the mold surface.
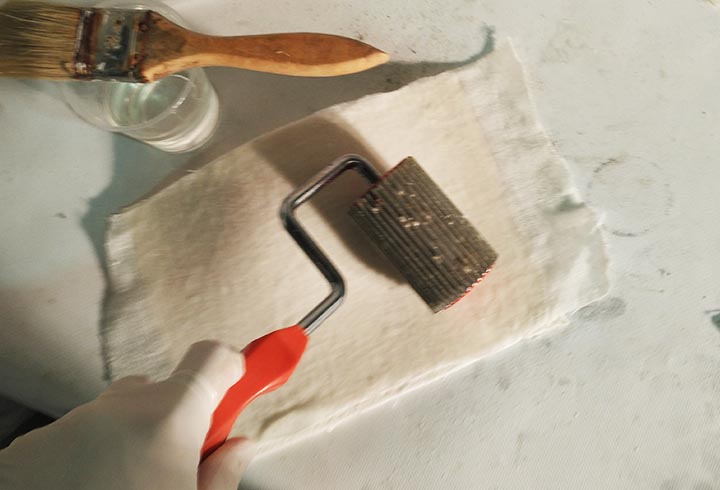
19th step: put the layer of linen on the mold with the resin and press it very well with the roller in order to remove all the bubbles air. .
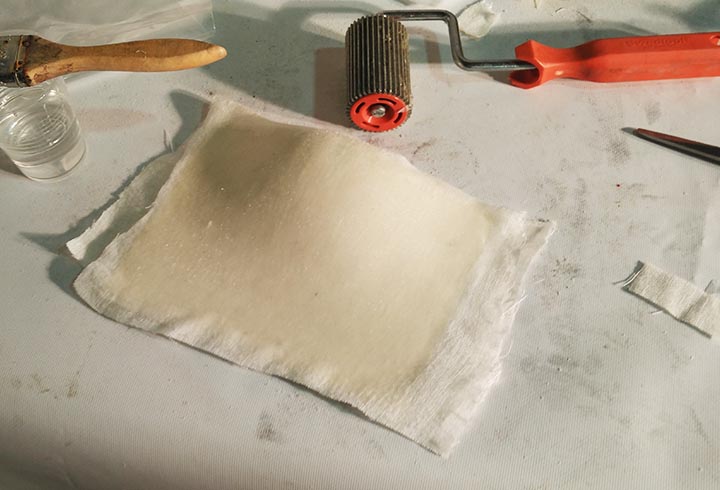
20th step: drench very well all the linen layer, put on the second one on it and repeat with third.
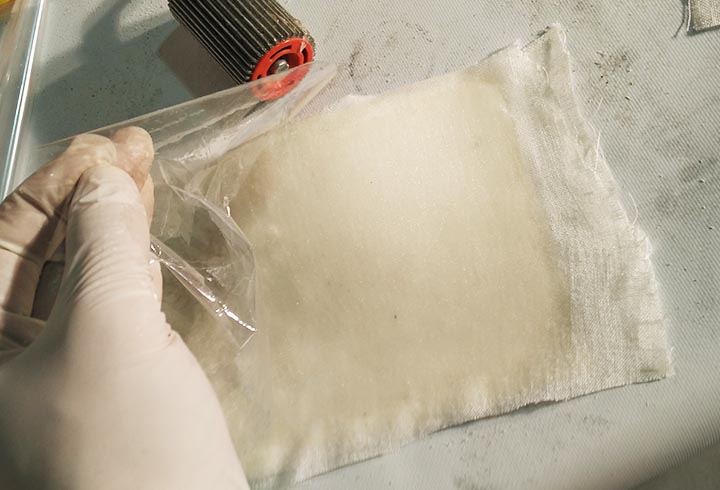
21th step: I have putted a layer of packaging film where I make some little cuts with a cutter, in order to allow the resin exit.
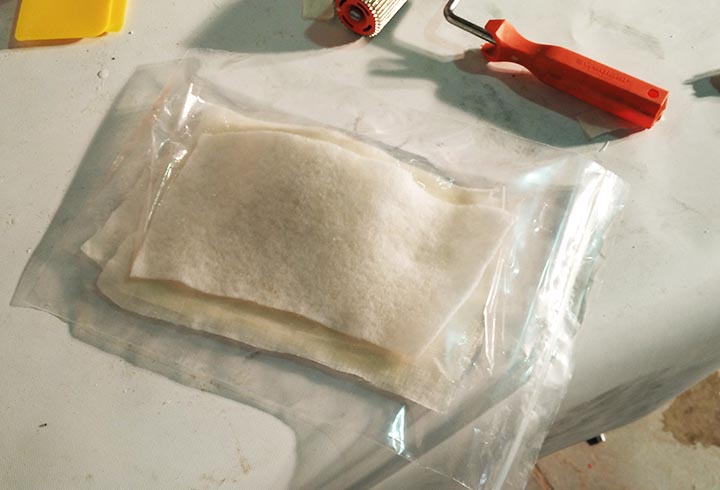
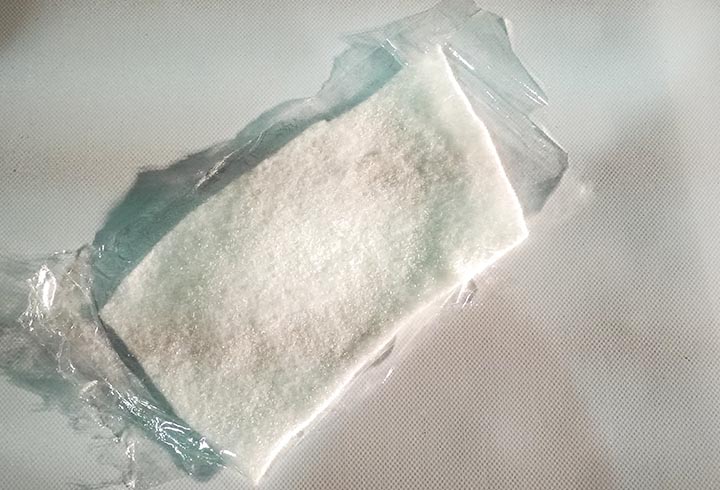
22th step: I have putted all in an sealed plastic bag with a particular spoonge fiber to absorb the excess resin.
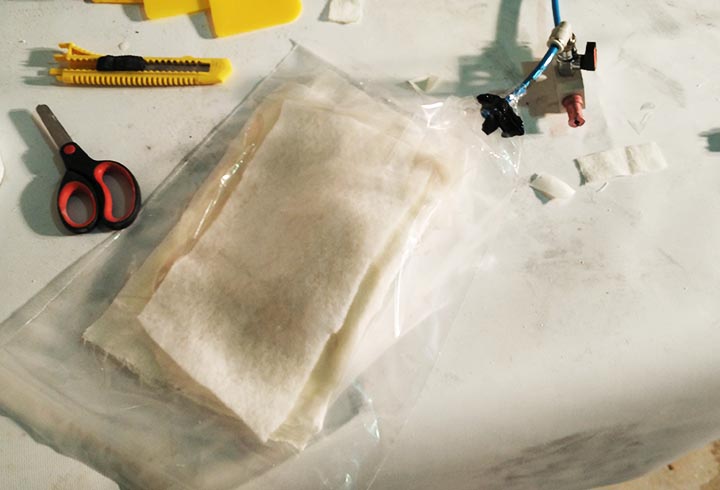
23th step: I have made an hole in an angle of the bag in order to stick a piece of pipe with a special HT sealant.
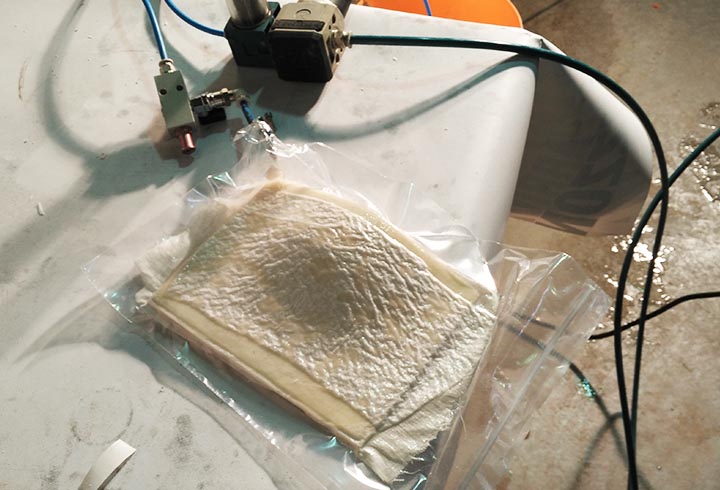
24th step: using a Venturi vacuum pump attached to a compressor, in order to obtain the vacuum effect.
25th step: remove the layer of packaging film and the sponge was very easy, but remove the resin fiber from the mold was a little bit tricky.
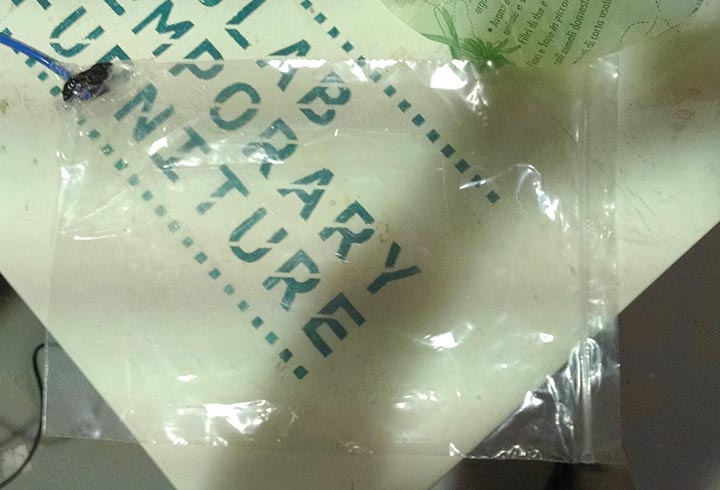
26th step: the plastic bag is in a perfect condition, and I can reuse it.
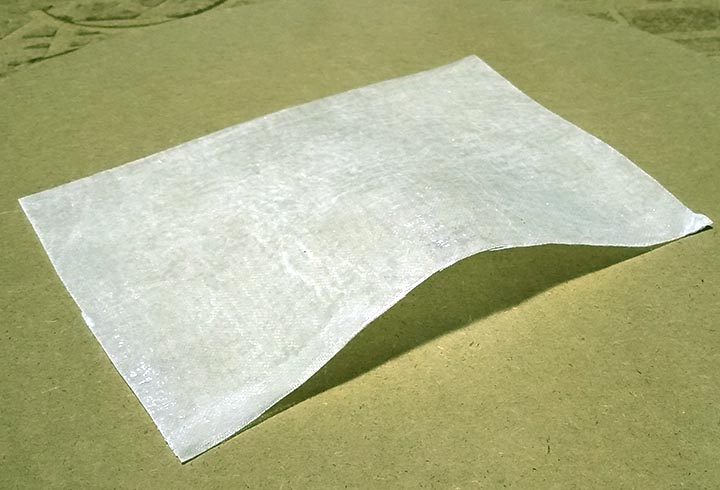
Conclusion: The final piece take a very long time to hardened, almost two days, maybe because the last days were cold and wet.
The finishing have a very good quality, but a little bit glossy because the using of the packaging film.
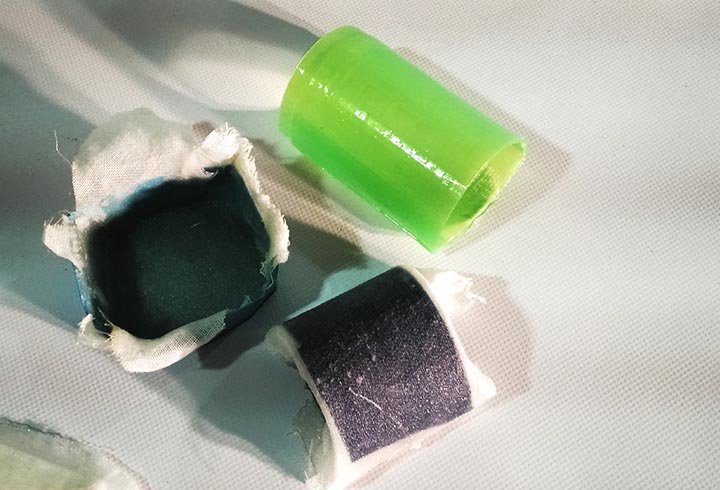
Experiments: with some spare epoxy resin I traied to fiber-reinforced some 3D printed PLA parts. The results are very very strong pieces!

1rst step: using a grasshopper definition source made by digifabTuring Team (Stefano Paradiso, Andrea Graziano and Alessio Erioli) we can obtain the robot toolpath (a .pdl code) from our geometry. For more information you can consult the git.
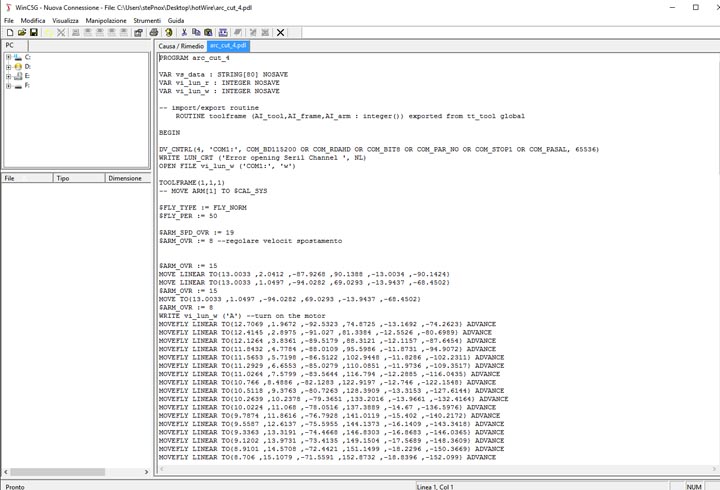
2nd step: when we have the .pdl file we must compile it with Winc5G, the COMAU compiler, obtaining the .cod file that we can execute on our NJ60 COMAU robot.
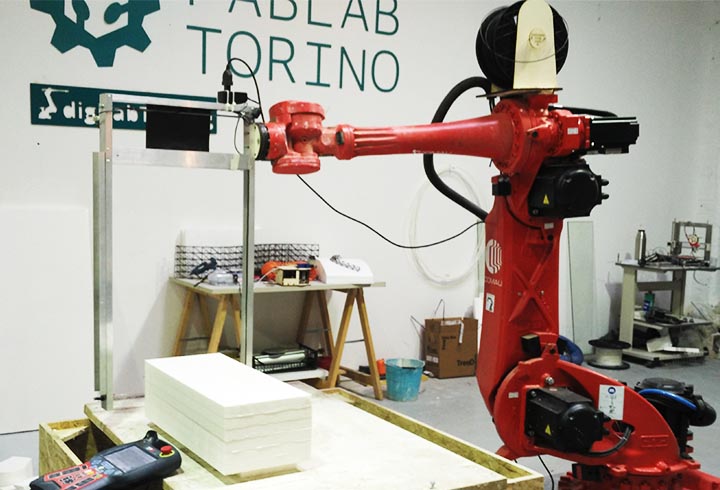
3rd step: the hot wire tool is very simple to build, we have used only a couple of aluminum profiles, a piece of tungsten wire and a 12V powersupply. Now we are ready to glue the big piece of polystyrene to the working table.
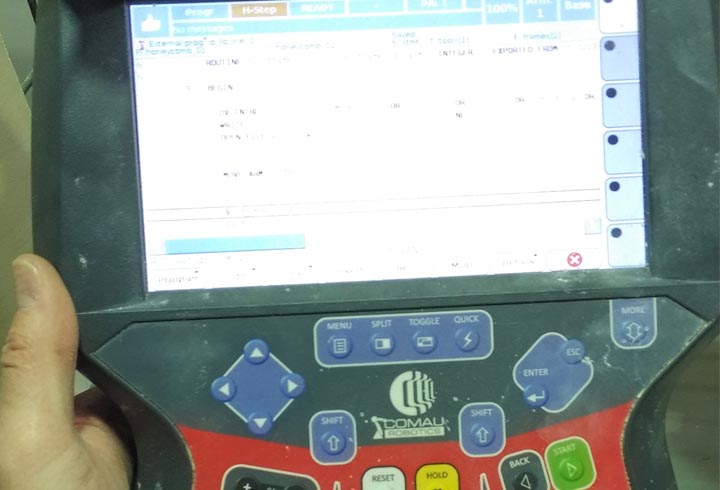
4th step: plug the usb driver on the robot teachpad and run the machining.
5th step: the robot take only few minutes to complete the work.
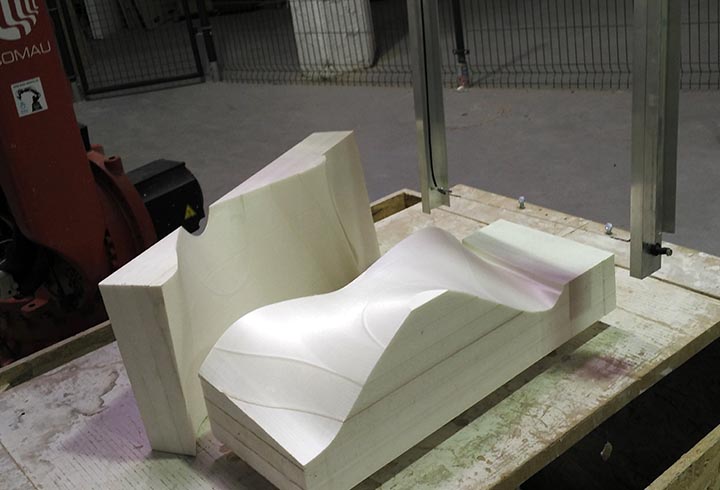
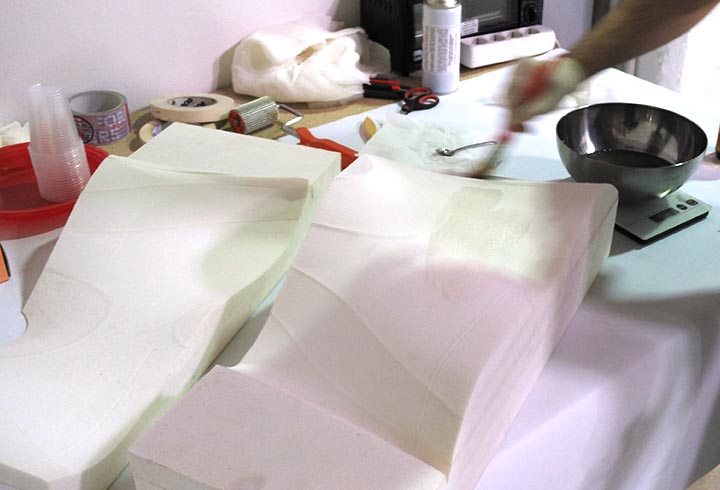
6th step: at the end with only one machining we obtain the negative and positive mould.

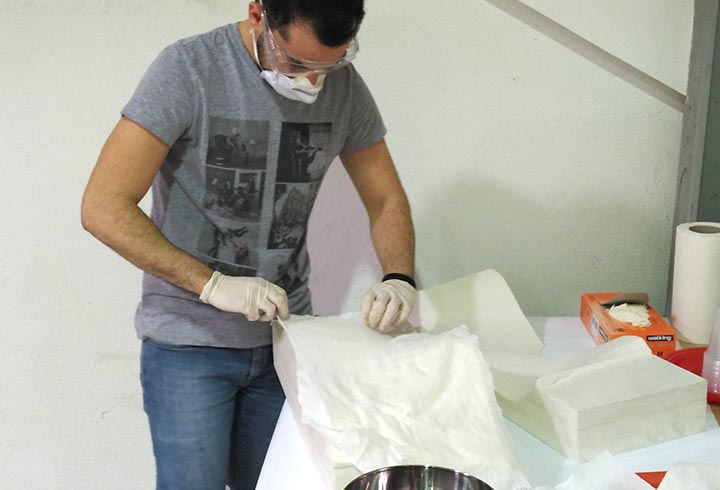
7th step: will be very important to use protection mask, glasses and gloves.
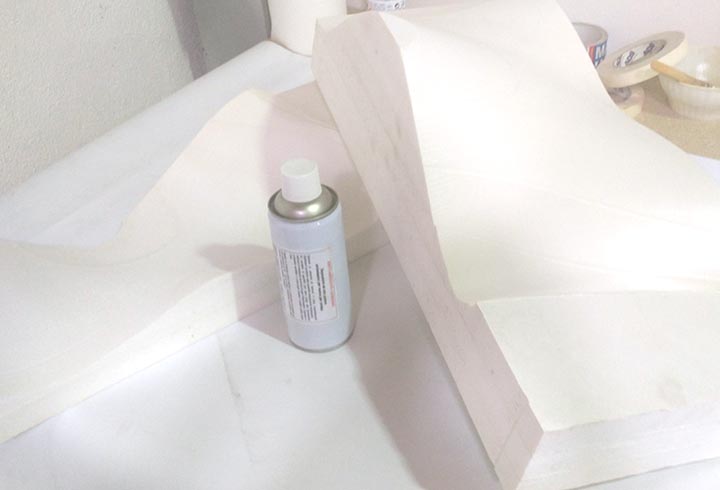
8th step: prepare the mold surface with a waxy release agent.
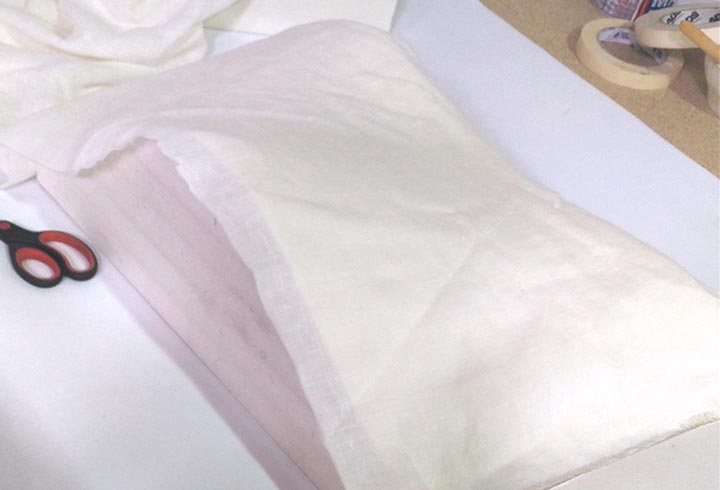
9th step: cut the three pieces of linen.
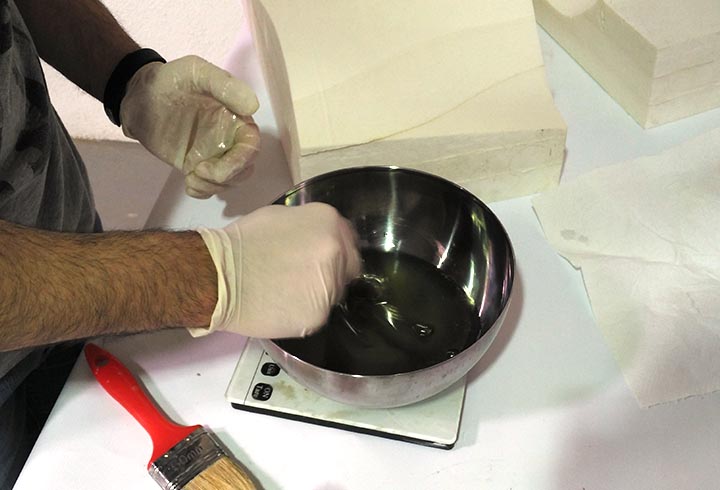
10th step: mix the polyester resin with the curing agent 2% and mix it very well.
11th step: spread a layer of the mix on the mold surface.
12th step: put the layer of linen on the mold with the resin.
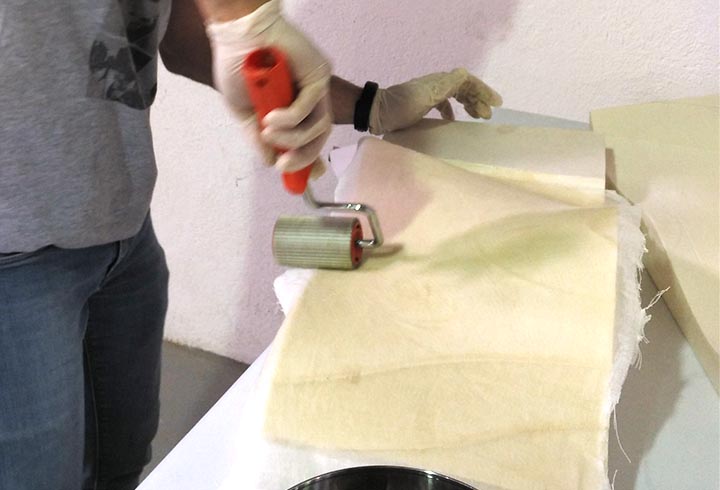
13th step: press it very well with the roller in order to remove all the bubbles air.
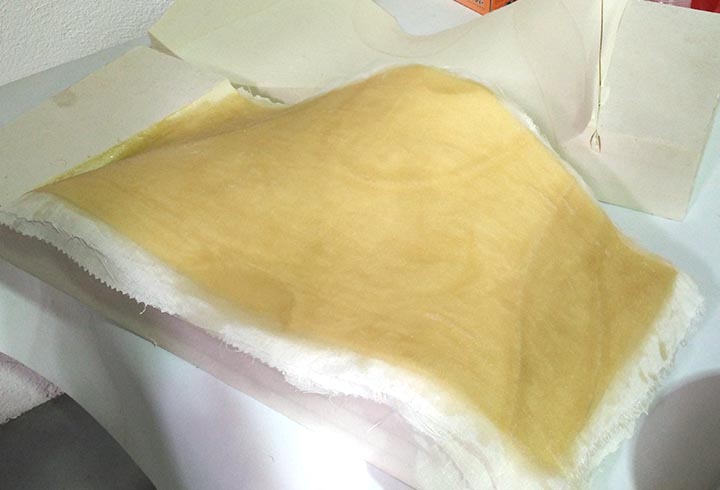
14th step: drench very well all the linen layer, put on the second one on it and repeat with third.
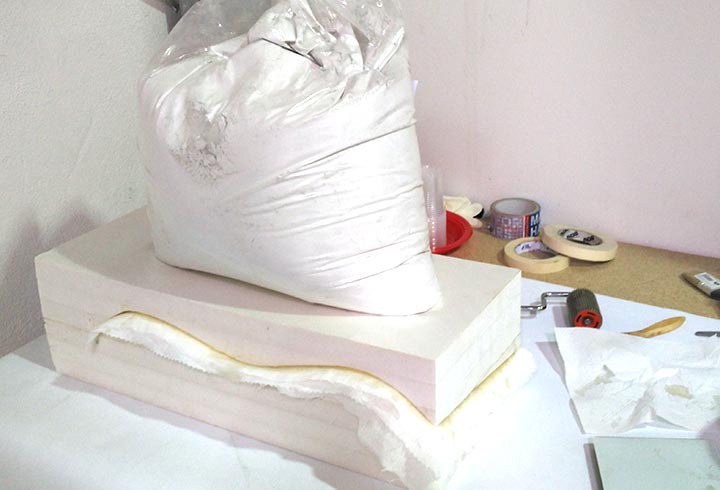
15th step: put the negative mold on the top with an heavy weight (25Kg of plaster).
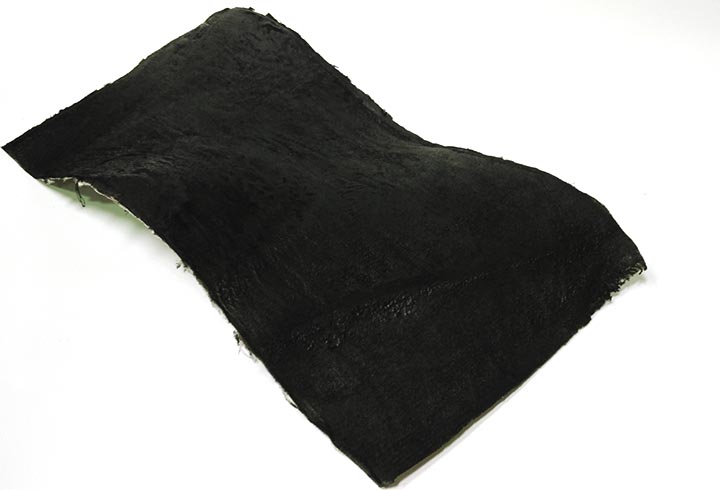
Conclusion: the resin has hardened very fast (20 minutes), but the final finishing was yellowed and all the resin have spoiled the mold because the temperature high of the process.
NURBS surface: modeling the NURBS surface.