#Exercise_7
9/03/2016
Assignment
Computer controlled machiningDesign and Make something big with a CNC milling machine.
Design a valet stand and a dog bed
Source filesTools and materials
- CNC router
- Sandpaper
- Water-based trasparent wood paint
- 15mm fir playwood 2440mm x 1250mm
- Rhinoceros CAD
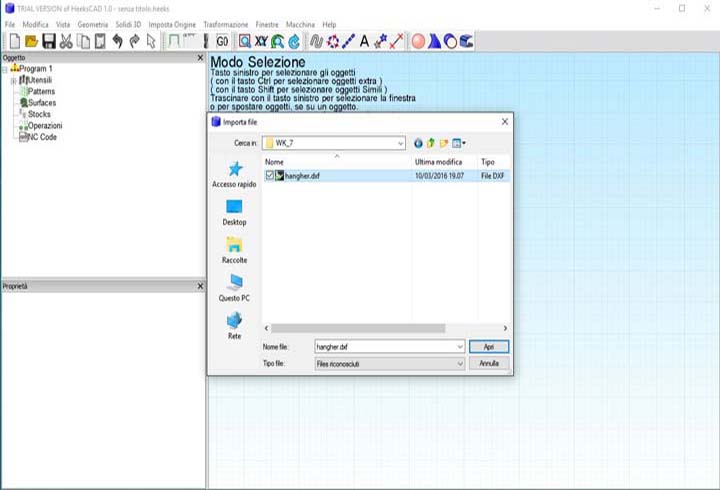
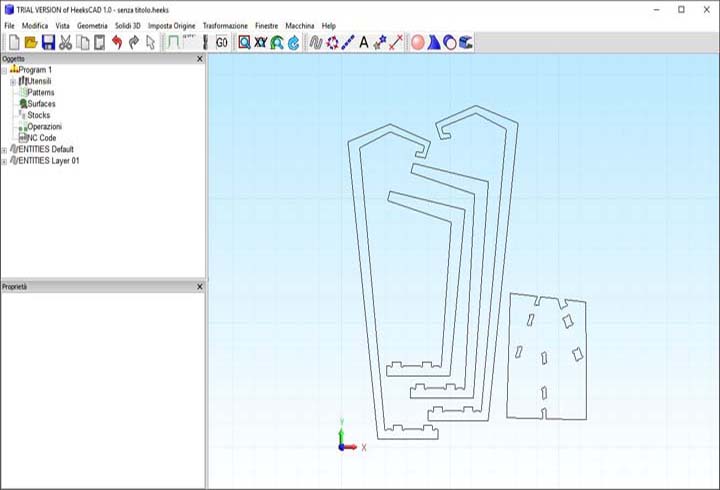
- HeeksCNC CAM
For the assignment I have decided to use Heeks CNC an opensource cam software available for windows and linux that have a very simple and intuitive interface; I have made a lot of experiment with several cam (RhinoCAM, Fusion360, PowerMILL and camBAM) my favourite still remain RhinoCAM, all of these softwares are very complete but at the same time difficult to use and expensive; so for a 2.5 axis works and simple 3 axis works HeeksCNC will be perfect.
To design the objects I used Rhinoceros, I haven't use grasshopper or Solid Works because I didn't need a parametric objects.

Keypad: the machine have a very useful keypad that allow to move the router, upload the gcode from a usb stick and make all the operations without a dedicated computer.

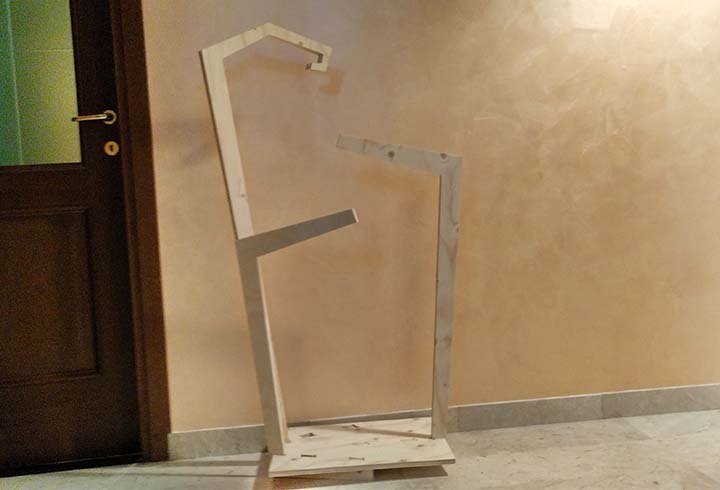
1st step: I designed this stand to put in the bedroom, it's a useful hanger for pants and vests used during the day.
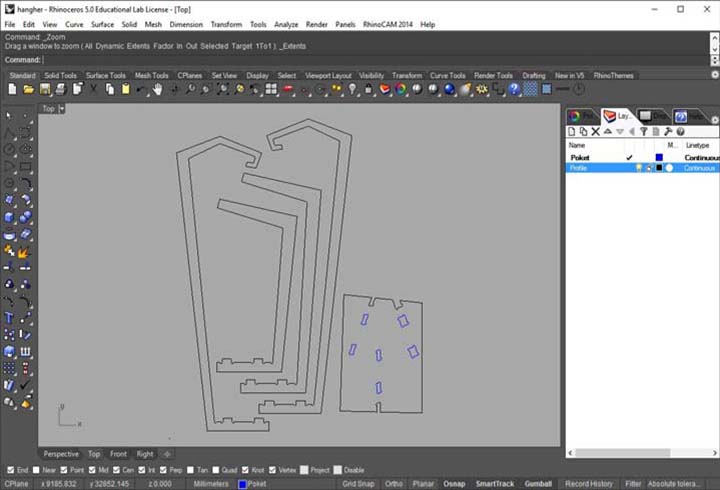
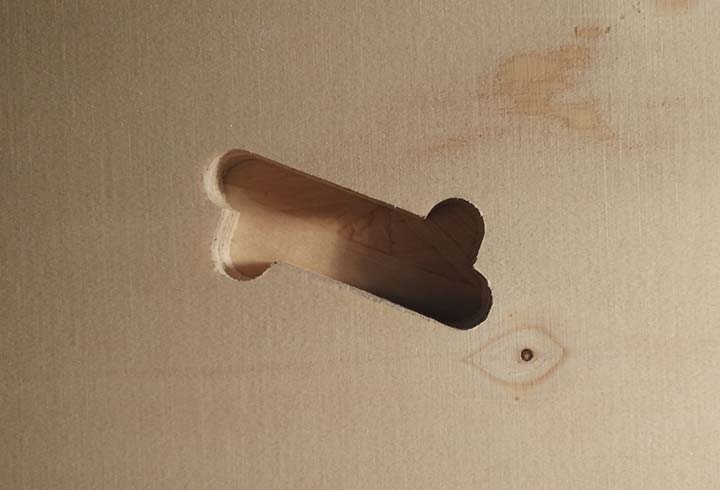
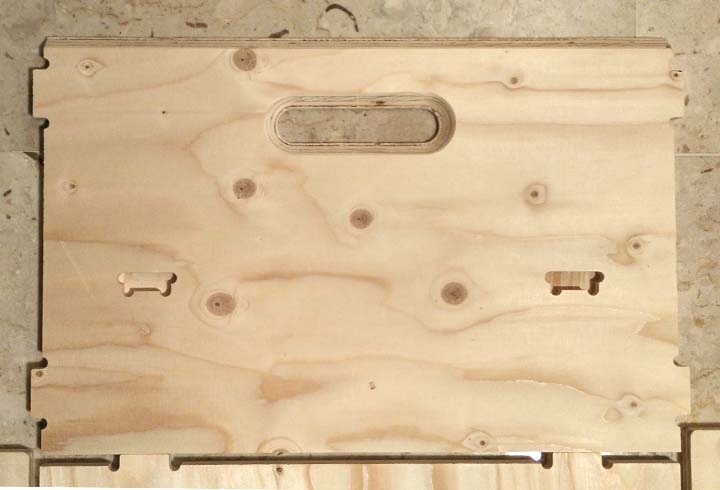
2nd step: preparing the 2D CAD file to postprocess with the CAM. For the valet stand I used the classical CNC wood joints. Nest all the peaces and export it in .dxf R12 Natural pay attention to put the in the right-down origin in 0,0,0).
Tool: I decided to use a 10mm two flute straight cutters. After some test with this tool and the playwood that I will go to cut, I have found a good quality with Feedrate: 3000mm/min, Spindle: 15000rpm, Step Down: 3mm and Z Feedrate: 200mm/min.
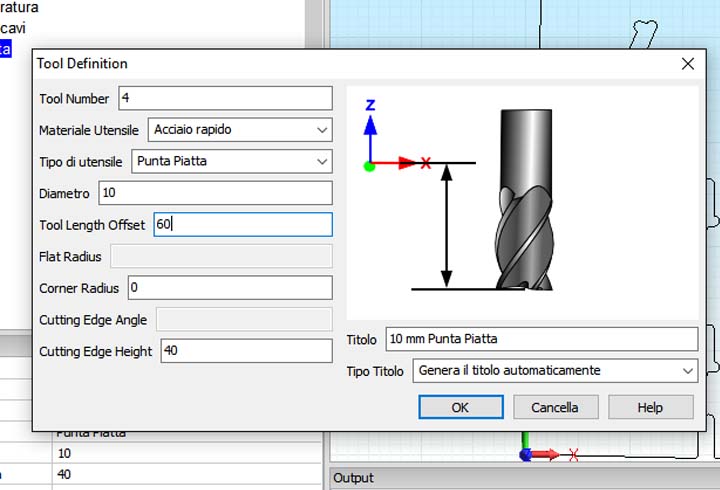
4th step: adding and setup the tool that we want to use if not present. From the menu machine>add new tool>straight tool. The most important parameters to fill with the one of our toll and pay attention will be the tool diameter, the cutting edge height and the tool length offset.
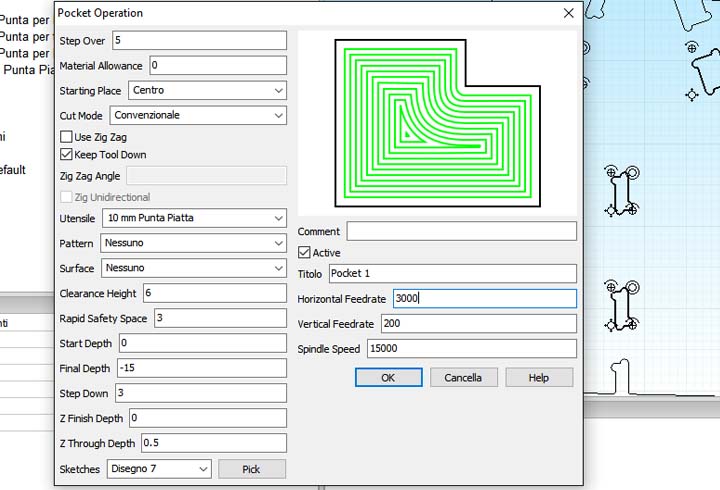
5th step: add a pocket operation and setup it. Select all the pockets that we want in this operation, from menu machine>new operation>pocket. Now we will setup all the parameters that you can see from the above image.

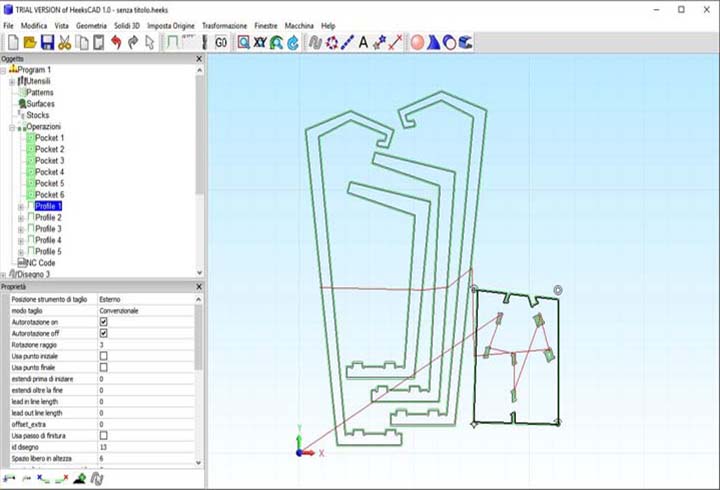
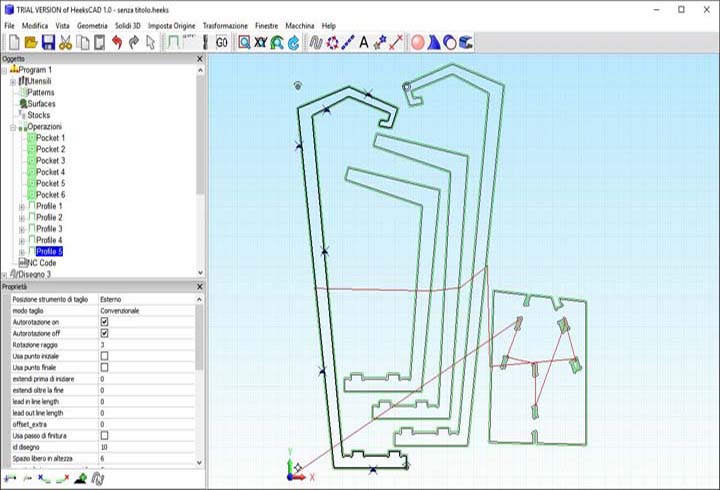
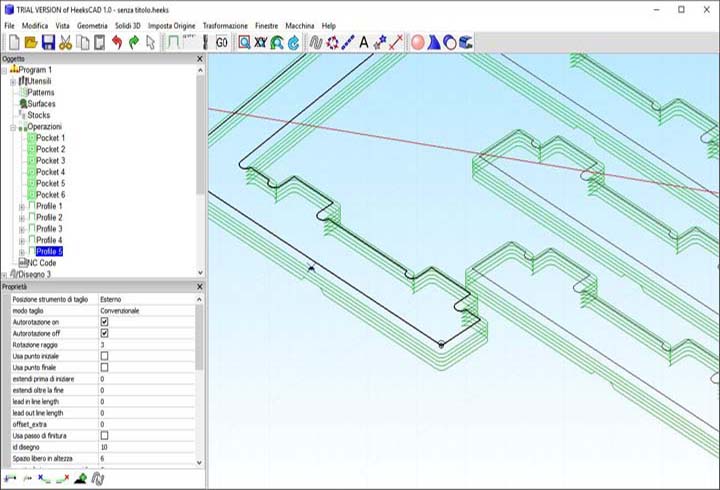
6th step: now I will add a profiling operation. Select all the profil that we want in this operation, from menu machine>new operation>profiling. Now we will setup all the parameters that you can see from the above image.
7th step: now we are ready to generate the gcode, from menu machine>postprocessor. Now we have generated the gcode.

8th step: put the tags on the profiles in order to allow the peaces to not mouve around and not vibrate. We will put at least e tags for each peace.
9th step: at the end we must recalculate the gcode with the tags.
10th step: if we put the view in perspective mode we can check the operation.
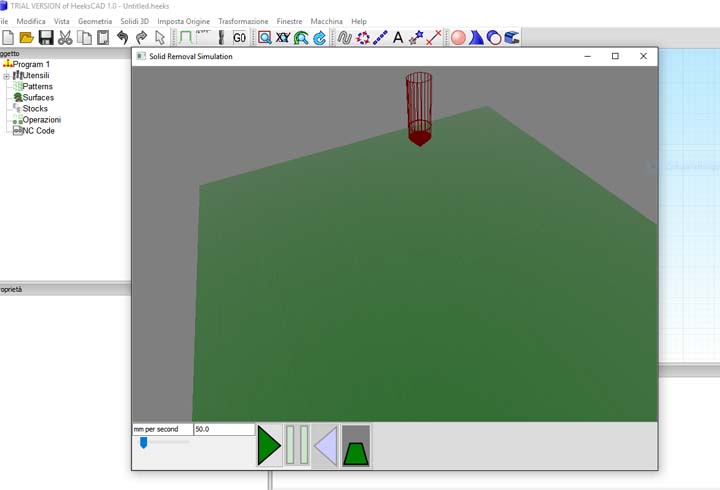
11th step: we can run the simulation tool too, from the menu machine>simulate. I tested this tool but was not very useful because is unripe and can't show wath will really happen.
Milling
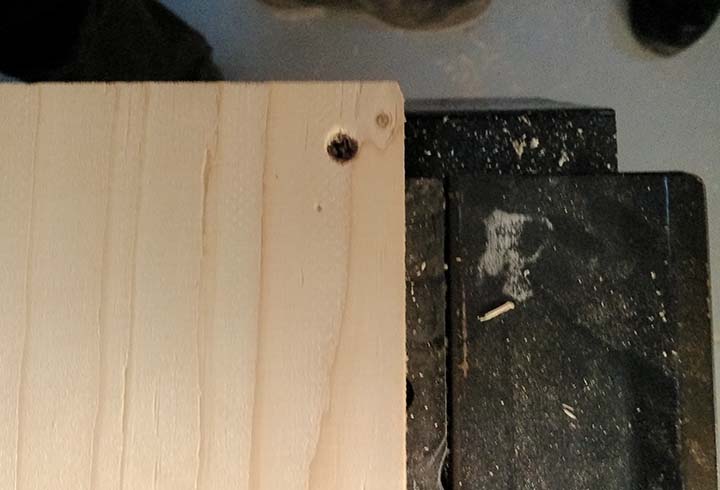
1st step: put the playwood sheet on the work table and fix it to the MDF with the screws, be careful to avoid hitting the screws during the lavoration.
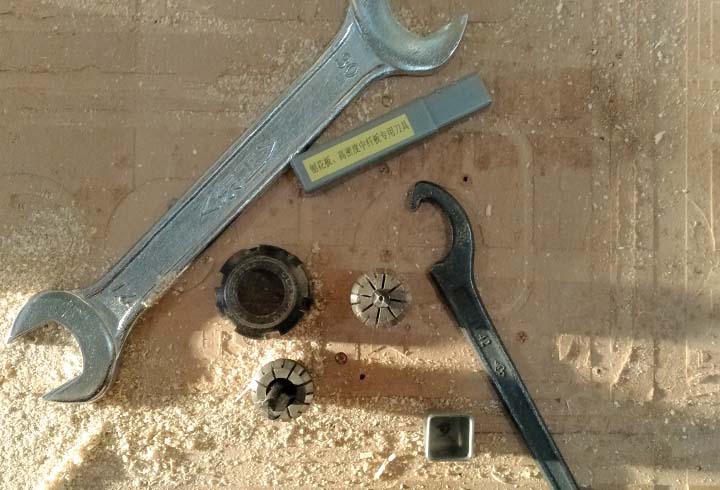
2nd step: select the right collect and tool (10mm 2 straight flute cutters).
3rd step: mount the tool on the spindle.
4th step: using the keypad and the direction keys move the tool in the desired position for x and y starting point, now by clicking the xy-0 we can store the xy origin.
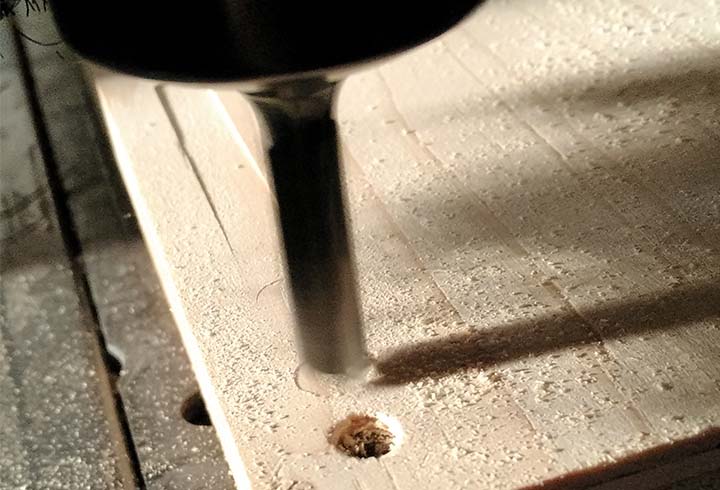
5th step: now we must setup the Z origion, so we move the tool with the keypad in z until it touches the playwood top, with the z-o key we can store the z origin. Our Z-0 will be the top of the panel.
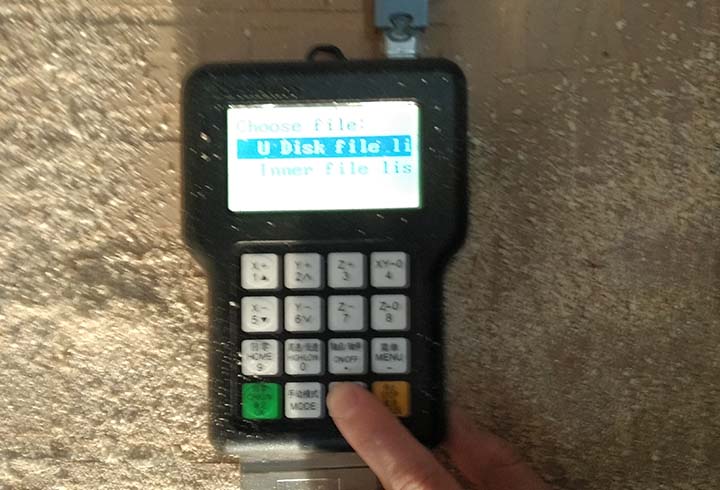
6th step: now we are ready to run the gcode; put the USB stick on the keypad and by clicking the RUN/PAUSE key, select the right file from the external drive and double clicking the green button to start the lavoration.
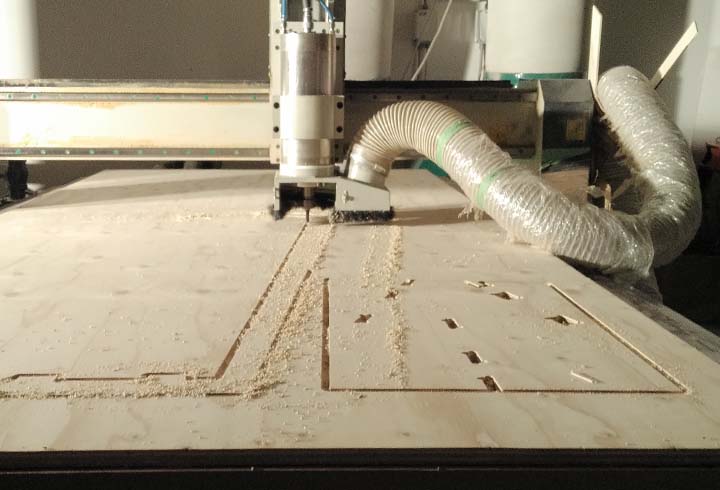
the cutting takes no more than 20 minutes.
the cutting quality looks pretty good before send it.
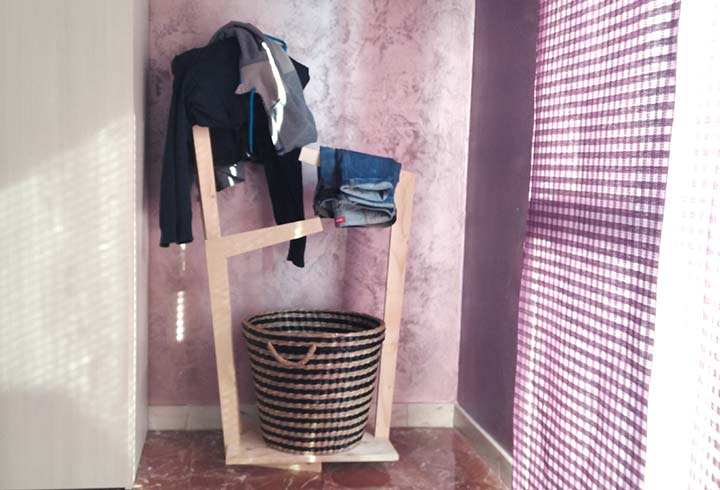
the final result after a little bit of sendpaper and water-based trasparent wood paint.
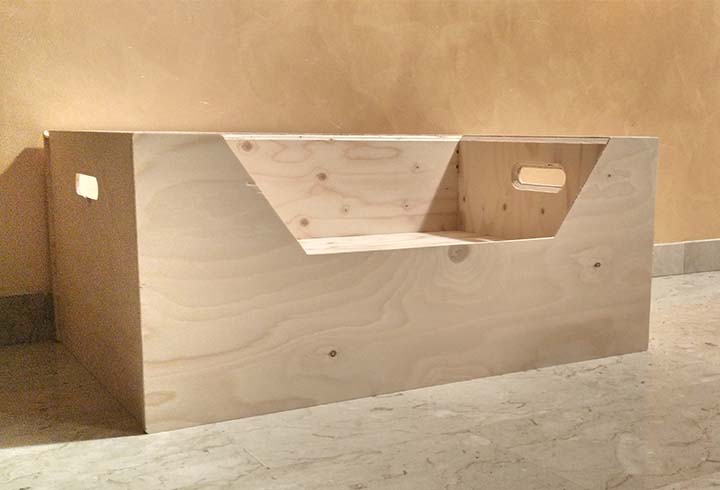
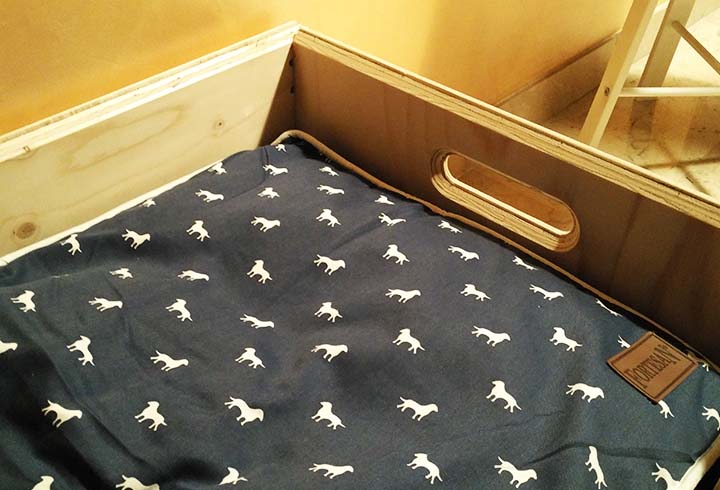
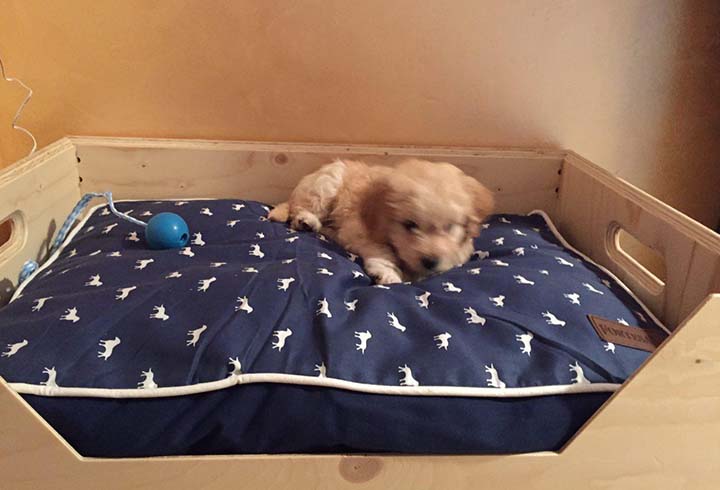
Extra content: a new dog bed for my little dog Artu'. In this case I have used the same kind of joint but with a partial depth, in this way we can obtain a flat finishing. Moreover I have used a 45 chamfer to obtain a more comfortable finishing.
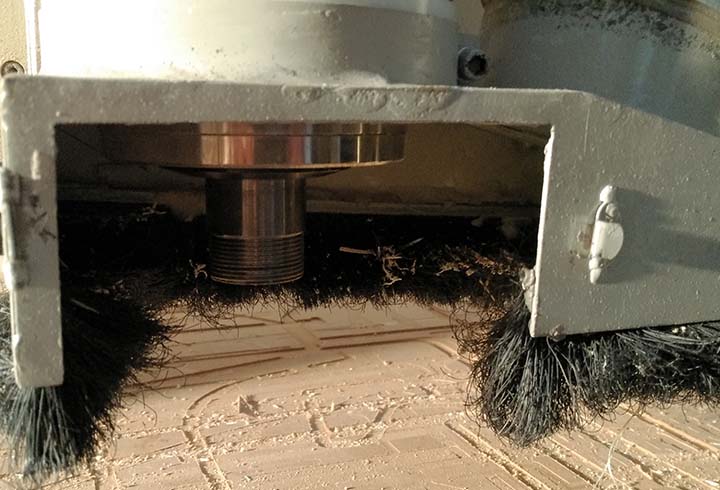
CNC router: our machine have a 2000mm x 1250mm x 100mm of work area, a 3KW and 30000rpm water-cooled spindle, and a vacuum pump or MDF plane. This router allow to work with aluminum too without problem.