This week's assignment
- Mill a board
- Solder components on the board
- Programme the board
Mill a board
This week's assignment is making a programmer. What we have to is making a board using CNC milling machine. You can find a tutorial from here
To mill a board, there are two things we have to do.
- Mill a circuit board trace image with a 1/64" bit
- Cut out the board outline with a 1/32" bit
It is important to keep in mind that we use two different size of mills. The thinner, the more precise but also the higher possibility of being broken. So set the lower speed when you are using the thinner bit. We have a Roland SRM 20 machine in Fab lab Seoul.
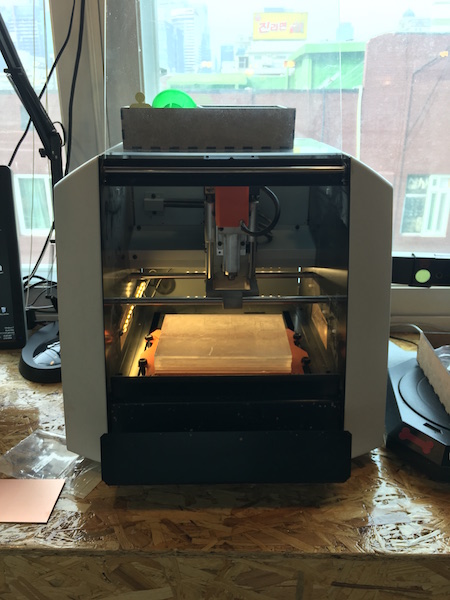
Normally we set 4mm/s for 1/64" bit. zjog is the z-axis movement when the machine move from a current trace and next trace. So if it is too small, a bit touchs the board. 2mm would be okay. Also I checked the climb - it is more precise than a conventional. Set the number of offsets depending on the bit size. You should calcuate and check twice before you begin cutting. Check traces! Is there any connected path? Is there anything wrong? Our instructor Eduardo emphasised the importace of checking befor hit the start button. It won't take more than a min but will save more than an hour or a day.
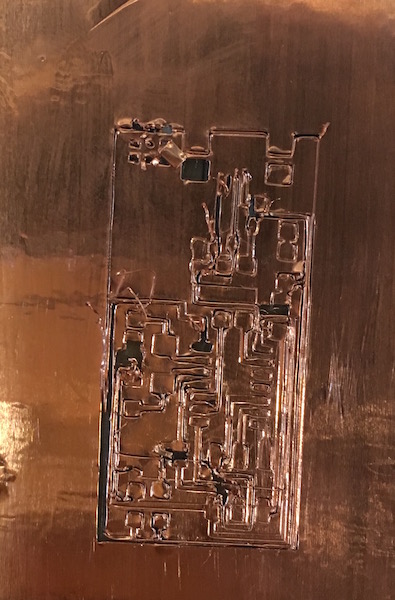
Our local Fab lab encounted the problem; 1/64" drill has broken during the weekend and only three students made their boards. Instructor ordered a new mill but it will take several days to be shipped. So I tried to cut a trace with both thicker and thinner bits. And guess what? I broke them all.
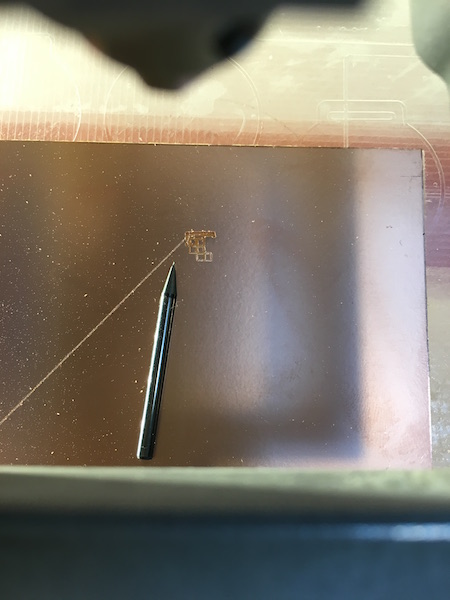 hola! scored 3 points!
Cutting A Board
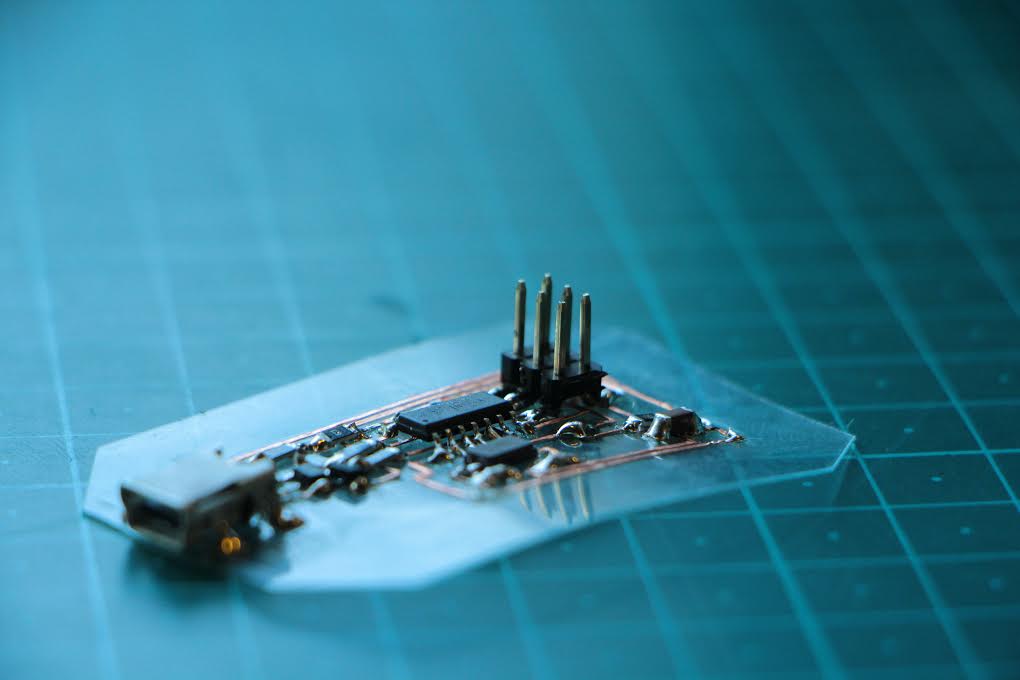
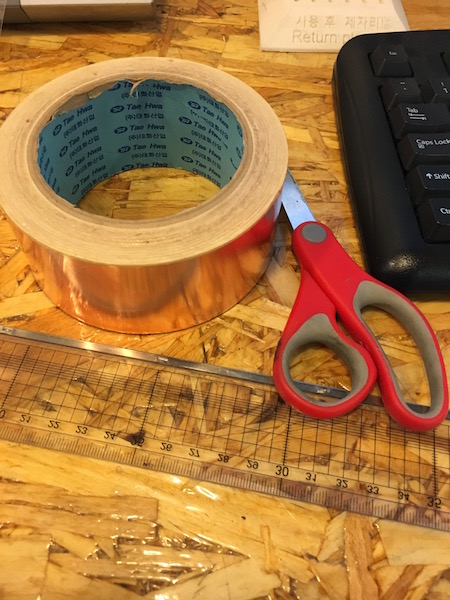
Another possible soultion is a using a copper tape and cutting by vinyl cutter. It sounds tought but actually local instructor made a flexible pcb board using this method. It actually turns out really beautiful and functional at the same time. So why not me?

 maybe not me... nice try tho :p
Milling a board
Valentin Version
Since our local fablab ran out some capacitors, I had to made another version of helloISP. I chose valentin's version.
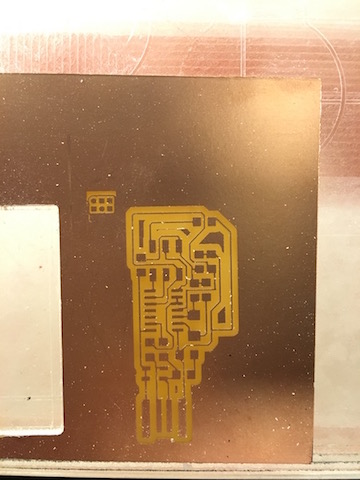

I don't know why but somehow all path became thiner than it suppose to be. So I had to solder components super carefully.

And all problems began when I tried programme the board. I followed the tutorial. I had problem with making fuse. This is my error message.
make fuse avrdude -c avrisp2 -P usb -p attiny44 -U hfuse:w:0xDF:m -U lfuse:w:0xFF:m avrdude: usbdev_open(): did not find any USB device "usb" make: *** [fuse] Error 1
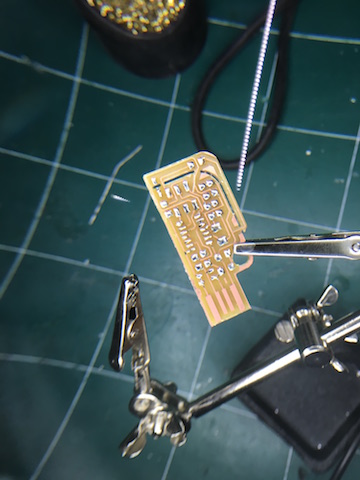
What I did to solve the problem
- Checked the board: Is soldering done rightly?. It sould be shiny. I checked all connections.
- Is circuit right?: I checked the attiny and diodes. You have to check the orientation of them. And I found that I put diodes in opposite direction! tips:Check the datasheet and found which side is cathode. Normally cathode side is makred with a line.
- Tried a different ISP: I used another one that I borrow from my colloague. It didn't work with me.
- Tried on other's laptop: A intructior( Yong woo) tested my board on his laptop. It didn't work.
I concluded that something is wrong with my board. But I couldn't figure what it is exactly. So I unsolder every components and did it again.
Unfortunately, it didn't work either. I spent 3 weeks on troubleshooting. Meanwhile new capacitors have been arrived our fablab arleady. And I decided to make another version.
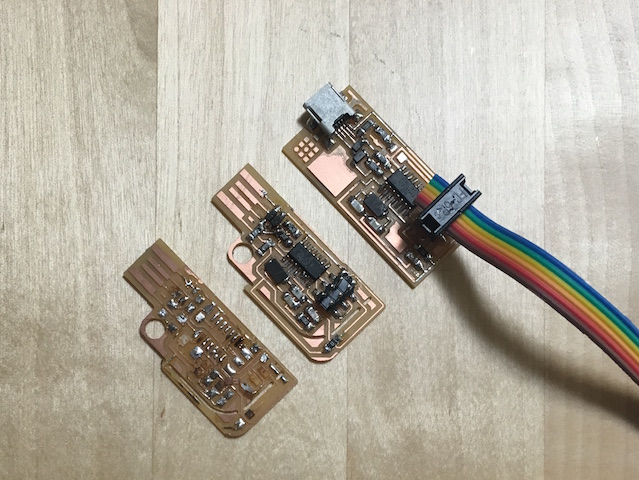
FabISP
I made another board. But I had same problem. Whenever I typed 'make fuse', my laptop couldn't detect the device. I guess this problem is related to the FTDI connection of Mac. Because I'm using Mac and so does the instructor. I tested my board with local fablab's desktop PC. And it worked!!!
Conclusion
What I succeeded
- Use milling machine
- Make a board
- Become a mill breaker
- Make boards
- Programme the board
What I failed
- Make a flexible board using vinyl cutter
| ← week 3 | computer-controlled cutting | week5 | 24.Feb.2016 ~ 01.Mar.2016 → |
|---|