Assignment 01
Principles and practices, project management
Assignment:
Build a personal site describing you and your final project. Plan and sketch a potential semester project and add it to your website. Upload it to the class archive. Do a git tutorial.
Learning outcomes:
- Explore and use website development tools
- Formulate a final project proposal
- Identify version control protocols
Have you:
- [x] made a website and described how you did it
- [x] introduced yourself
- [ ] described and made a sketch of your final project
- [ ] documented steps for uploading files to archive
- [x] pushed to the class archive
This week's recitation
The process to upload files to the server is quite straight forward, what you have to do is:
- 1. Setup your working folder
- 2. Create the GIT repository, which can be done through two ways. The first consist to create an empty repository on the server and clone it to your PC, to then fill the cloned folder with your work. The second option is to start working offline on a local folder and then setup the remote server by using "git remote add origin git@git.fabacademy.org:fabacademy2016/yourfablab.git". In both cases you'll need to setup a SSH credential and add it to the remote server.
- 3. Add the files you're working on to the project by running "git add file.name". It is better if you first create a .gitignore file to ignore the irrelevant files (such as temporary files or binaries). Also, if you want to add all files in the folder, just run "git add .". This way the files will be "tracked" by git to check their evolution.
- 4. Next, once you actually work and modify your files (and get to a reportable point, the idea is to report small changes to help keep track of modifications) you have to update the file status by running "git commit file.name". I personally prefer doing 'git commit file.names -m "commit message"' to save time and, if you want all the modified files to belong to have the same message run 'git commit -am "commit message".
- 5. So far we've been working only locally. Now, to submit the changes to the server you better run this two steps: "git pull origin master" to update your files with the newer ones from the server and, second step, "git push origin master". Doing this two steps save time due to the server being more complete than your project since it won't let you upload unless you're updated (this shouldn't erase your files)
Here's a Github tutorial that's fully transferable to the Fab Academy server.
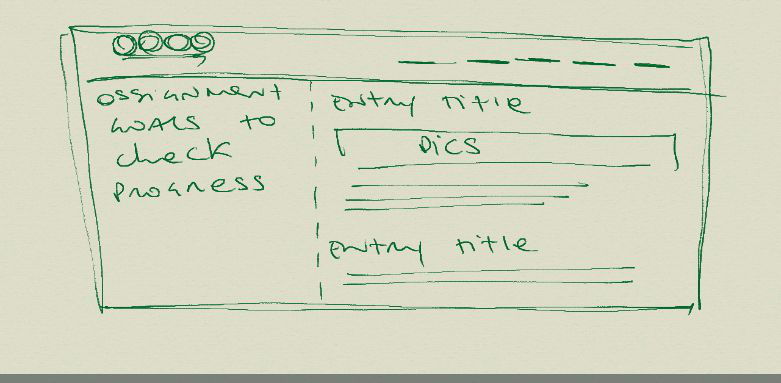

As I mentioned in NOTE 03, the original template wasn't as useful as I thought, so, in order to take the opportunity to learn some more, I went to W3Schools.com and studied a bit of CSS to produce something like in the sketch above
In short, I had to create a couple of css classes in the style.css file to format the containing boxed I wanted, as shown in the 2nd pic.
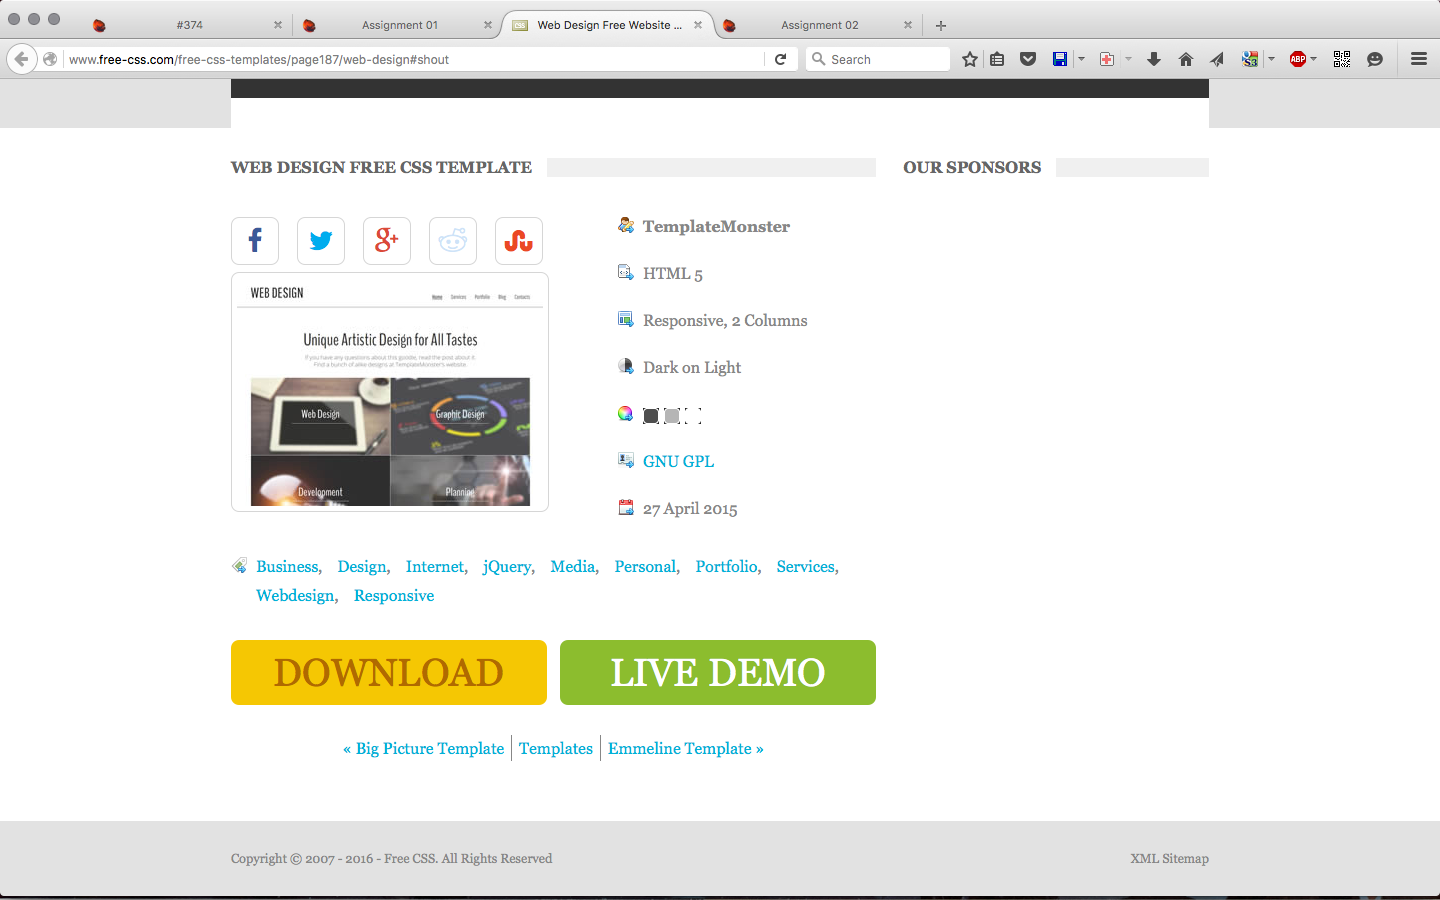
So, as I didn't wanted to reinvent the wheel, I went to the old Google friend and searched for some free website templates. After sitting back looking for some nice templates, I decided that this one had most of the features I would need afterwards. So I downloaded ...
NOTE 03: This template isn't being as flexible as I need, maybe I'll need another one ...
Well, following the course suggestions I started using SeaMonkey as an easy to use WYSIWYG html editor (this post was made with it). The current 2.39 version doesn't have any syntax highlight (there's an Add-on to do so, but it isn't working), so its been kind of difficult to isolate the useful parts of the html code to reuse. I'll dig a little deeper on this editor before jumping to other one.
So finally, as stated on the notes, I ended up editing all the Fab Academy html files using VIM, which helps me to keep a more readable and reusable code. Here you can see this site's source code done with VIM.
NOTE 02: Finally I decided to use VIM with the matchit.vim plugin to solve the syntax and tag matching issue ... a lot faster.
NOTE 01: I found in one of the previous student's site (don't remember which) the importance of image optimization for web publishing (and to avoid Neil's humiliations); so, looking on this, I found this link, which shows a couple of solutions available on macports. From this link, I found that only the optipng function resulted useful, so I'll use mostly .png images.