inkscape
To draw up a design in Inkscape that is suitable for the lazercutter there are a few things that we need to have in mind. The cut path of objects with a stroke will be in the center of the stroke, no matter how wide the stroke path is. The Cutting width of the lazerbeam is 0.2mm, thats 0.1mm on each side of the path. For Accuracy create an object only by using will, but no stroke. The dimensions shown in the menu pallet above the canvas will then show the right dimensions if only fill is used, otherwise it will measure between stroke centers.
Objects can be cut as Vectors or Rasters, Vectors are generaly used for cutting but Rasters for engraving into material. The lazercutter treats anything that is wider than 0.2mm as a pixel and pixels are rastered, this is defined by the lazercutter's drivers. Paths that are to be cut as vectors should be set to 0.01mm but the minimum export width for inkscape is 0.02mm so we choose that as path thickness.
-
To offset the path I select the object and make a stroke around it thats 0.2mm I then select PATH -> sTROKE TO PATH then -> PATH -> BREAKE APART deselect the paths, select only the inner path and delete that one, select the outerpath and set it to 0.02mm with no fill. Red stroke color is a good choise.
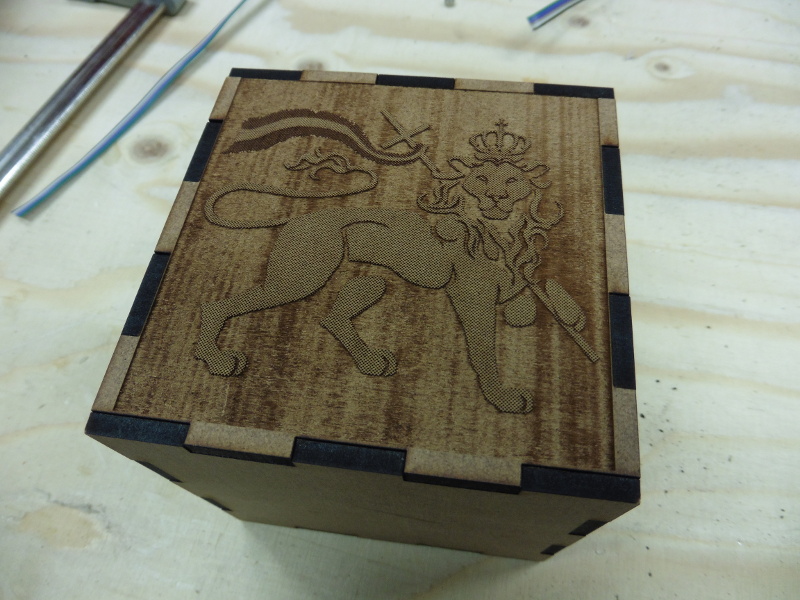
This offset is needed when making a pressfit like my box, I made my pressfit a bit tighter, I set the stroke to be 0.18 insted of 0.2. This made the pressfit very snug, it was a bit hard to get it together but it did stay together.
I included a bitmap with my file to try out the rastersettings, I just placed the bitmap inside the file and in the printer propperties selected combined Vector and Cutting format.
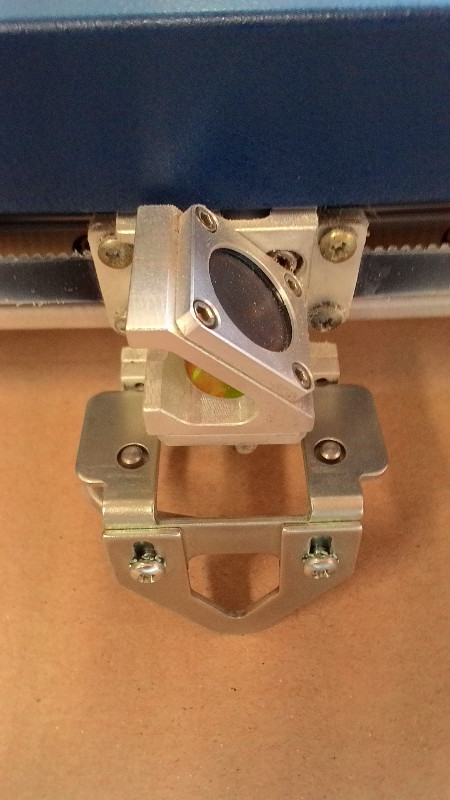
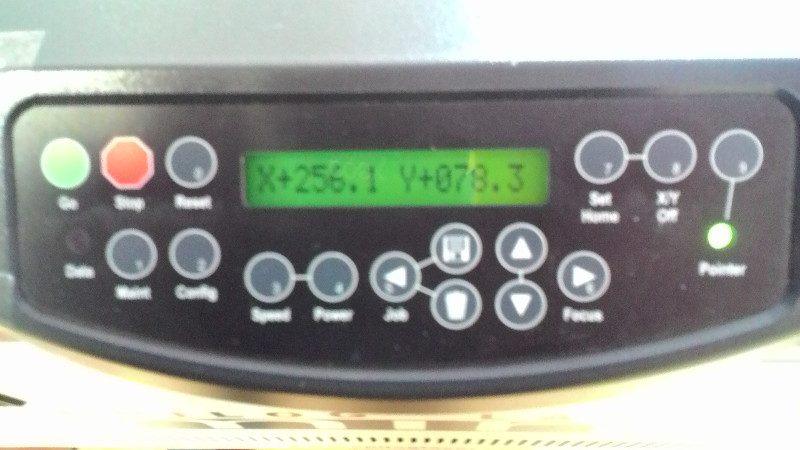

Using the laser in itsself is rather easy, first you turn it on and check if the rulers are down. To Zero Z heigt press X/Y off then GO Now you can move the pointer so its above your material, put the measuring focal calibrator jig under the lens and jog the bed up or down untill its level with the job if the pointer is where you want it to start you can press SET HOME. To reset 0point to its corner, press Maint, press once down to select Reset Home, now it starts cutting in the uppermost left corner.
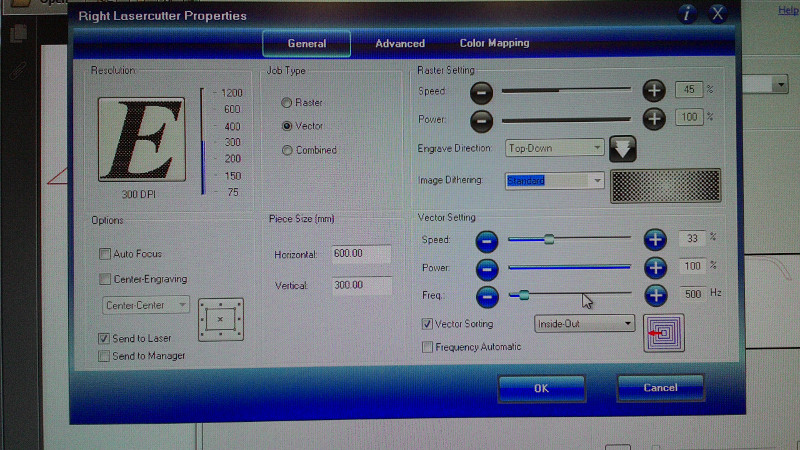
in the computer open your pdf, press print and select your printer, have it ActualSize and portrait orientation, in the advanced properties dialog box select your settings for vectors and rasters, We have the most common settings hanging above the printer. Now press print to send it to the printer. Turn on the printers Aircompressors if there is one, then press GO. NEVER go away from an lasercutter in action as it can catch on fire.
I did cut out an lighthouse for my final project out of plexy, the workfiles are currently only on the final projects page.
Vinyl Cutter
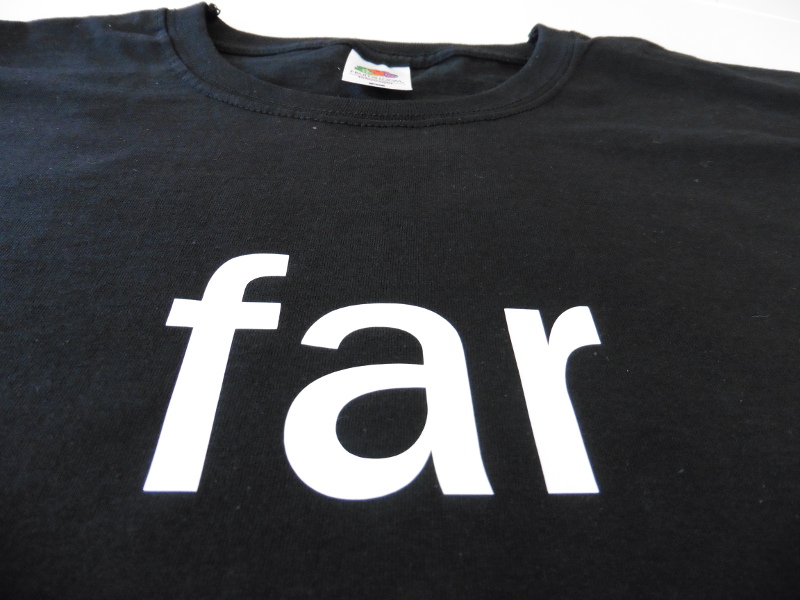
I made myself a t-shirt using the vinyl cutter that said "Far", the process was rather simple, I wrote Far in inscape, gave the letters no fill but a stroke of 0.02mm like when designing for the laser cutter. You just need to remember that the text needs to be mirrored So it reads the right way after beying transfered. From behind the vinyl cutter you adjust the wheels according to the size of the vinyl sheet you are using. The wheels need to be possitioned on the areas that are marked white in the front. When Feeding material in the cutter make shure it covers sensor lenses on both sides. Then you pull the lever towards you to secure the piece.
Then set the cutter according to material size; Piece for a small piece, edge for a whole roll width. Once print is pressed, select Get Size From Machine, then I choose Set Auto selection for the Orientation/fit choice. Now Cut the piece, and pluck out unwanted parts then position it on the Tshirt, Then preheat the Heatpress, I set mine to 160° and 15 seconds. Then Press the design into the Tshirt.