Edward Octavio Muñoz Sandoval Contact: edw_ard0@hotmail.com
Week 14 Assignment: Composites
1.-Design and fabricate a 3D mold (~ft2), and produce a fiber composite part in it
Process
For this assignment I tried to use my mold made in the Week 12 "molding and casting" but it has small details and corners (especially in the cross) that doesn´t allow me to perform the fiberglass product in it.
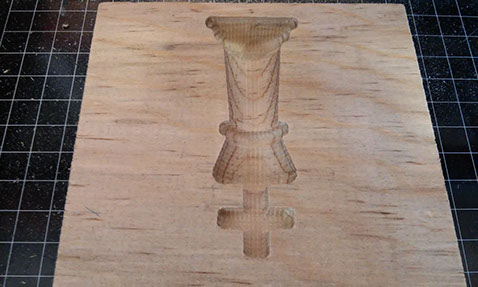
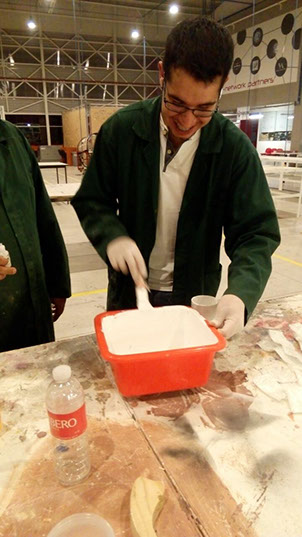
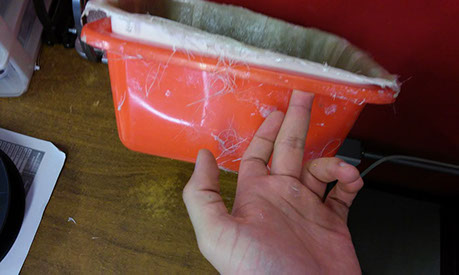
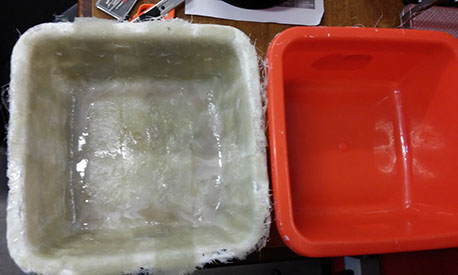
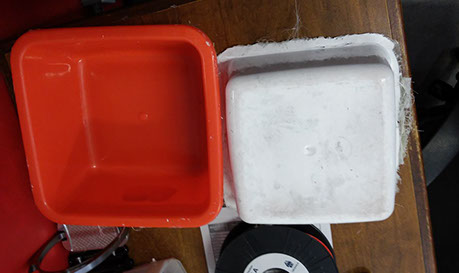
I chose the container shown in the pictures below as my mold because is easy to unmold the piece finished.
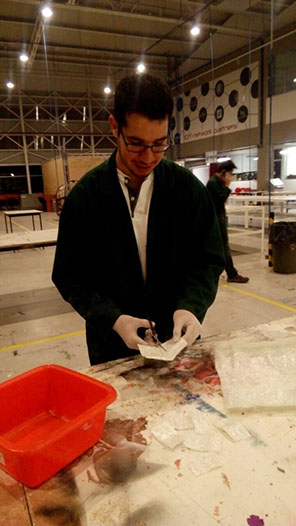
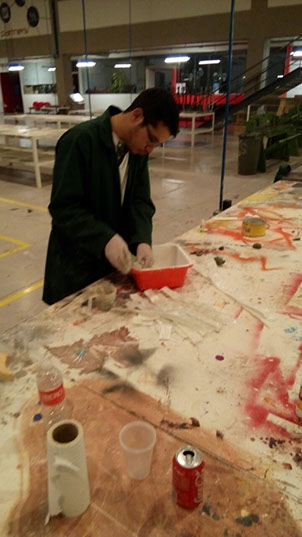
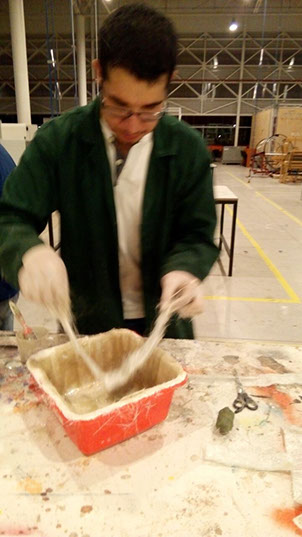
I recommend that the first step after have all the materials in the table is to cut the fiberglass, because if you start to do this once you gloves are sticky is more difficult.
In my case is recomendable to cut strips with a regular size and some square pieces for cover the mould.
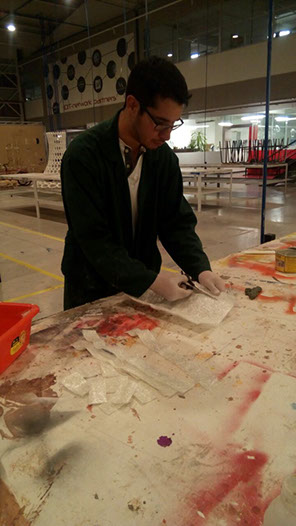
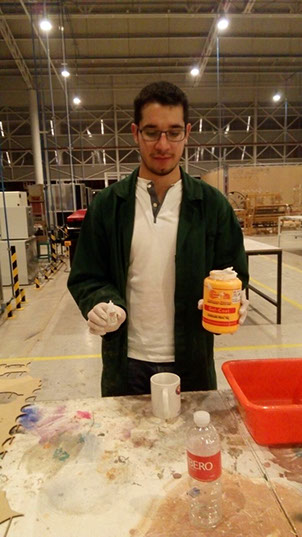
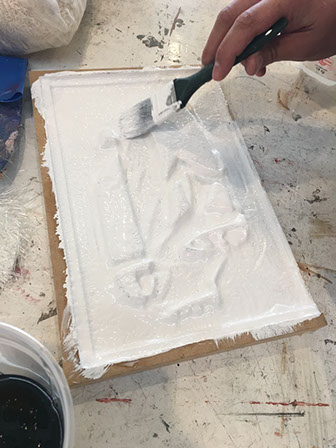
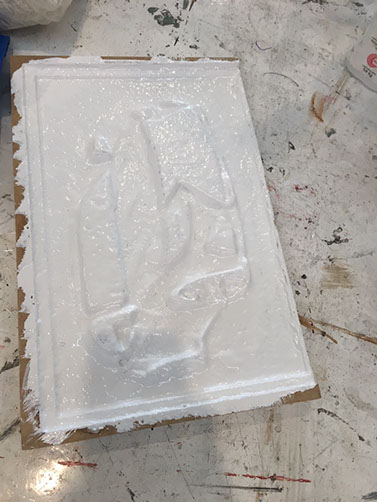
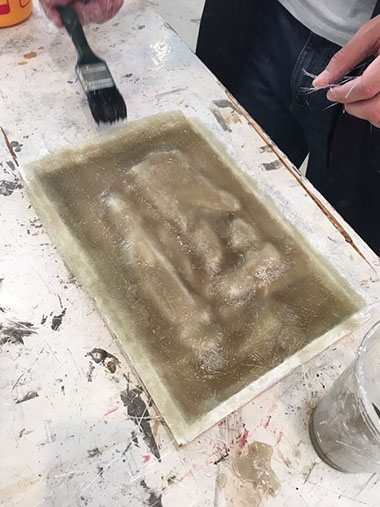
In my case, I wanted to my piece looks good by outside, so the first layer was of "gel coat". I prepared it and applied quickly due to the catalyst
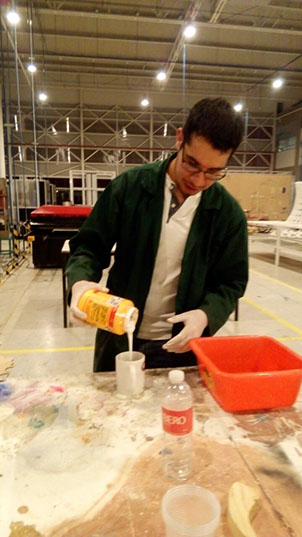

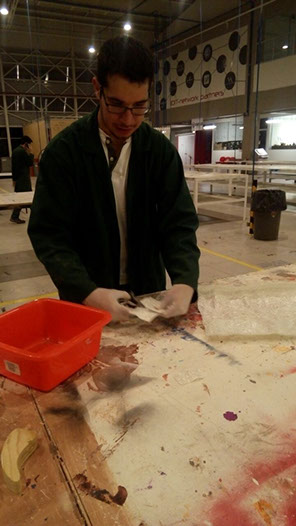
After apply the gel coat layer, I had to wait like 40 minutes until it were ready.
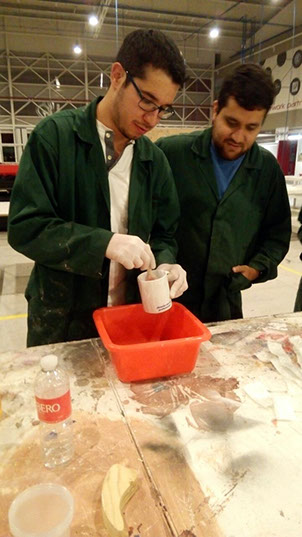
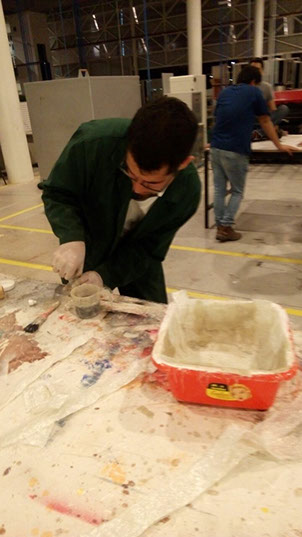
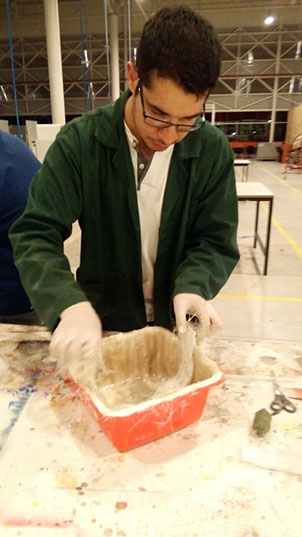
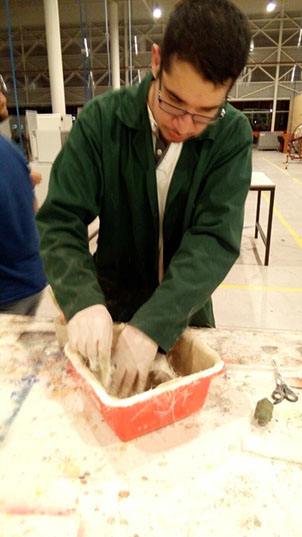
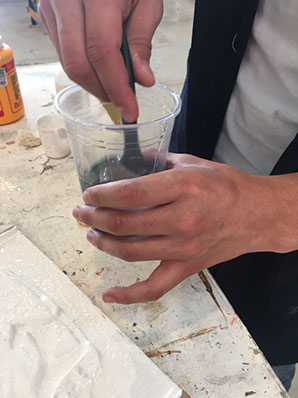
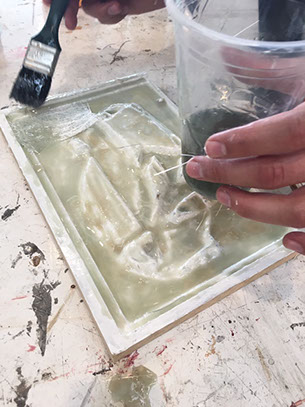
The next step is apply a resin layer so the fiberglass could stick to the mold,
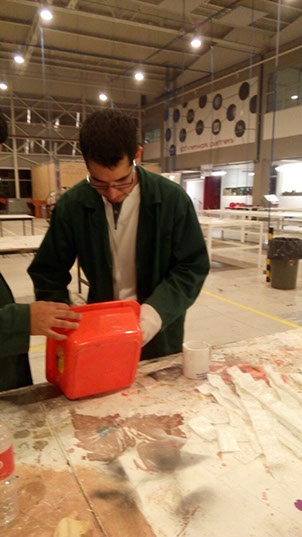
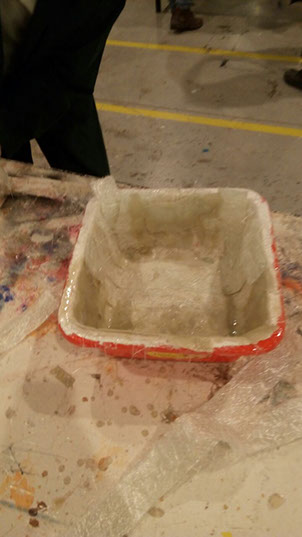
Final product
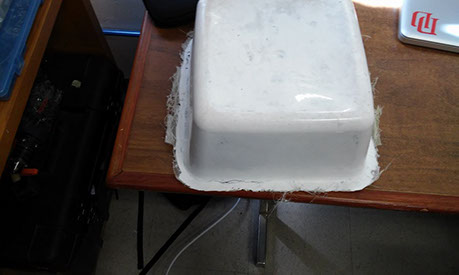
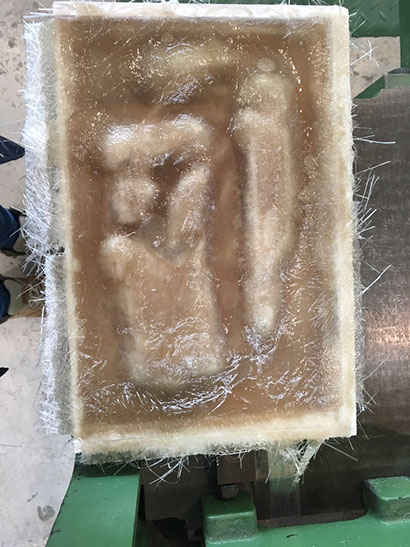
After the glassfiber and resin layer, I waited 12 hours and take out the piece, the final product is shown in the images:
Mold
In order to complete the assignment I designed and machined a mold.
The software Aspire have a tool for design a 3D piece by just giving a image and follow a few steps, in the next images the process is explained:
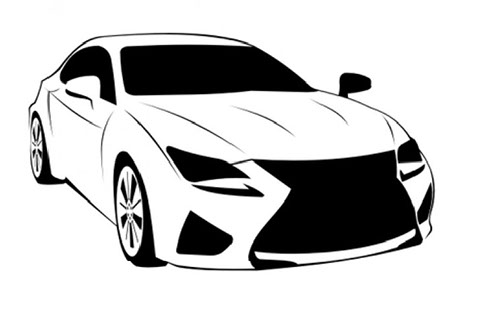
I used a .JPG extension file of a car in black and white:
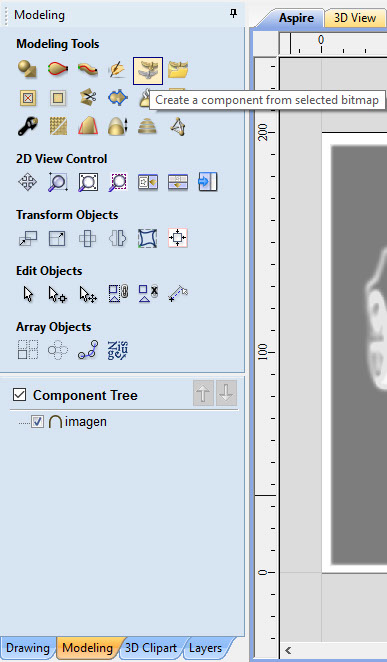
in the software you have to define the size of your workplace and then create a component with the button "Create a component from selected bitmap" located in the modeling tab.
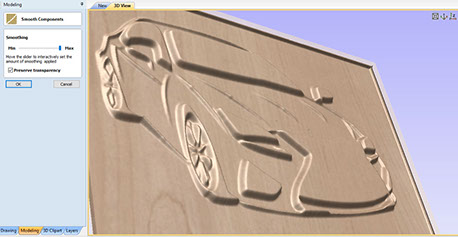
In this simple step the 3D mold was created and you can visualize it in the "3D View" tab, but it is not finished, there are some features to change in order to obtain a soft and better geometry for a fiberglass mold.
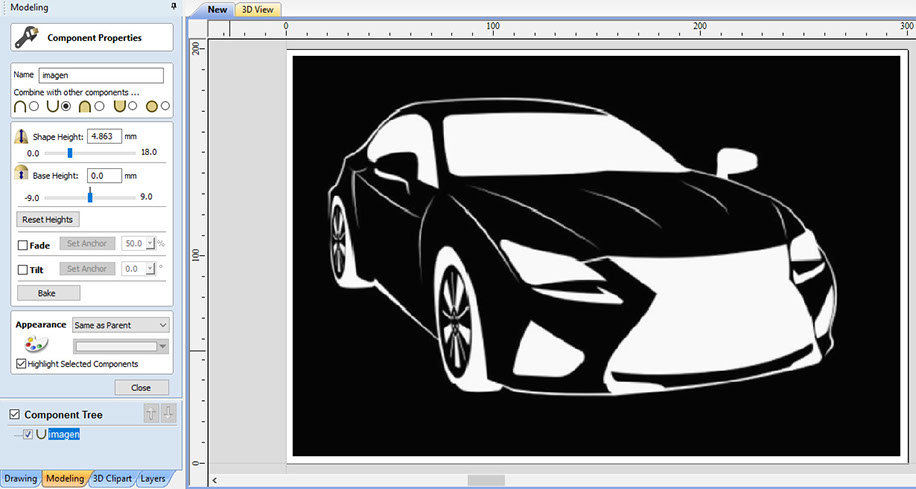
You can display the properties by double clicking in the component created and change parameters from the component, the most relevant option for this design is the possibility to change the black for withe and vice versa because the relief is higher in the withe zone.
For the design of my mold I chossed change the colors so the fiberglass piece were the negative.
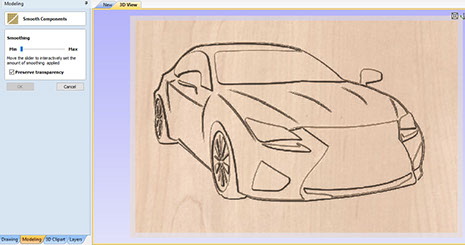
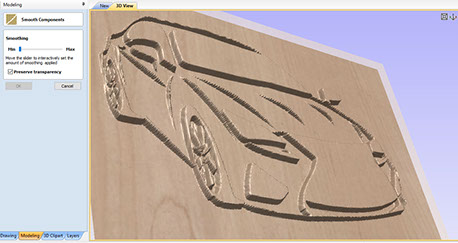
Aspire have other tool named "smooth components" that allow smooth out the mold, this is very useful because the angles are smaller and that is very important to ease take out the fiberglass piece.
Minimum smooth:
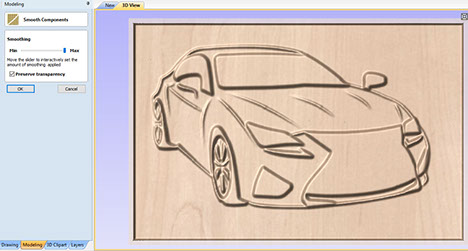
Maximum smooth:
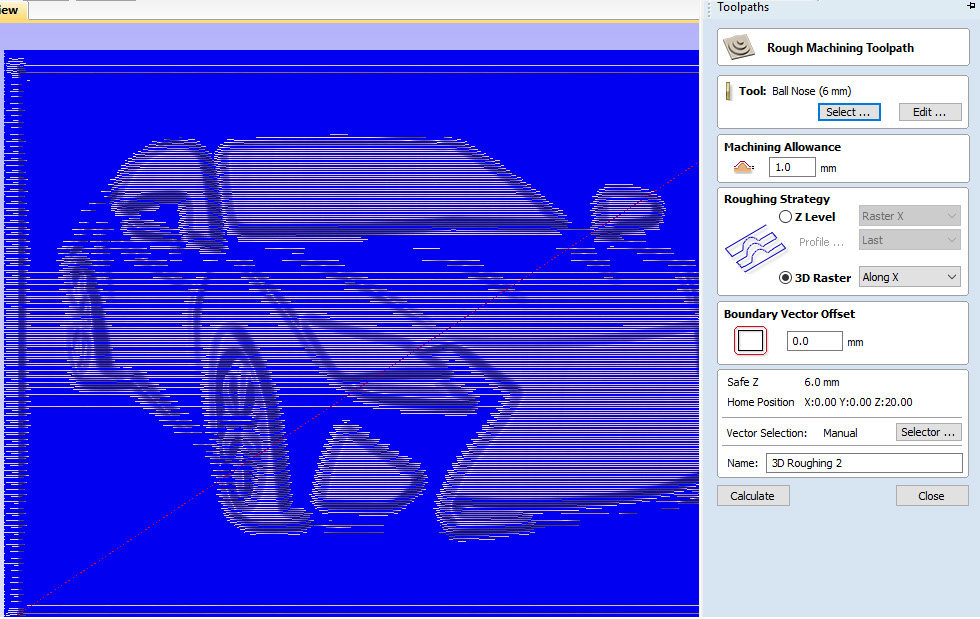
Once the mold looks fine, I created a toolpath with the parameters shown in the next image:
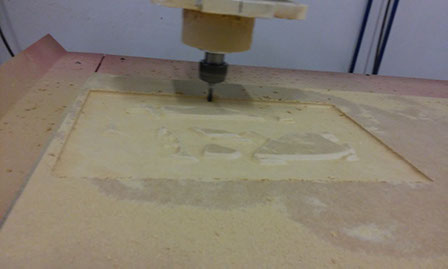
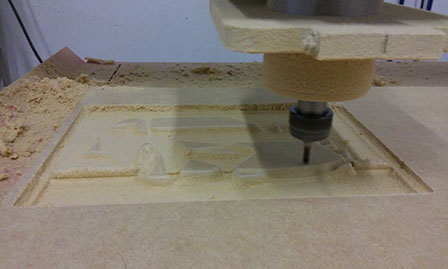
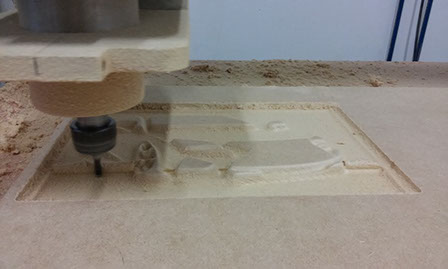
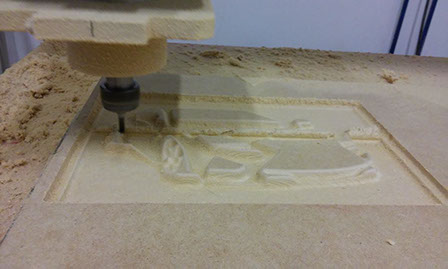
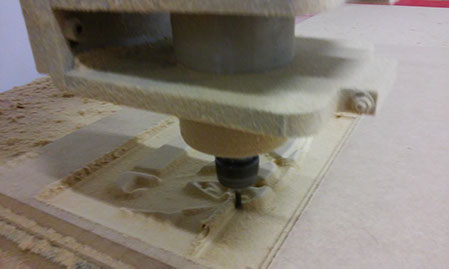
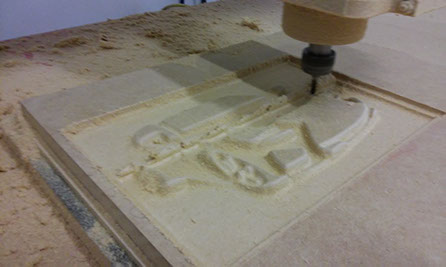
The .txt file is loaded in the computer and the mold was machined in the router cnc, the process is shown in the next images:

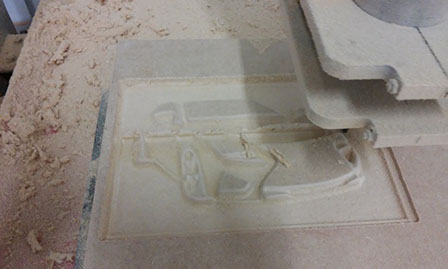
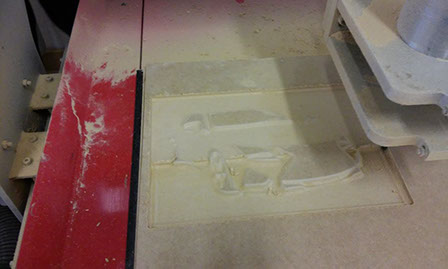
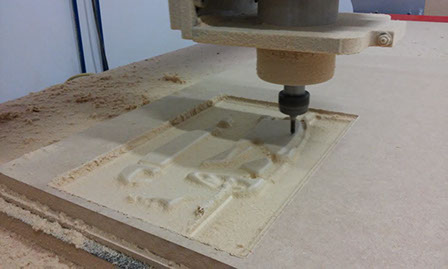
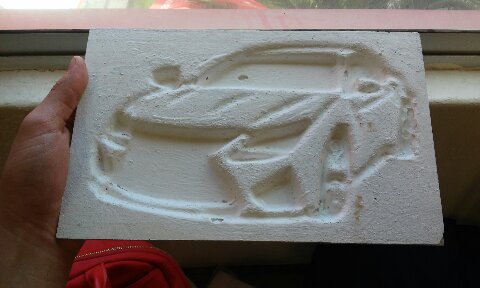
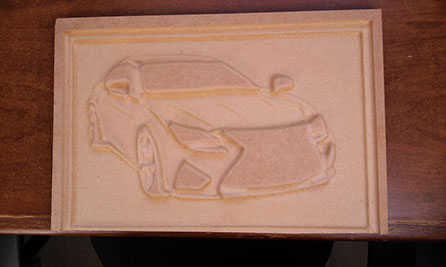
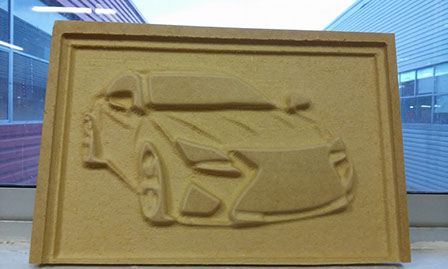
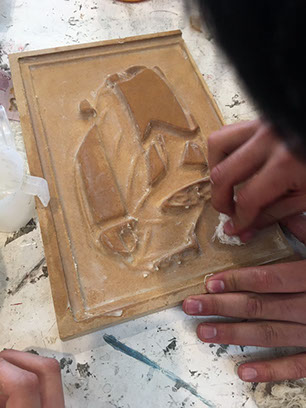
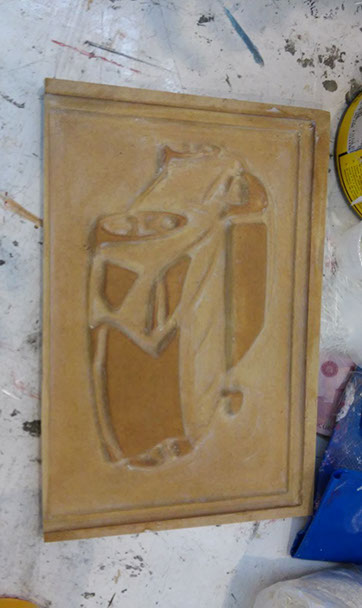
The mold finished is shown in the next images:
Fiberglass 2
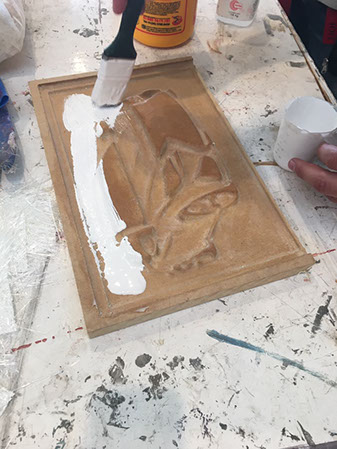
I follow the same steps of the container to perform the fiberglass car with the difference that in this mold I applied mold release wax because the wood could be very sticky when applied fiberglass on it.
After the mold release wax, the gel coat must be applied:
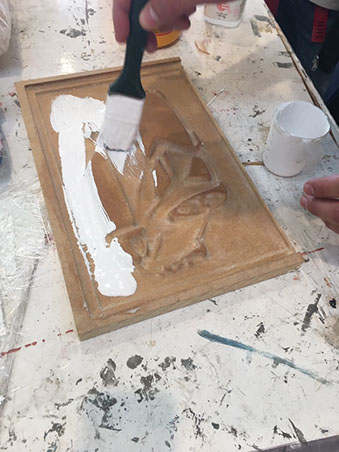
The next step is apply a resin layer so the fiberglass could stick to the mold and repeat the process as many times as you need:
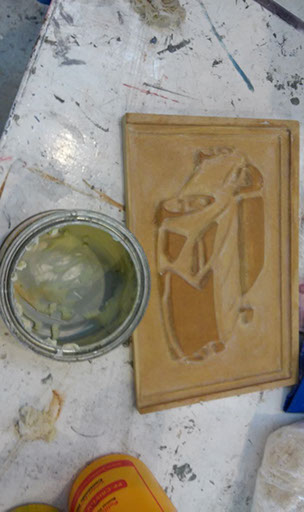
I waited 16 hours and take out the piece, I didn't expect that the fiberglass remain stuck to the mold and at the end the mold broke:

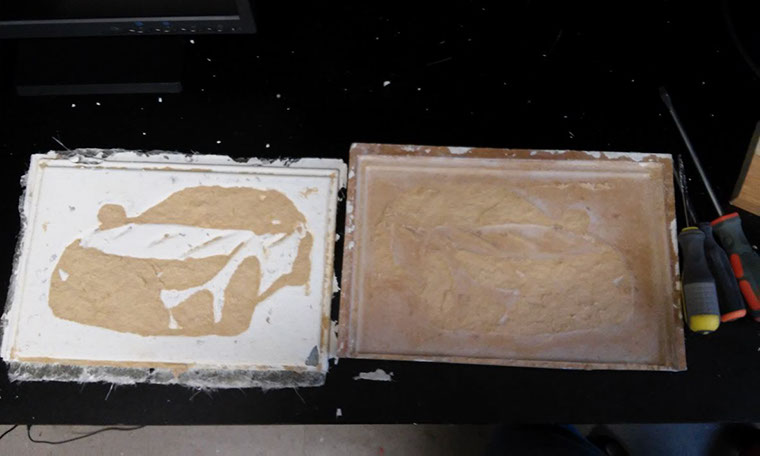
Clean the fibberglass car was very difficult at the beginning, so I put it into hot water and waited 24 hours, then scraped it with a screwdriver and finally I could remove the wood. But the car was damaged as shown in the image: