Assignment 9 & 10
Mechanical and machine design
Concept
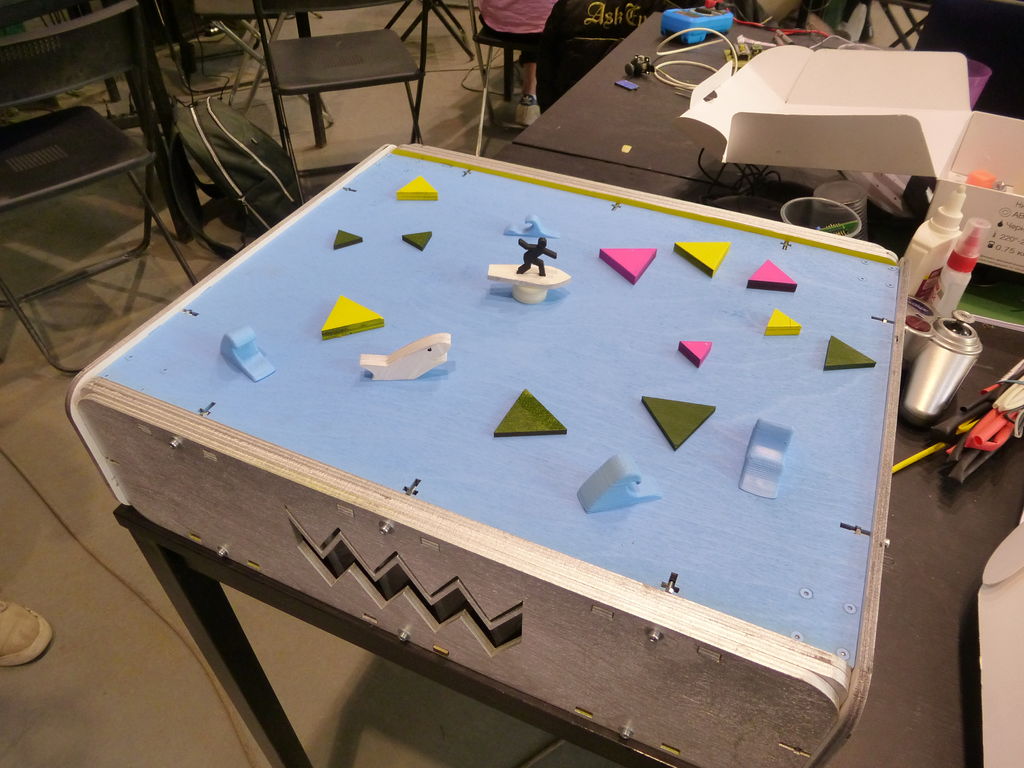
The main idea was to make a fun game in which you play as a surfer and try to avoid obstacles which are randomly placed on a surface. Here's what we've made in two weeks.
Week 1: Mechanical design
We're making two axis system and deal with mechanical parts.
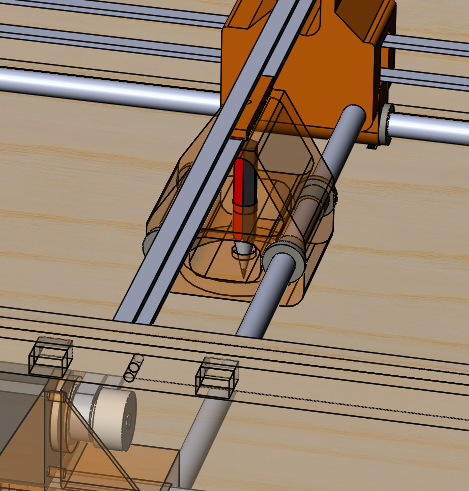
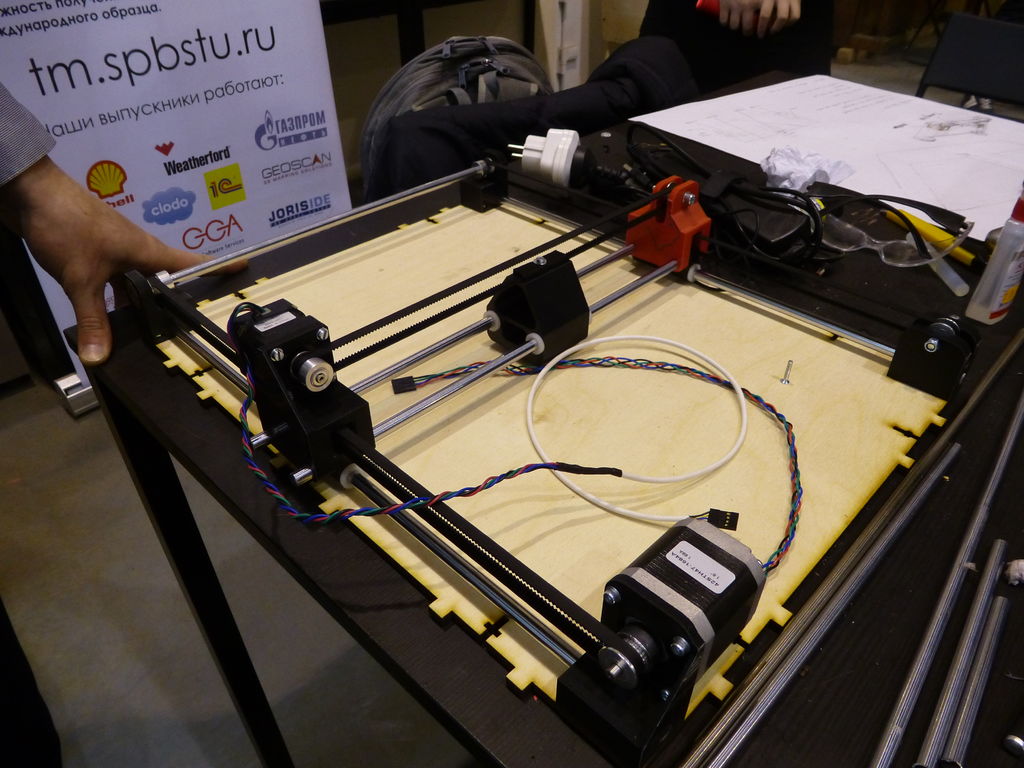
Due to shipping problems, we didn't get our MTM kit with magneficent gestalt nodes on time, we had to improvise with things we had here, in fablab. As we were making a flat two-dimentional surface, the most logical thing was to do it as a plotter system for 3D-printers, using round rods, stepper motors and timing belts. Every 3D-printed and laser cutted part was designed during this assignment.
 Dmitry:
After we made first sketches I got to making 3D models. Work was devided in two parts: I was making models of the housing and x axis and Gleb did standart parts as motors, rods etc. and y axis and after that I made the final assembly in Solidworks. Then, it was right about time to cut the housing on laser cutter and assemble the whole construction.
 Gleb:
Gleb:
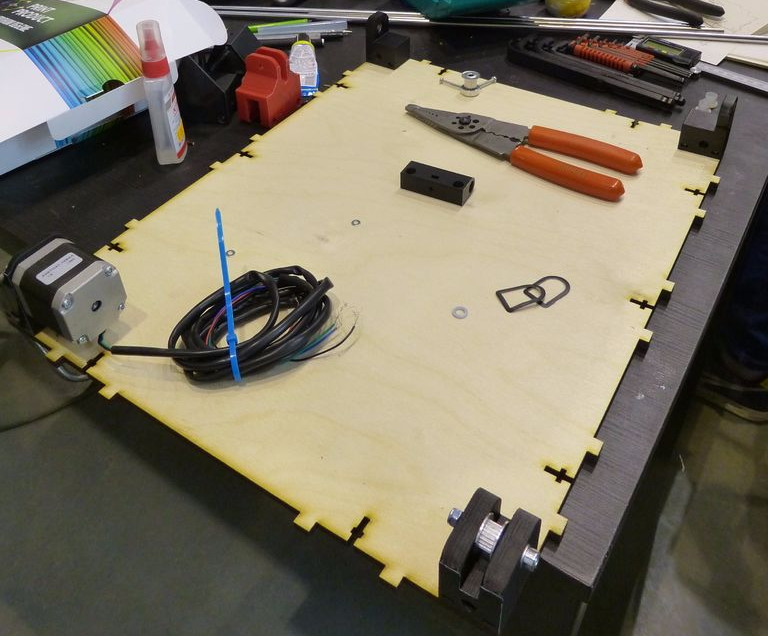
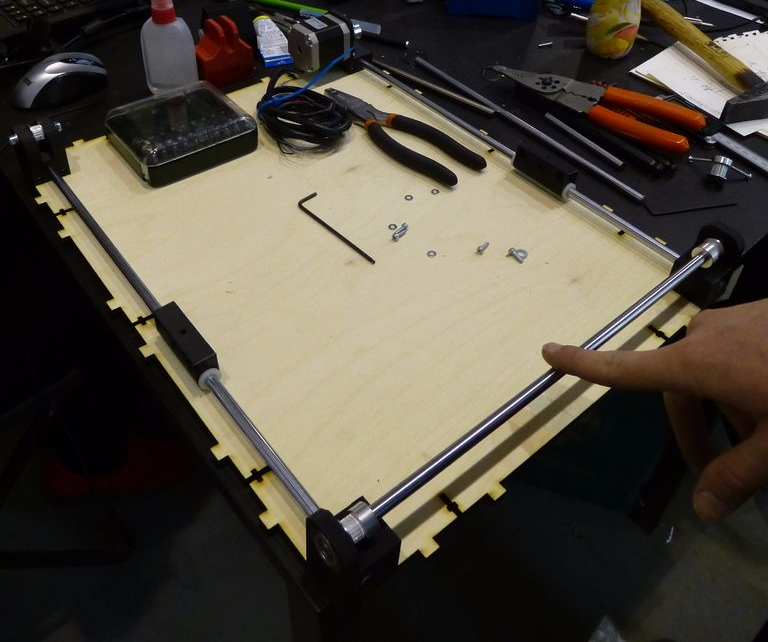
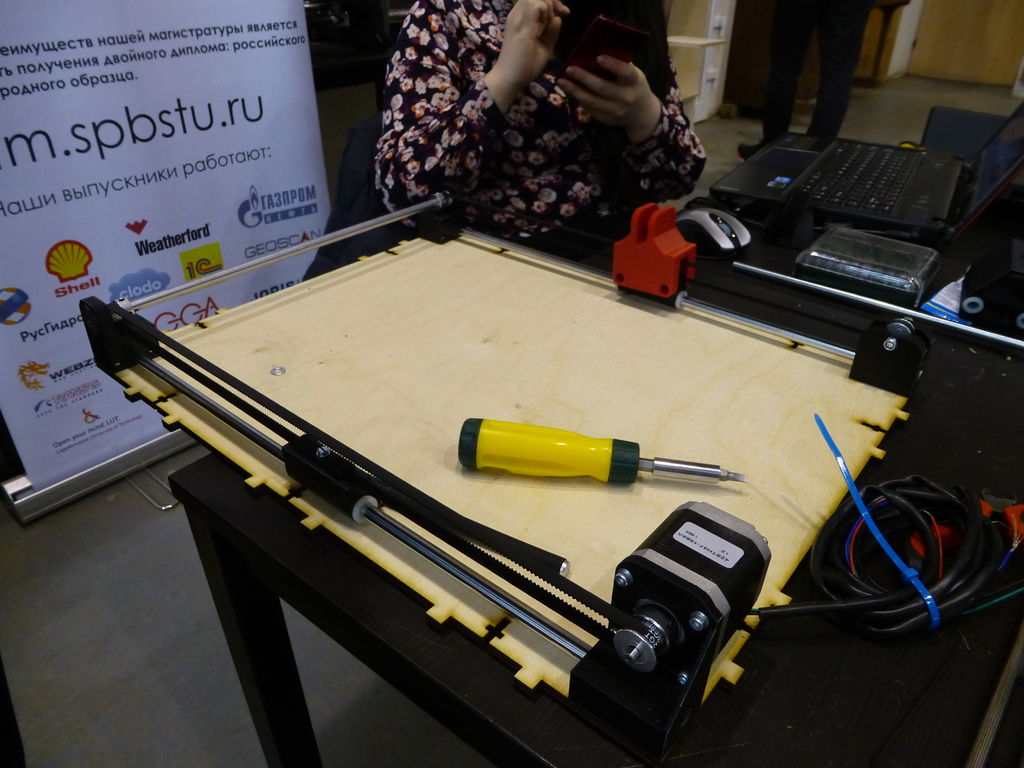
When I was done with y axis, I turned on printers and did a lot of 3D parts; there were a lot of flaws caused by bad filament (it got stuck in the heater and I had to restart printing) and one caused by blackout. By the time I finished printing parts Dima cut the housing so we were ready to start assembling.
Assembling process.
The main thing is not to hurry and try to set parts as precisely as possible. Also on every step of assembling check that nothing stops system's movement.

Week 2: Machine design
We're making a pcb, burn drivers and play a game.
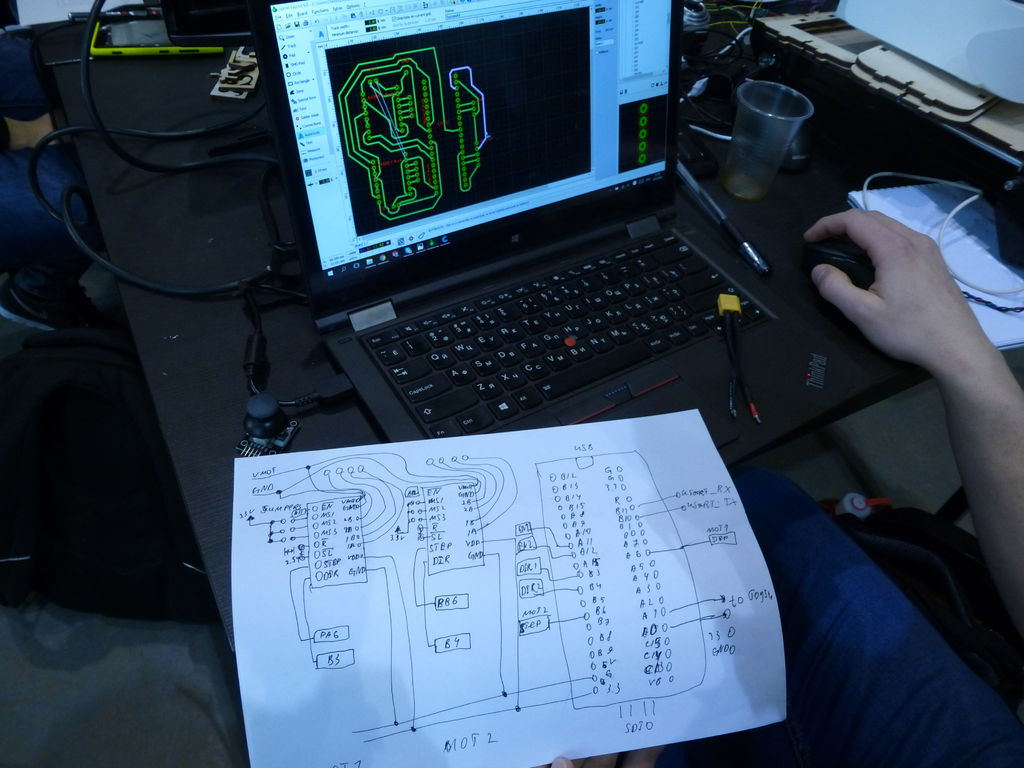
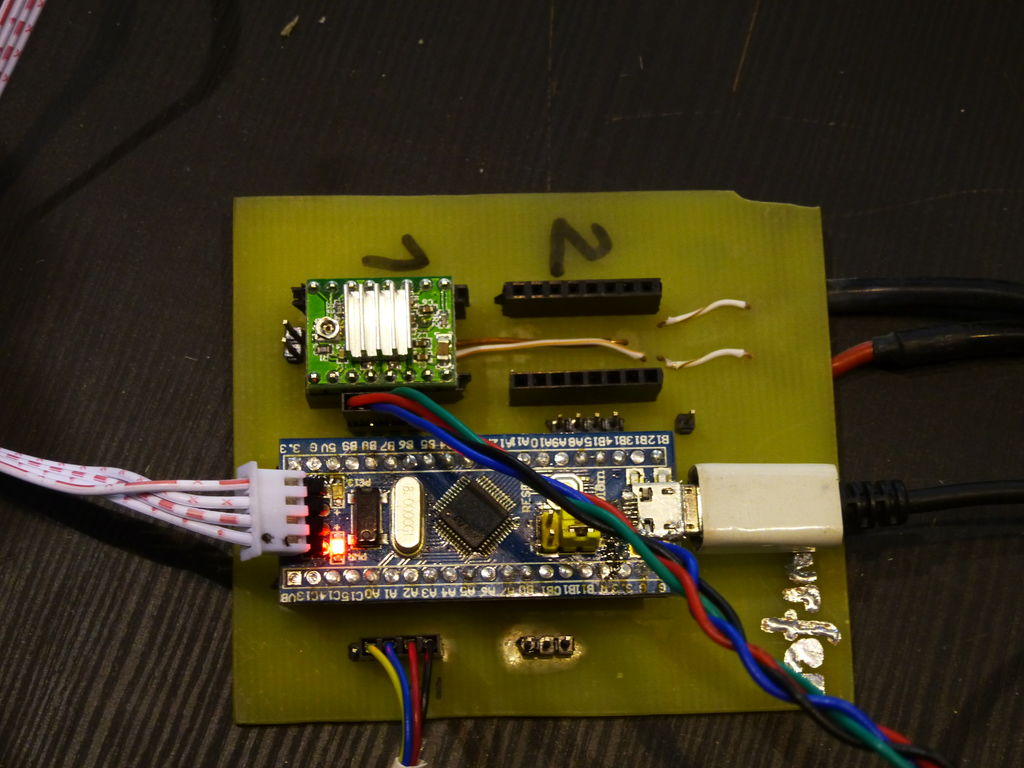
As we had some spare Pololu A4988 drivers and have just finished beginner courses of STM32 we decided to make a STM32-based scontrol system for our machine.
Dmitry:
STM32 is hard to start and to get used to HAL libraries but it's quite helpful in setting up periphery and prepare your microcontroller to your specific needs. I assigned ports in Keil and first wrote program to control motors manually, from computer and after that I attached a joystick so one could actually play the game. It sounds easy but that easiness was measured by days of frustration.
Gleb:
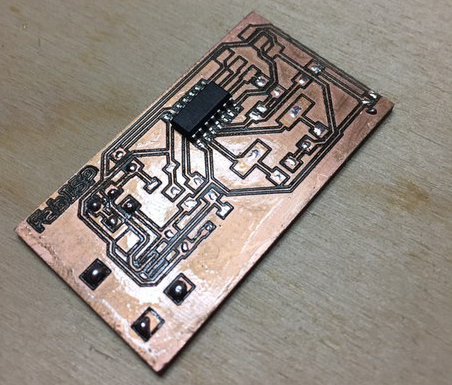
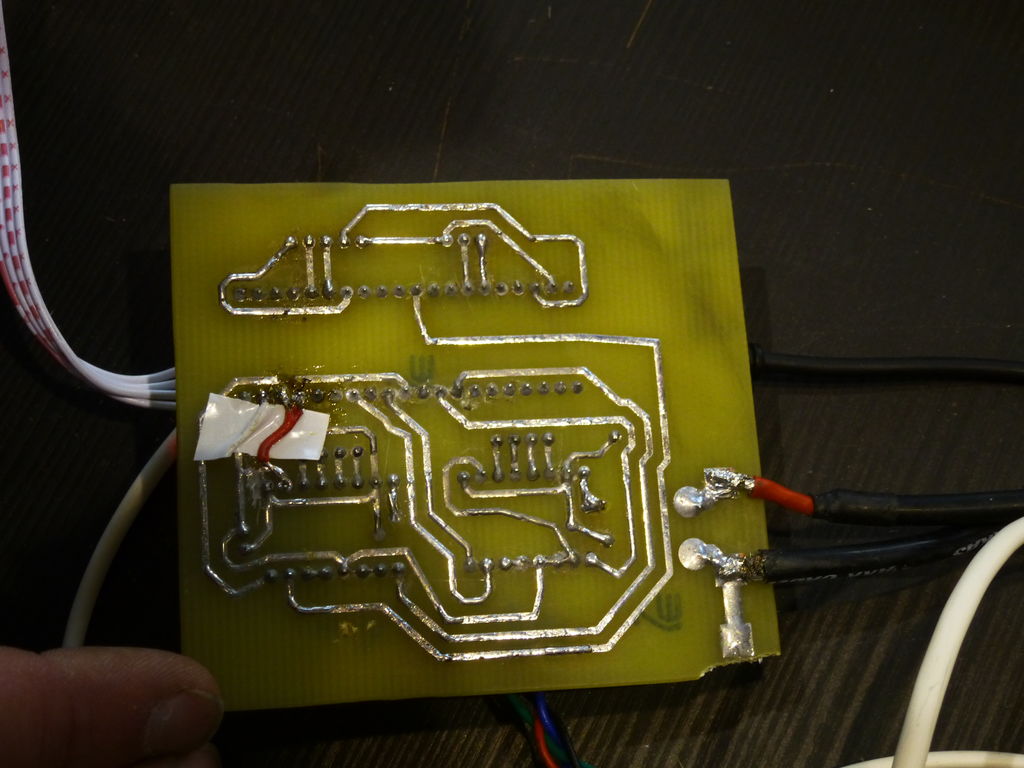
To prevent components from hanging on wires and also to make assebmling easyer we decided to make a pcb to connect drivers to SMD32 controller. I made layouts in Sprint-layout and prepared a board to etching by painting a board and engraving negative of the layout on laser cutter. Then, after I soldered everything to its position, we were finally ready to make control program and test our machine.
Trigger alert: etching.
If you are using etching to produce your pcb, make sure that you do it in a well ventilated room and utilize toxic waste properly. Try using Greenpeace Recycle Map or analog to find out, where is the closest utilization point.
We used etching because we broke our milling bit and couldn't mill the pcb and the previous was failed.
We were told a hundred times that milling is prefered but we ran out of time.
To make sure that we can mill, check out our boards for electronic production assignment
Dima can mill
And Gleb can mill too

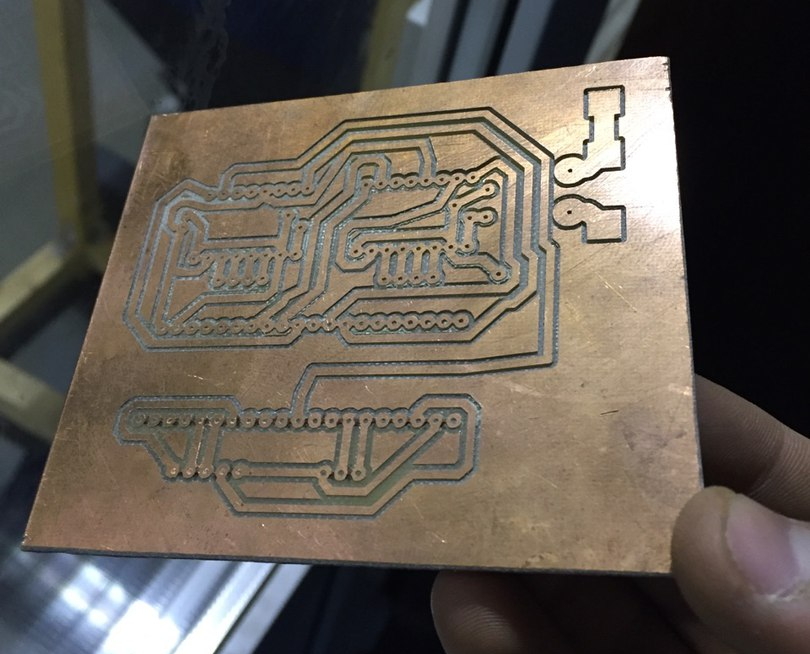
- Cover textolite in paint
- Engrave negative of your layout on paint. If a thin layer of paint is still remaining, remove it with alcohol
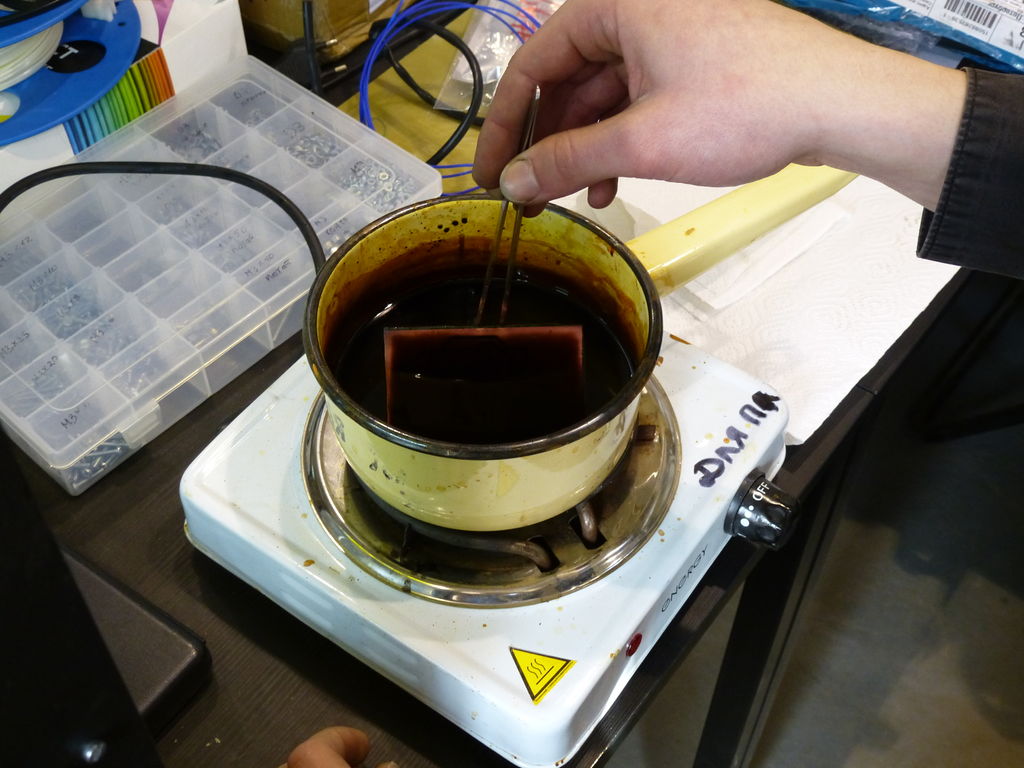
- Grab your ferric cloride
- Make water solution: 50% water, 50% ferric cloride (measured by mass)
- Heat your solution up to 40 degrees Celcius
Warning: you don't want to inhale heated solution so make sure that ventilation is good in the room you are etching
- Place your pcb into heated solution and pull it up and down until you see the copper coming off
- Wait for the solution to cool down
- Wash pcb with water and remove remaining paint with acetone
- Pour solution into a bottle and bring it to utilization point (we take care of the environment)
- You are fabulous now!
Warning: you don't want to inhale heated solution so make sure that ventilation is good in the room you are etching
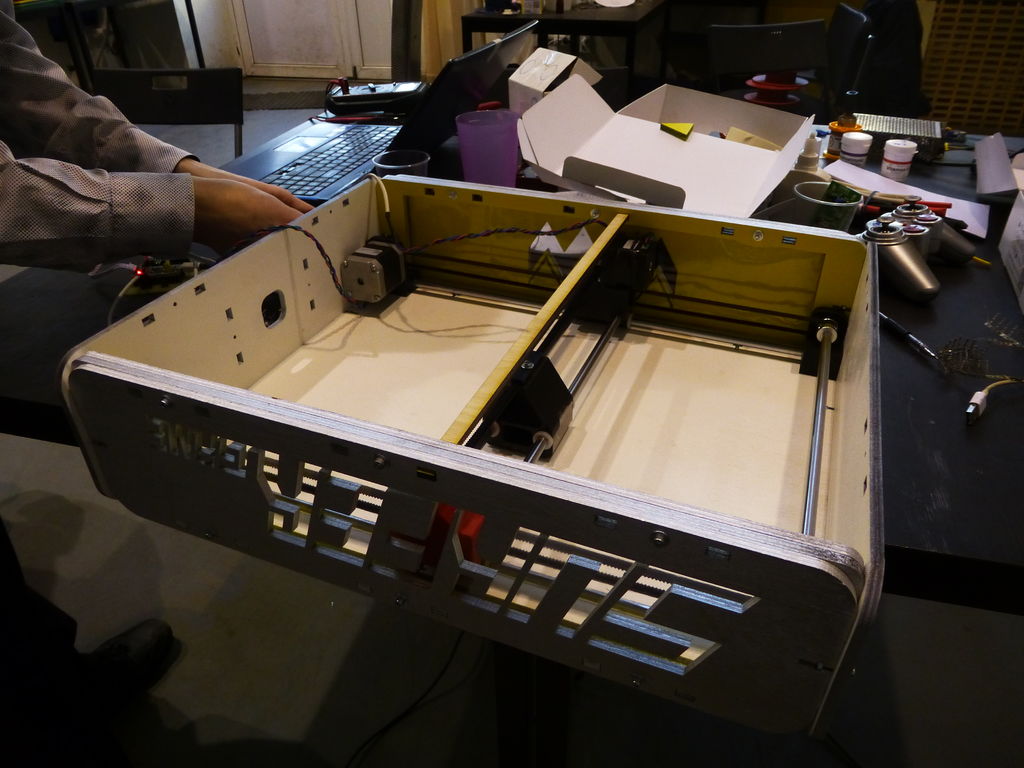
Making obstacles, surfer and futher improvement of the game.
To fill the game with something to interact with we printed some obstacles and made a surfer figure with a metal ball inside so it would react to magnet underneath the game table which is connected to the plotter system. On the 19th of April our game will travel to Germany, Hannover Leibniz University where the machine would be improved by adding computer vision which would allow to register collisions and operate surfer without a player. Next time we'll see it in June and we hope that it would already have computer vision.
Alternative Application
Talking about future application of our device- we are sure that this will be an interesting and interactive game for school students exploring our Fab Lab during open days or on different events. Althought we don't have much time now to do more complicated mechanics, we can go further and do the plotter system on the backside of the machine.
If we will use the 3rd axis we can easily use our plotter system for 3d printer. For this case we'll need two more steppers controlled either with a gestalt nodes or with the same drivers as for X-axis and Y-axis, connected to STM32. As plotter system has lots of uses in cnc-machining we are able to make almost anything that requires 2+ dimentional movement: from drawing machine to 3d-printer.