 JOSE REAL
Week 8 - Embedded Programming
This week we program our Helloboard from week 06
Starting
I have conected the FabISP and my Helloboard to my computer, installed FTDI drivers and added the libraries to Arduino like this tutorial:
Installing ATtiny support in Arduino 1.6.4
In Arduino 1.6.4, you can install the ATtiny support using the built-in boards manager.
Open the preferences dialog in the Arduino software.
Find the “Additional Boards Manager URLs” field near the bottom of the dialog.

Paste the following URL into the field (use a comma to separate it from any URLs you’ve already added):
https://raw.githubusercontent.com/damellis/attiny/ide-1.6.x-boards-manager/package_damellis_attiny_index.json
Click the OK button to save your updated preferences.
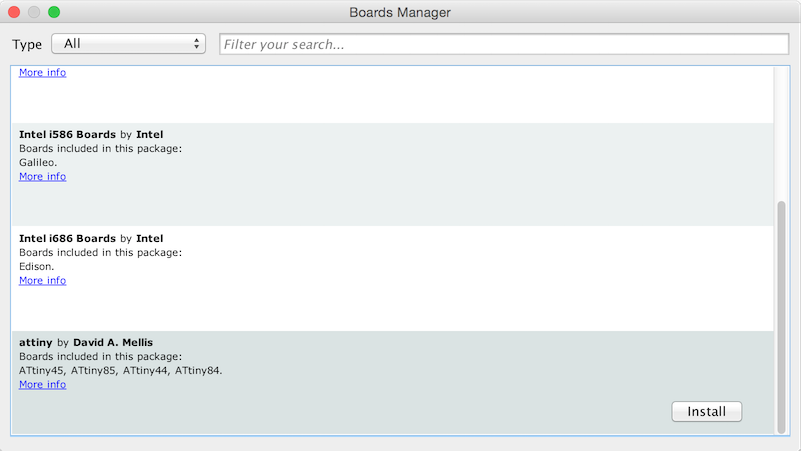
Open the boards manager in the “Tools > Board” menu.
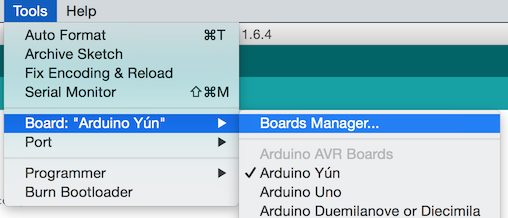
Scroll to the bottom of the list; you should see an entry for “ATtiny”.
Click on the ATtiny entry. An install button should appear. Click the install button.
The word “installed” should now appear next to the title of the ATtiny entry.
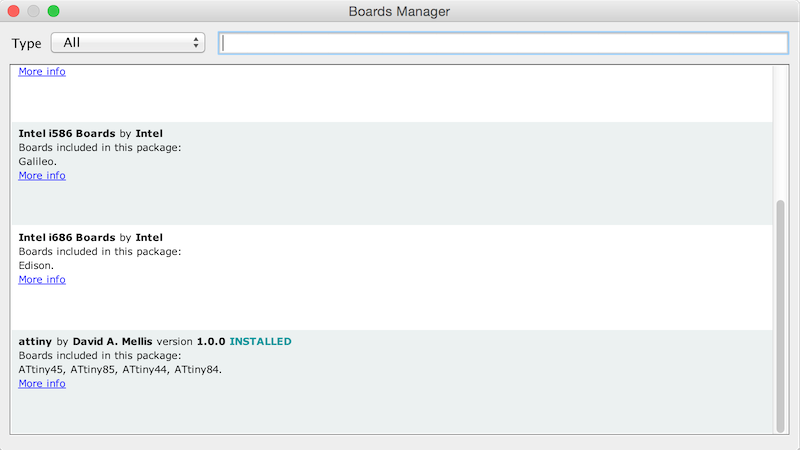
Close the boards manager. You should now see an entry for ATtiny in the “Tools > Board” menu.
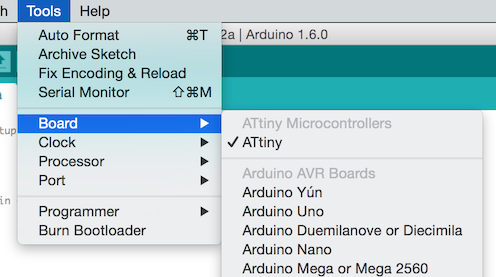
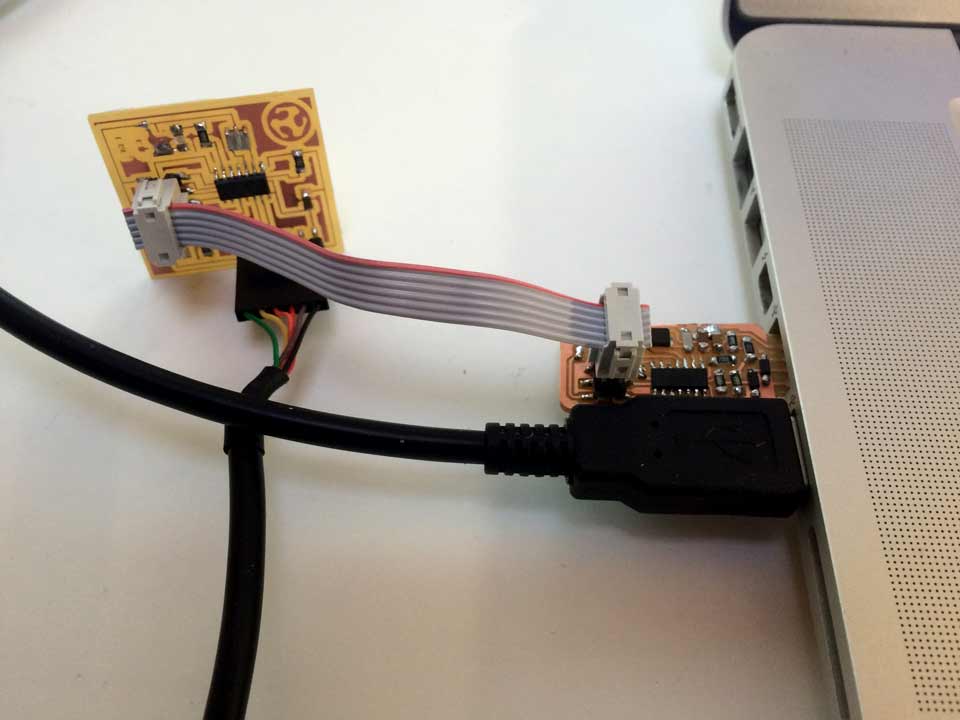
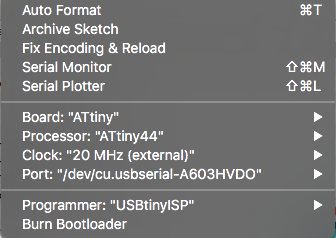
To burn the board I will use Arduino. To do this I select in Tools the board, the processor (Attiny 44), clock (crystal 20Mhz external) and the port (usb). I select the programmer (USBtinyISP).
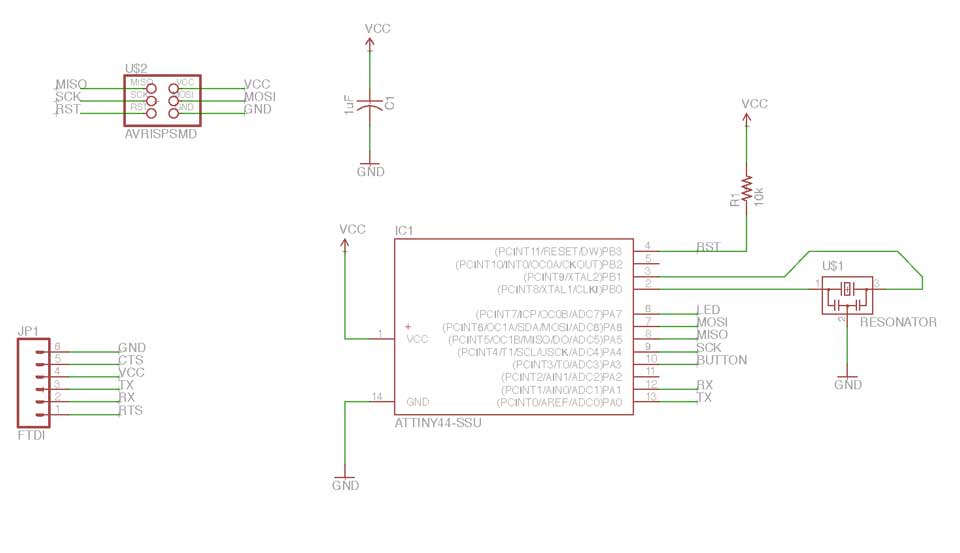
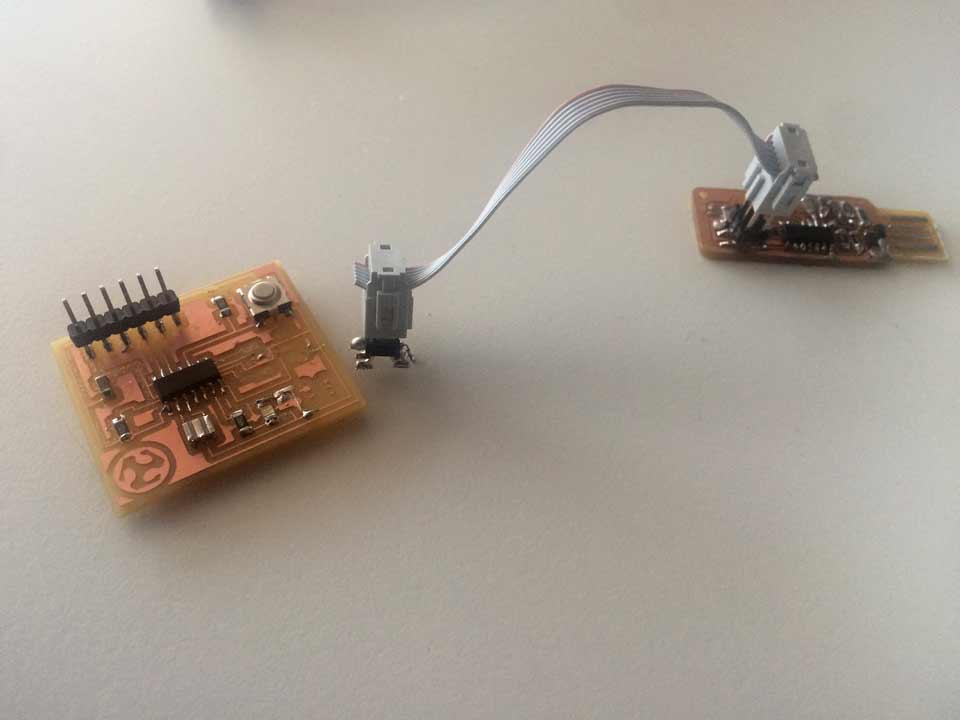
For wiring it I will use a 6 pin cable from the Attiny to the hellolight board. The hellolight board is connected to my computer to get the 5v from the USB. It’s important to be careful with the sense of the VCC (red one) in the FTDI cable.
Problems
Everything was ok but it started to have some problems. When I tried to burn the Bootloader in Arduino it showed me these errors:
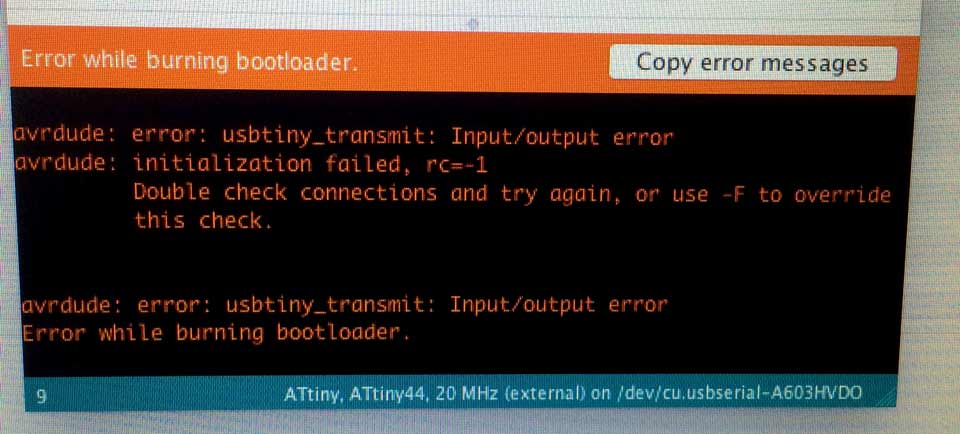
I tried also use the Terminal command and I just got this error too:
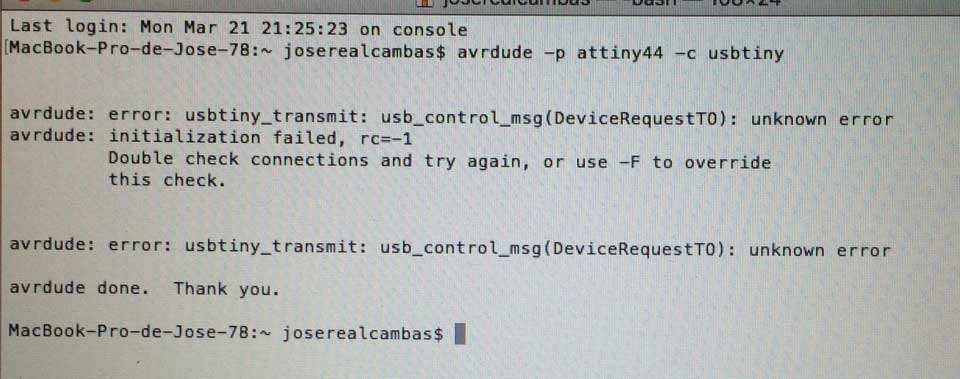
The problem is with the Helloboard.
I tried to change the connector position but didn’t work. I checked if the pins were ok, but they weren’t.
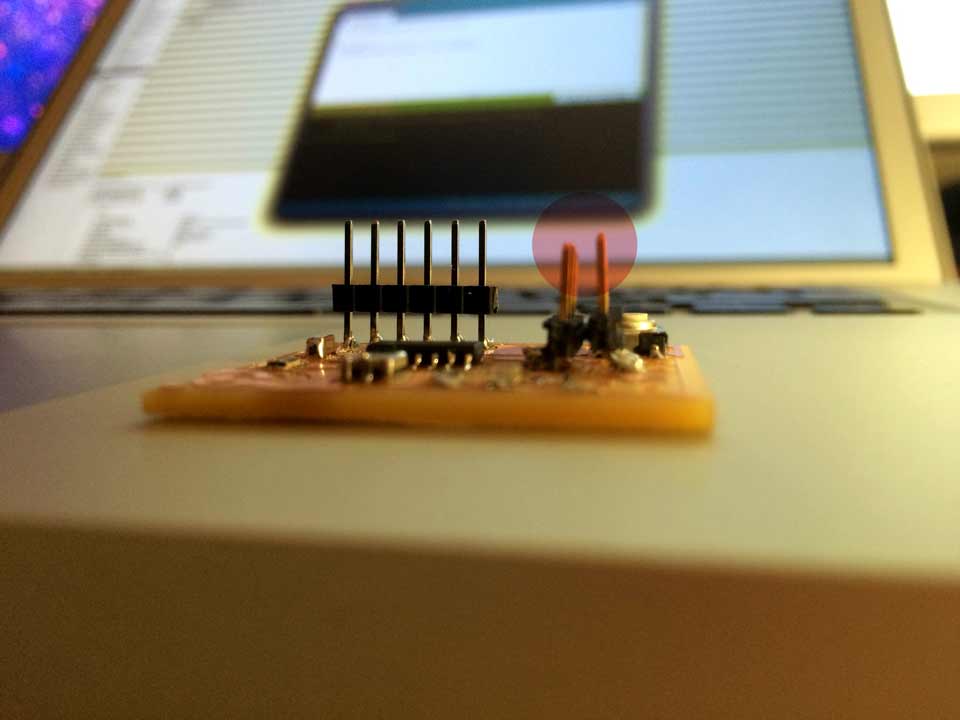
I have to change this. I returned to weld a new piece and....
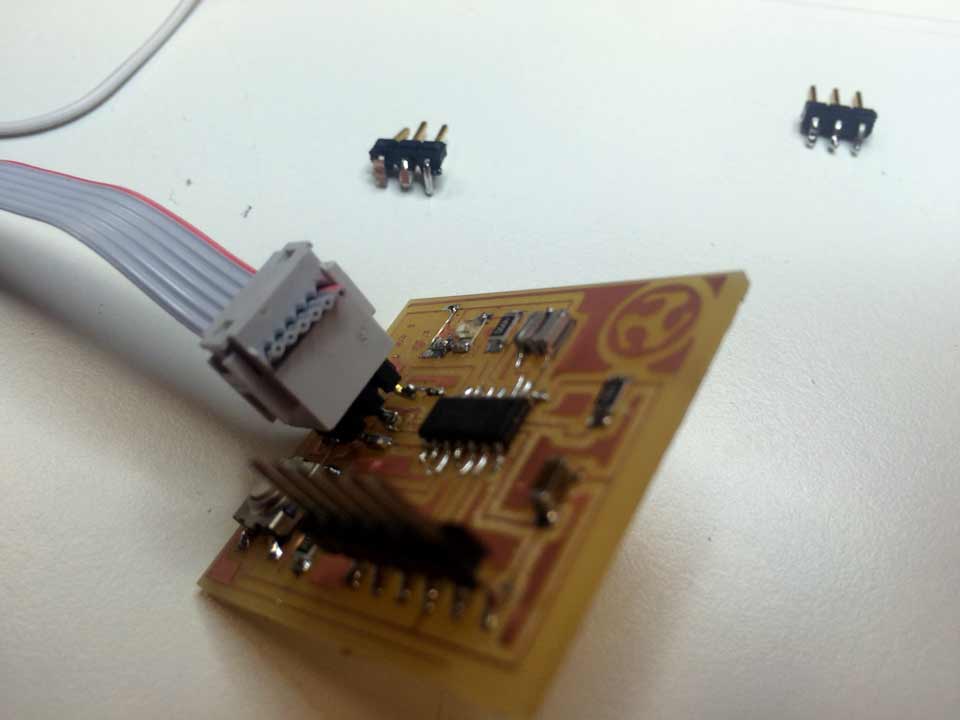
It's works!!!
Programming
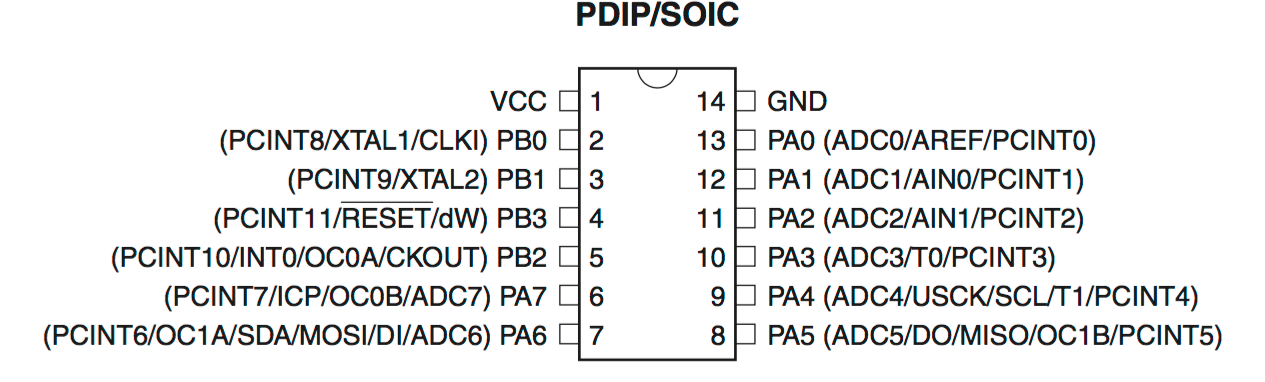
I searched the Attiny44 datasheet to learn about the microprocesor pins, voltage to work fine, etc, and know how program it. I have the PA3 and the PA7 free to connect them with the button and the LED. The button and the LED are analogic inputs.
I have learned to identify which goods are free to connect to a button and an LED and if they are programmable.
 .
.
To know what I need for Arduino code I use this image. This is the Attiny44 datasheet for Arduino. My pin PA3 (analog 3) is for the button and the PA7 (analog 7) for the LED
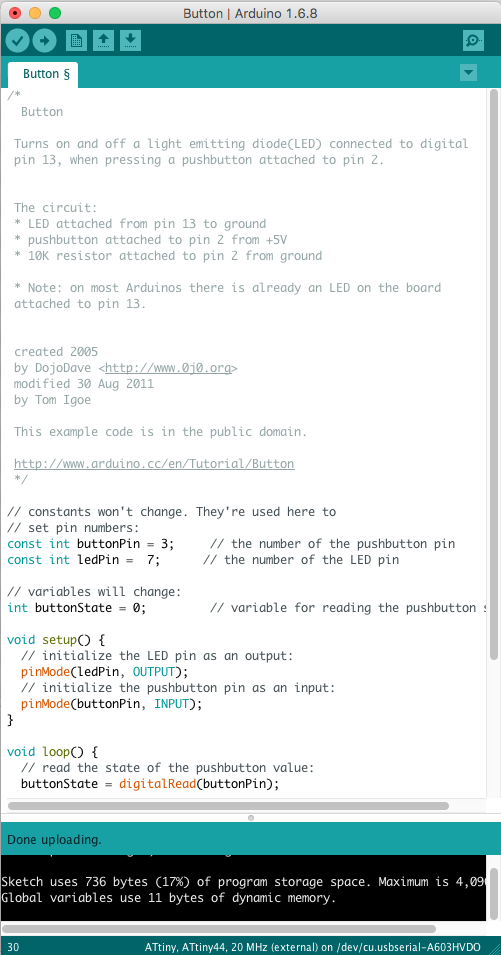
I started with the arduino button. I changed the Button pin to 3 and the LED pin to 7. I had this configuration in my schematic design in Eagle. It works well when I upload but the board has some problems.
something its wrong from Jose Real on Vimeo.
I thought that it was a welding problem. I re-welded some parts and it worked ok:
button ok from Jose Real on Vimeo.
Programming part 2
The next step is modify the programming. I want the button to function as a switch. When press cycle on and when press again turns off. I based on another arduino text.
To do this I need to store the state of the button and if I press the button before. I can do it with a variable.
I used 3 variables:
-int pushButton=0; //store the state of the button
-int state=0; //0=led off, 1=led on
-int pushButtonPrev=0;
This works for me but ...
store the state of the button arduino ok from Jose Real on Vimeo.
... something strange happen.
something strange from Jose Real on Vimeo.
I think some resistance or connection aren’t ok and the electricity does something strange.
The accident
My board had an accident and it lost the pins...so I can’t make more programs for it. In future assignments I will program more boards
What I have learned?
The datasheet is the most important thing to do well while programming, If you don’t know about it you must learn because you must know what pins you are going to use, and know what max voltage is your micro going to support. It’s very easy to burn a microcontroller.
EMBEDDED PROGRAMING |
|
Documented what you learned from reading a microcontroller datasheet. |
X |
Programmed your board |
X |
Described the programming process/es you used |
X |
Included your code |
X |
button arduino
store state button arduino