
Assigment 8
embedded programming
8th week
For this week, we were introduced about embedded programming.
First, read the Attiny44 datasheet and then, program our HelloBoard with as many languages as possible.
The datasheet is very important, to know the functions of each pin, working voltages...before starting to work with a component, it´s needed to at least know where is the datasheet to consult when a doubt appears.Sparkfun has a nice explanation about how to read a datasheet.
Wiring
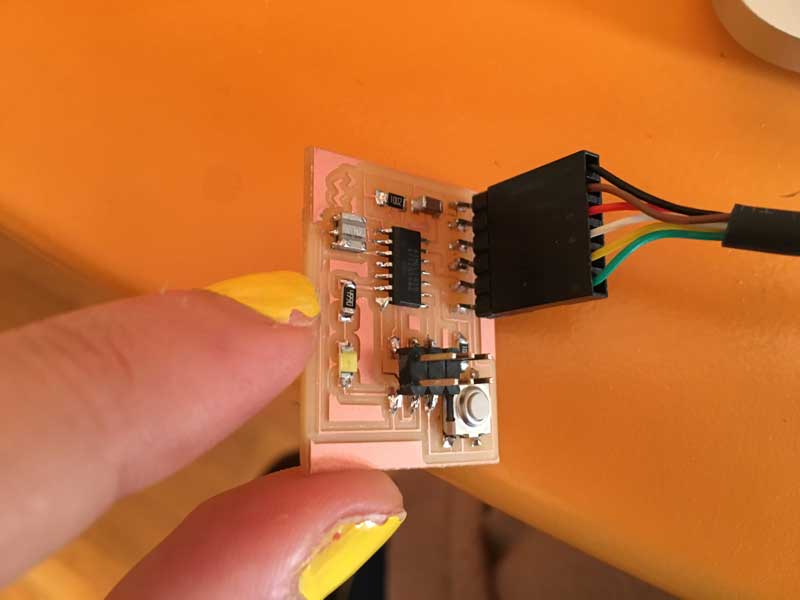
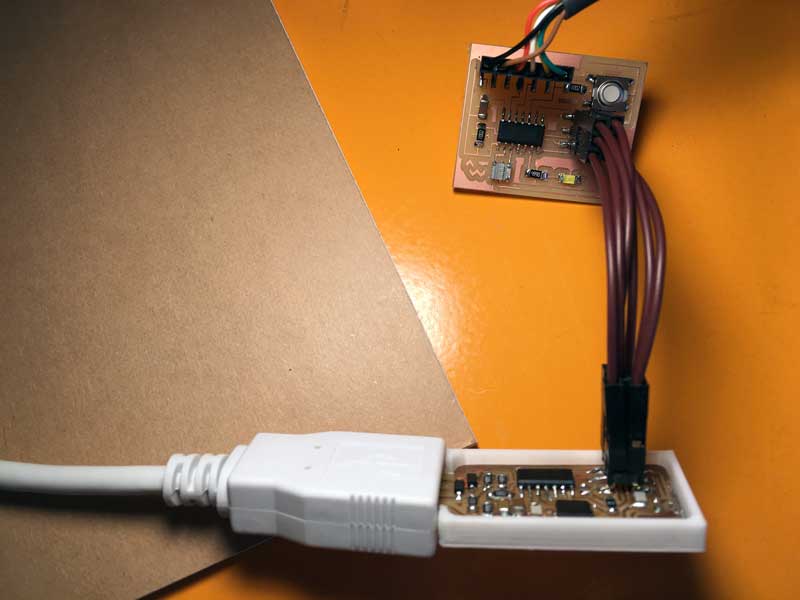
First, I connected the fabIsp programmer to my HelloBoard, making sure with the schematic that the pins were the right ones (VCC to VCC, MISO to MISO, GND to GND....), and also the FTDI wire.
Arduino IDE
I followed the HighLowTech tutorial for programming it with the Arduino IDE.
Im using the 1.6.7 version of Arduino/Genuino IDE.
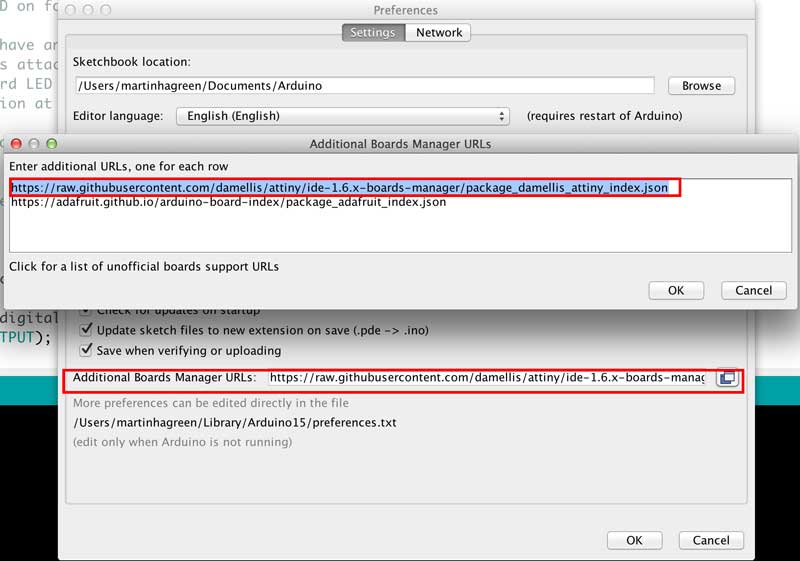
In this new versions, it´s easier to configure and add new boards not supported by default by the software.
First, in preferences panel, I added the following link for being able to download the new boards with the boards manager: https://raw.githubusercontent.com/damellis/attiny/ide-1.6.x-boards-manager/package_damellis_attiny_index.json
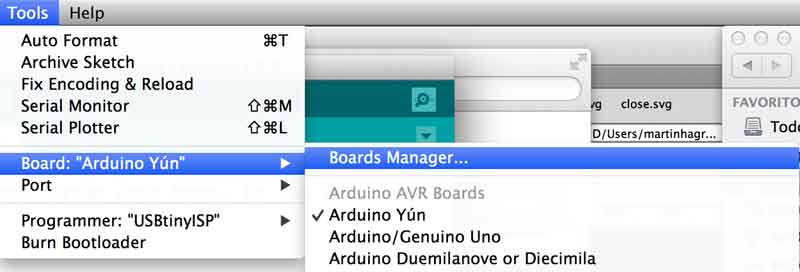
Select the Boards Manager menu for downloading the new board.
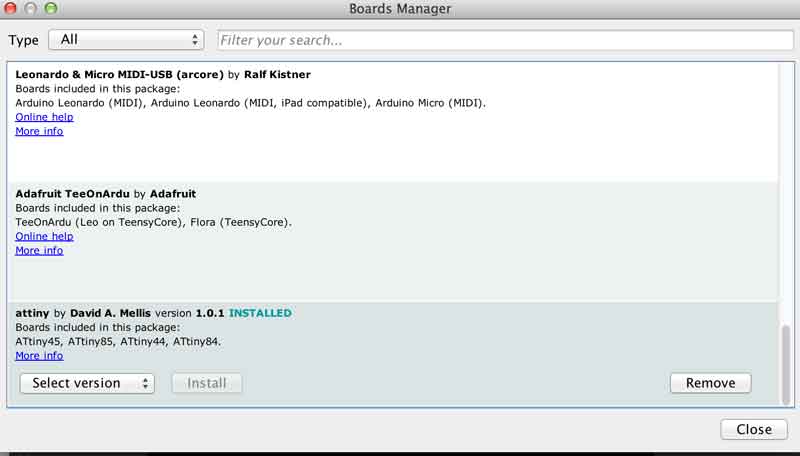
Now Attiny appears in the list, and I could set more preferences.
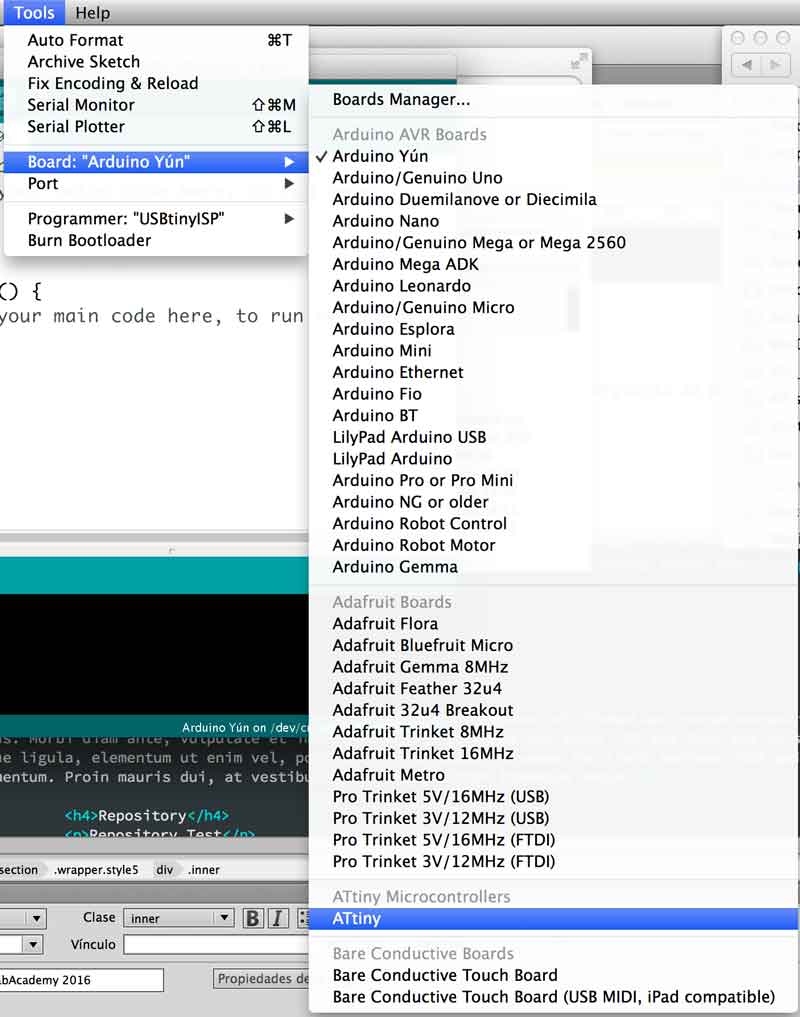
Select the proper board, Attiny44 is the right microcontroller.

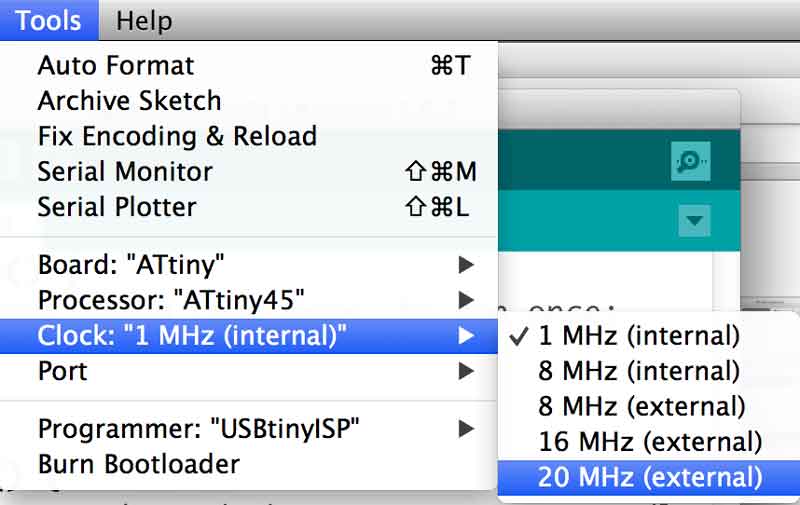
My board has the external 20Mhz Clock, doesn´t use the internal Attiny´s clock.
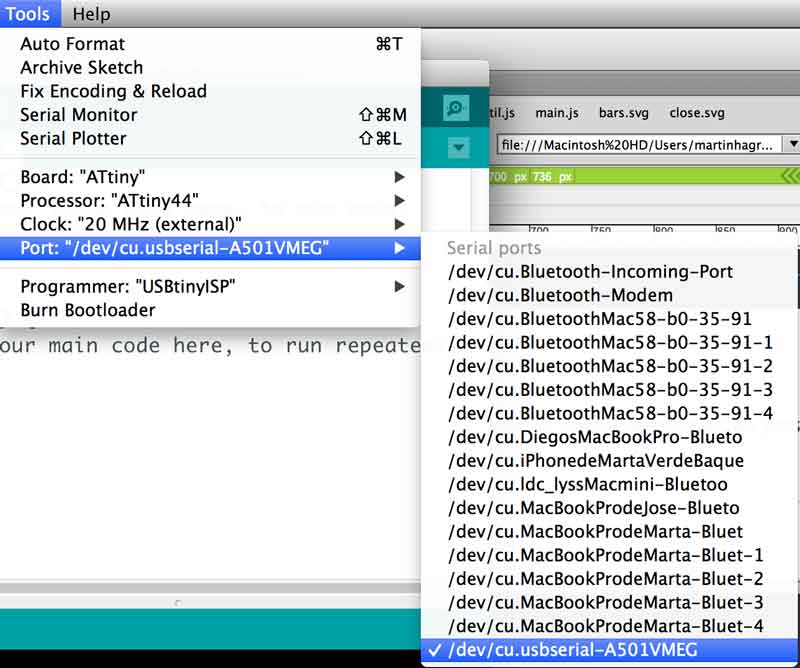
Serial port:
Programmer:
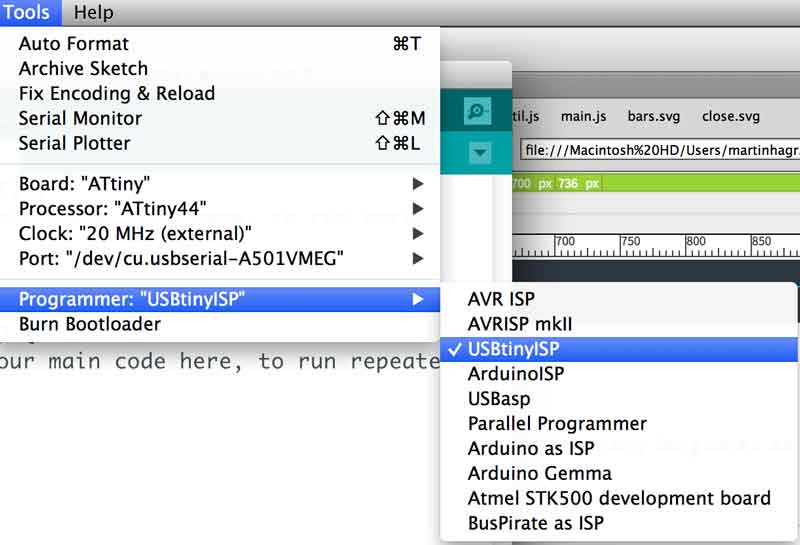
And burn the bootloader:
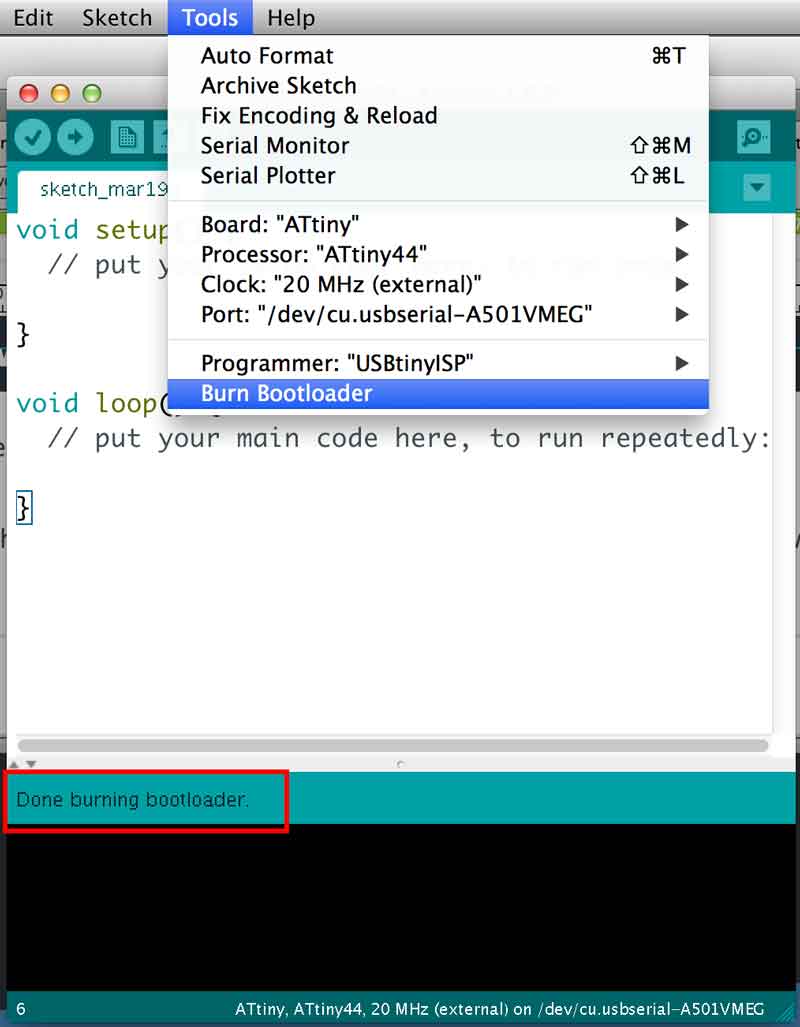
Now the board is available for uploading code to it.
Before uploading anything to the board, Its needed to identify the correspondance between Attiny Pins and Arduino numbering.
I followed this scheme:

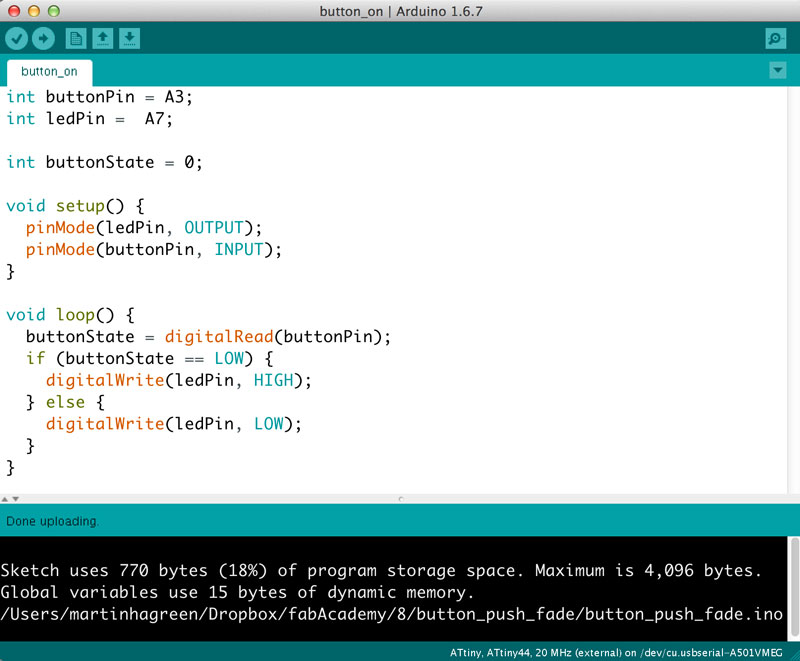
So, my LED is attached to Attiny´s 6 = A7, and the Button to Attiny´s 10 = A3.
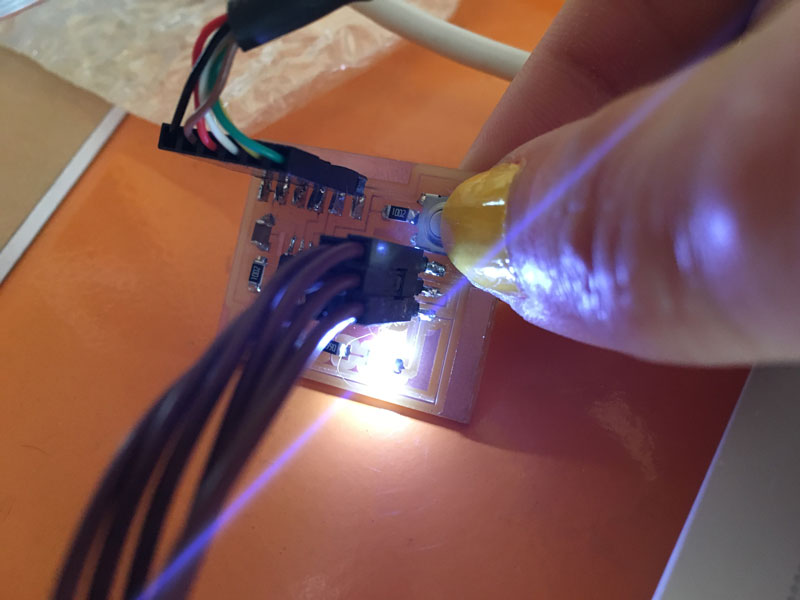
First I uploaded a basic button + led code, when I push the button, the LED lights on, and it works!
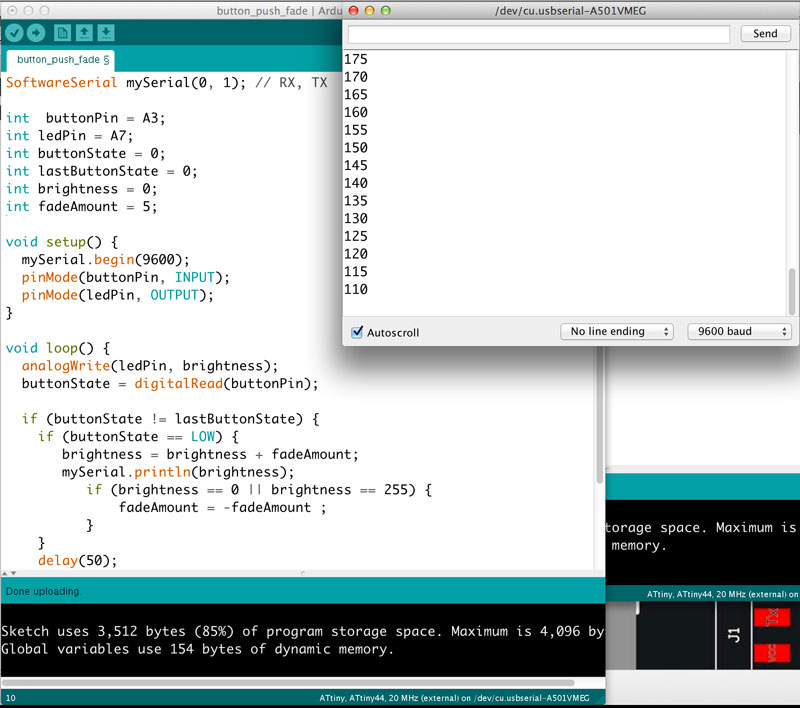
I also made a sketch using the ledPin as analog, to use different brightness values depending on the number of button pushes, for testing Serial communication between the Board and the computer. I included the SoftwareSerial library.
C coding
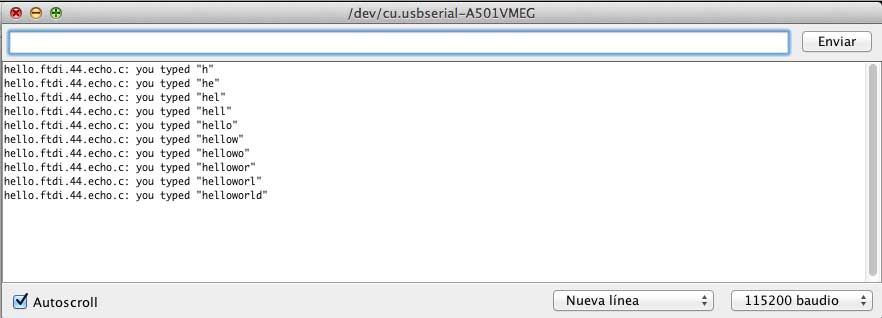
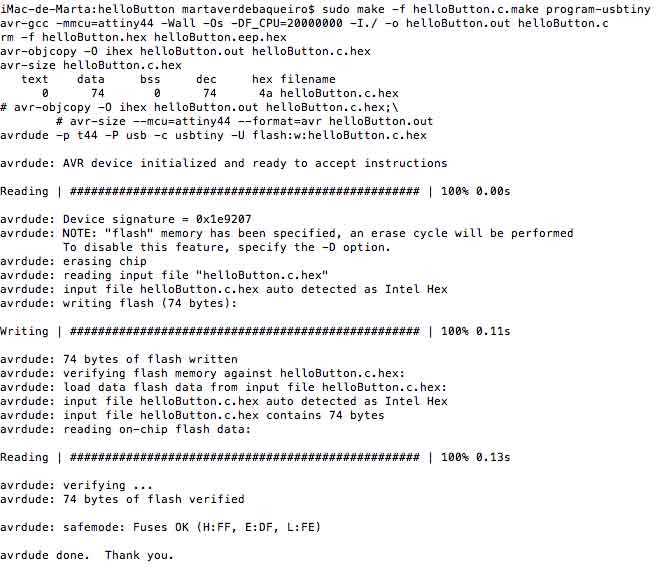
For this intro to C programming. I followed the old tutorial from http://fabacademy.org/archives/content/tutorials/09_Embedded_Programming/Programming_Hello_Echo_Using_C.html
First, I was working with my laptop. It was a really nightmare, I had a lot of different error messages, I reinstalled avr-gcc and libcc from the scratch several times but with no luck. I think that It was because I had a lot of old installations (macports, brew, libraries...) and was a real mess. I already saw that avr and libcc were installed but not linked.
I arrived from easter holydays and tried on my Imac. It worked at the first try; but I´m still worried about what is going on with my laptop.
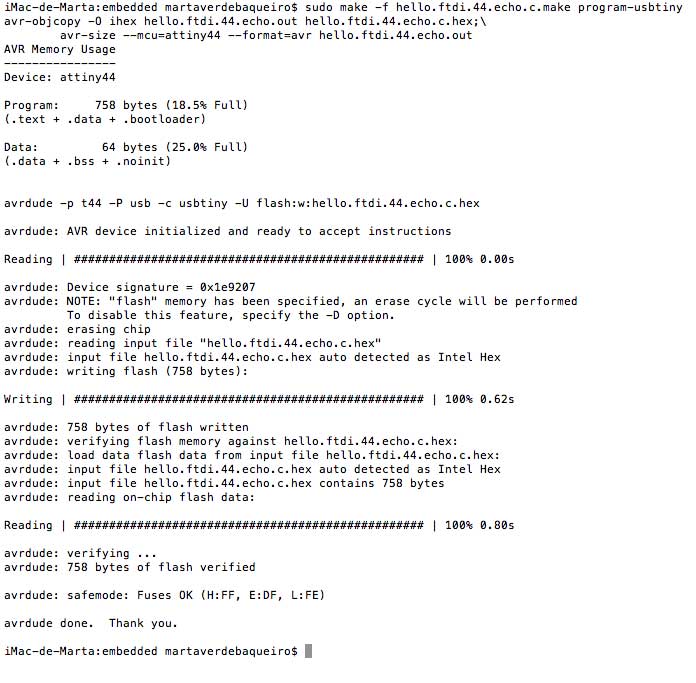
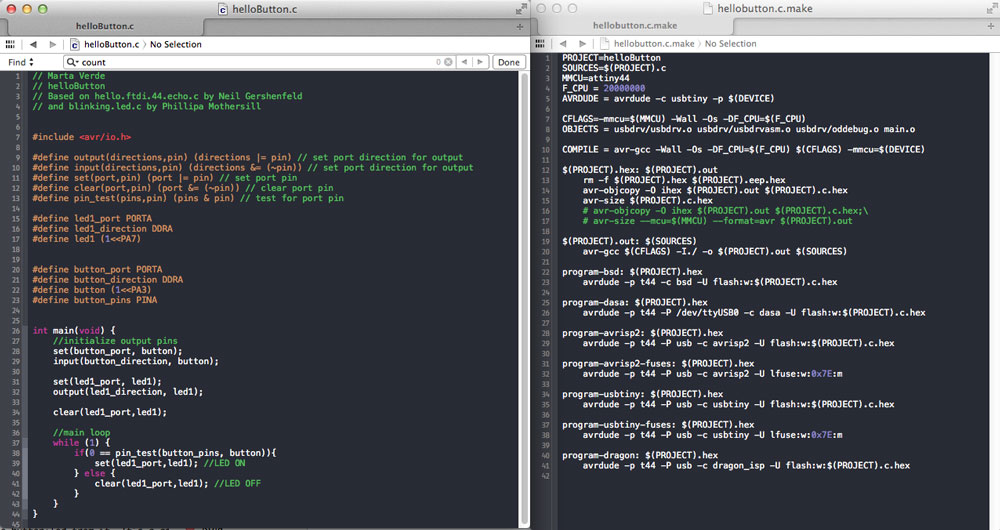
After this succesful upload through Terminal, I decided to test a blinky led coded in C and using makeFiles. I looked for other years examples (with no background in C, It would be a madness try to code it from the scratch) and I found Phillipa Mothershill´s assignment. She has an example using counters for blink two leds, and I modified It until I understood the syntax and the code, and I made my single button+led from it. It´s a good starting point, and it works¡
XCode
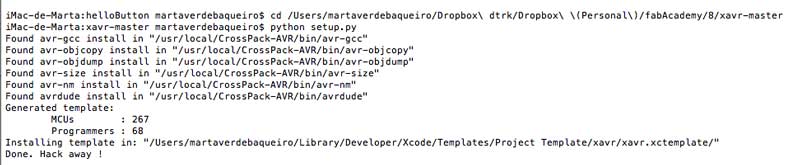
Terminal is kind of cool; my colleague Borja from Fab Lab León recommended to me this tutorial, for using avr-gcc compiled with Xcode.
It´s nice to have autocompletion and debugging.
The installation is quite simple, download the package and run a phython command to compile it:
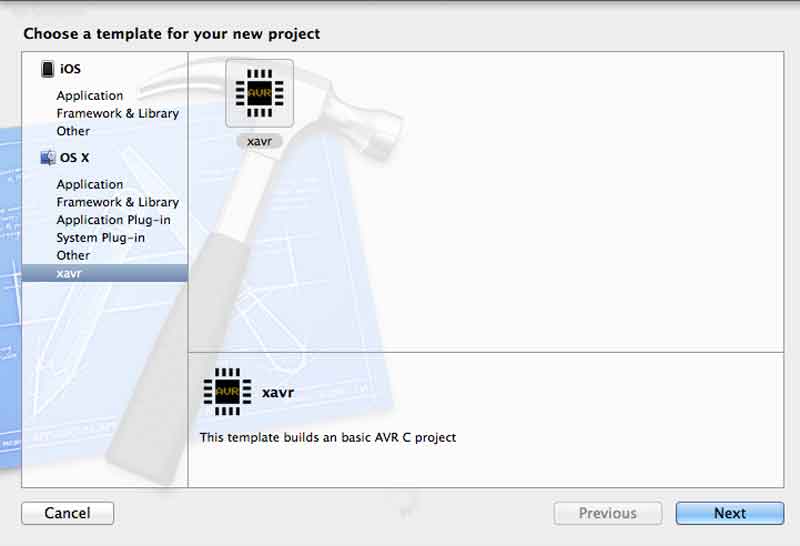
Then I opened Xcode, and the new template for creating avr projects appeared by the way:
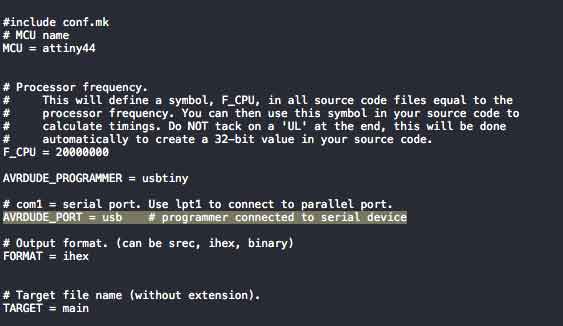
And it creates automatically a .c file and a makeFile. I only had to modify on the makeFile the usb port, by default it uses the cu.****
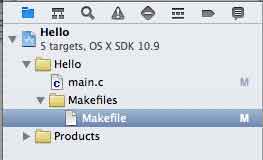
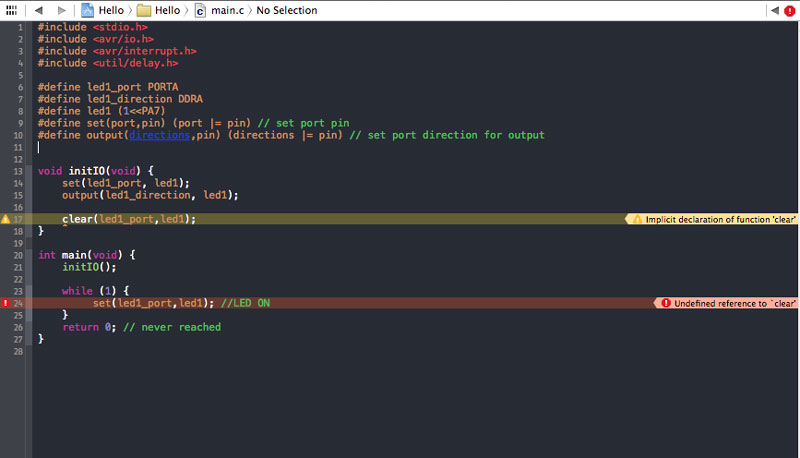
First I tried to light on the led following the same code I did before, and I liked the fact that Xcode debugs and report errors; lady, you forgot to define functions! (Terminal told me that info too but this is more efficient)
Just have ALL targets marked and compile the files to the board, clean and easy. I made a blinking led function that works when the on-board button is pressed.
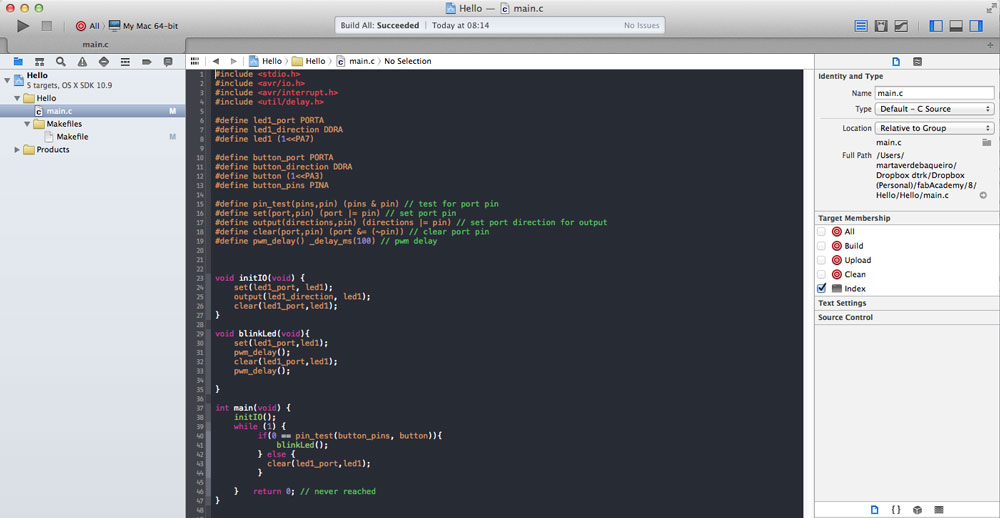
helloButton C code and makeFile
EMBEDDED PROGRAMING |
|
Documented what you learned from reading a microcontroller datasheet. |
X |
Programmed your board |
X |
Described the programming process/es you used |
X |
Included your code |
X |