
The assignment for this week was to design a 3D mold, machine it, and cast parts from it.
I will perform the following:
I started by creating a WRA logo on Solidworks. I spent much time working on the model and had it set up as I wanted to cut. Just before I was going to machine the part, I realized that the mold would have been backwards as I mirrored the logo and it would have come out backwards. This was my first problem encountered along the process of creating the mold.
This was my first mistake. I decided to then start new with a fresh design. I wanted to use the Roland MDX-40A machine that was new to our lab. I wanted to mill the part using the new Roland, but I had never used it.
I spend much time reading the set up manuals and installing the appropriate software. I was going to import a .STL file to work with. I decided I need to go back to the drawing board and create a part with the end goal
of casting it in chocolate.
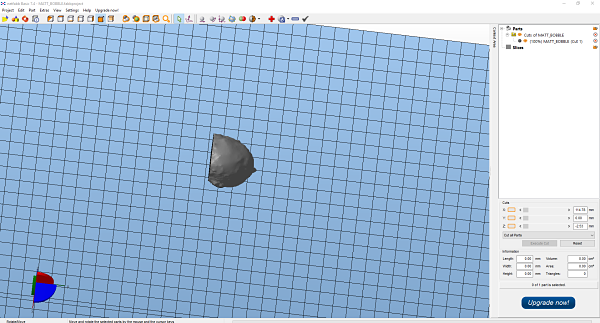
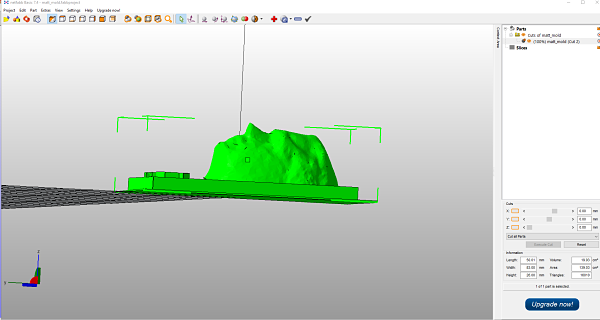
I decided to use the 3D .STL head file I created during Week 5 in the 3D scanning and printing lesson. I had created a model of my head using the app 123D Catch and finished up the process using Meshmixer. Refer to Week 5 for the full details and files. I needed to slice my head and put it on a flat surface. I decided to use the software NetFabb Basic. I downloaded the trial/ free version because it had the capability to complete a slice through my head. I wanted to just cut my head in half and use the front half of my face on my chocolate bar. It was a very basic process to slice my head model in half.
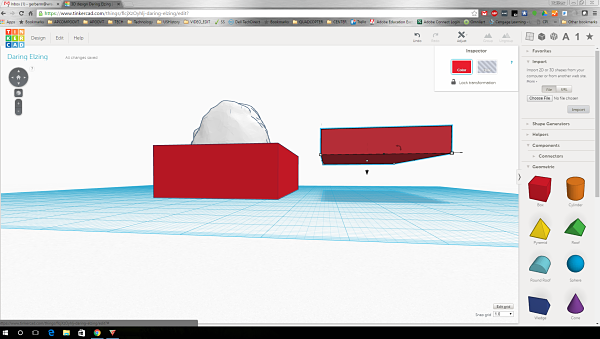
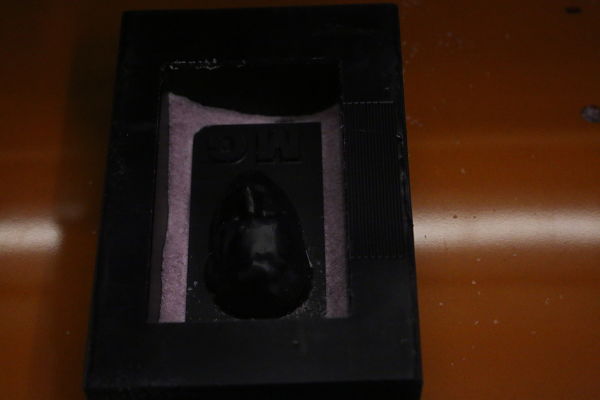
I then needed to quickly create a base and lettering for my model. I opened up TinkerCad and quickly created a base, sub-base and placed the top half of my face on the base. I then added my initials, MG, to the model. I find TinkerCad to be extremely efficient if I need to create very basic shapes. I would not recommend it for any advanced modeling, but for my purposes it worked to create the model. I then assembled all the parts together for the final model.
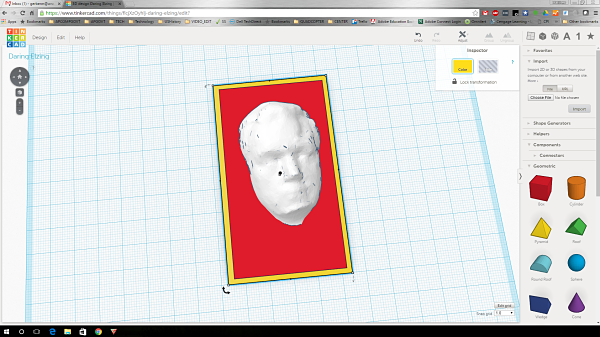
It was time to export the .STL and start the milling process.
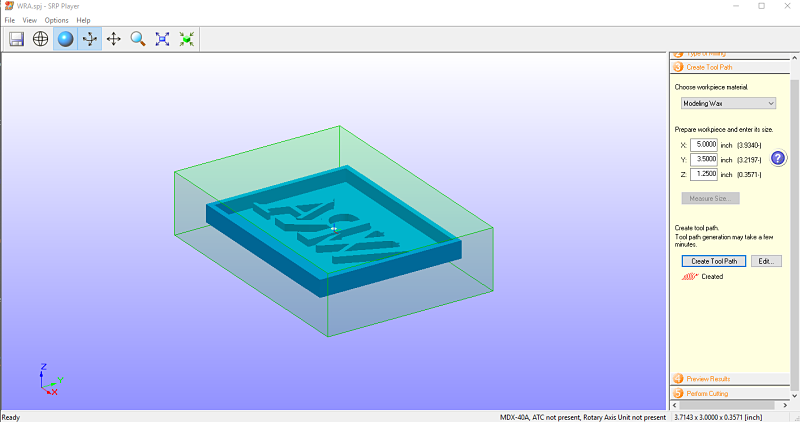
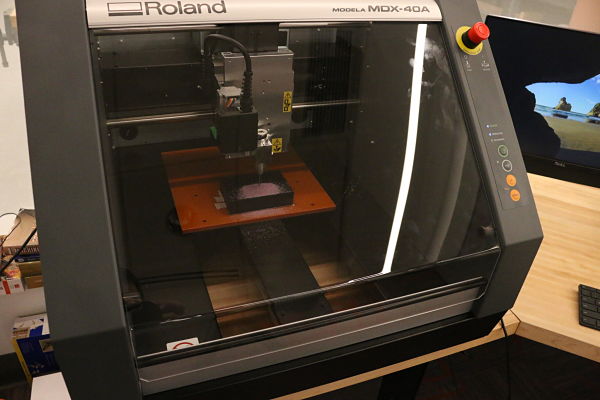
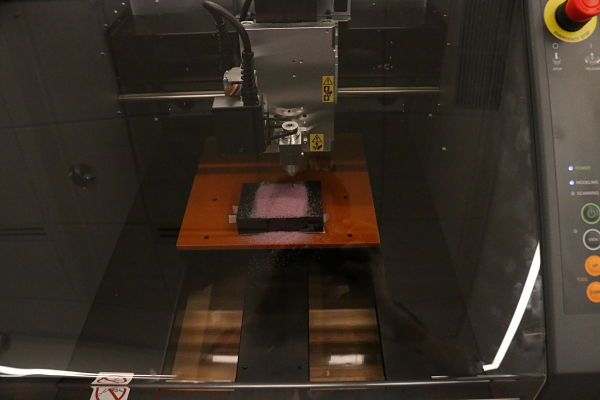
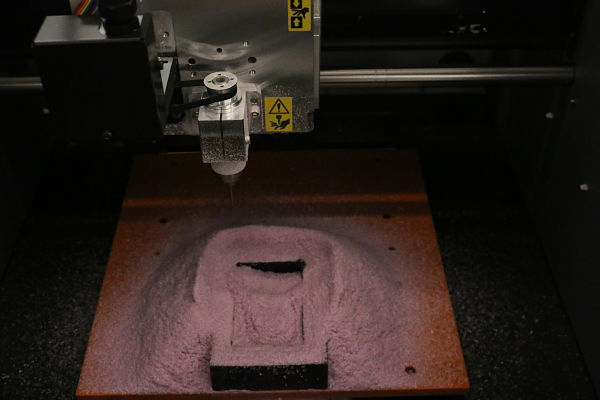
It was time to set up my new Roland MDX-40A. I had never used it to mill anything. I spent several hours reading the manuals and looking online as to how to operate the mill. I then installed all the necessary software that I would use to perform the milling of the .STL. I used double sided tape to affix the machineable wax to the bed of the mill. I inserted the 1/16 endmill into the collet. I set up and homed the X,Y and Z axis and set up the dimensions of my block of machineable wax. This all went very smoothly. I then imported the .STL file I finalized in TinkerCad. I was ready to start the milling process, or so I thought.
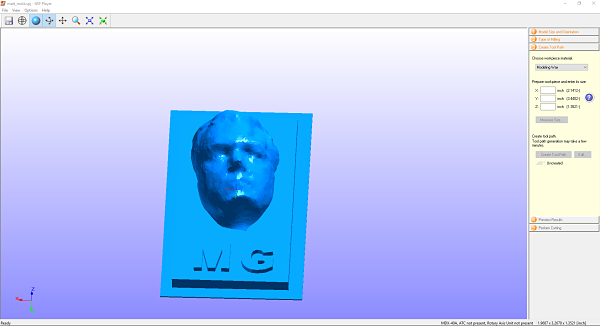
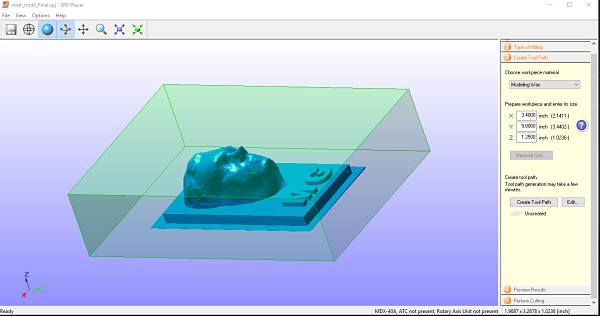
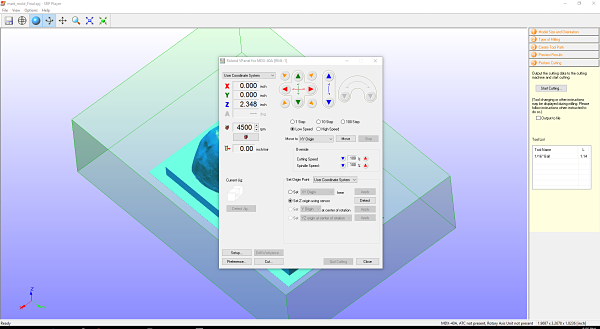
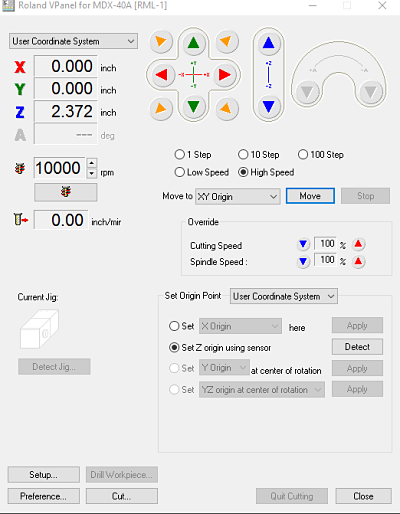
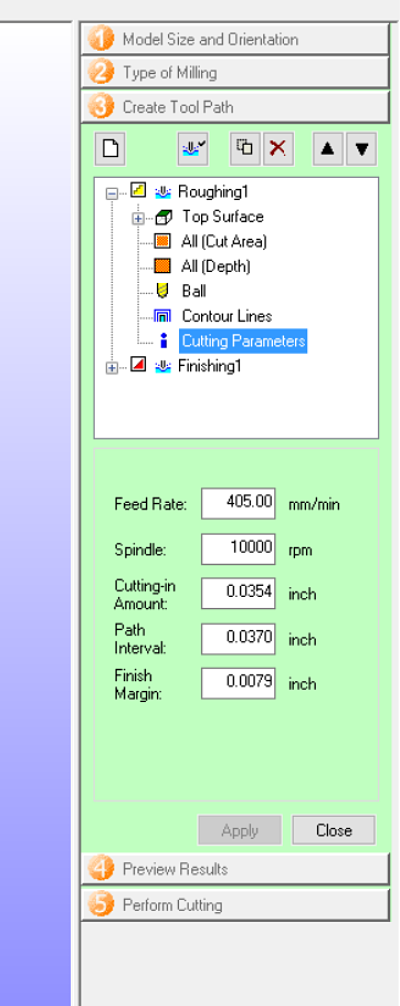
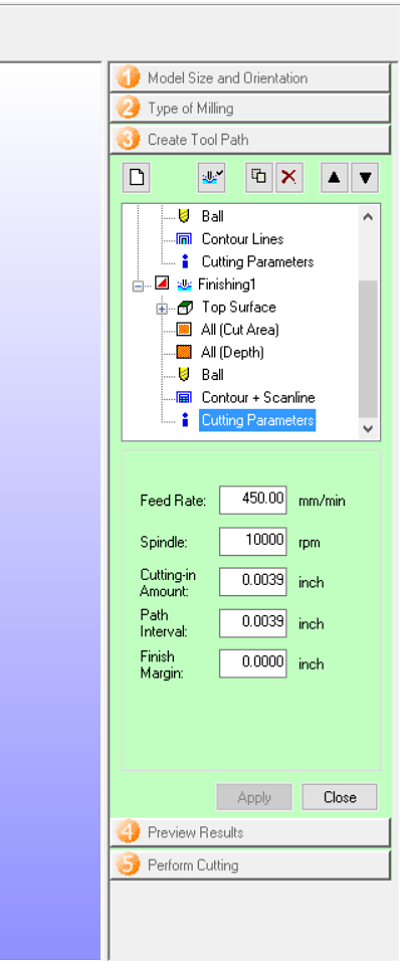
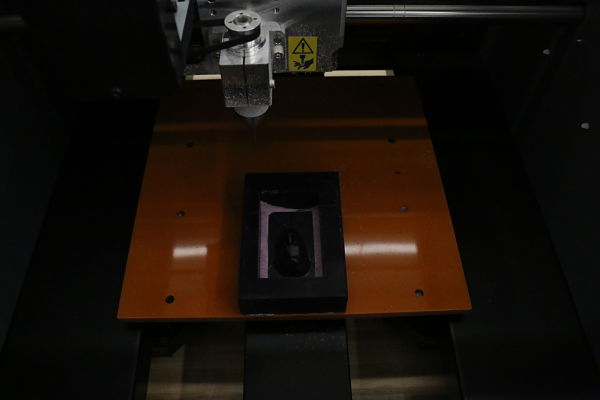
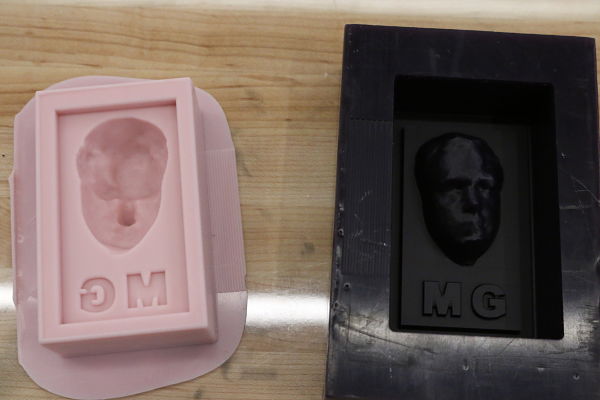
I then started the process and very quickly realized that I had switched the X and Y axis on the machine and material. This was going to cause the mold to be short. So I stopped the machine and reset the machine using the correct X and Y axis. This produced the desired results after 9 hours of milling with the 1/16 endmill bit. The final wax mold turned out very well for only one tool used in the entire process. I did a roughing pass to clear out the bit bits and a finishing pass to do the fine details. I set the roughing feed rate to 450, spindle to 10000, cutting-in .0354, path interval .0370 and finish margin to .0079. The finishing feeds and speeds were set to feed rate to 450, spindle to 10000, cutting-in .0039, path interval .0039 and finish margin to .0000.

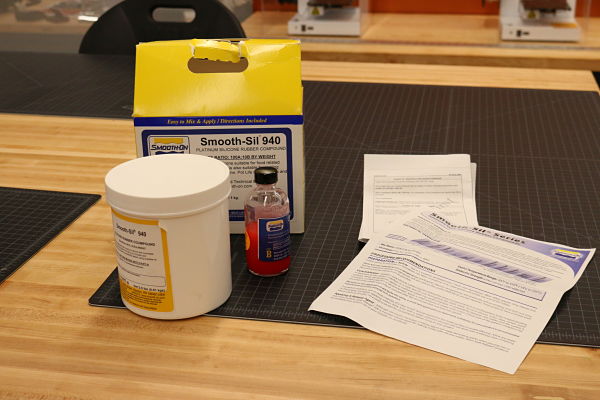
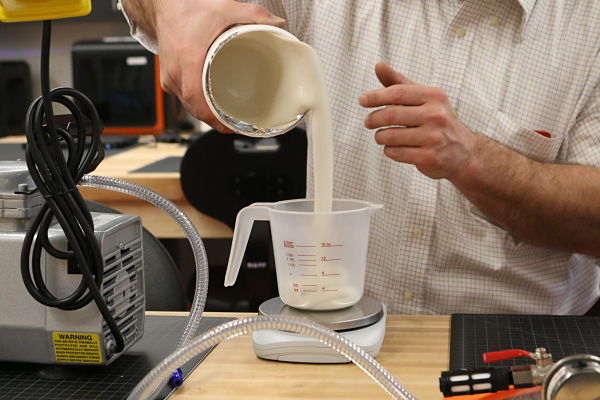
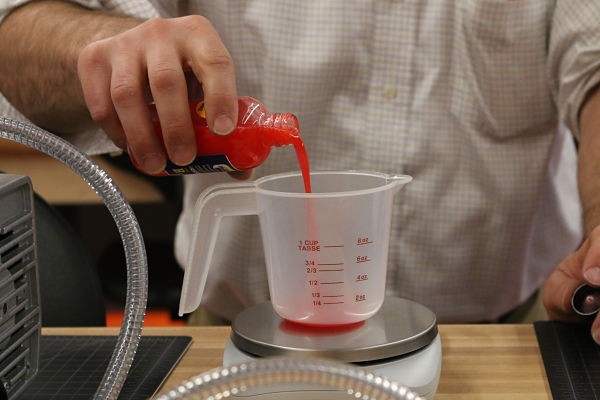
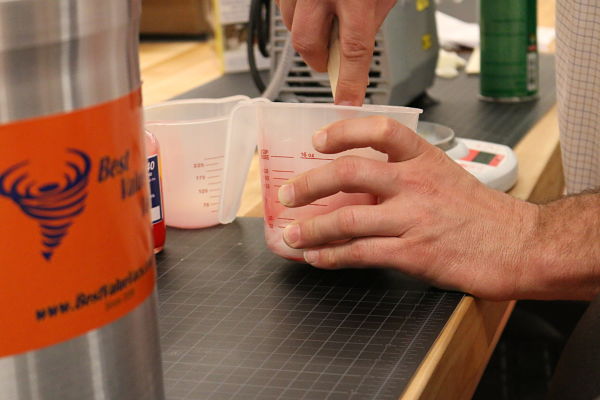
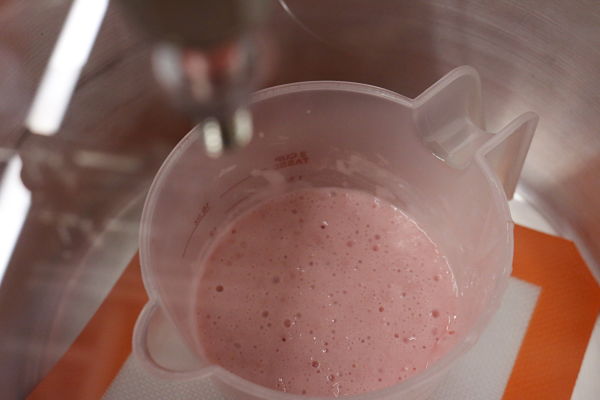
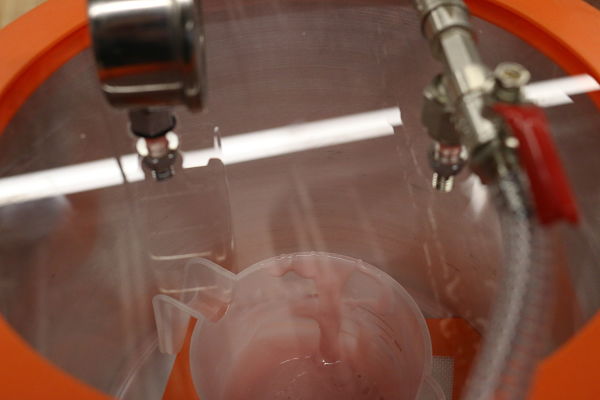
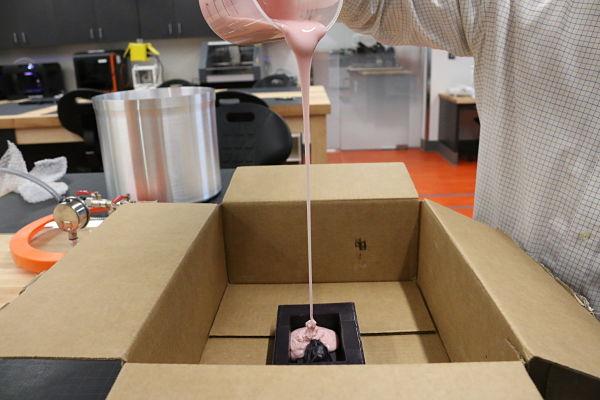
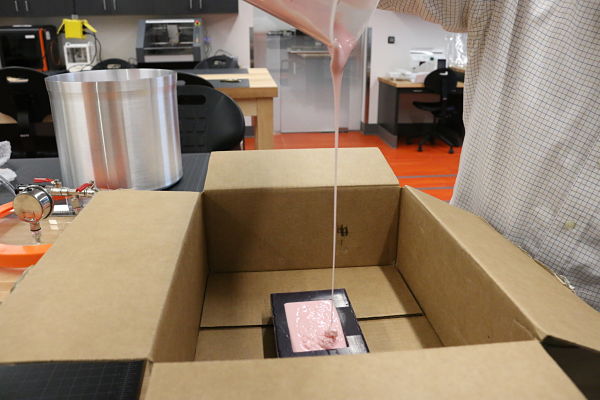
To create my food safe mold, I am using Smooth-Sil 940. I decided to follow the directions and great instructions on the SmoothOn website and directions that came with the materials. I also will be using a vacuum degasser for the first time to reduce the amount of bubbles created by mixing the mixture. I followed the instructions and mixed it in a ratio of 100A to 10B by weight. I stirred the mixture for 3 full minutes and then placed the silicone rubber compound in the vacuum degasser for 10 minutes. I then poured the mixture from a height of 12 inches above the wax mold at a constant rate and in the same place so the mixture eventually filled just above the top of the wax mold. It was a very easy process, but my first in pouring a mixture to make a mold. The vacuum degasser worked really well and when I poured I was sure to have a small stream flow to eliminate any bubbles.
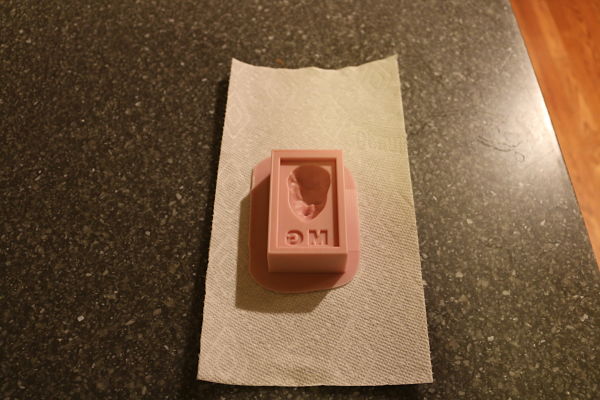
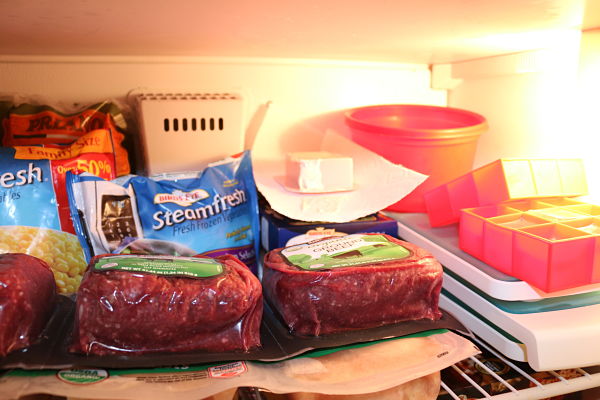
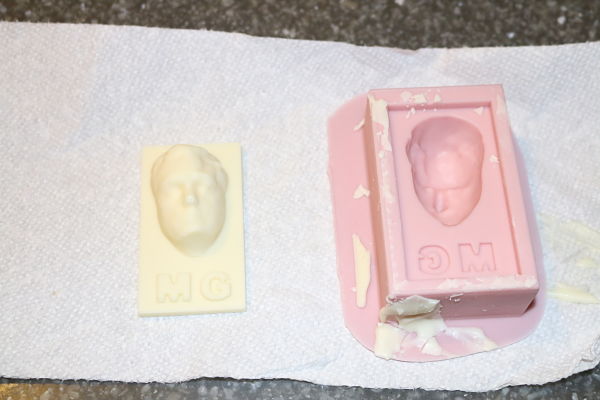
I then waited for 24 hours before I removed the silcone from the wax. It was exciting to see how the mold would turn out. I had read that by using the wax, you did not need to spray any release agent. This was proved true as when I pulled the silicone out it easy was removed.

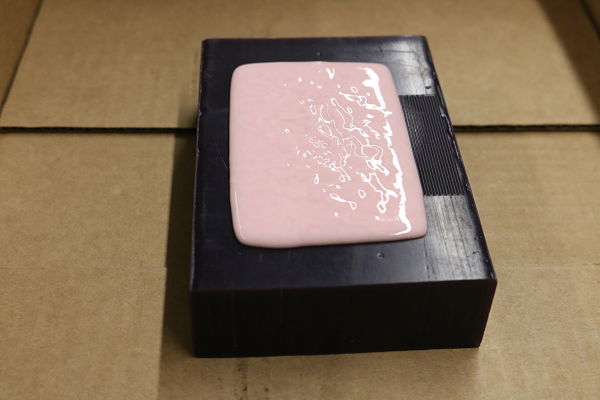
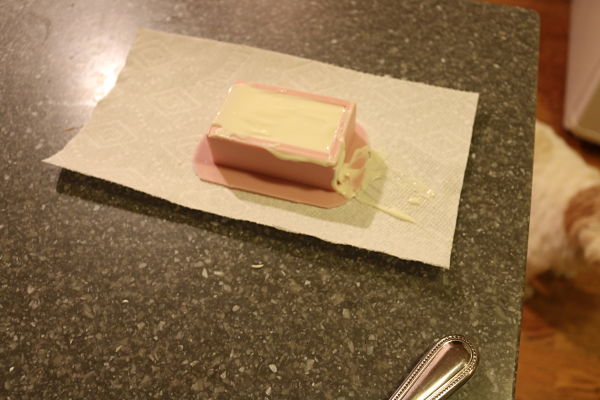
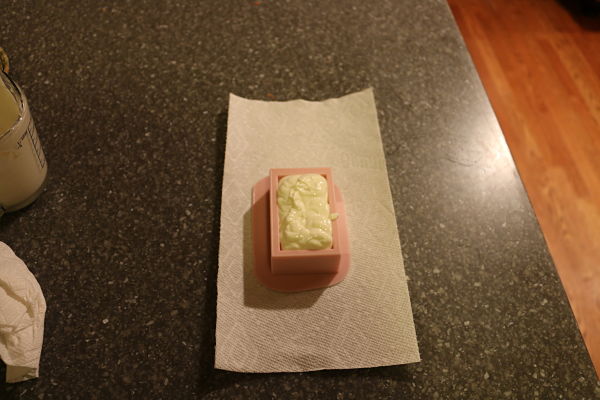
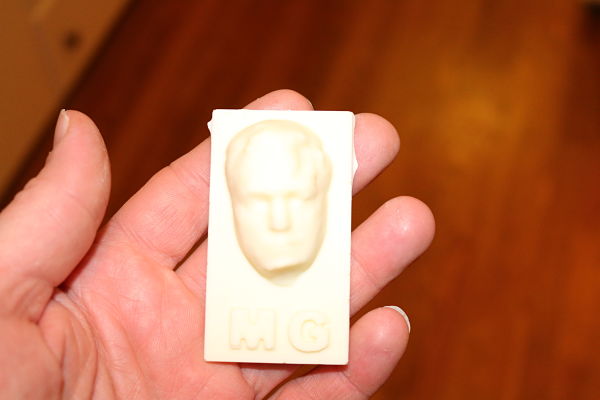
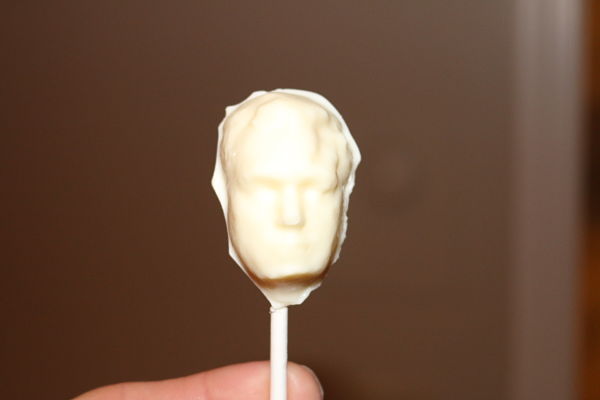
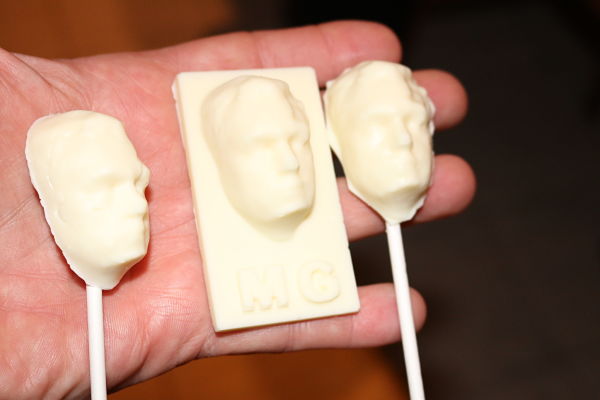
I purchased some Ghirardelli white melting wafers for candy making and dipping. I filled a mixing cup up with the nibs and put them in the microwave according to the instructions on the package. I heated them up on the defrost mode and every 15 seconds pulled it out and mixed it up until it was a consistency to pour. I was cautious not to burn the wafers as was mentioned on the package instructions. I then poured the white chocolate mixture into the mold filling it above the top of the silicone mold. I smoothed it out with my knife I used to stir the white chocolate and placed it into the freezer. I was not sure how long to have set up in the freezer and cool so I waited one hour. I then pulled the mold out of the freezer and carefully worked the chocolate out of the mold. I was a very good cast and I was pleased with the final result. I was so pleased, I cast just the head portion of the mold with a stick in it to make a sucker.

Project Files: