
This week we were given the assignment to design a 3D mold, approximately one foot square and produce a fiber composite part using the machined mold.
My mold was going to be a two part mold of a bowl with the fiber and epoxy compressed between the core and cavity.
The two images below show the solidworks file that was created. The cross section below shows the red bowl between the core and cavity of the mold.


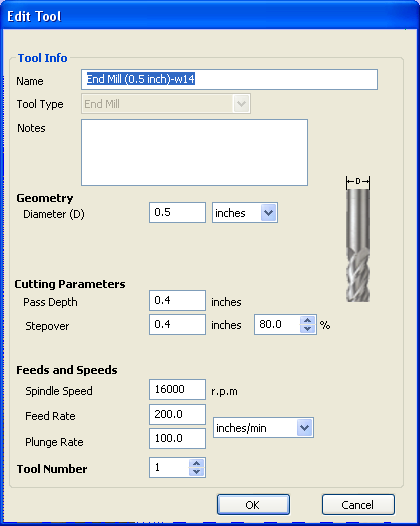
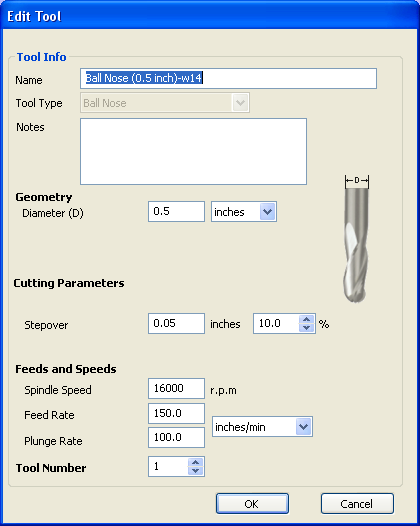
The core and cavity was saved as an STL file and imported in Aspire to be cut on the Shopbot. Since I made the mold two inches thick I had to glue two pieces of 2" insulation together. The next two images show the rough cut tool and the finish tool that were used to complete the cuts in the 4-inch thick foam. The 1/2 inch end mill was used for rough cutting with the parameters shown. The ball nose was used as the finish cut with the parameters shown. This entire process took approximately three and a half hours to complete.
 .
.
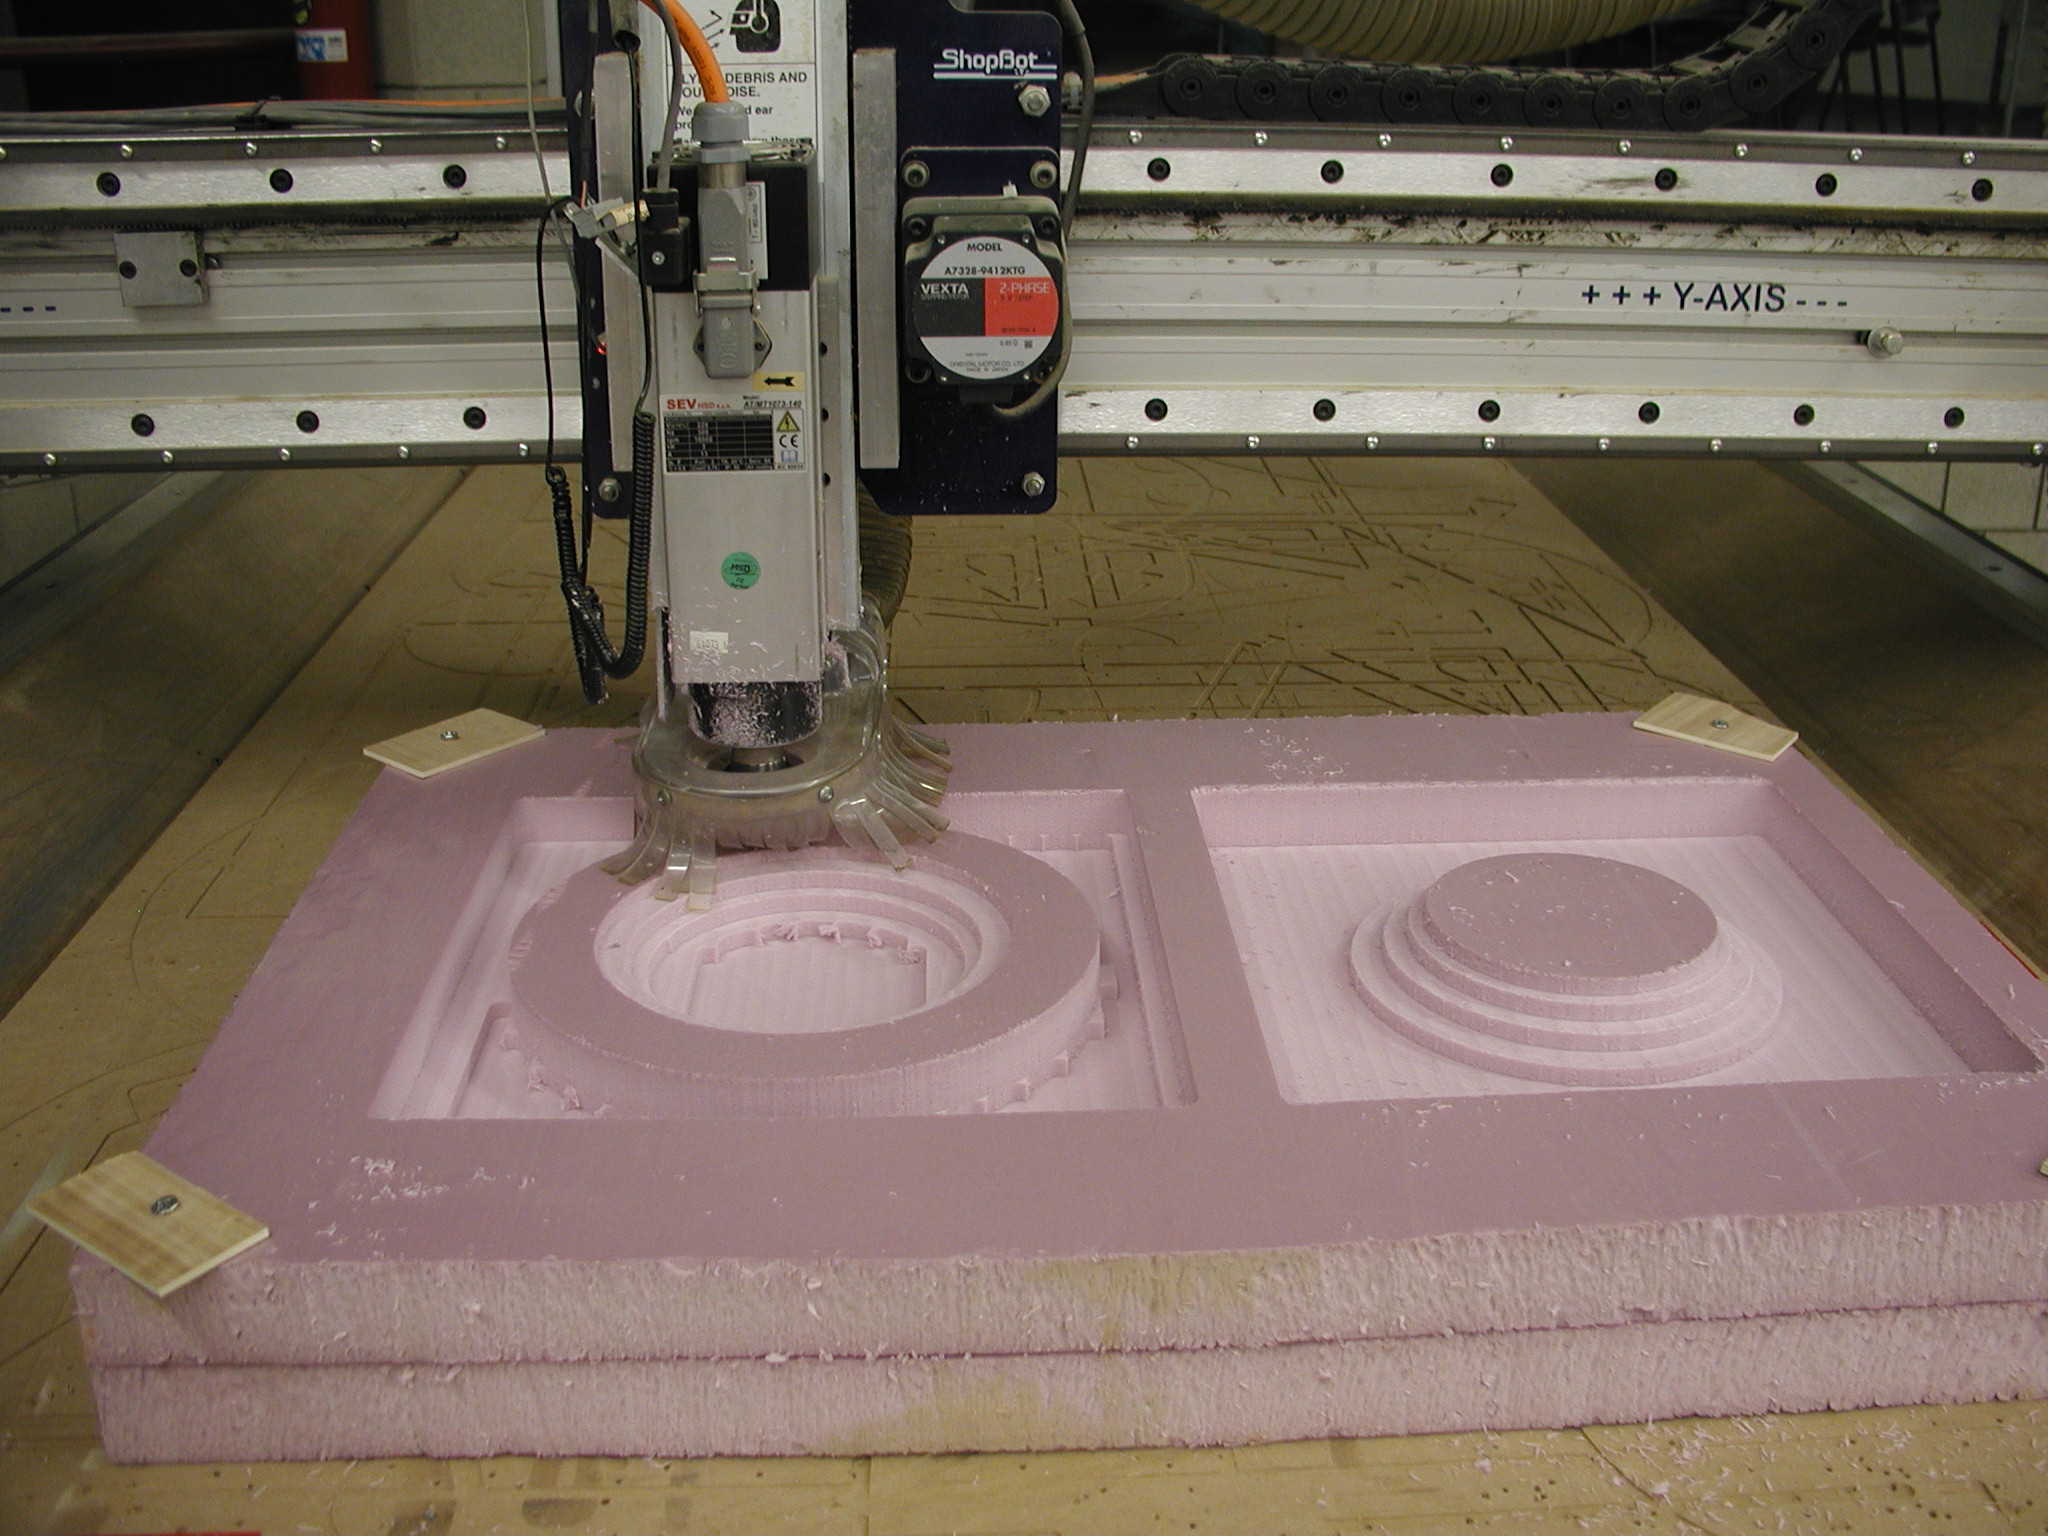
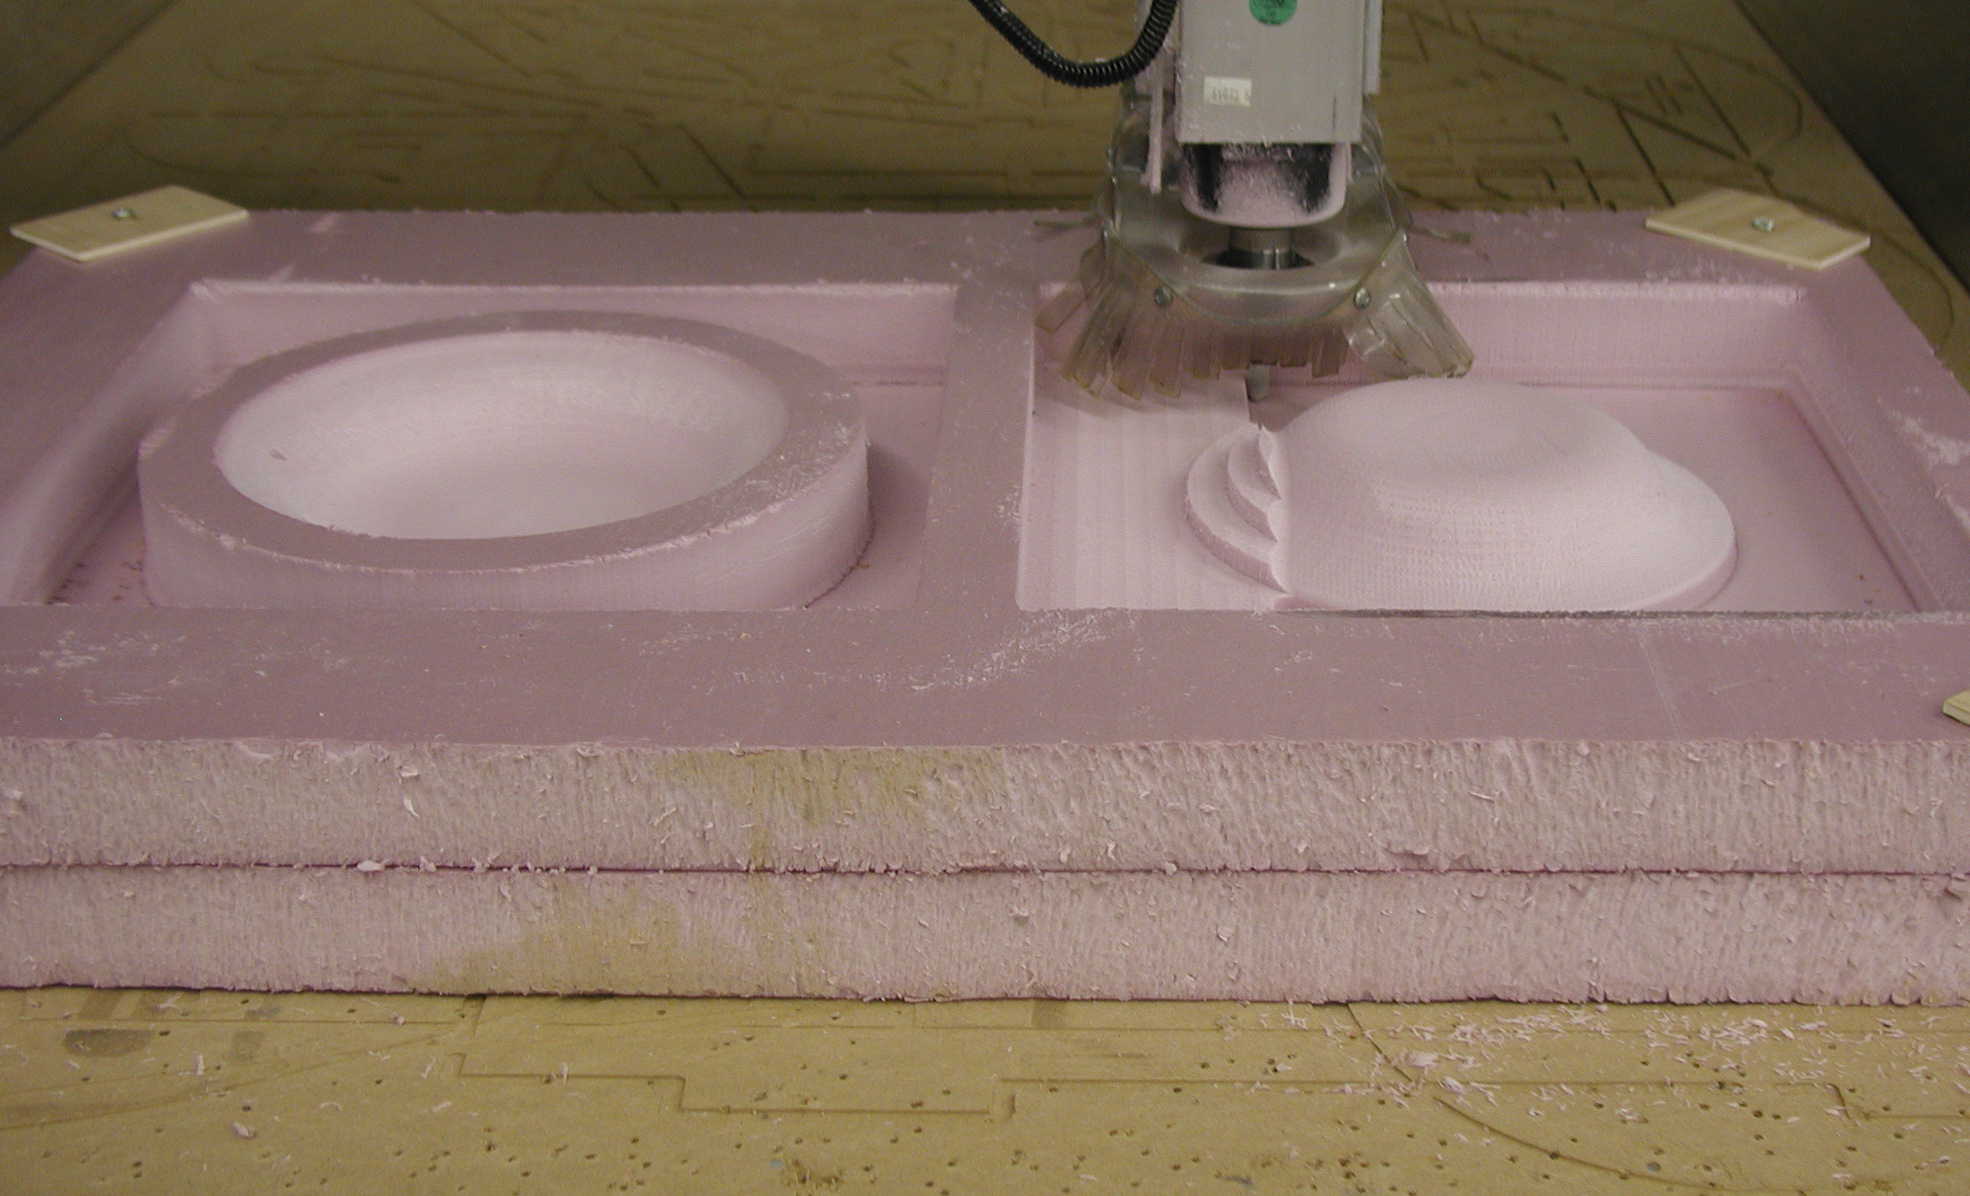
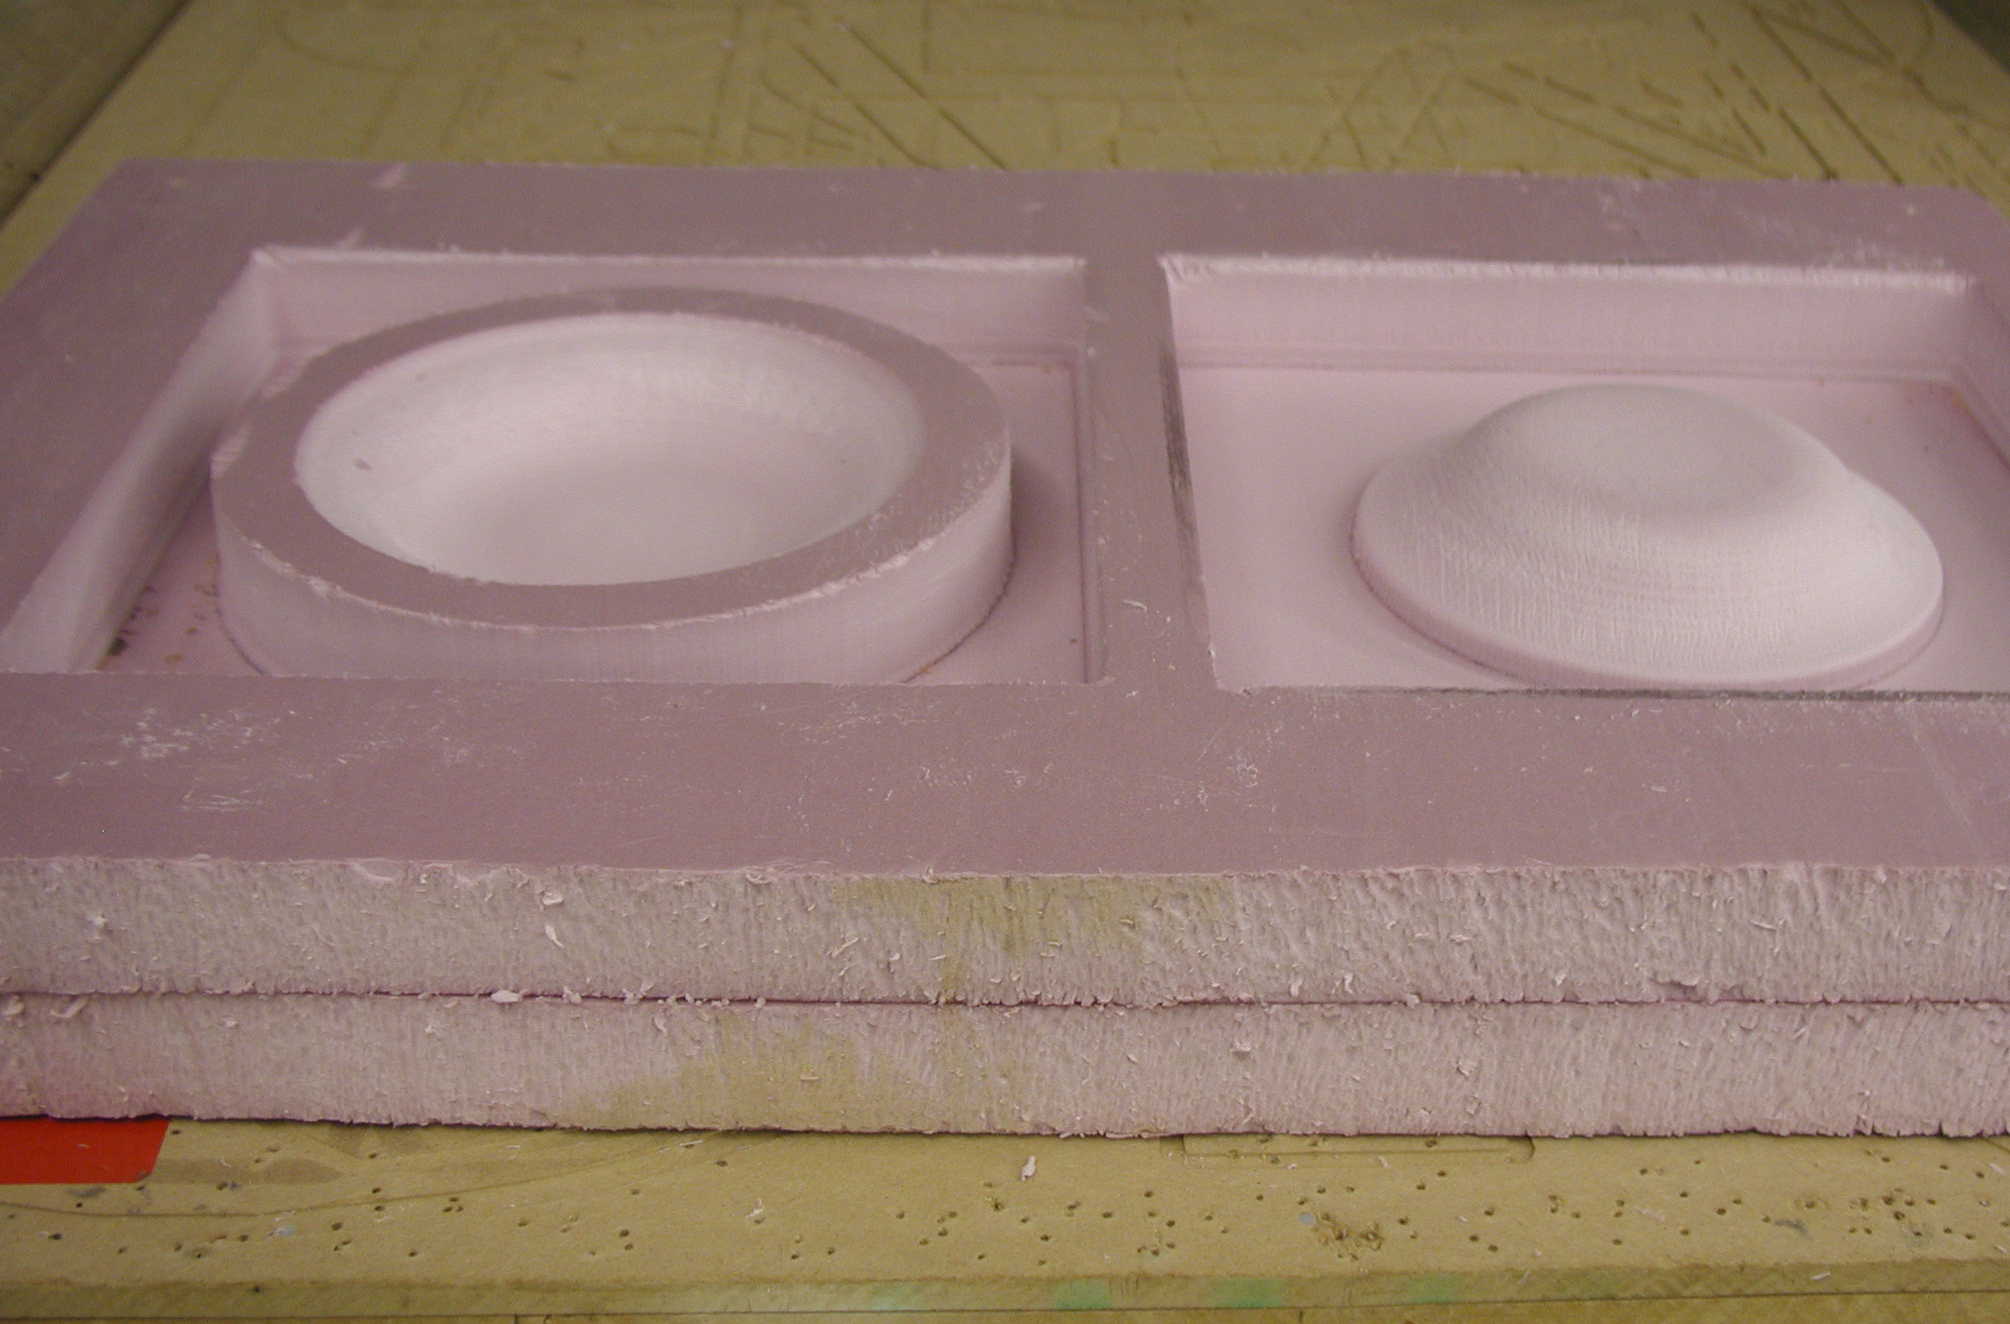
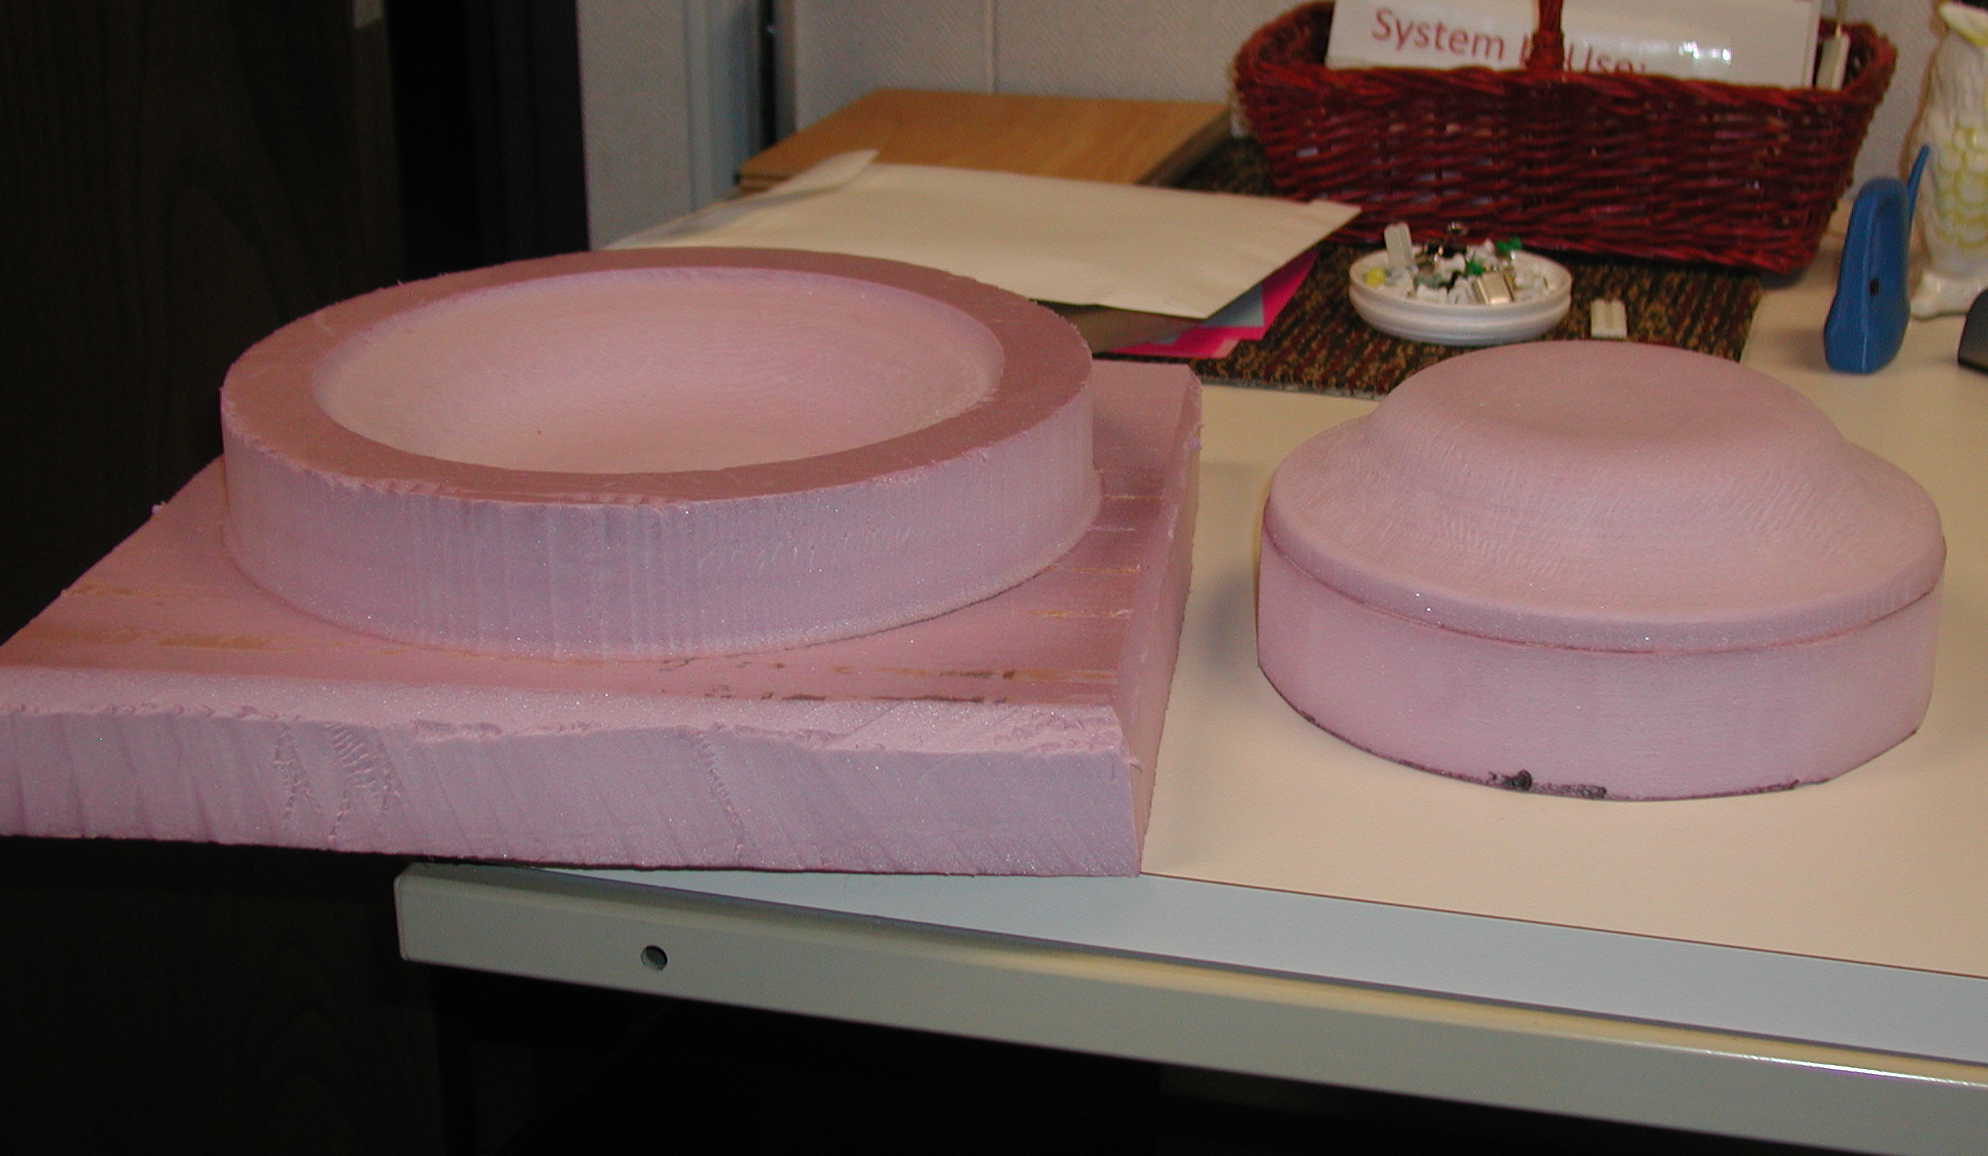
The next three images show the rough cuts, the finish cuts, and the completed mold.
 .
.
 .
.
 .
.
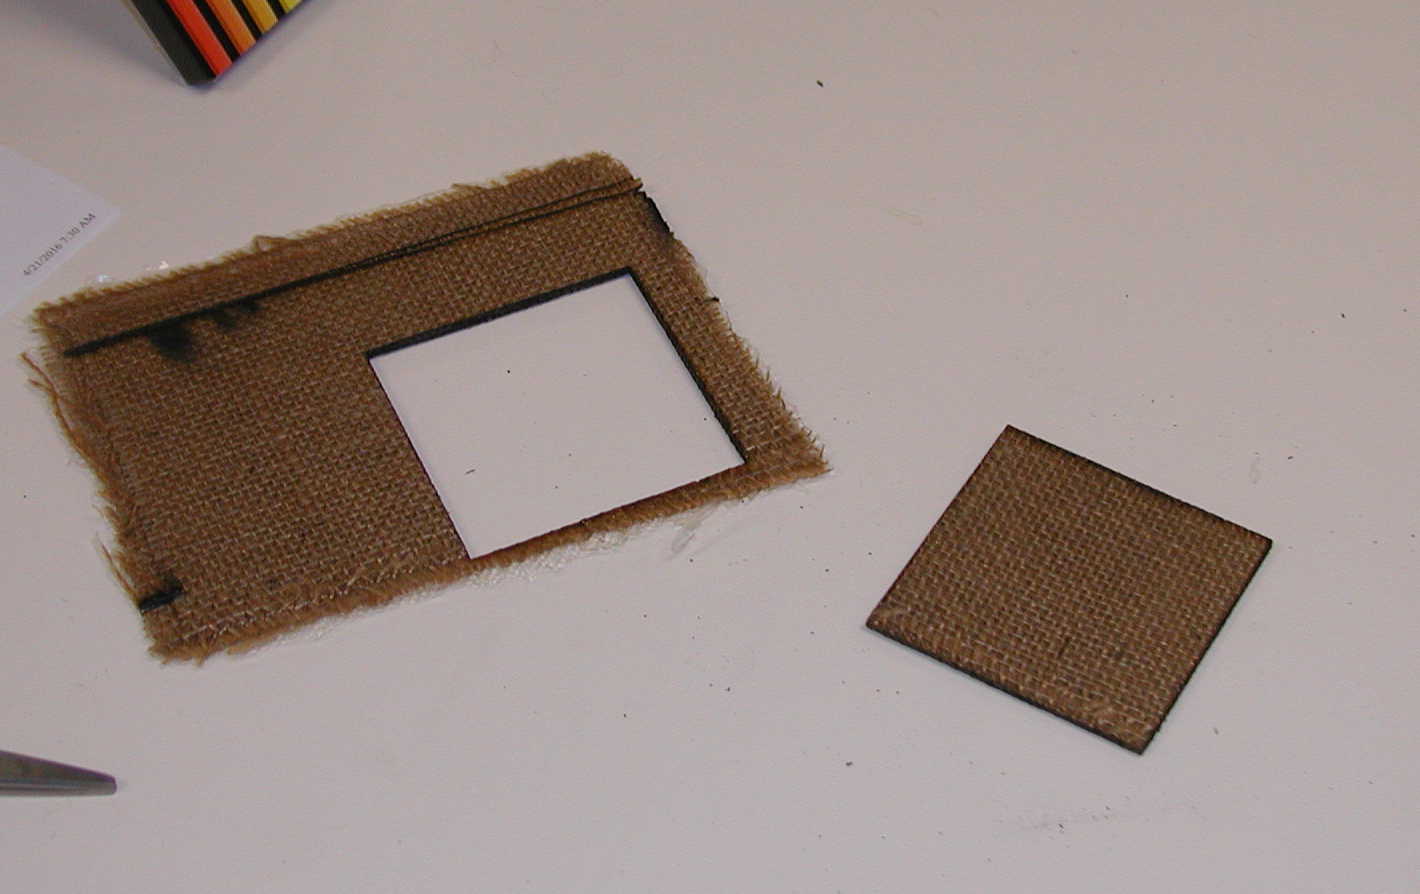
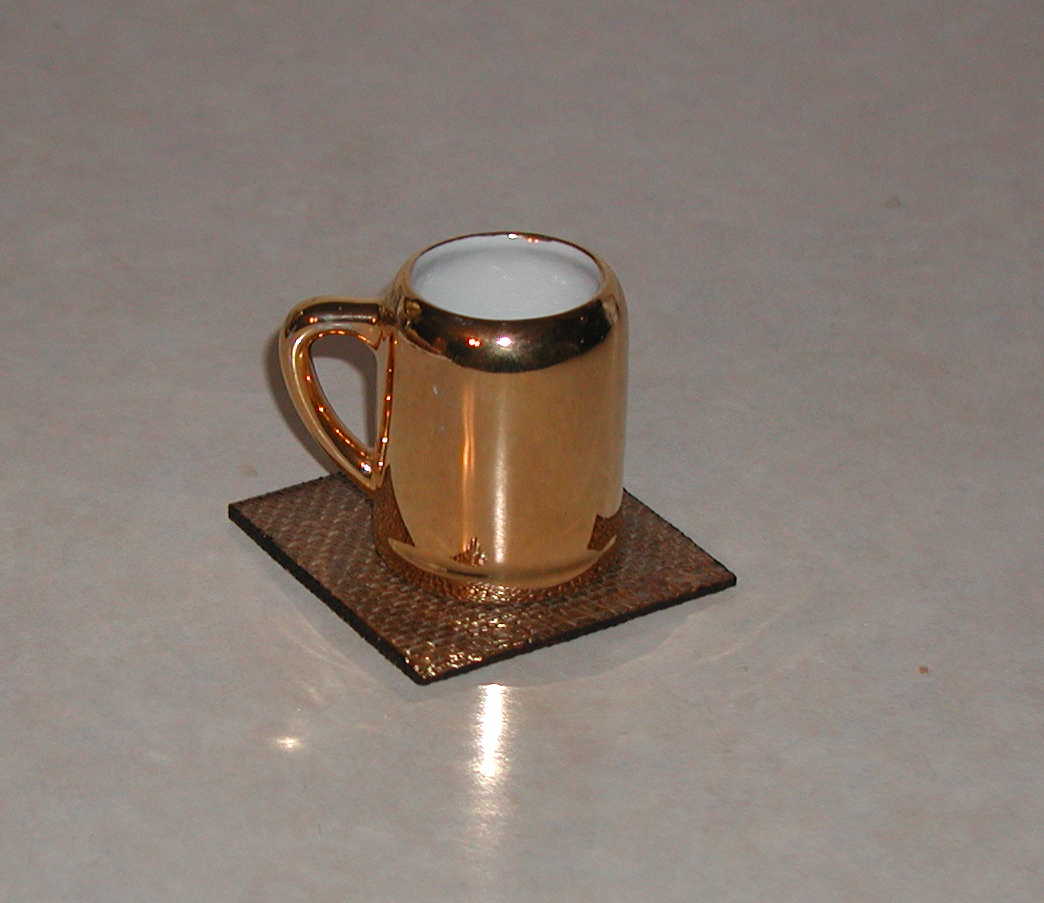
It was suggested that I do a test of a two-part mold before attempting my design. We were unsure of how much heat would be produced and would the heat melt the foam insulation. My mold would also need to be put under compression in order to create the bowl. We decided to use a hydraulic press to see if this foam could withstand some extreme pressure without being destroyed. We used over one ton of pressure on the composites and foam and let is set for 24 hours. All seemed successful. The images are below. I also wanted to see if this composite material could be cut though with our laser. The settings for Epilog Laser was full power (100), full frequency (5000), and a speed of 5. Any speed of less than five created a bit of a fire. It took three passes to cut through the epoxy, but I did end up with a cute coaster (with burnt edges of course).


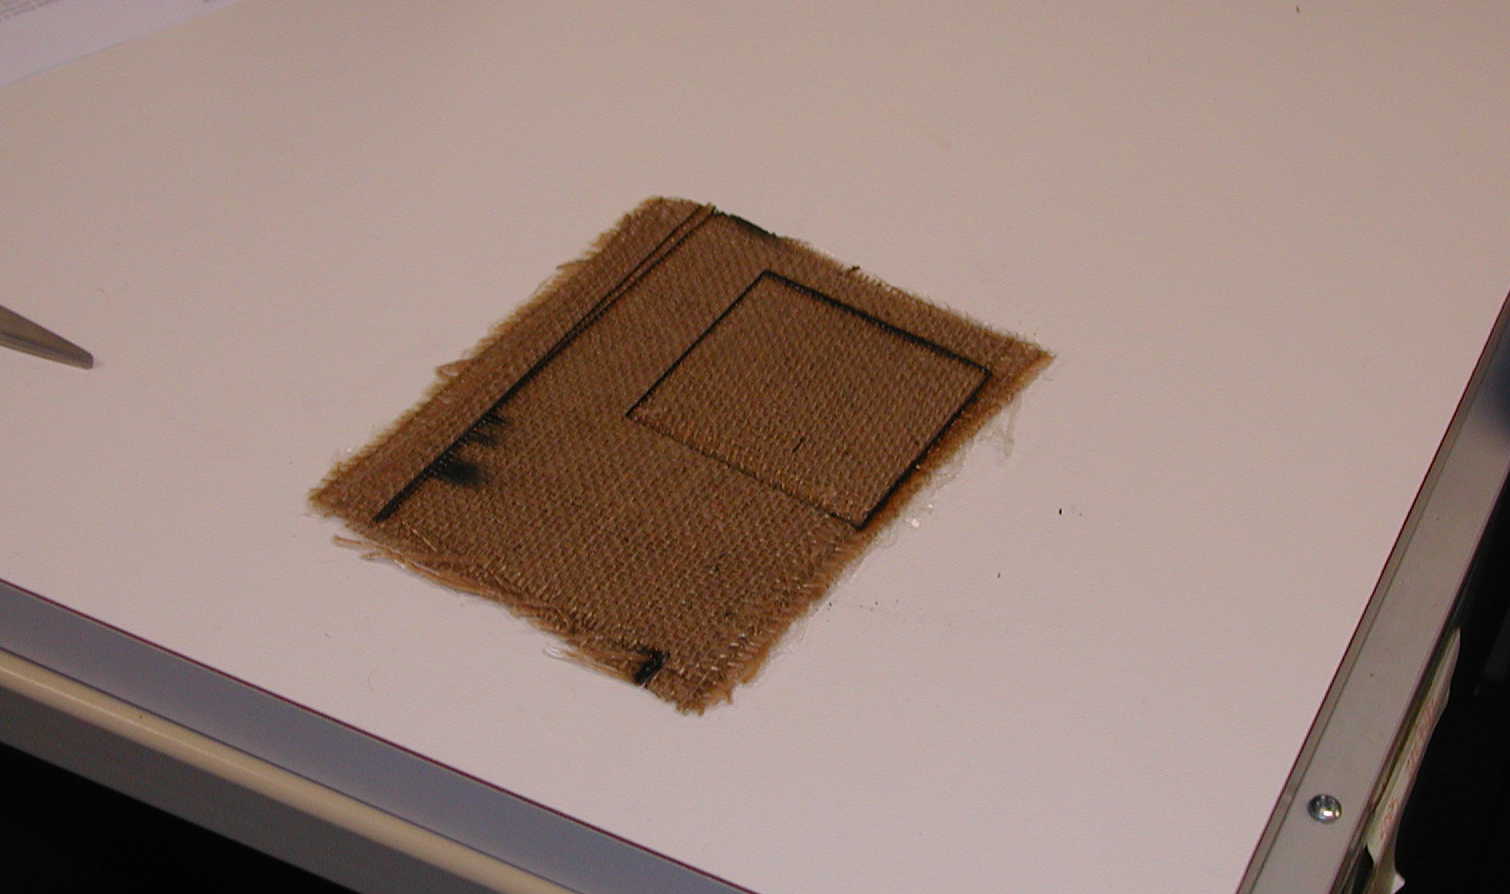
After listening to Neil talk about working quickly, possibly having to cut darts in my fabric for a good fit into the mold, not knowing how much fabric is required to make the bowl 0.2 inches thick, not knowing how much epoxy to mix and knowing that I only have less than 30 minutes to get this project completed and sealed. It seemed that this burlap or linen mateial would be too bunched up in the mold cavity and would only make a huge mess.
I decided not to use my mold, but to try to improve on the results from a mold that was made earlier this week ort of the same material (R10 foam insulation). I asked Tim if I could use his mold and try to change the way the fabric was cut and perhaps get a better fit in the corners. I did not get any images because I was alone during this process and did not want to handle my camera with epoxy all over my hands. Basically I had a major mess! This was definitely not one of my favorite projects!
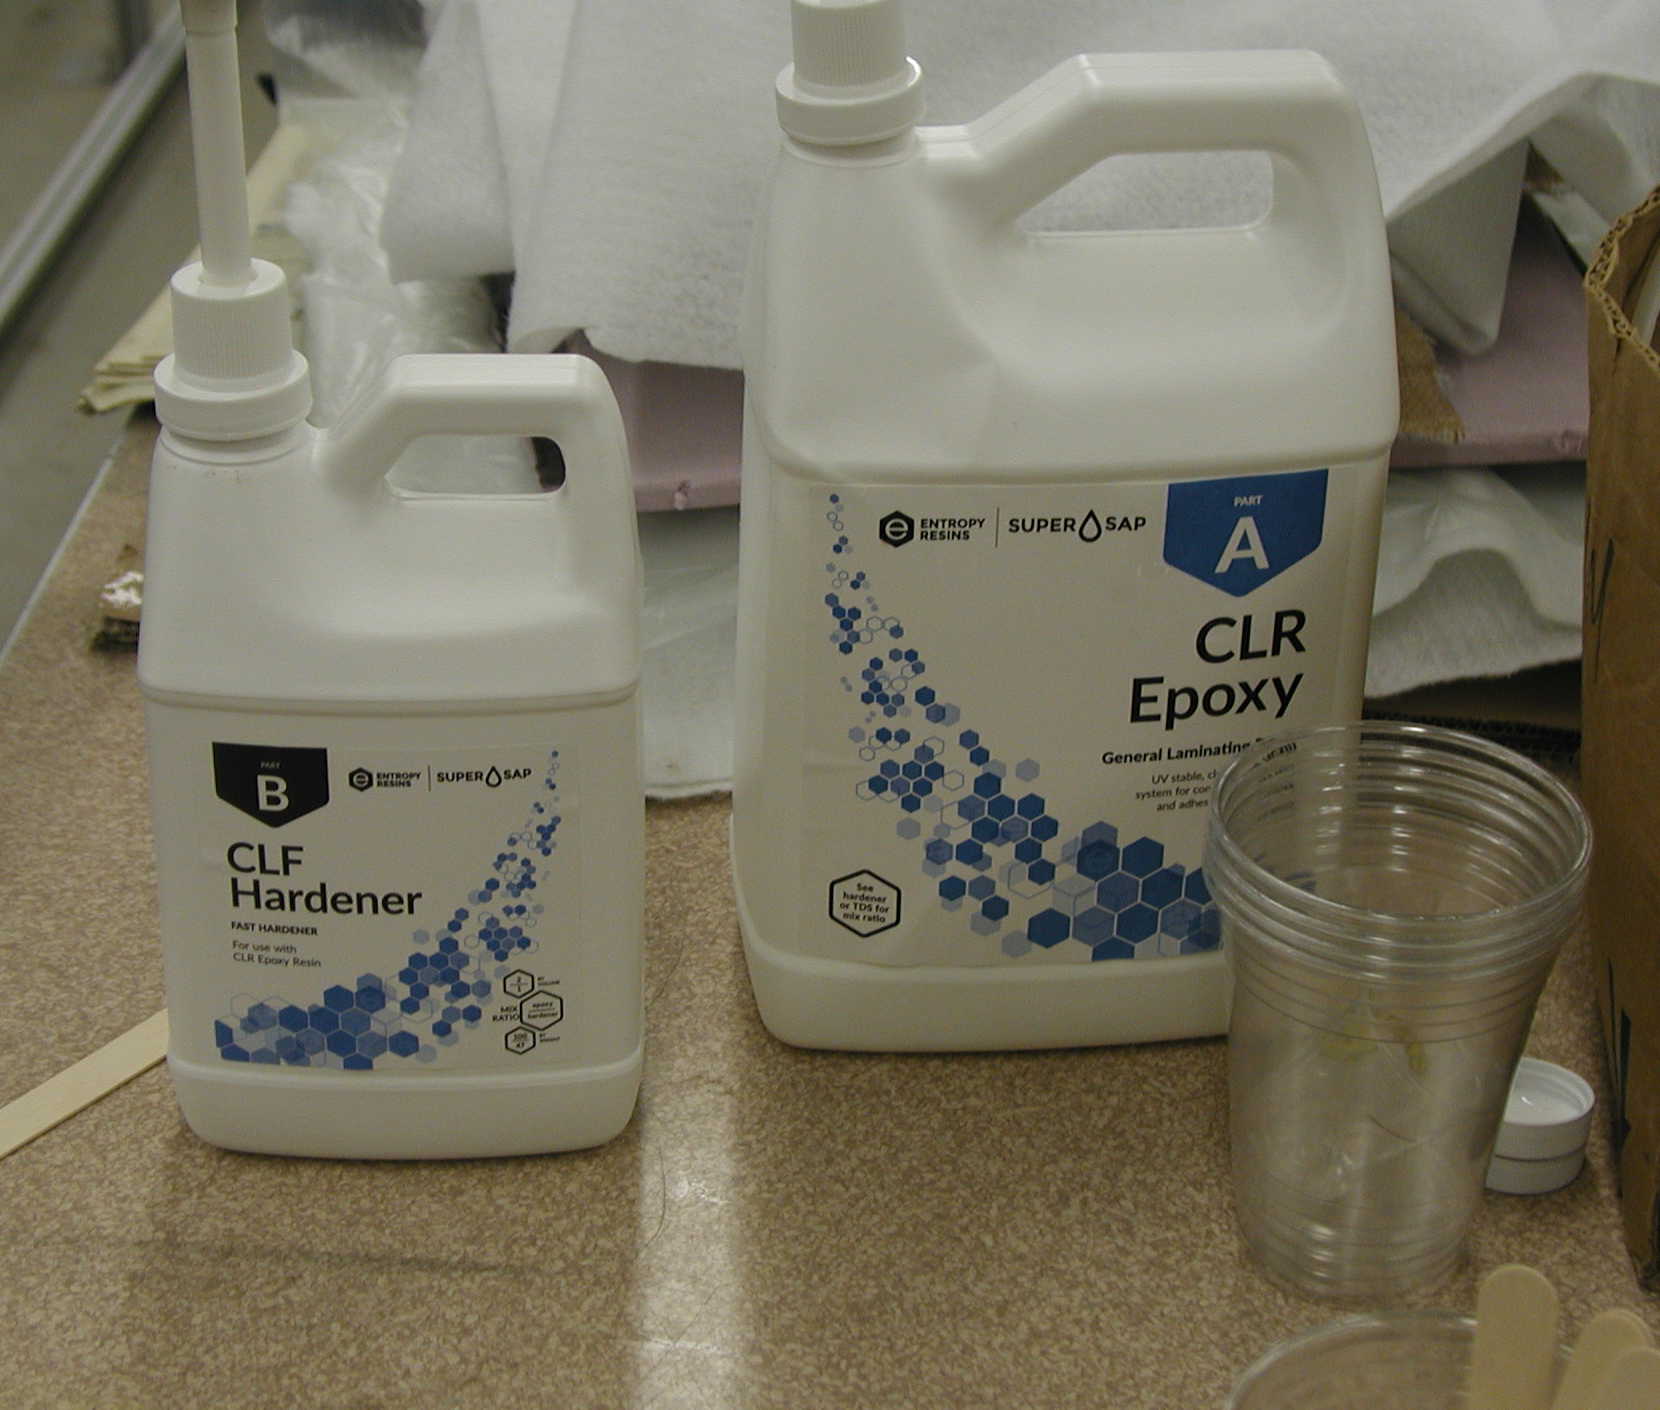
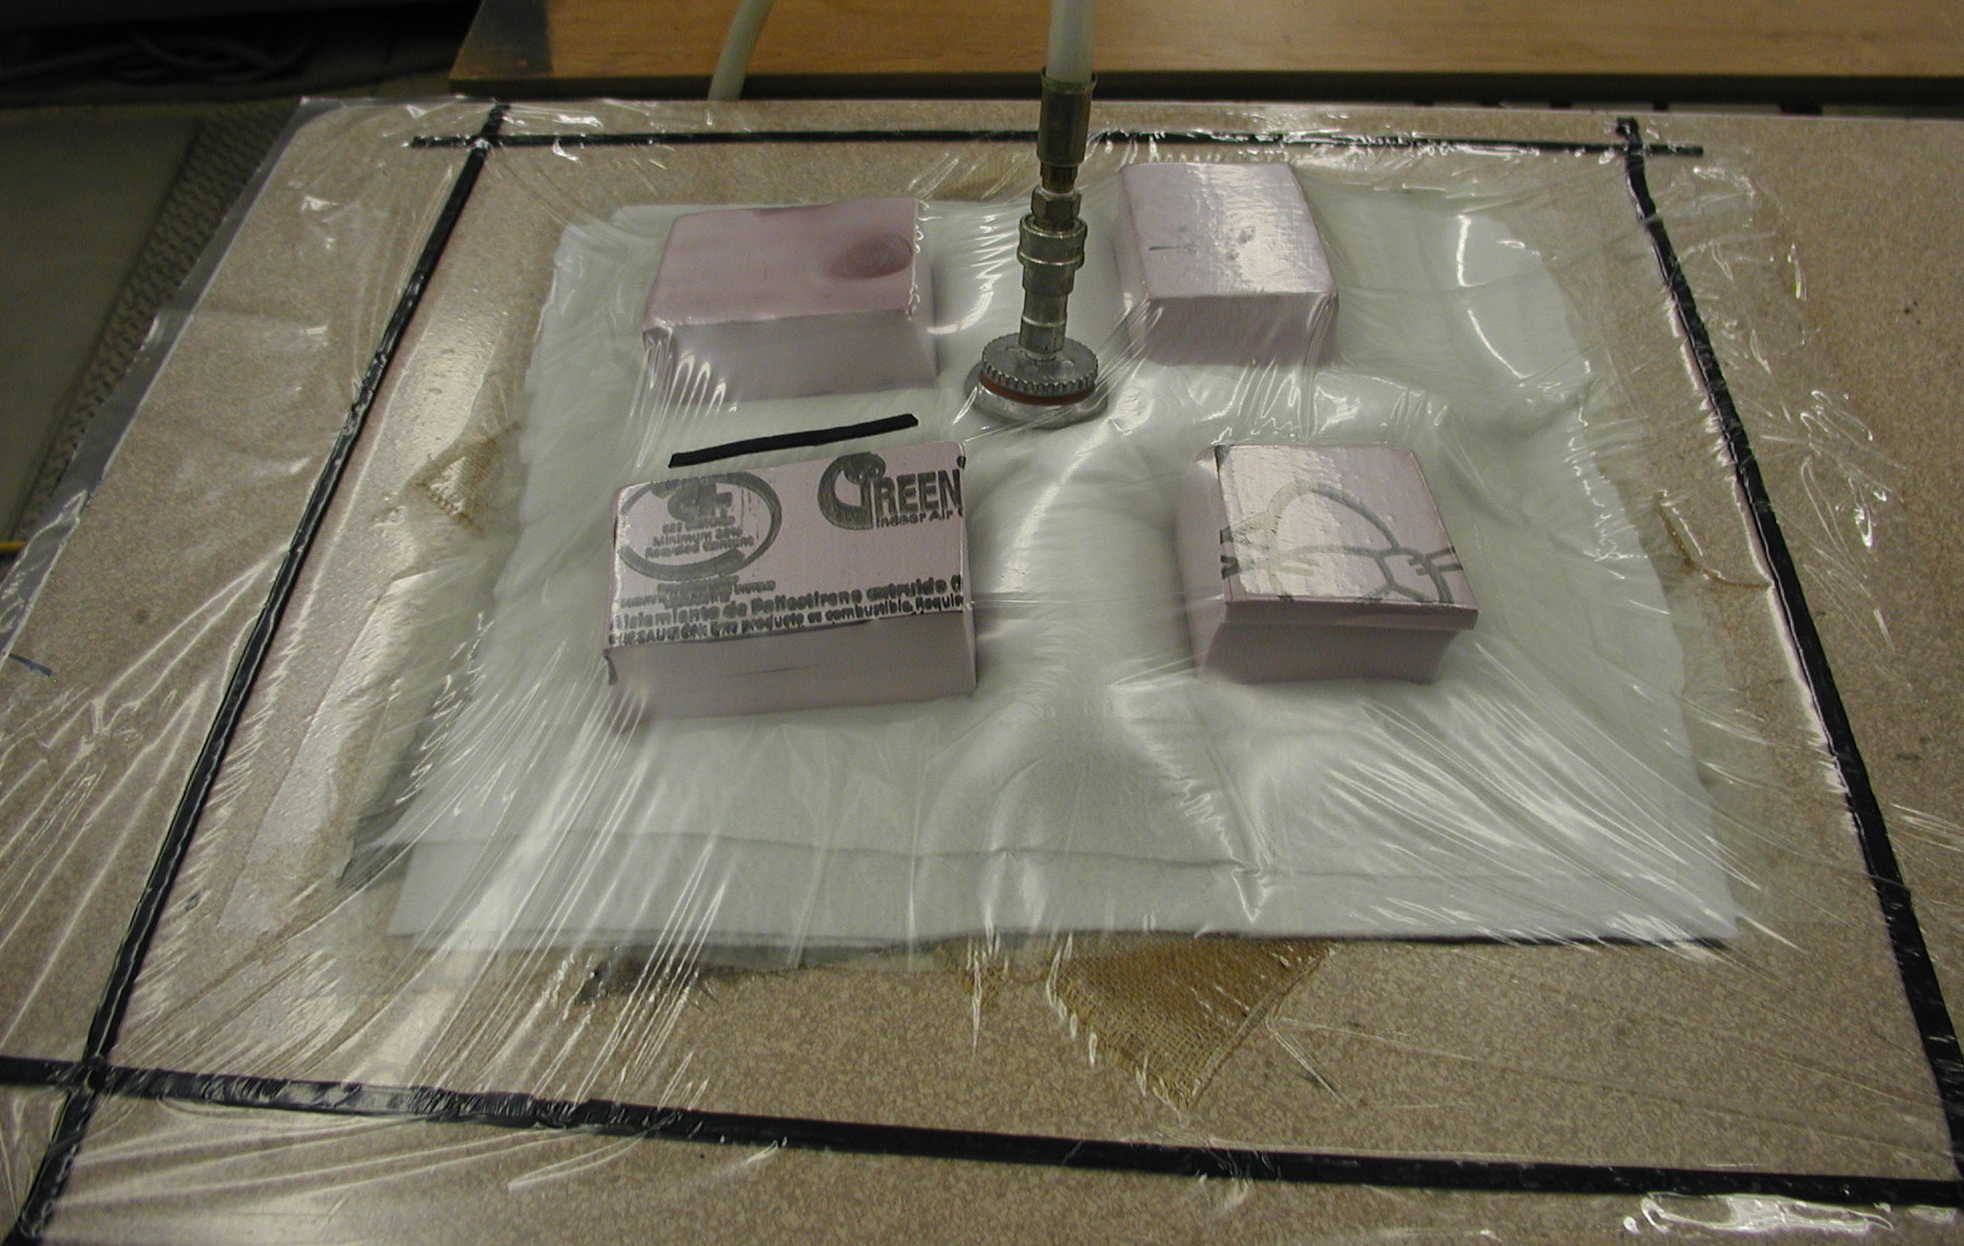
I decided to use the vaccuum bag instead of compression. This method seemed simpler at the time. Below is what I decided to do differently than Tim:
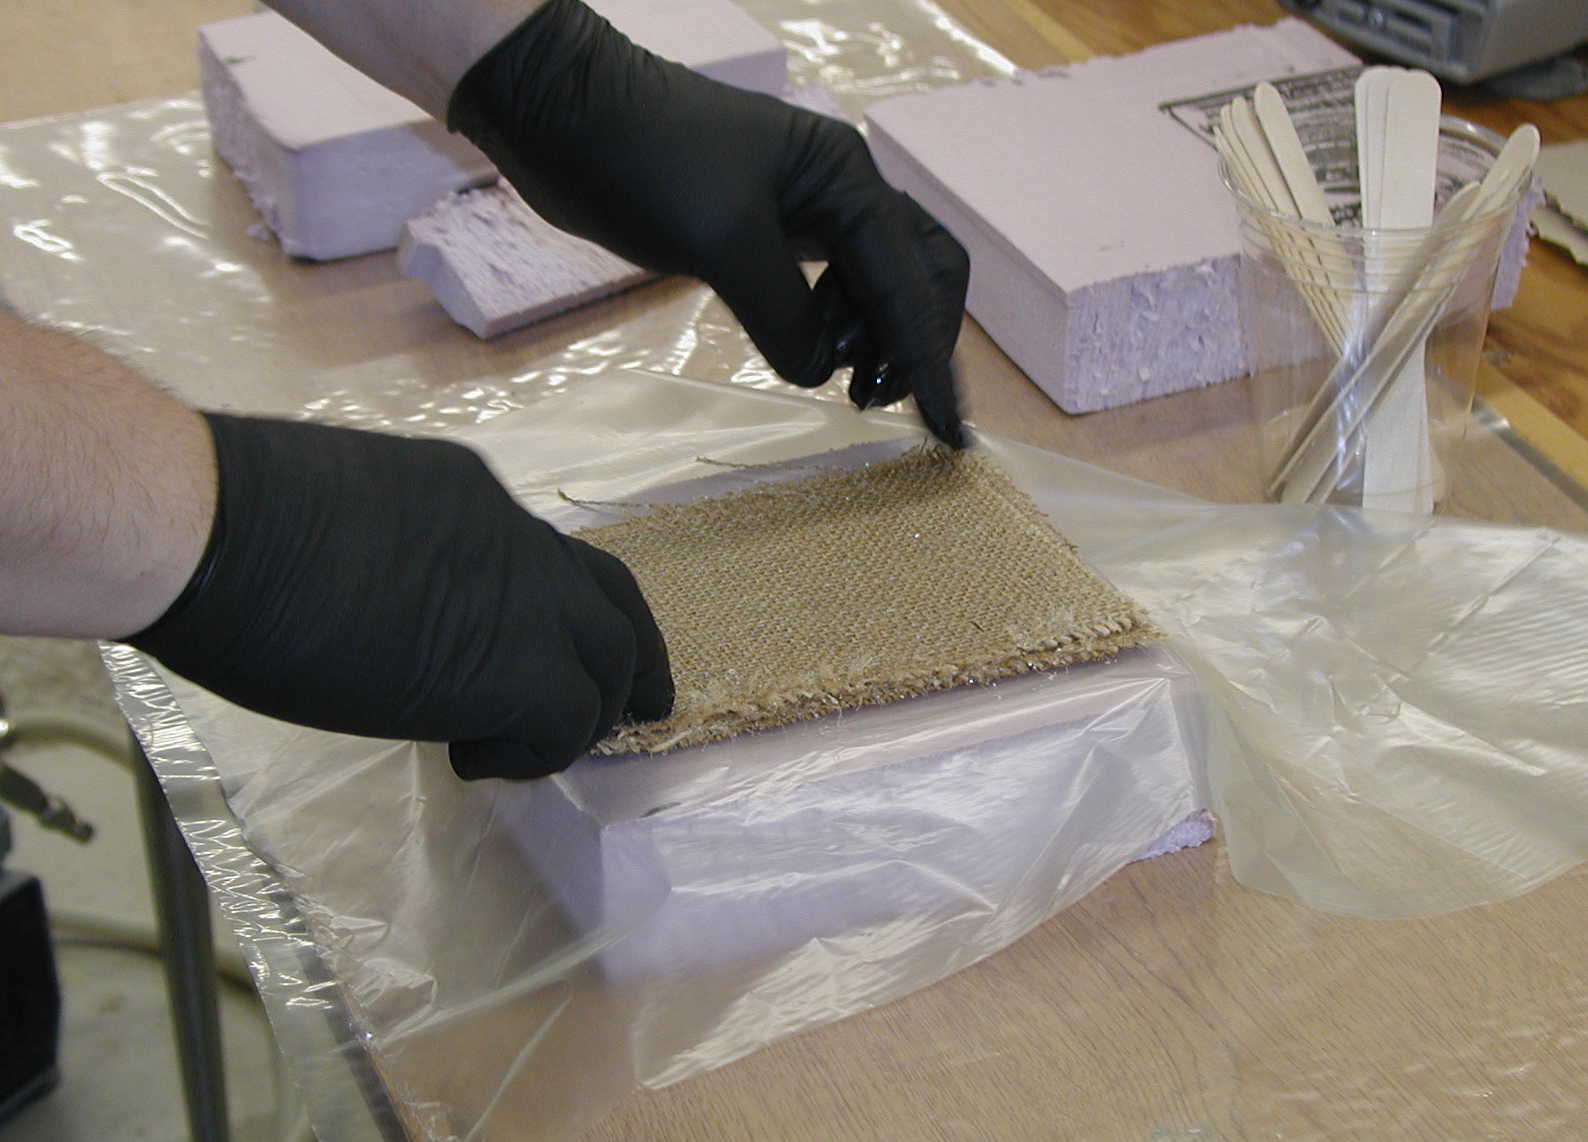
Steps to prepare the materials for molding
Ready, Set, Go!
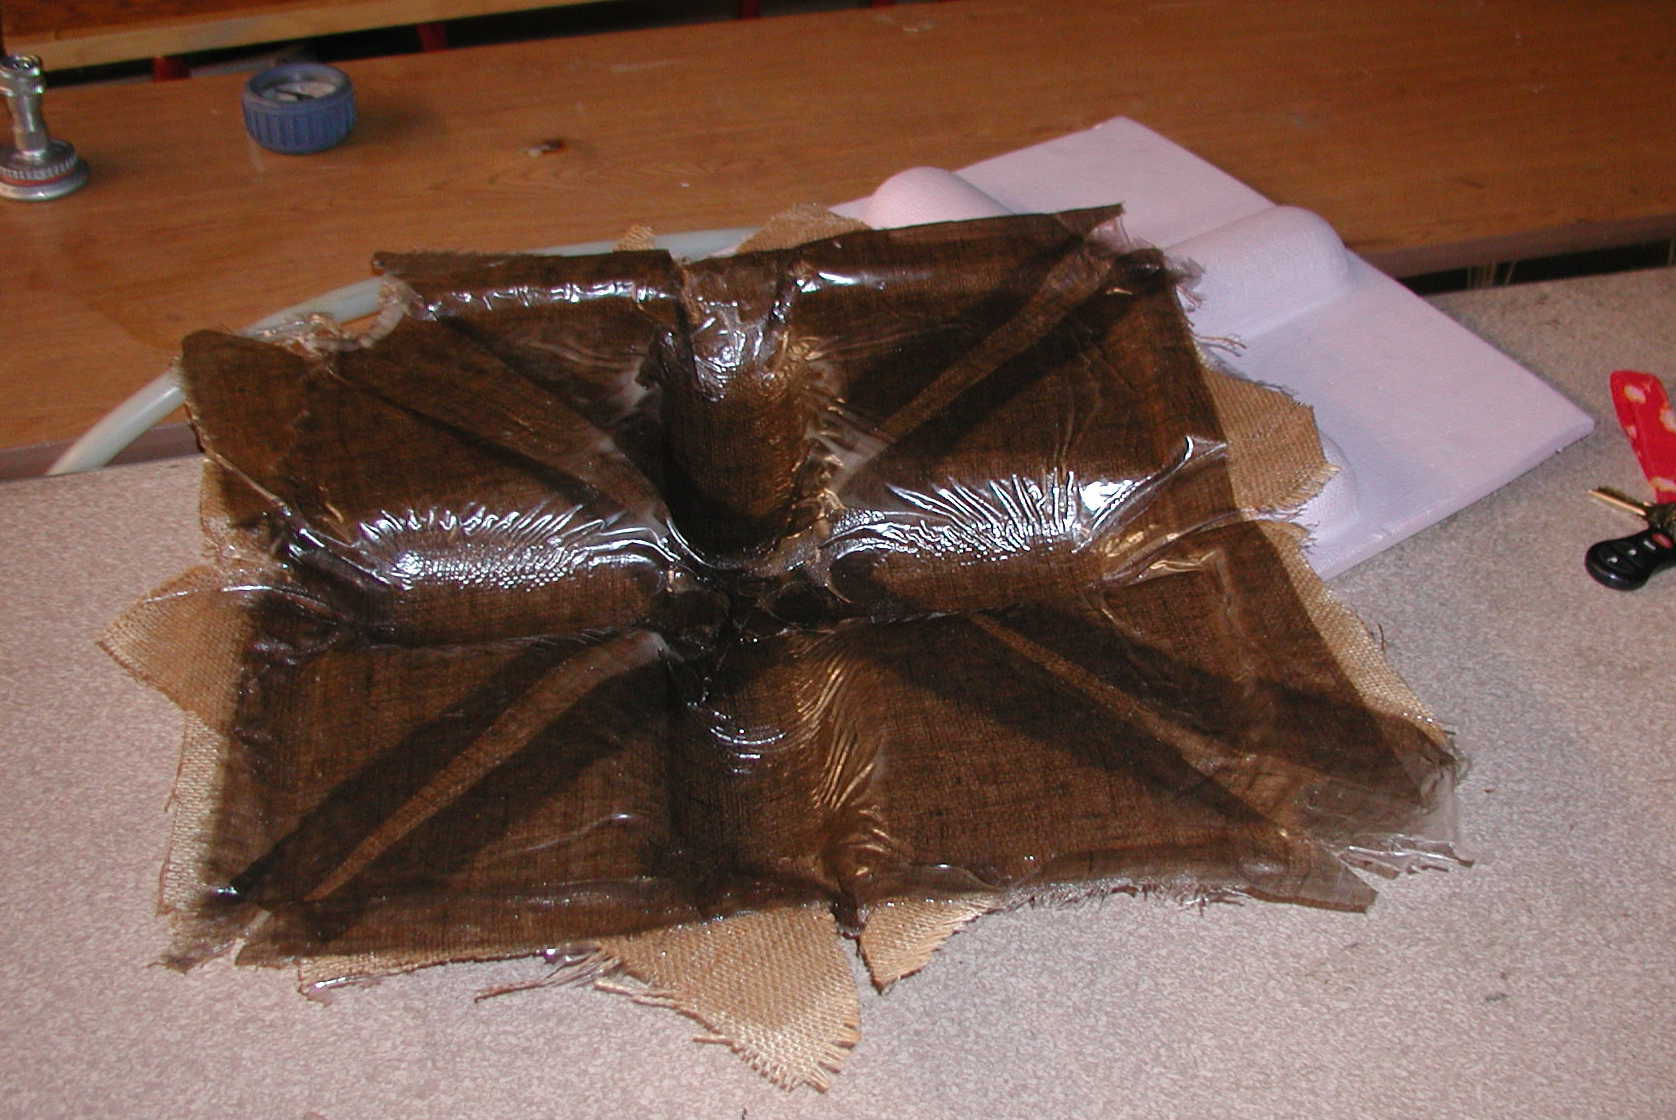
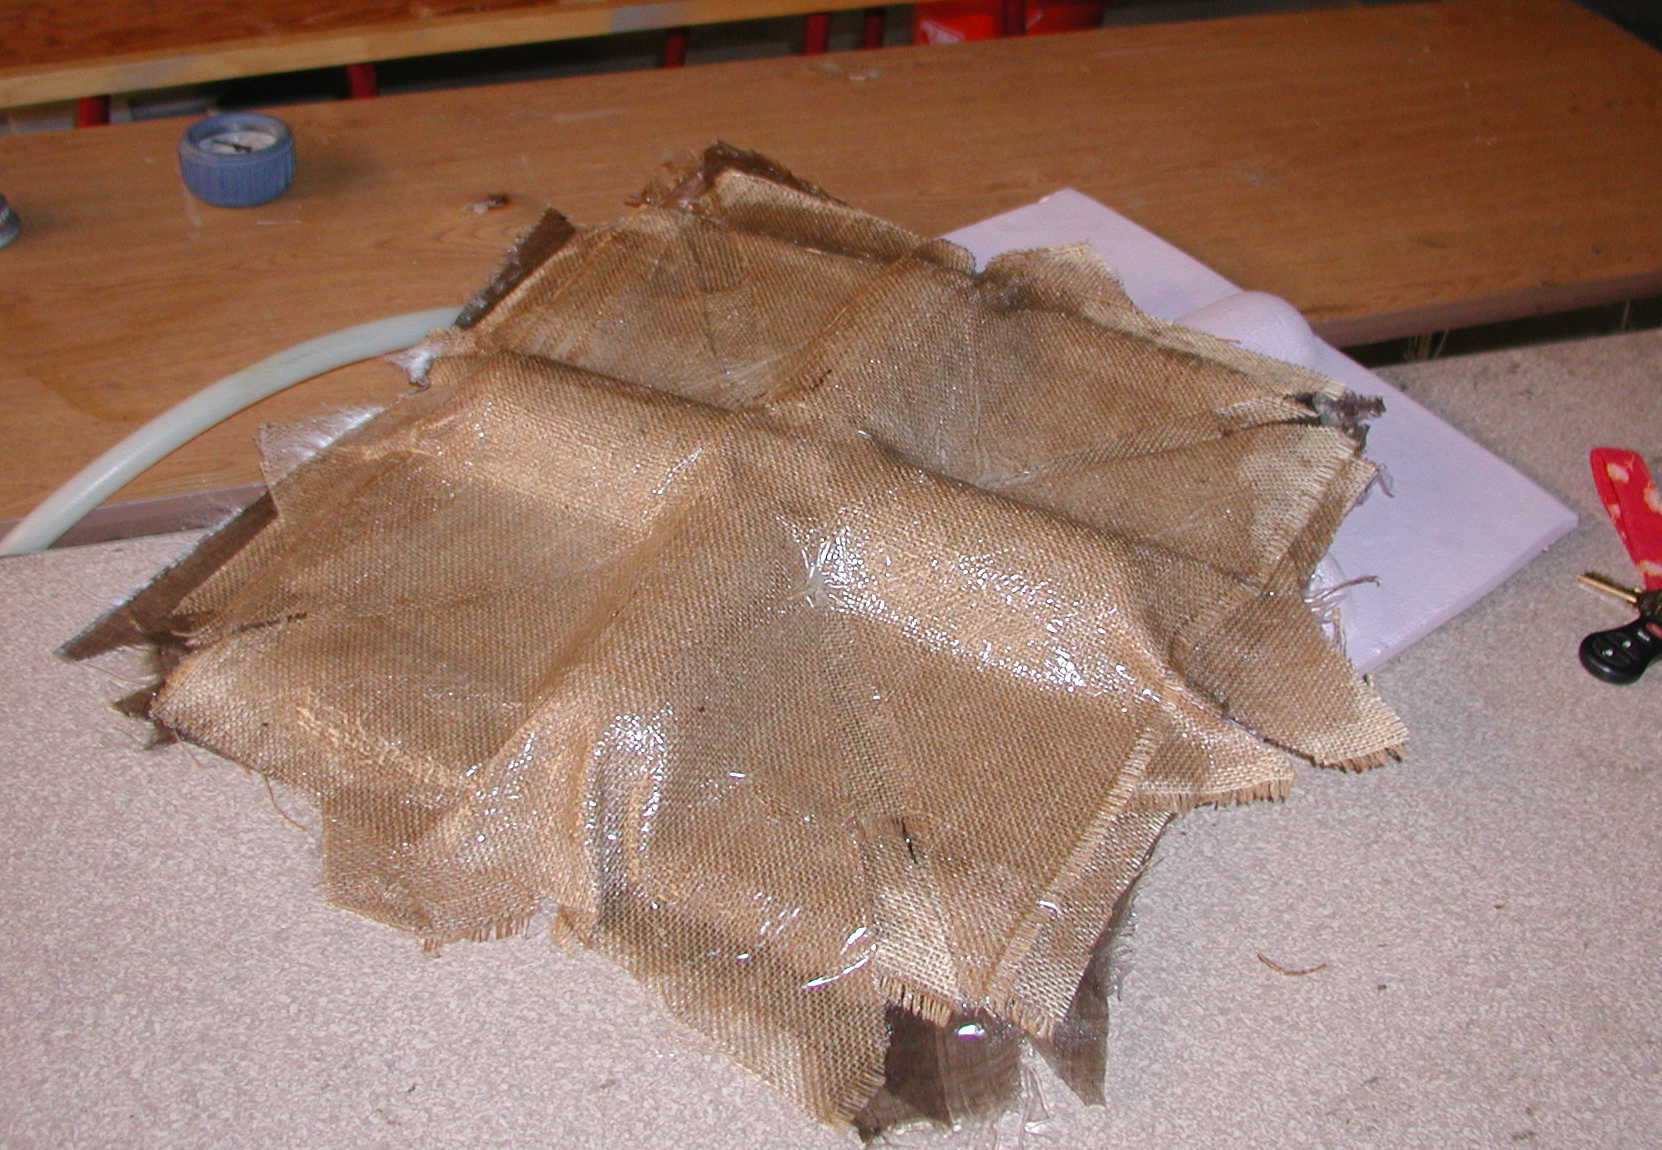
The composite is below. What a disaster!
I don't know what went wrong other than I used too much epoxy and had to work too quick!.
I took my mold back to the fab lab this week and discussed what I could try to make a composite using my two-piece mold. After cutting the excess foam from the core of the mold using a scroll saw and sanding the sides smooth, I believe I can use layers of yarn or braided fabric/yarn along with the epoxy to make a successful composite. Stay tuned for the updated attempt.
Below is the image of the final mold.
 .
.