| Home | | Weekly Assignments | | Final Project | | Photo Gallery |

Week 14 - Composites
This weeks assignment is to create a 3D mold and produce a fiber composite part in it.
The plan
I will be using a very cheap material like soft wood or high density foam to make the mold and then create a fiber composite using Epoxy resin and woven rovin cloth. The vaccum sealant bag for used in the process will be made using vaccum bag film and sealant tape.
Things used for this assignment
- Epoxy resing and hardner
- A block of soft wood for creating the mould.
- Woven rovin cloth
- breather fabric
- Vaccum bag film
- Vaccum pump/Vaccum cleaner
- Sealant tape
- Scissors
Epoxy resine was hard to source and after searching for a while, I was able to procure epoxy resing and harnder from Sharon Eningeering Enterprises in Kochi.
The wooden block was taken from a construction site nearby to FabLab Kochi. I had trouble finding a large 30cm x 30cm block. In order to complete this project, I am planning on producing a smaller fiber composite part with a smaller wooden block.
For this assignment, I'm making a simple soap tray using Epoxy resin and woven rovin fibre.
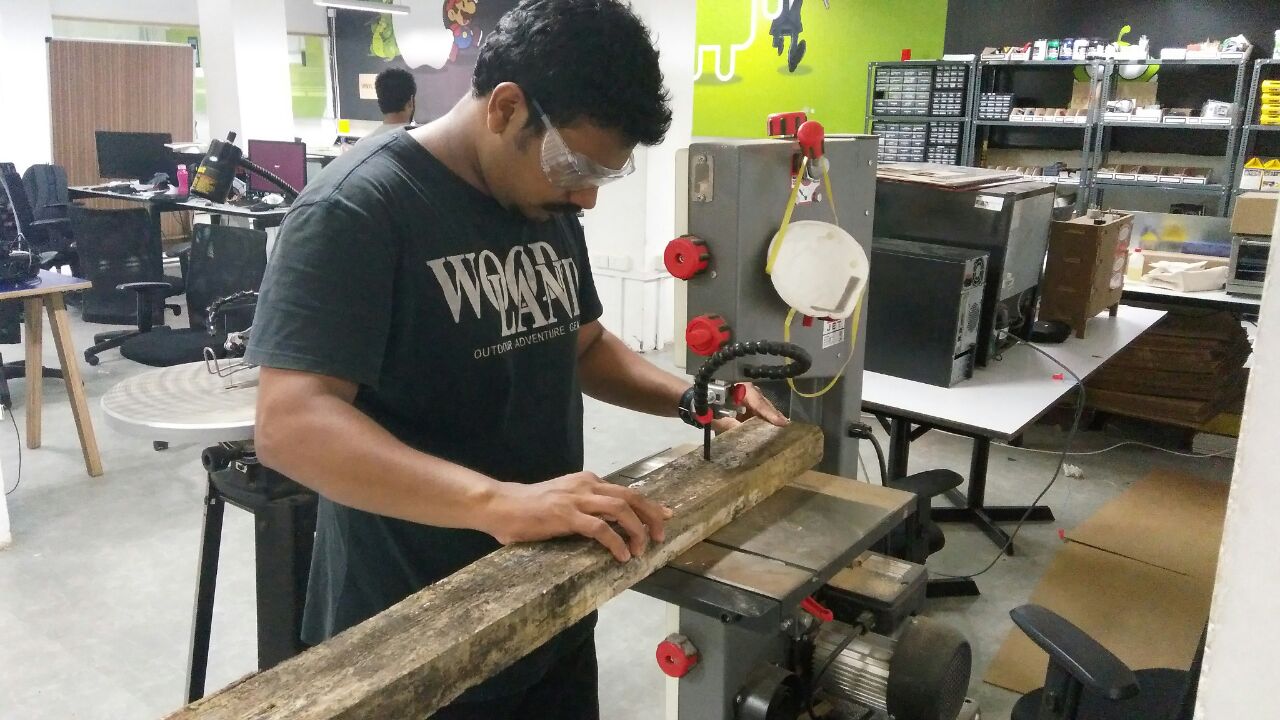
I cut a part out of the wooden block to create a shopbot-ready wooden block which can be screwed to the shopbot's sacrificial plywood layer for milling.
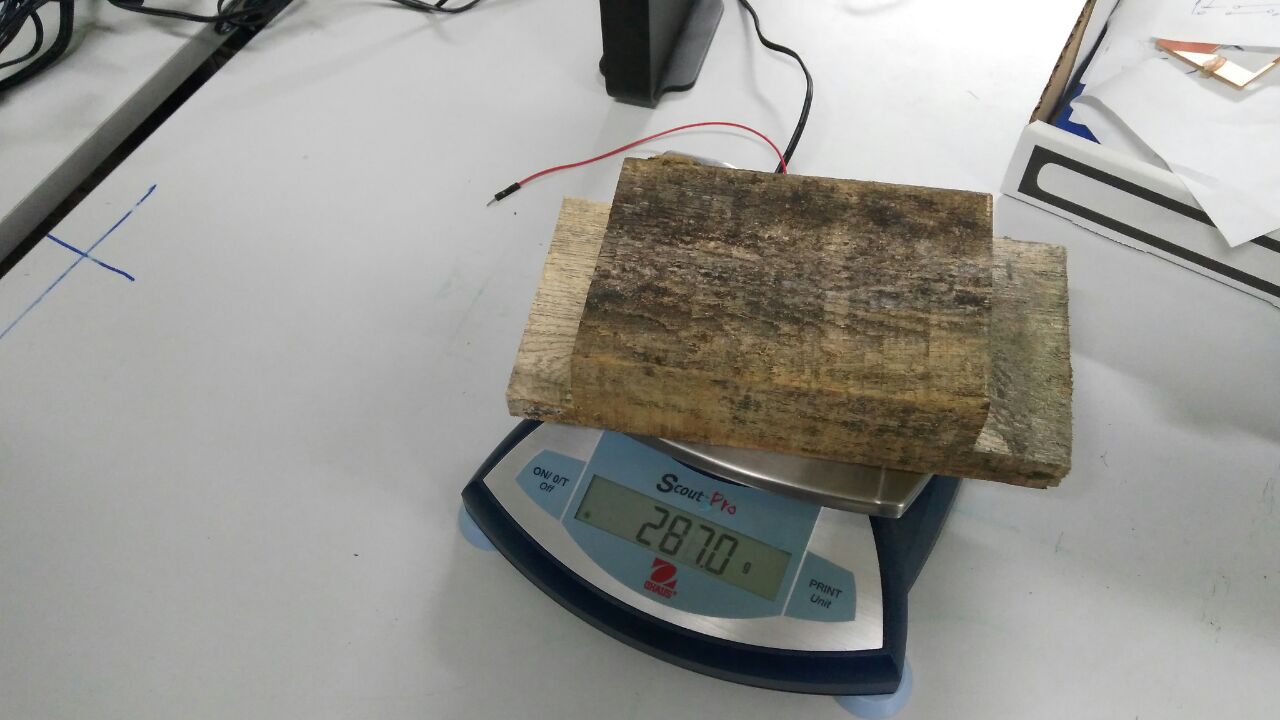
This is a very cheap and soft wooden block which weighs around quarter a kilogram. That's far less than what a machinable wax block of the same volume weighs.
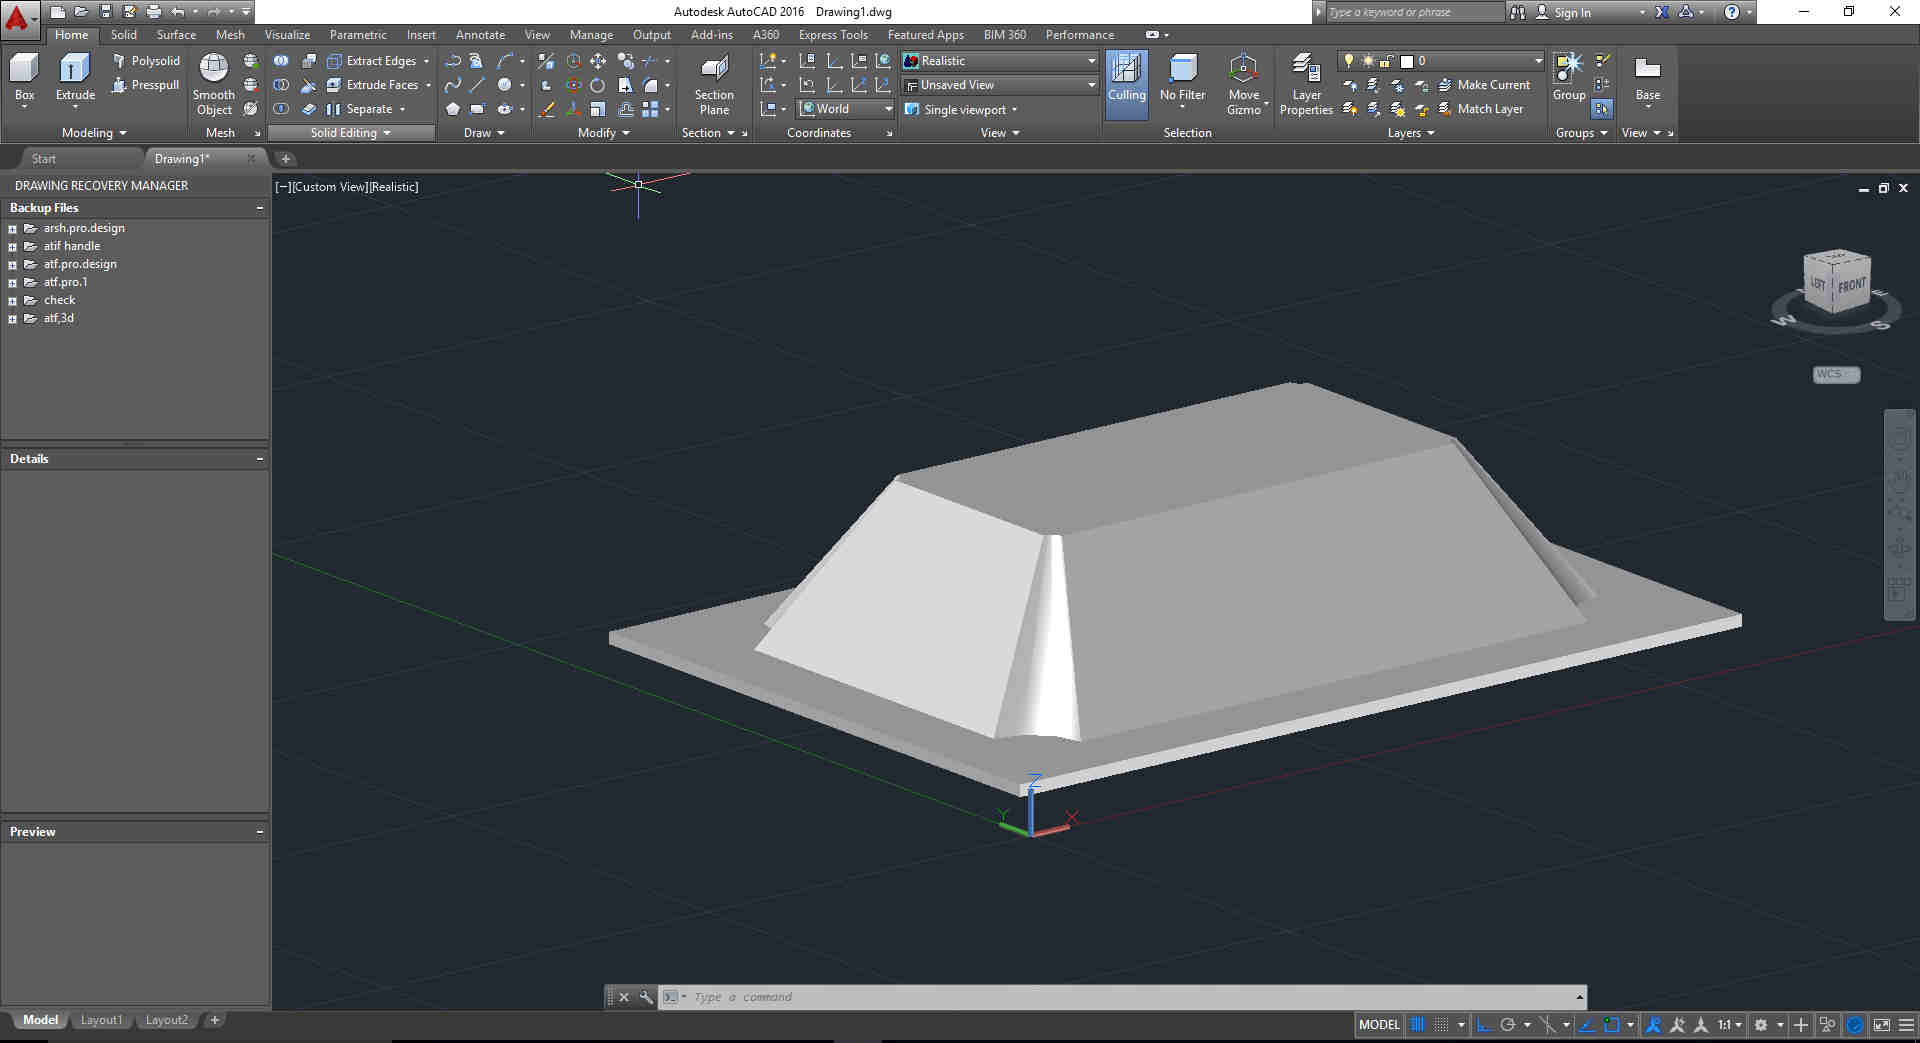
Designed a simple mold in autocad. Exported the same in stl format.
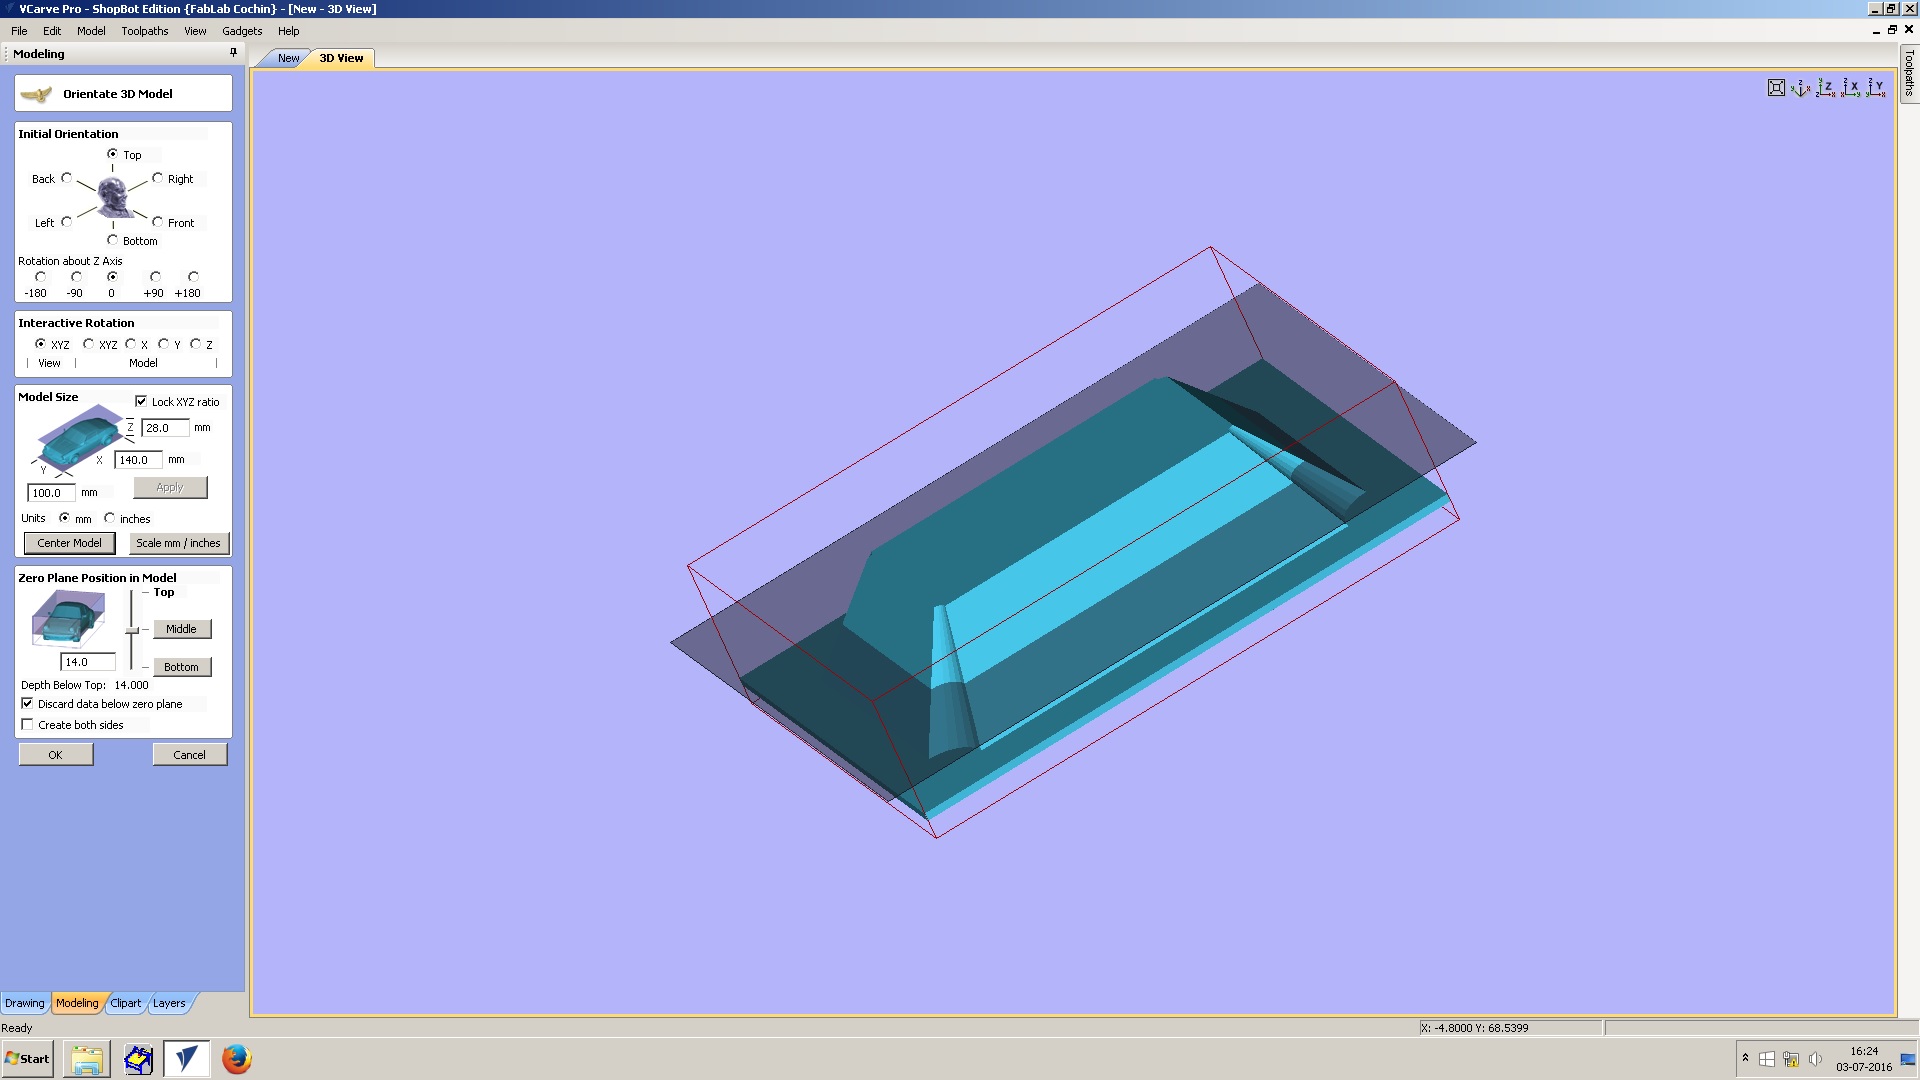
Imported the stl file in vcarve. I adjusted the zero plane on top and centered the object
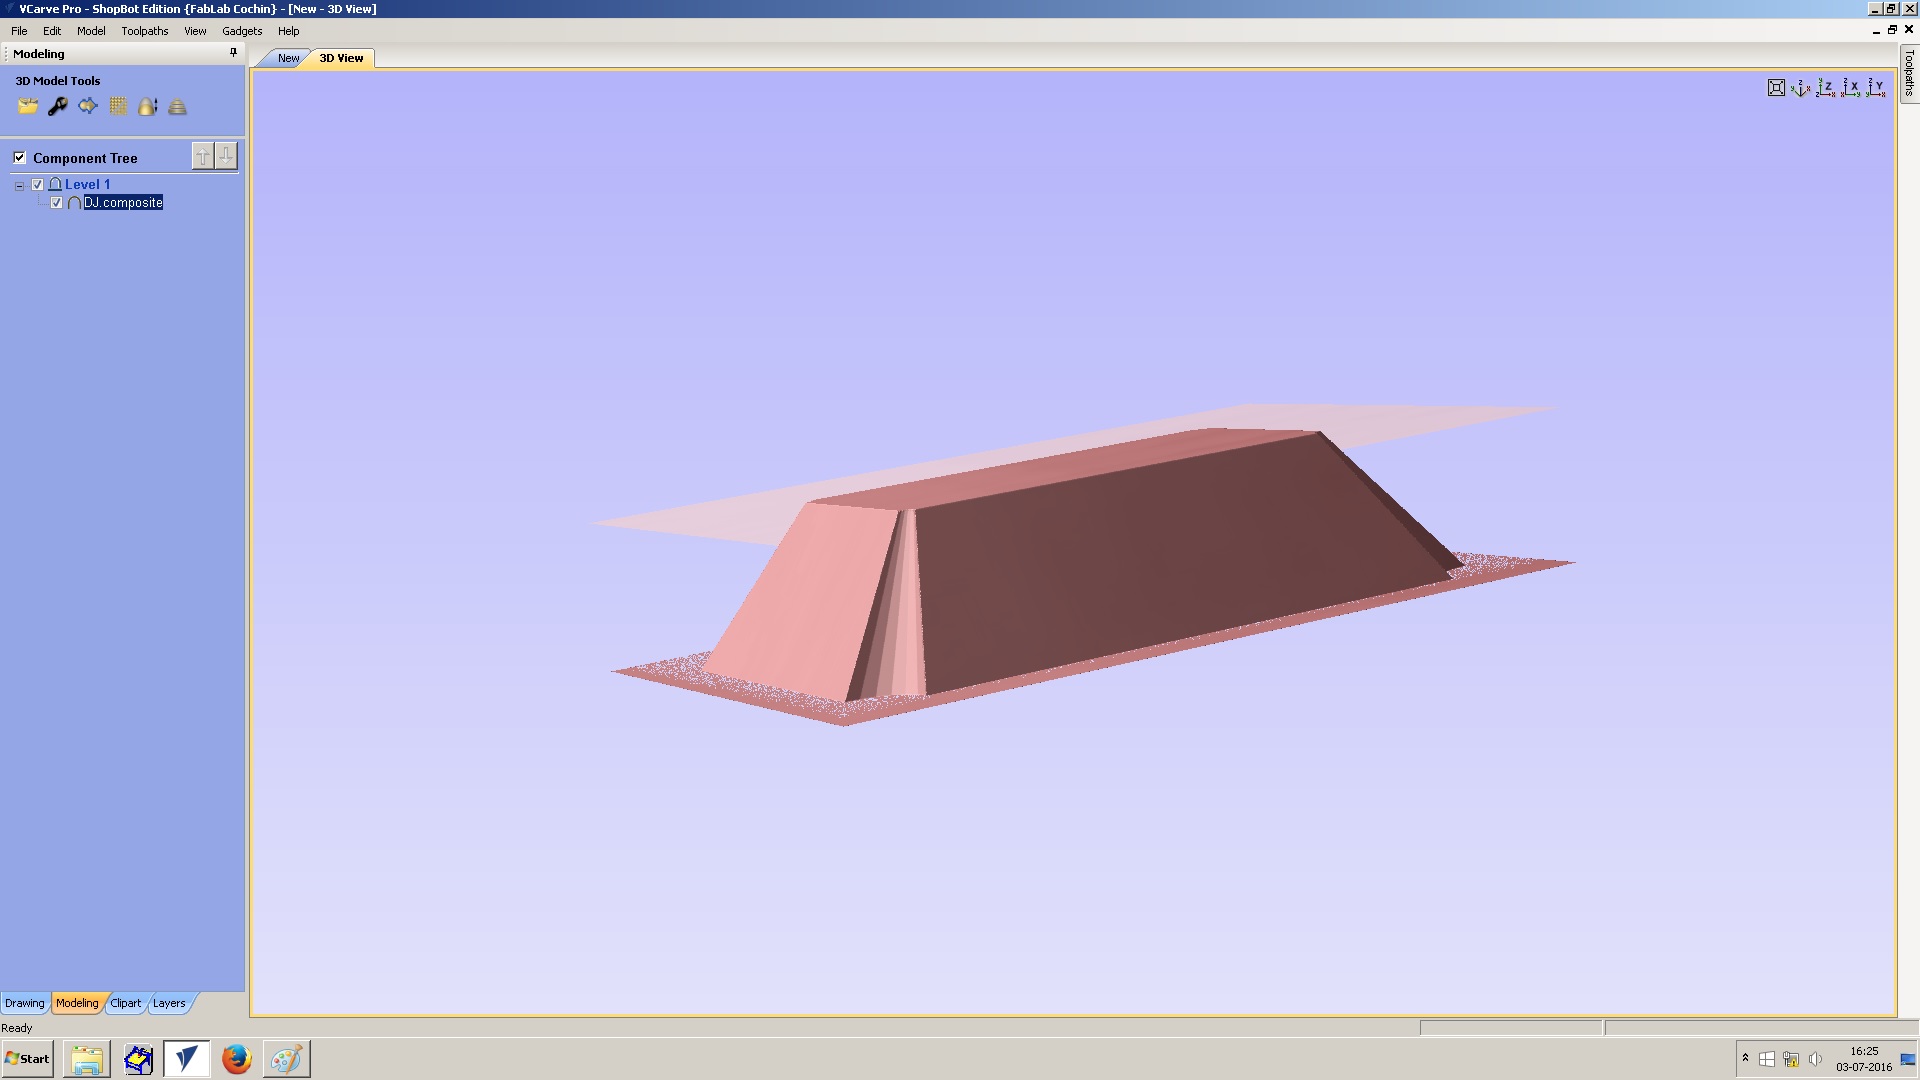
In toolpathe generated rough finish and fine finish. Combined both together and saved it into a gcode file
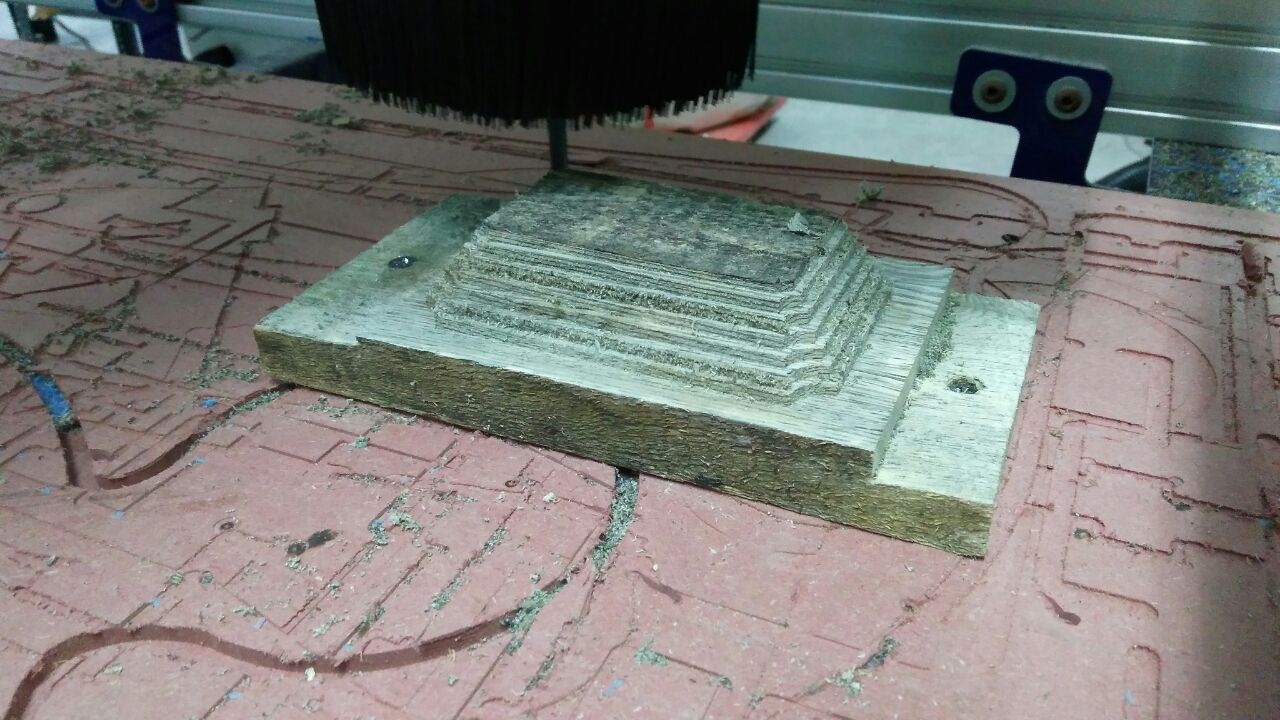
Machined rough finish on shopbot.
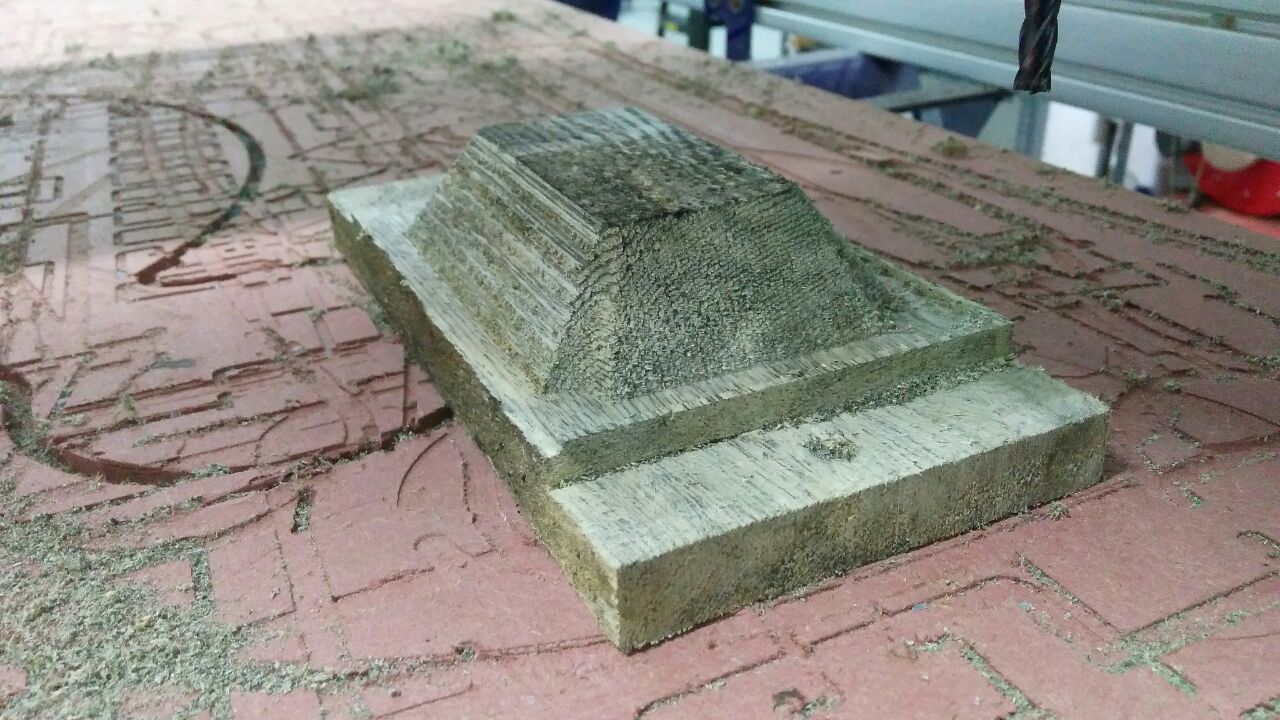
Followed by fine finish.
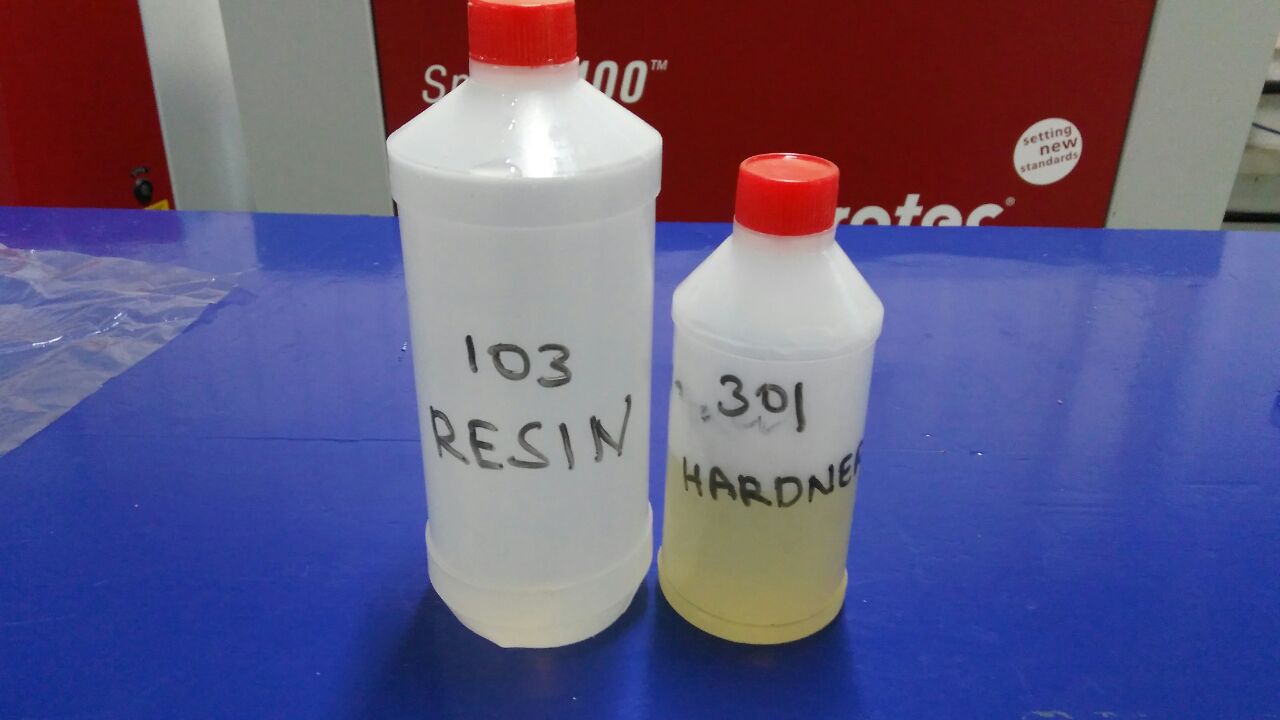
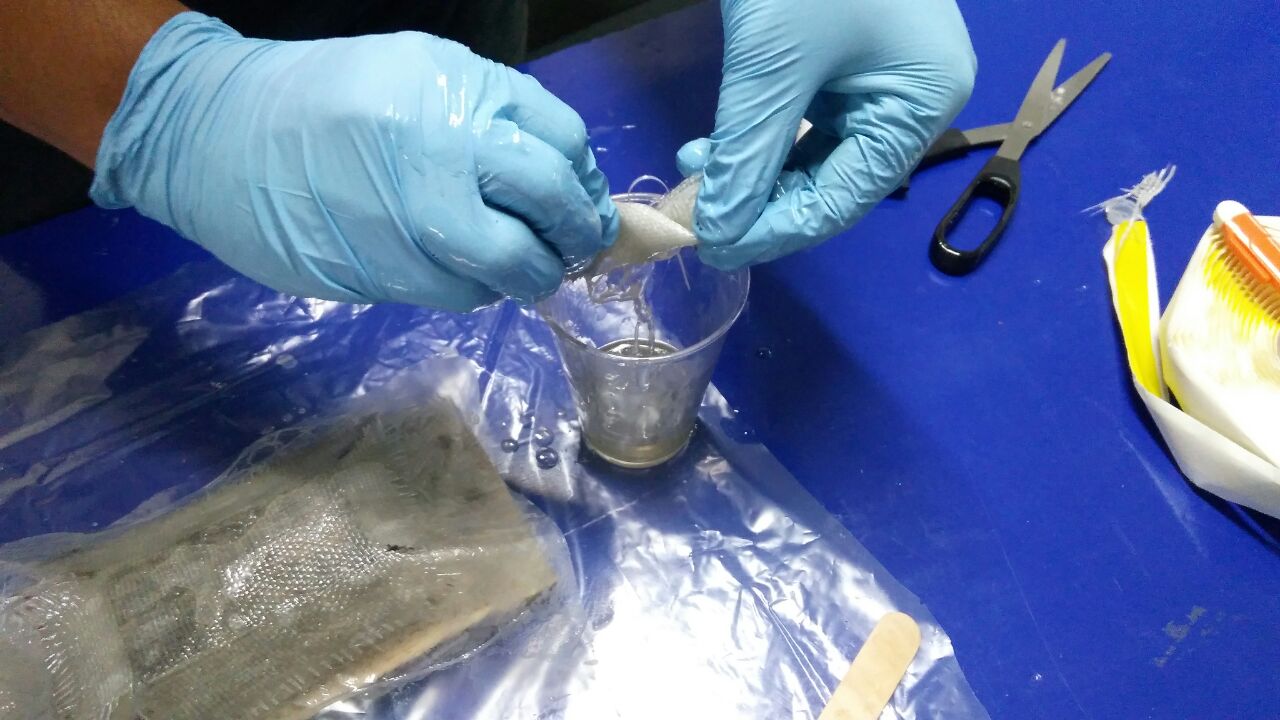
The resin and harnder needs to mixed in 10:1 ratio
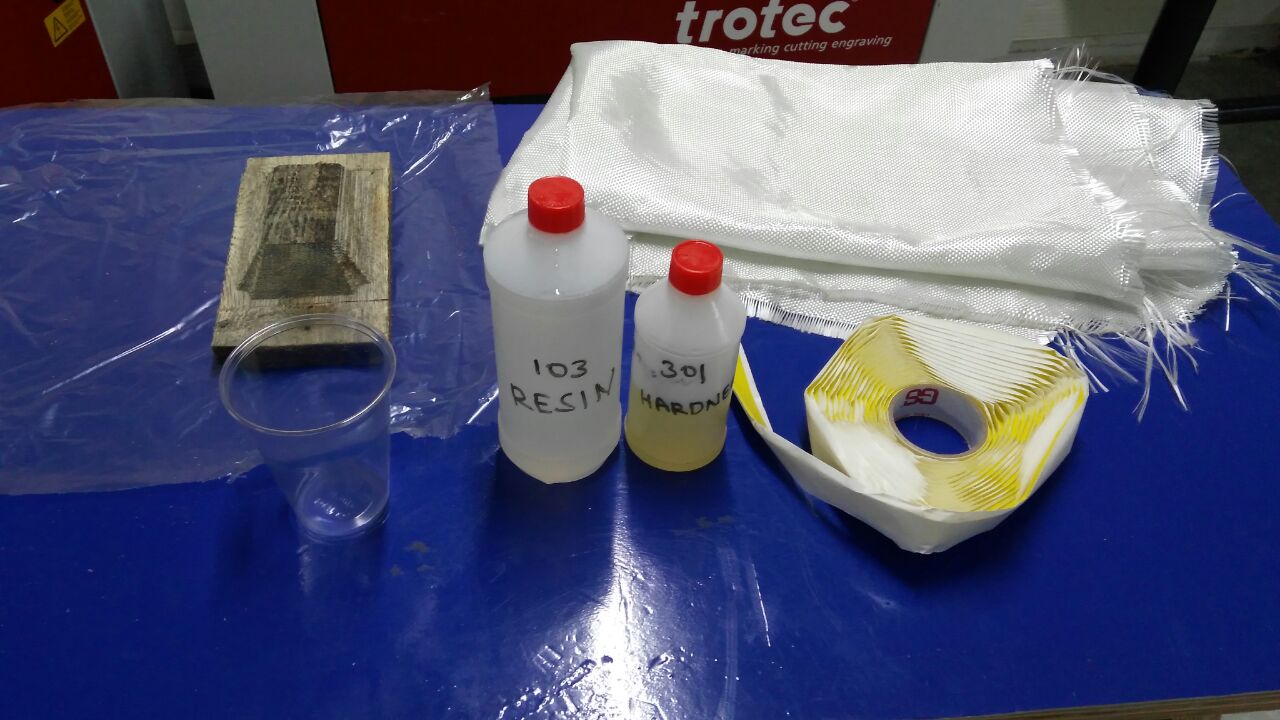
Mold, sealant tape, resin, hardner and rovin cloth.
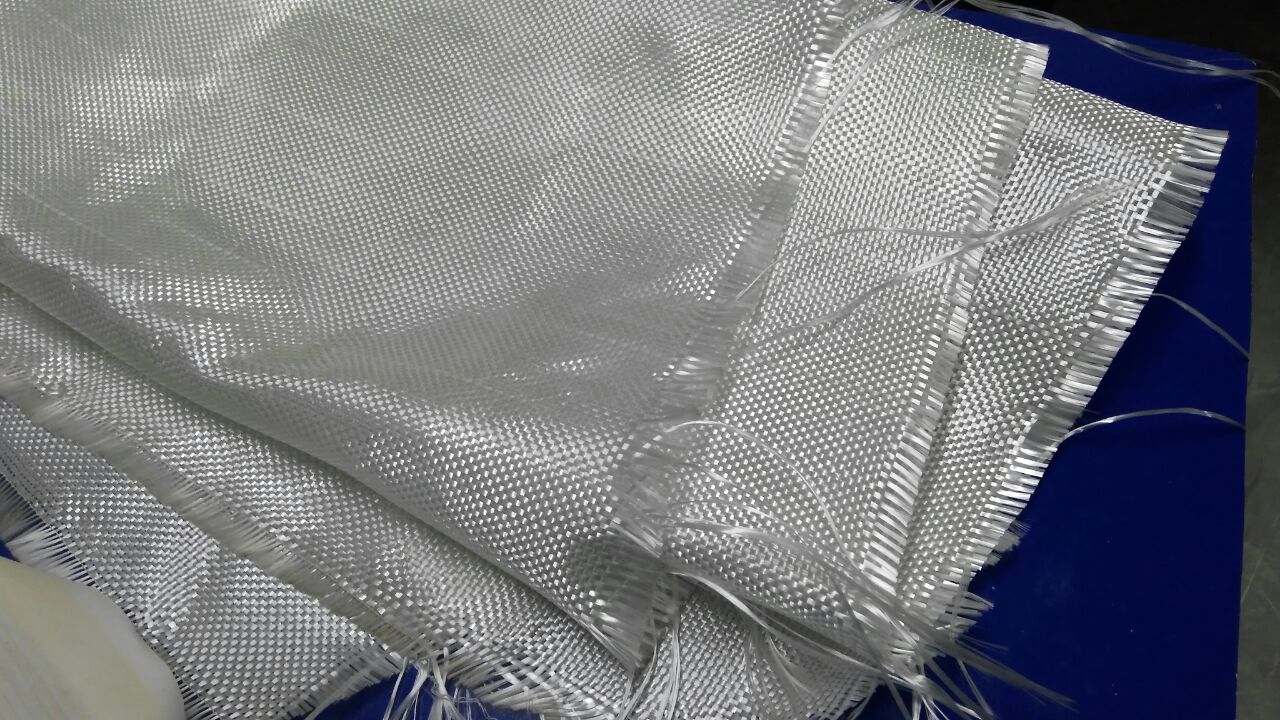
The plan is to use three layers of this woven rovin cloth to create a hard fibre.

10 part resin and one part harnder mixed in a displosible cup.
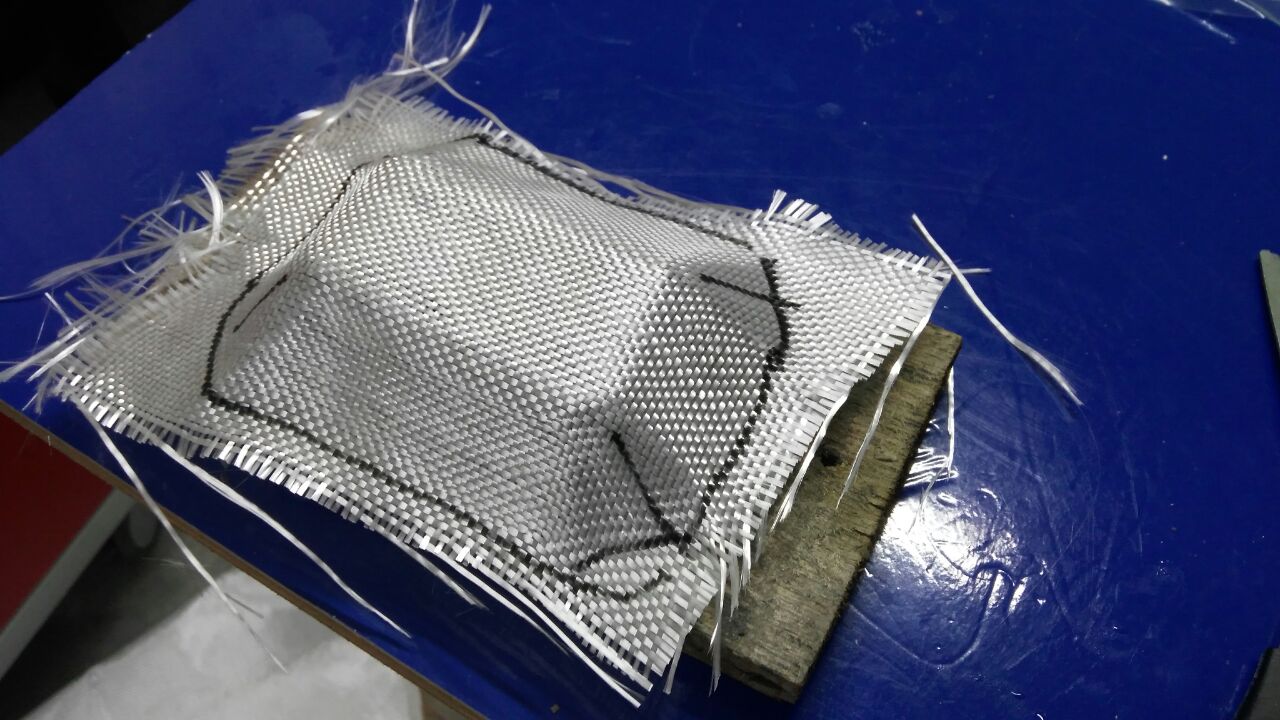
I marked the edges of the mold on rovin using temporary marker.

Three pieces of the rovin material were cut in the same size to be applied as three layers.
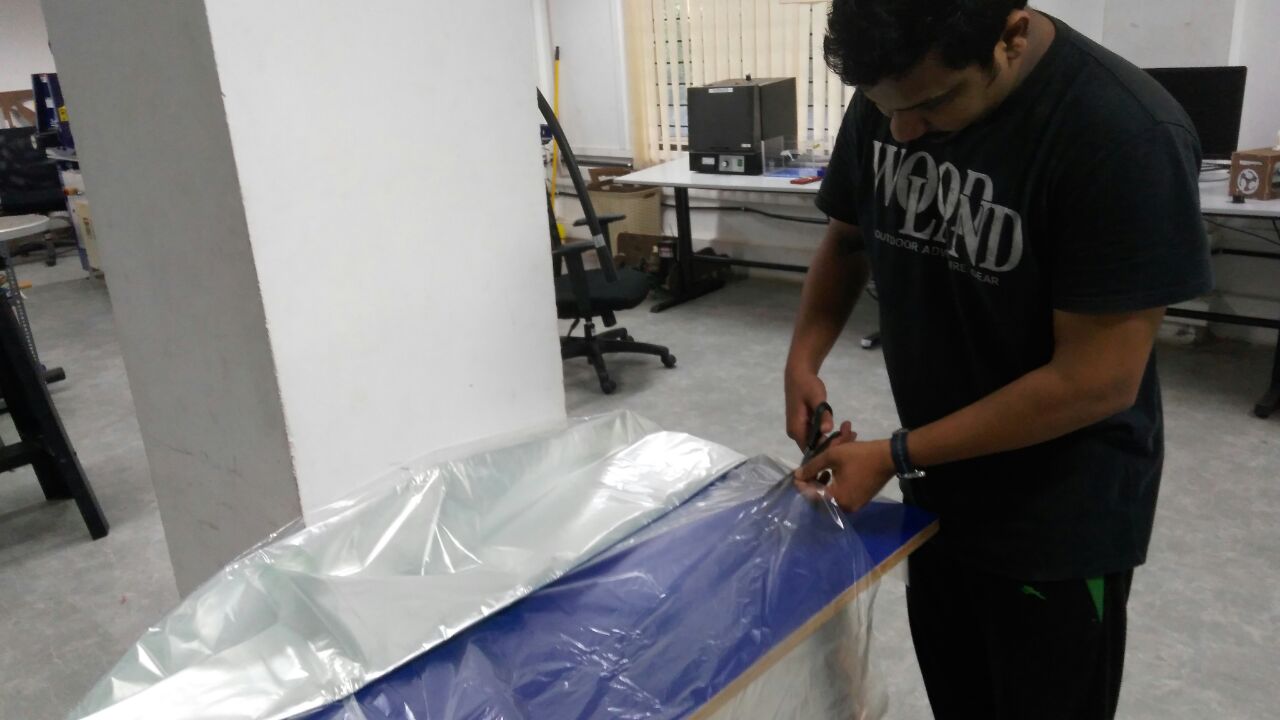
Cut another peice of the vaccum bag film.
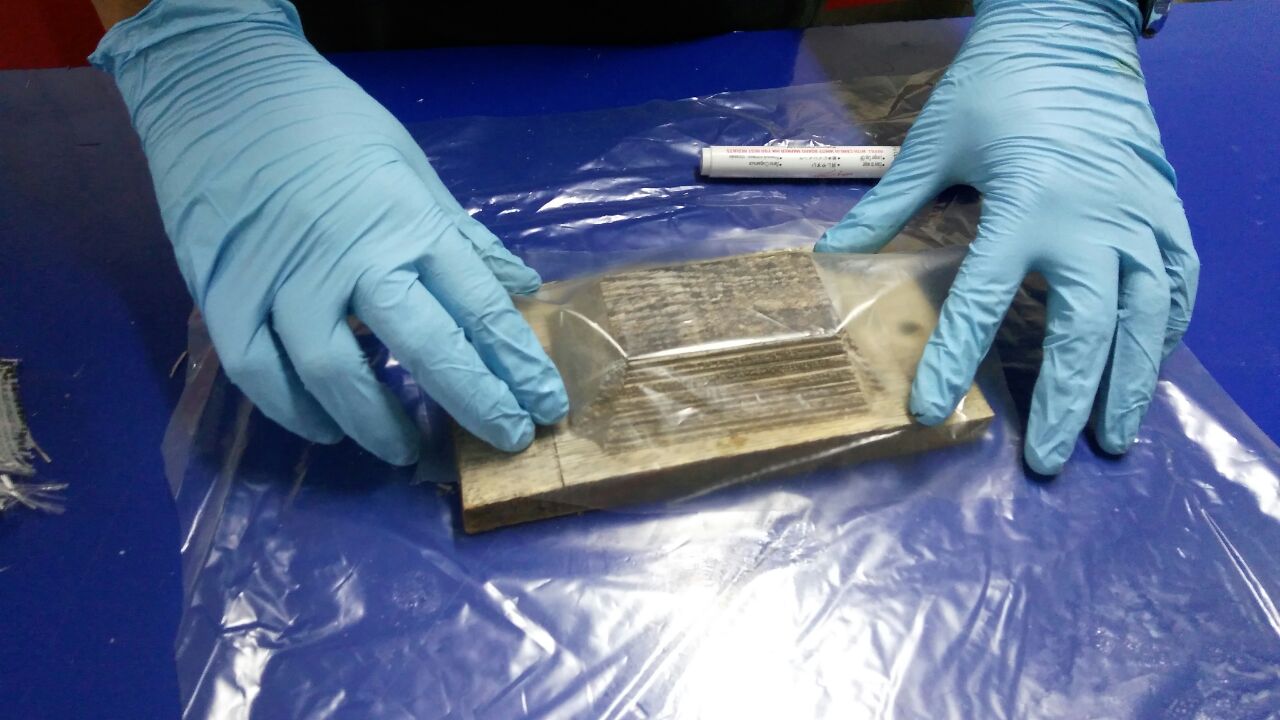
Placed the vaccum bag film on top of the mold.
Dipped the rovin cloth in the resin-hardner solution, squeezed it gently and applied it on the top of the mold over the film.
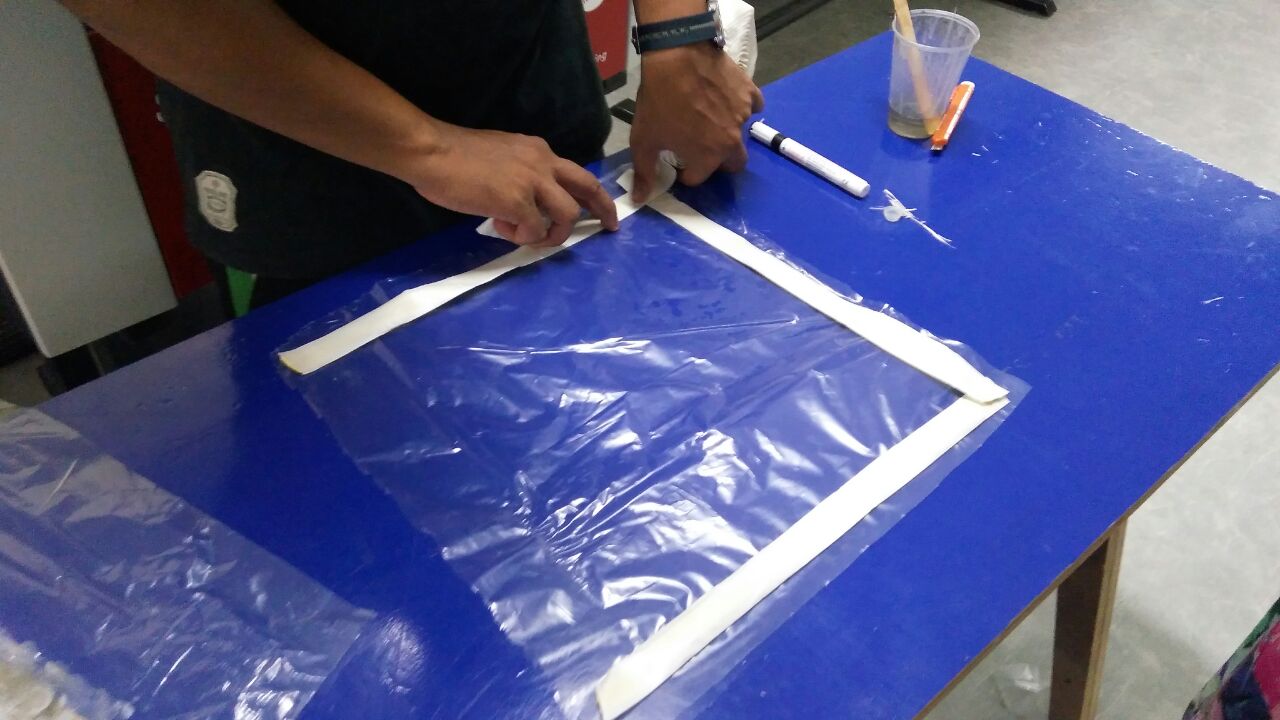
I sticked sealant tape on four sides of the vaccum bag film.
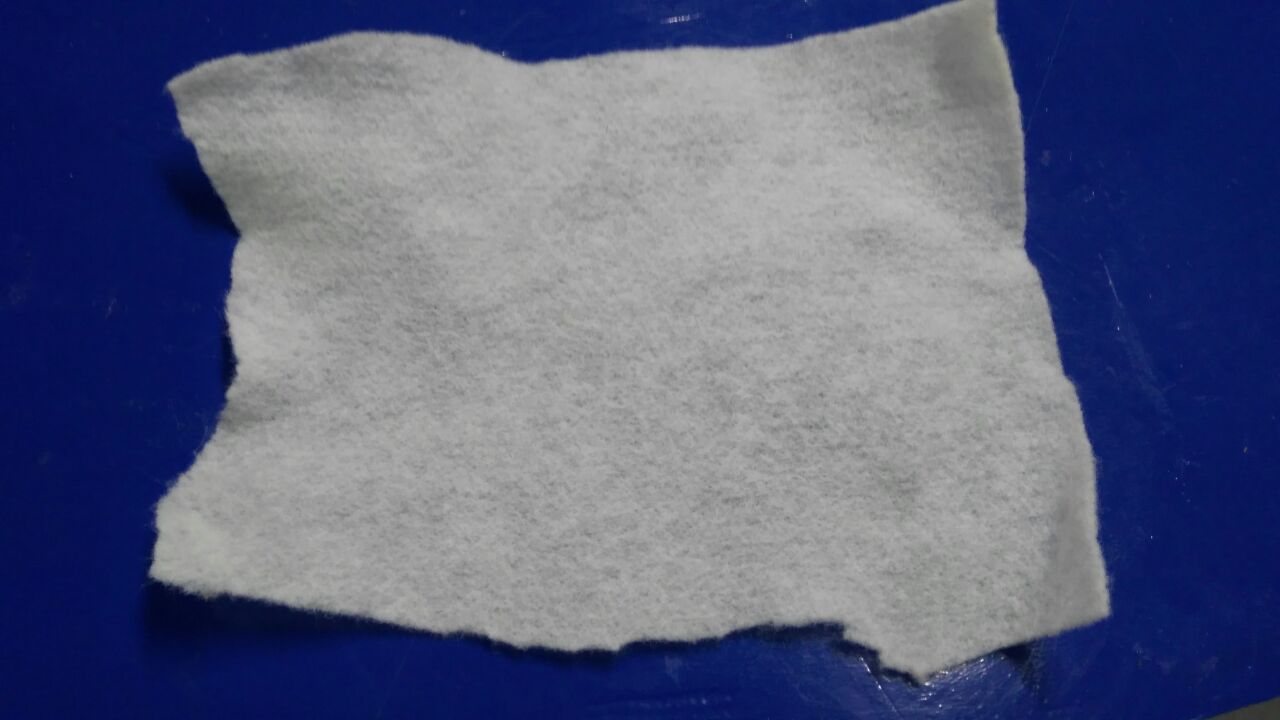
A piece of the breather fabric was cut and placed on top of the three layers of rovin dipped in resin solution.
Above the breather fabric layer, aother layer of vaccum bag film was placed and pressed together carefully with the sealant material on four sides. The end of the vaccum cleaner available at FabLab was attached to a smaller nozzle using masking tape and inserted at the side of the vaccum bag trough the sealant tape.
Mold files:
DJ.composite.dwg
DJ.composite.stl