week 04 | 2016/02/24 - 2016/03/02 | 3D scanning and printing
Task 3: Scan (and print) something...
13
The third task for this assignment was to scan (and optional print) something. We tried two different solutions to scan something.
14
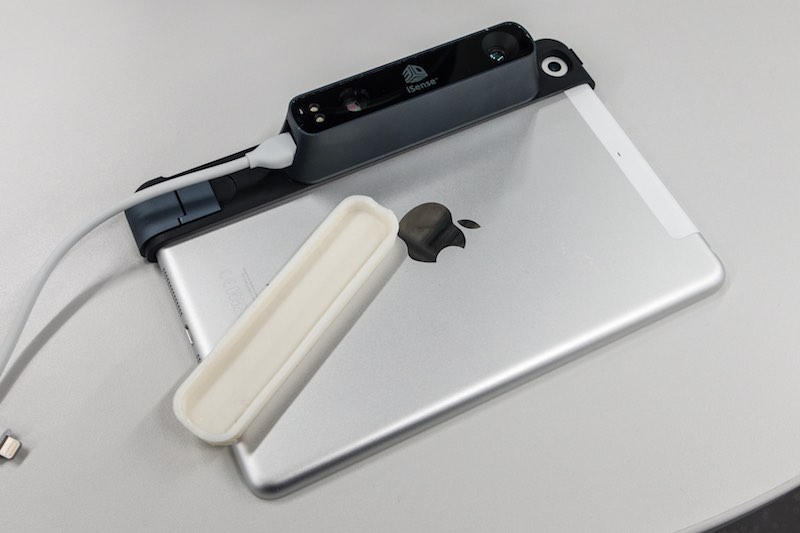
The first scanner was my iSense from 3D Systems, which is a snap-on solution for iPads or iPhones. This is a very fast option to scan things with a low to middle resolution. This one has a lot of advantages: You don't need a special light situation or heavy equipment to scan something. Put it on your iPad, download the Occipital (not the original iSense Software - Occipital is the manufacturer of the sensor and their software offers better resolution and tracking) and start with scanning. I've never used a scanner with such a solid object tracking. Our Artec Spider which costs 38(!) times more, offers a lousy tracking compared to the iSense.
15
16
First, we scanned a MiP robot with the iSense Scanner. The process is very easy. Open the app, drag the box around the object you would like to scan (vertical and horizontal - both directions work!), click on scan. The app shows the area where the object is scanned. If you wait a moment, you can see that the sensor and the app refine the model - just give it a bit time. Sometimes the app told you to hold still while it captures a keyframe. Don't worry :). After finishing your scan, click on E-Mail and send your scan to yourself. Before printing the Object file, you have to level the scan onto your print surface and repair the scan to prevent holes or a destroyed mesh. The best choice is to use MeshLab ord netfabb for this job.
17
18
This is the scanned result. Watch the model on Sketchfab
19
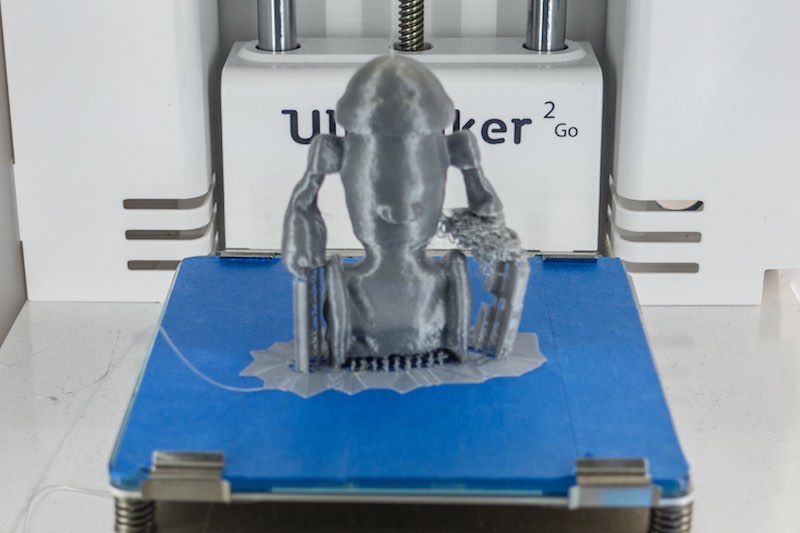
And this is the printed result, after leveling the model file in Meshlab.
20
21
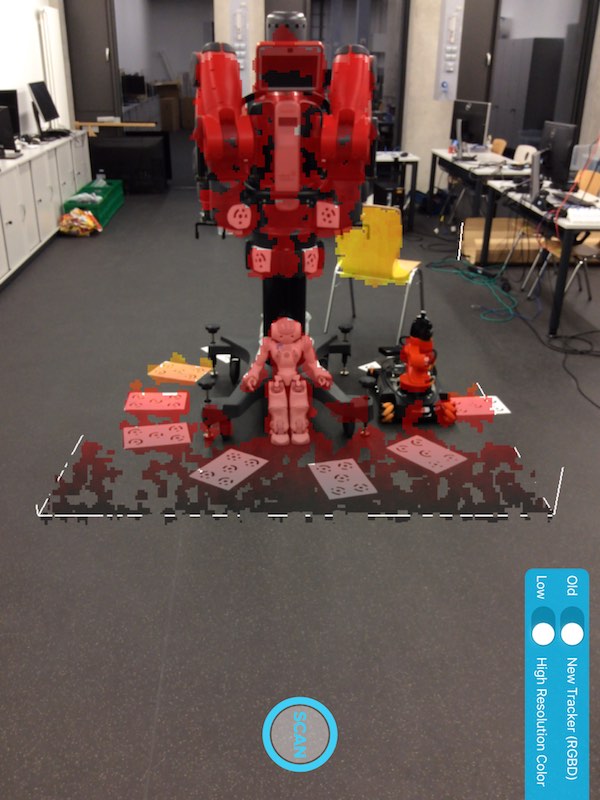
As second try, we scanned our Baxter from Rethink Robotics. In my eyes this result is impressive for such a small and cheap scanner!
22
This is the scanned result. Watch the model on Sketchfab.
23
The second scanning system we tried, was Agisoft. Normally I use Agisoft with content which is created by using UAVs beside my normal job in the FabLab with my fellow Robert in his company OiC, to capture waste disposal sites or specified areas where a fast 3d scan to get an overview is required. Here are some samples.
24
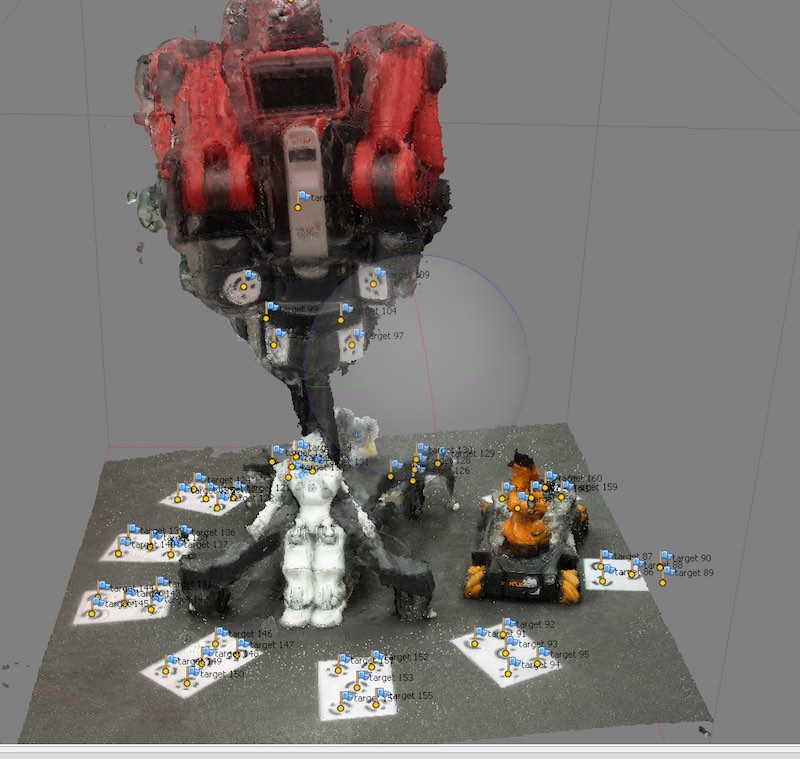
Getting results with Agisoft inside a building is tricky. I never had success the last years ago. So we tried our best. The conditions were fairly bad. We had not enough light and space. We printed the included marker and glued some of them around Baxter. Then we made some 87 photos from different angles. The result is not that good. But I'd like to show the process how to get a model.
25
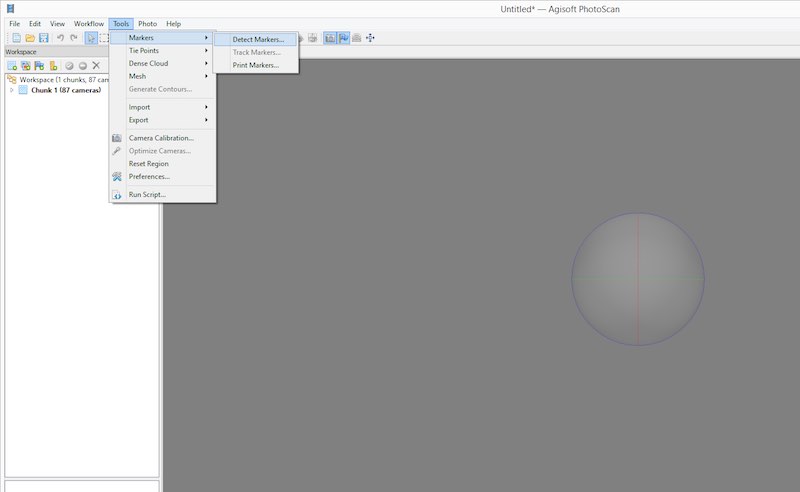
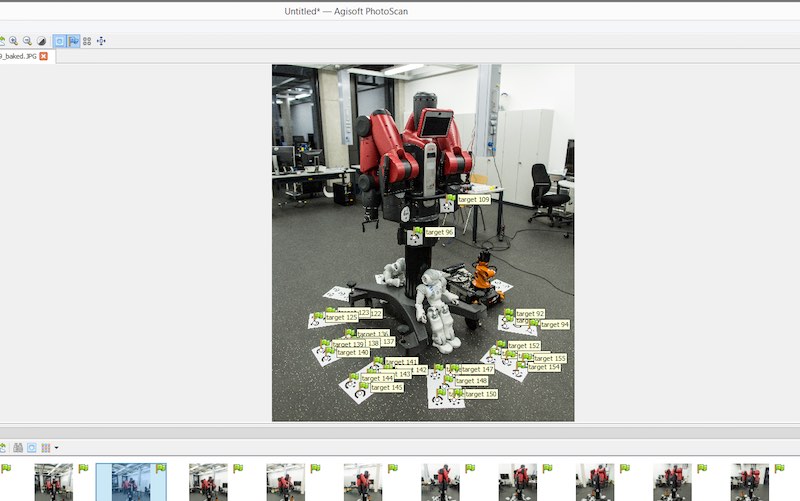
Load your photos into agisoft, then click on tools and detect the markers.
26
27
After this step, Agisoft should show you the detected marker in your pictures.
28
29
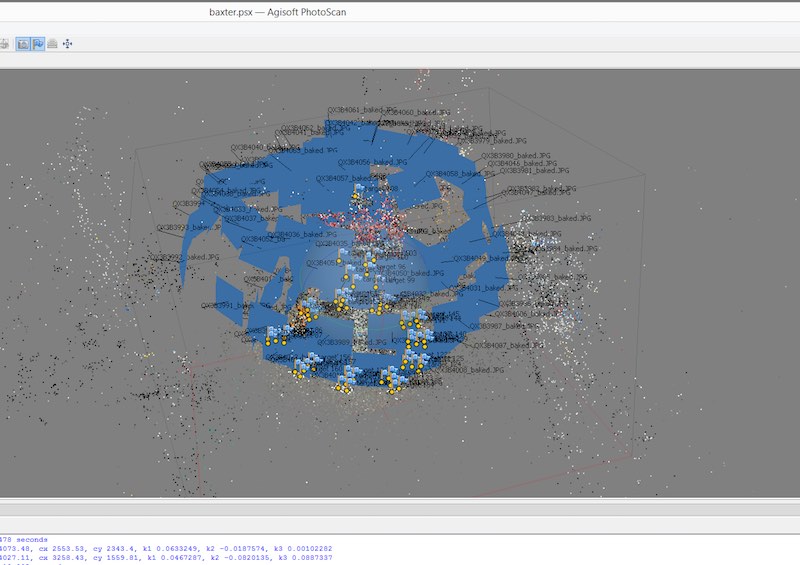
The following step is to align the photos. Go into the workflow tab and select align photos.
30
31
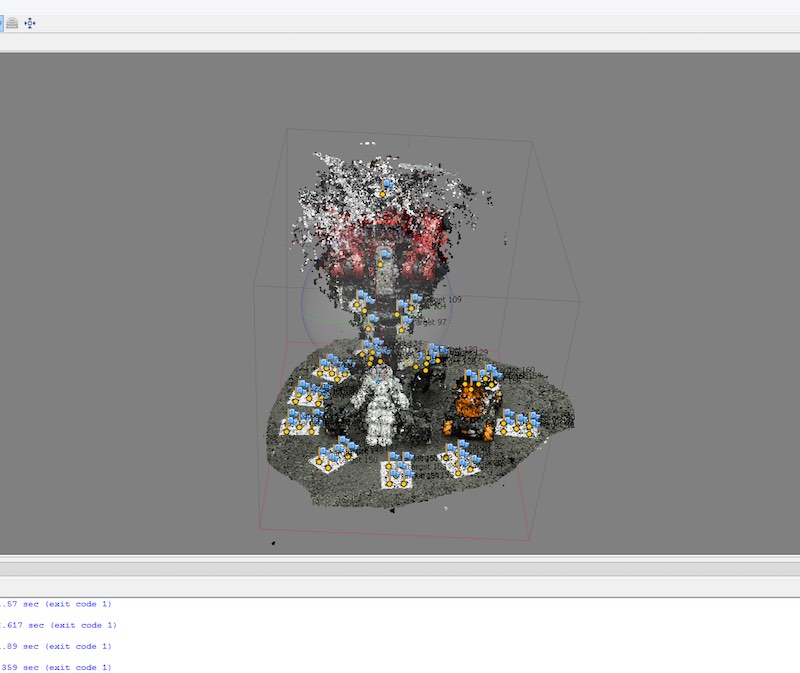
Then you have to generate a dense cloud. Choose the settings wisely, the render time is exploding with more points.
32
33
The next step is to generate the mesh. This time we had bad conditions to make a scan, which results in a bad result. But I hope I find the time to do this again.
34
35
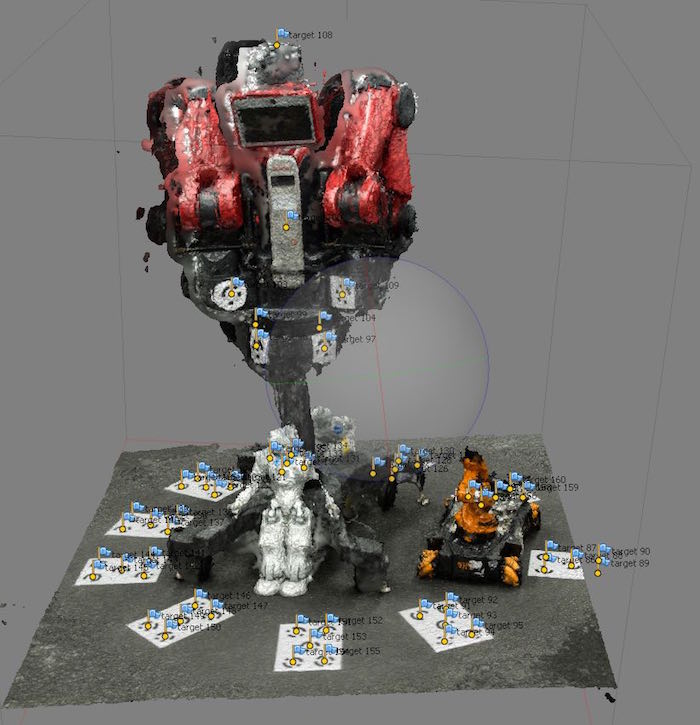
The last step is to generate the texture onto our model, here you can see the whole failure. The data was to bad to generate a good model. :(
36
37
Lessons learned? Oh yes, get more space and a lot more light to scan with Agisoft inside! Instead of this, the iSense scan is really nice.

This work by Daniel Bruns is licensed under a Creative Commons Attribution-NonCommercial-ShareAlike 4.0 International License.