Machines used and softs:
Test the rules of your printer
I fist wanted to do a quick review of the different printing options that exist.
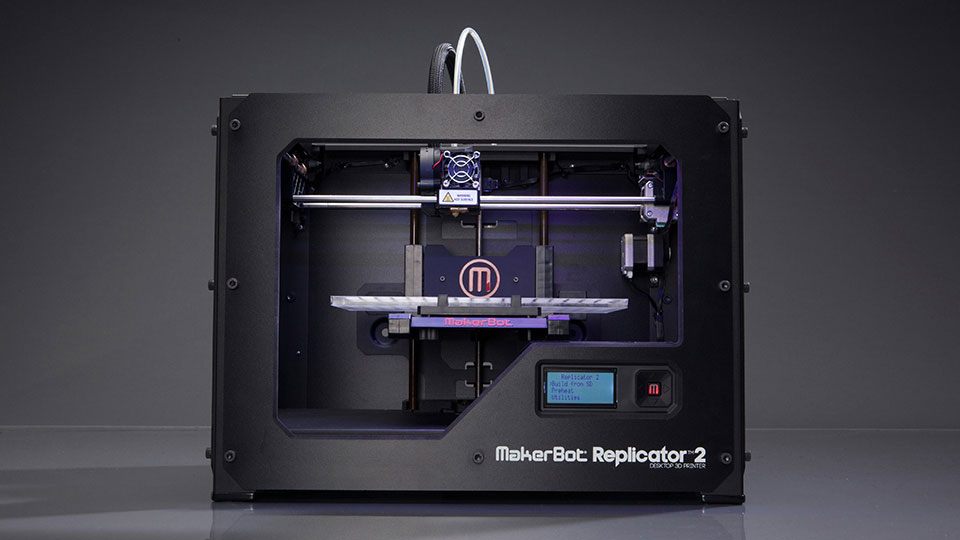
My test will be done on "MakerBot Replicator X2" , with ABS :
When you want to print something, designing the 3D object is one thing, but then there are a lot of different parameters that we need to specifie to the machine.
Like the layer height, the infill, the speed, do we want Rafts? Supports? etc
The Infill
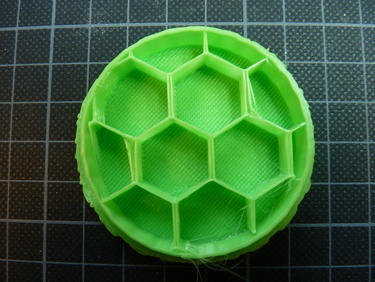
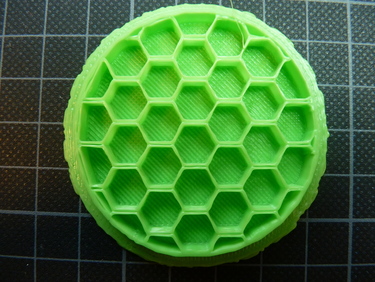
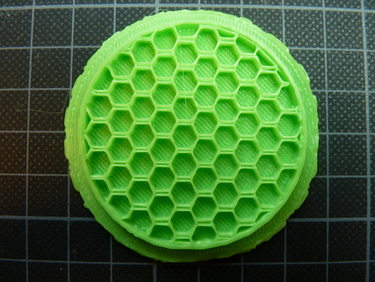
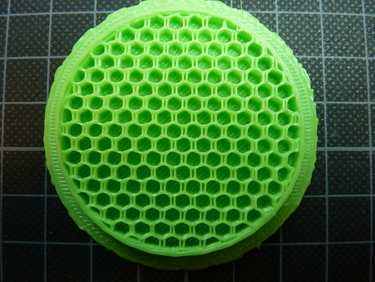
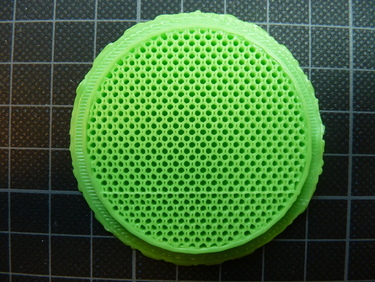
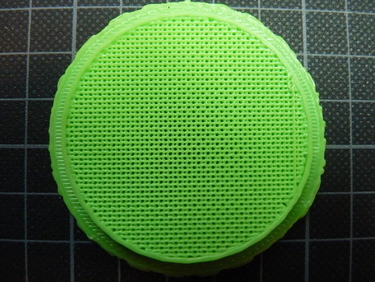
I printed cercle with different infills, and I stopped the print so I could see the inside:
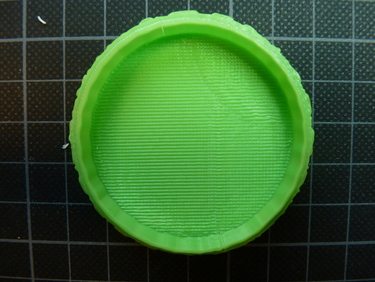 0%
0%
 5%
5%
 10%
10%
 15%
15%
 25%
25%
 50%
50%
 75%
75%
 100%
100%
Then I used the printing information and made a graphe:
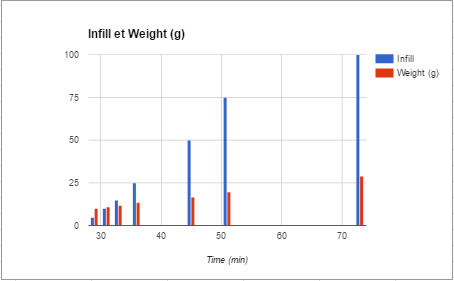
We can see the printing at 50% infill is a good compromise between time, and structural strengh.
And also that the function infill/time isn't linear, there is a big increase in time to pass from 75% to 100% infill.
Layer Height
This option defines the precision of you print, basicaly it defines the height of a layer of platics once it has been extruded.
And it is directly linked to the number of layers and therefore, to the printing duration.
I just choosed a random object on Tingiverse and printed it with different layers height:
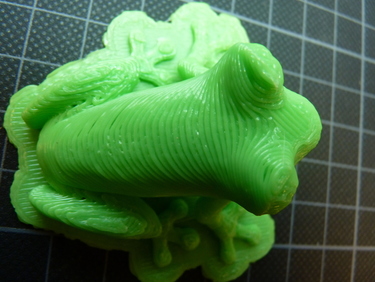 0.40mm
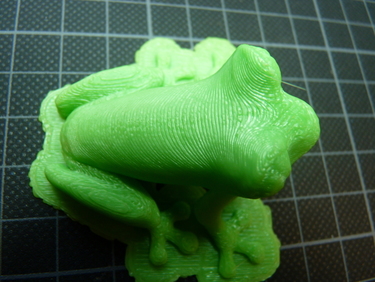 0.25mm
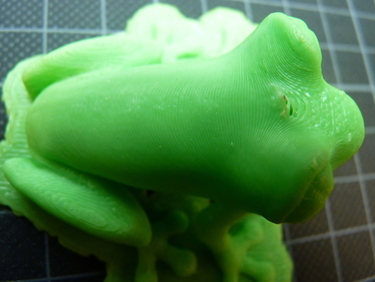 0.15mm
 0.10mm
We can see that as the layer height decreases, the surface gets smoother, but the print time increases.
Other tests:
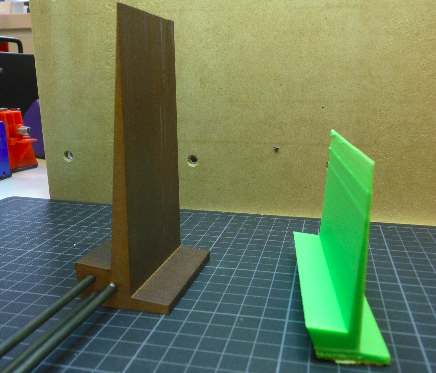
Then I wented to push my tests a little bit further, so I tried to print really thin objects, intricated objects etc :


With this exemple we can see that the printer had some problems printing the last layers, that is because I tried to print something that was thinner than the actual thikness of the filament after extrusion.
There is no way of making that thiner, so my solution here has been too slice the object and laser cut it:
Design and 3D print
CNC ? 3D printer ?
My first assignment here is print an object that couldn't be done with a CNC machine.
Here is a first exemple I found on Thingiverse:
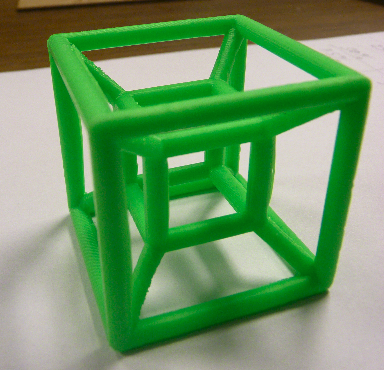
It's a Hypercube, this object couldn't be made in the CNC machine.
Last thing I would like to do is to design one myself.
Different type of 3D printers
I would like to indroduce 3 different printers just to show the main differences:
-The Replicator X2 by Makerbot
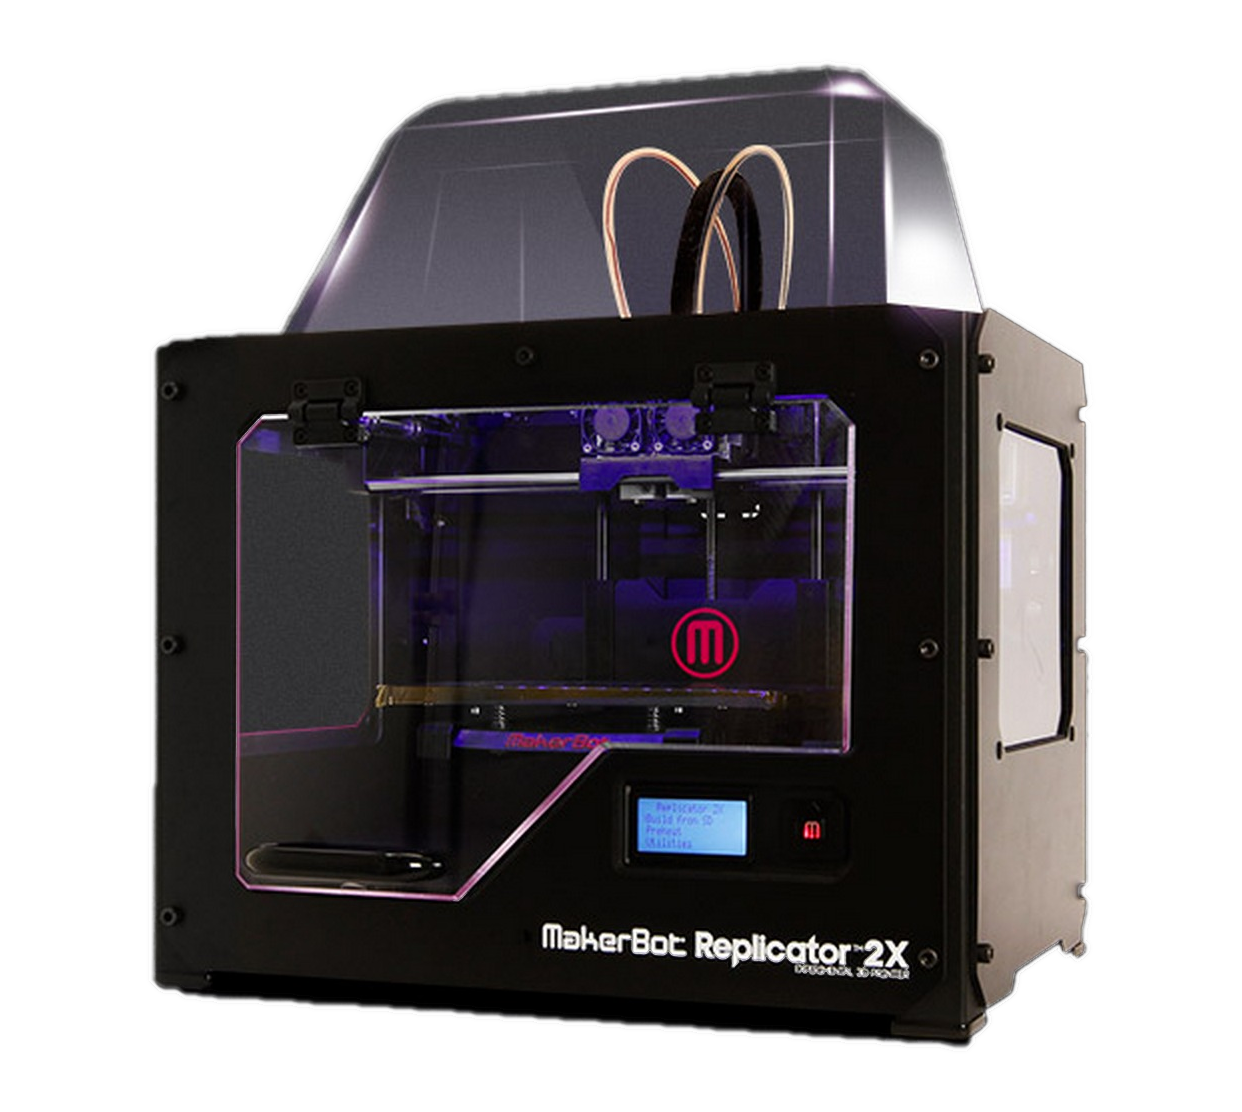 Big printing volume, double extruder, 100 microns precision, little maintenance
-The UP mini by PP3DP
 Very reliable, but small printing volume, almost no maintenance but calibrated for PP3DP filaments.
-The Prusa i3 a RepRap that I made last year
 Can be personalised infinitly, best way to learn about 3D printing, requires a lot of maintenance.
They are classified by the order of price, my prusa i3 was made for 10X less money than you would need to buy a Replicator X2.
3D scan an object
I decided to try different techniques of 3D scanning:
Foto scanning (Foto-grammetry)
This technique uses normal pictures to build a 3D representation of an object
I decided to try the 123D catch software, this soft allows you to scan an object in 3D but you don't need too have a spinning table, you just need to be able to take pictures all around the object.
I have decided to do my first test on a simple object :
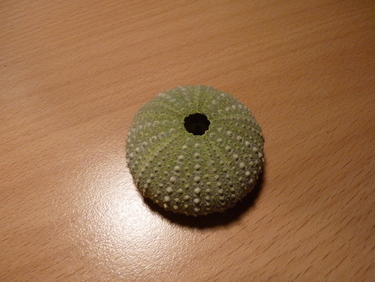
I red on the web that it is not adviced to try to scan symetric, glossy, or metallic objects, this one is clearly symetric but we wil see !
I've send to 123D catch a total of 35 pictures but he didn't accept all of them:
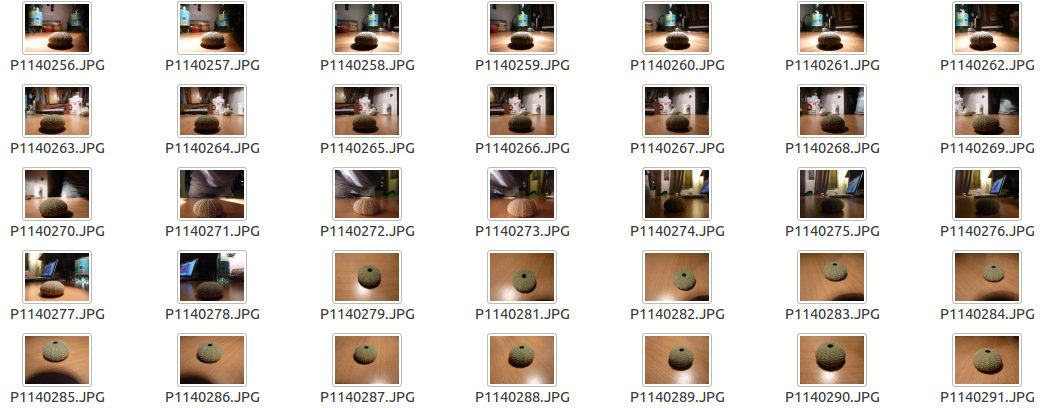
Since all the calculus are made in the cloud, you need to have a good internet connexion (with a proxy it doesn't work for me), the process may take a while:

I will show you after how to fix those pictures that couldn't be used.
But lets see the result first:
-8.PNG)
I have to say that I was amazed by this result!
We can even show from where the pictures have been taken.
-1bis.PNG)
I zoomed in to show the level of detail:
-11.PNG)
-12.PNG)
-13.PNG)
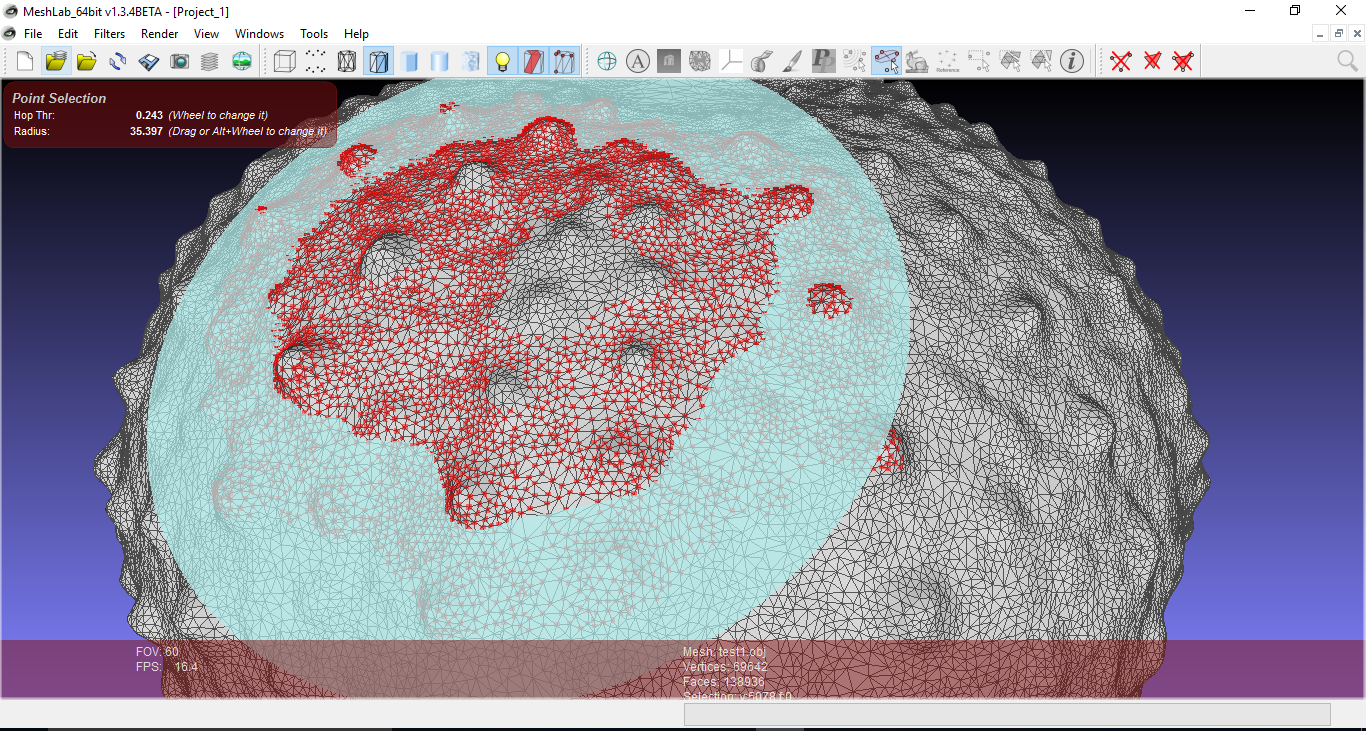
You can also show the meshing:
-4.PNG)
Then I selected all the background and deleted it
-9.PNG)
When I was satisfied with the result, I exported my file in .obj, to open it on Meshlab.

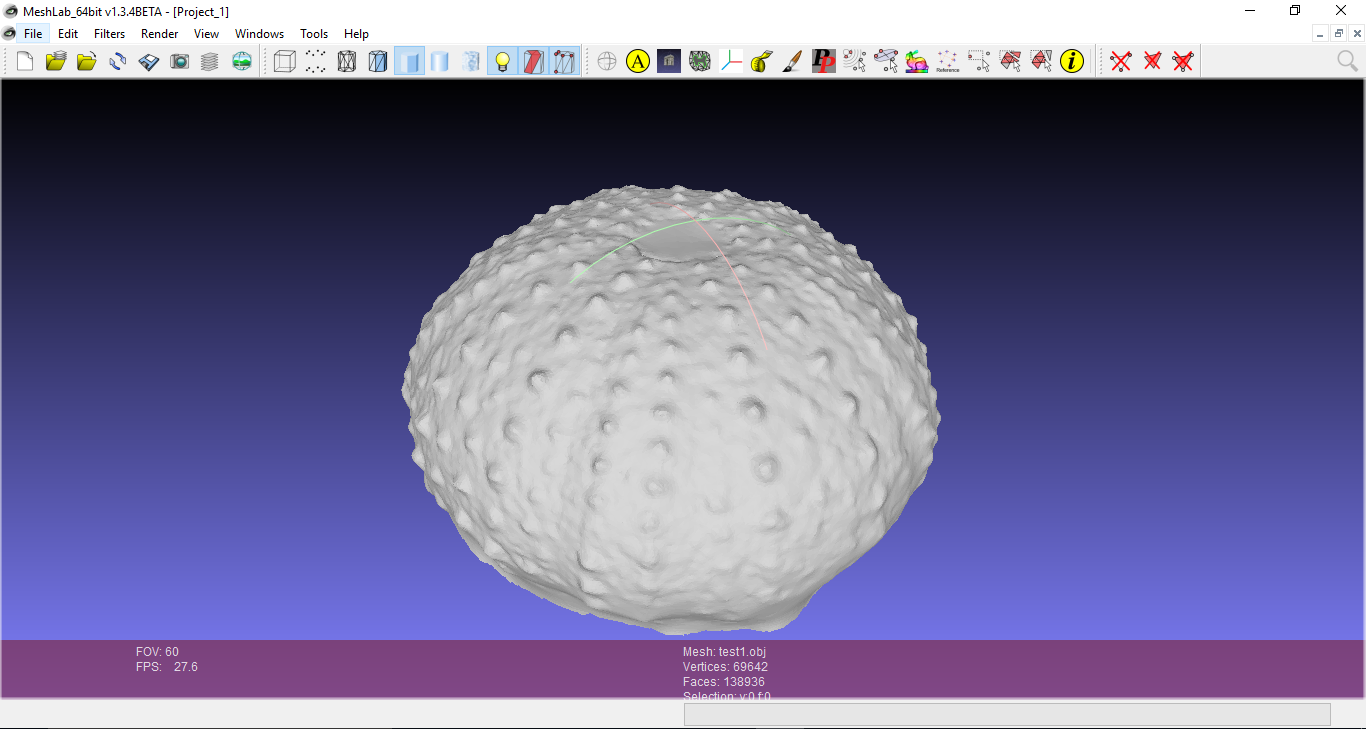

The level of detail that I obtain is pretty amazing!
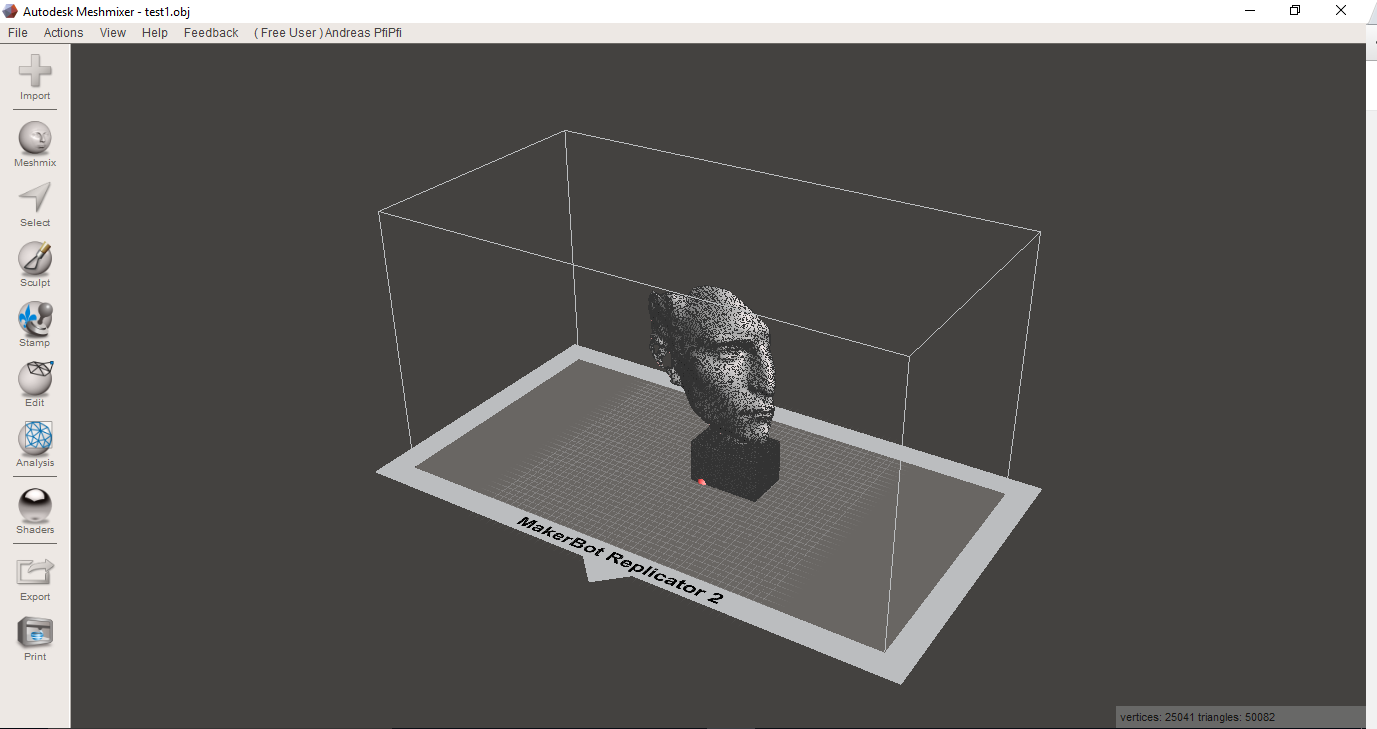
Here is an other test I've made with my face:

I've then used Meshmixer to add some syle and work a little bit on the meshing:
Laser scanning (Lasergrammetry)
I then wanted to compare those results with a 3D scanner : the Digitizer from Makerbot.
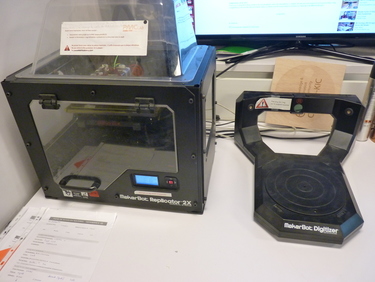
This device works by shining a red line laser on the object, the ligth refracted by the object is then recieved by a camera.
Those refraction, once analysed, allows the software to create a meshing of the object.
Before using the scanner, we have to calibrate it :

Scanner -->Calibration and just follow the steps.
So I first tried with the same object used for my other technique to compar the results:
And here is the result of the fisrt scan:
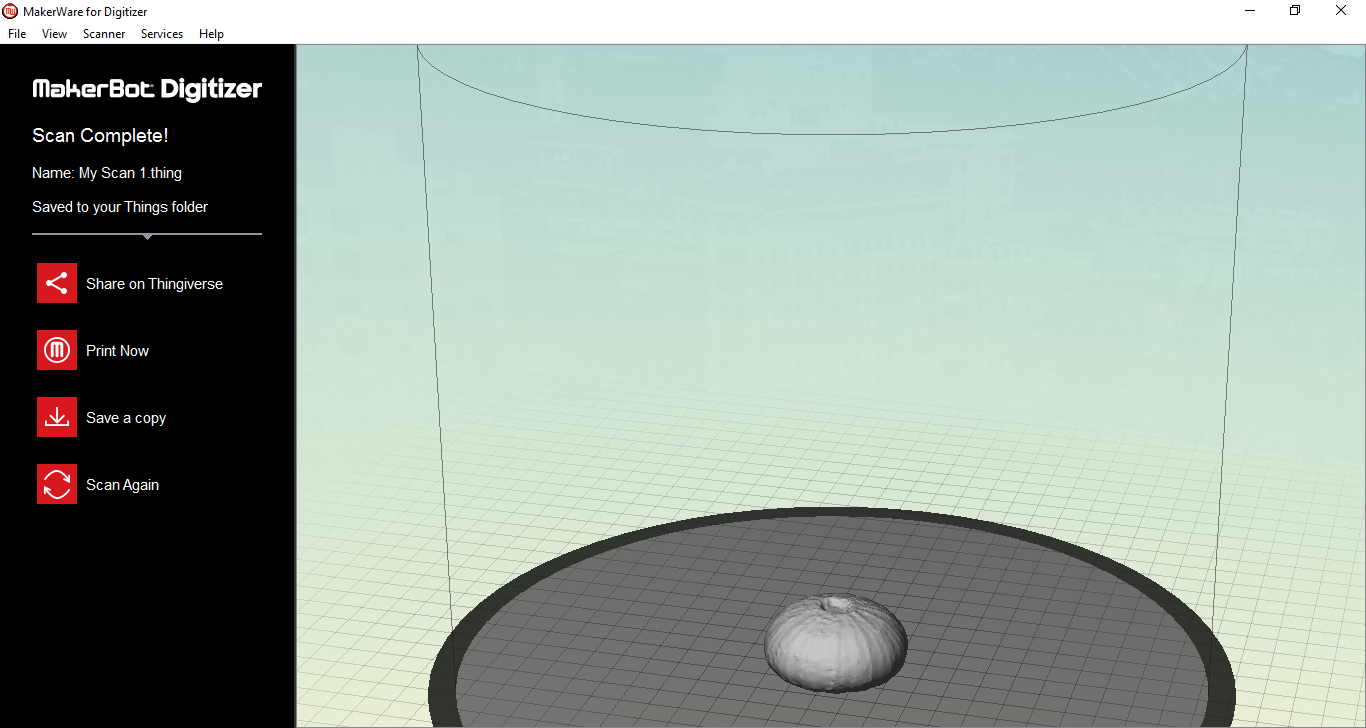
Here are the files without any post-process:
File in .stl: Oursin.stl
File in .obj: Oursin.obj
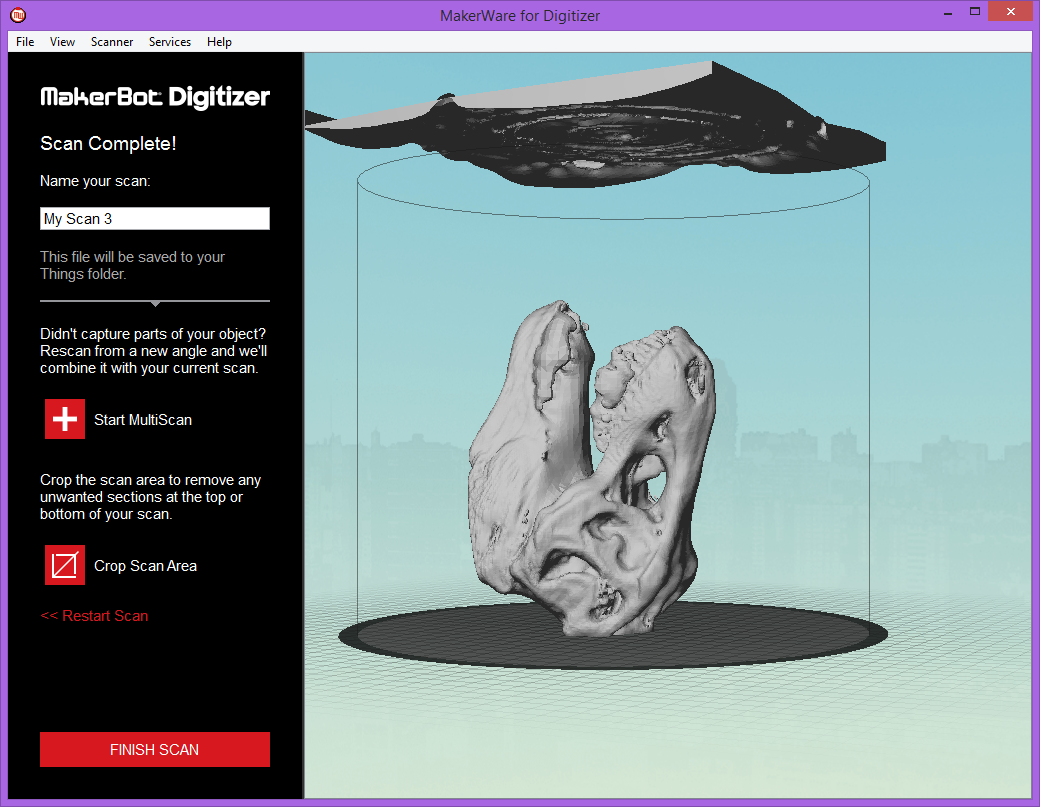
Then I tried with more complex objects:
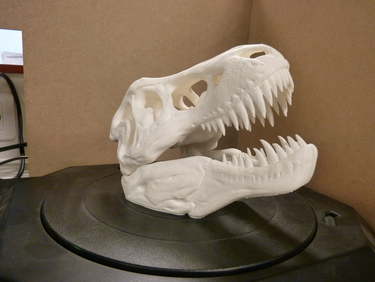
Here is the file of the 3D tRex skull:
The result after 3 scans:

I then wanted to add a box around the scanner to minimise the parasit light, but this was a mistake as you can see:
And also wondered to see what it would change to put the scanner in a dark room:
.PNG)
I think it didn't change much, here are the files so you can compare:
Test in normal conditions: tRex.stl
Test in the dark: tRex(test).stl
Here an other test with an object made in the past week:


The file in .stl: construction.stl
Now a test on a very complex 3D printed object (I printed it with a UP mini and the model is from Thingiverse)

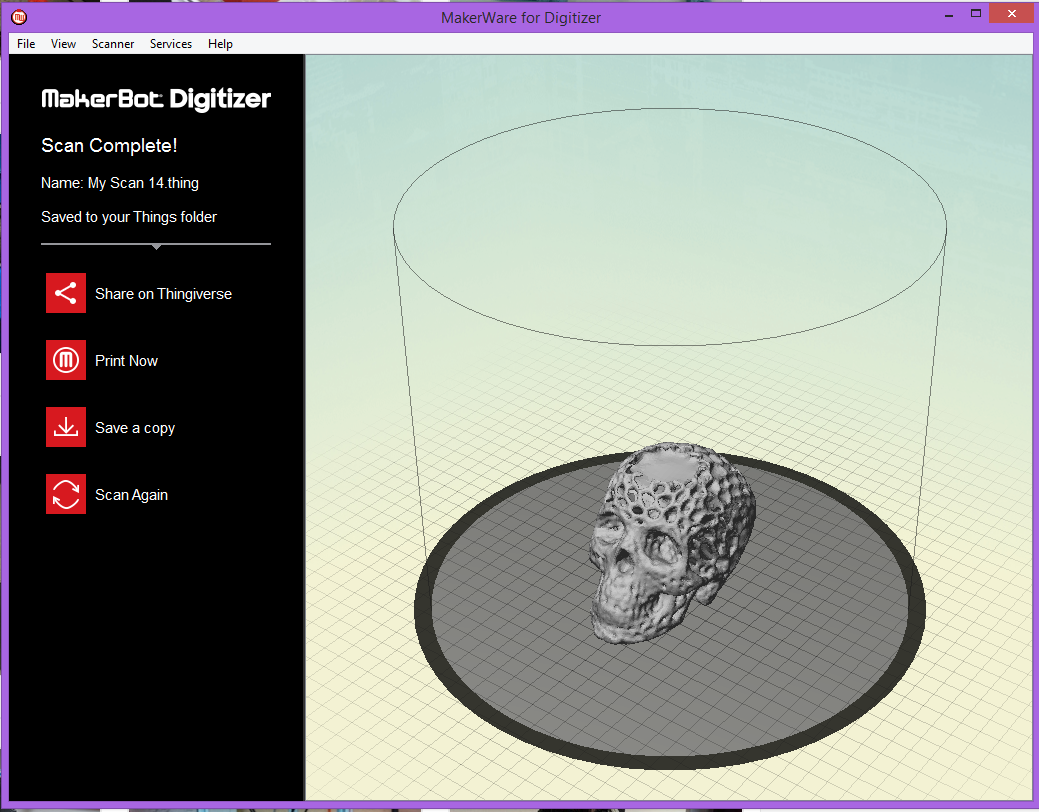
The file in .stl: skull.stl
Here is the file of the original skull I used:
>Conclusion
When I first saw the results I was surprised by the level of precision of the meshing, but when I tried to export it, I had my first bad news.
The soft from Makerbot, allows you to only save your file as a ".STL" , ".obj" or ".thing", no problem would you say! Actullay yes! because the object we obtain is not the orignial meshing, but a processed mesh done by the soft! And the result is pretty disapointing.
So in conclusion, I liked using both techniques, but I feel like the Digitizer is just a cool gadget to have in the lab, whereas, the fotogrametry is a whole science that you can practice just with a random foto camera!
Make a laser scanner?
An extra assignment is to try to build a 3D scanner, so I thought about different options:
-Just build a spinning table with a stepper motor and use a normal camera,
-Build a spinning table but using a Raspi camera and a laser,
-Modelise and build a system that could allow me to take perfect pictures for 123Dcatch with an Iphone,
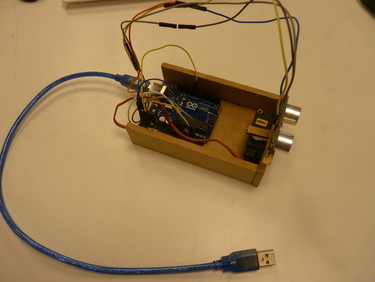
-Use an Arduino ultrasound module to make a very simple 3D scanning device, I'm lacking time, so I'll go with this one!
This is my first test , I didn't loose time designing a pretty case , I just wanted to see what precision I could obtain:
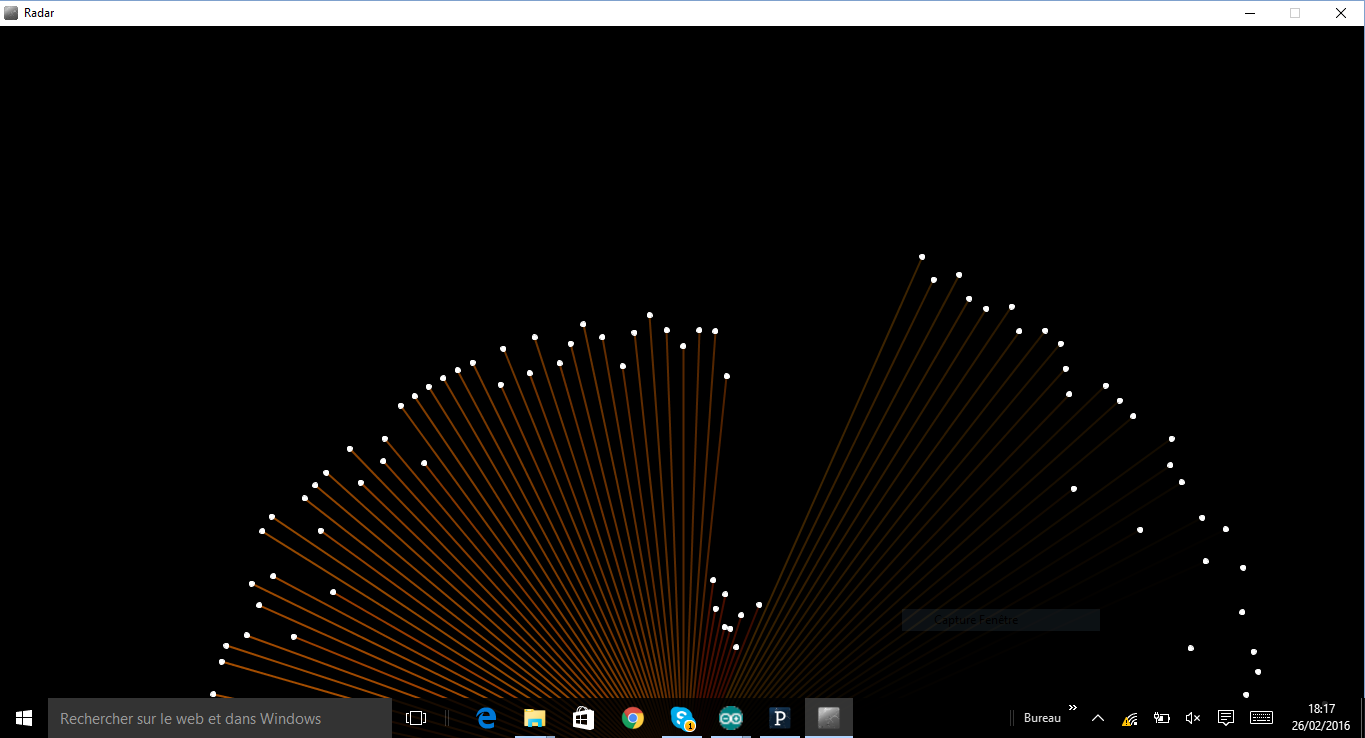
So first I ran it as a radar, just to see if my code worked , here you can see the result of my rand passing in front of the detector:
Then I tried fix objects:

At least we can see something:

Then I tried in a room:
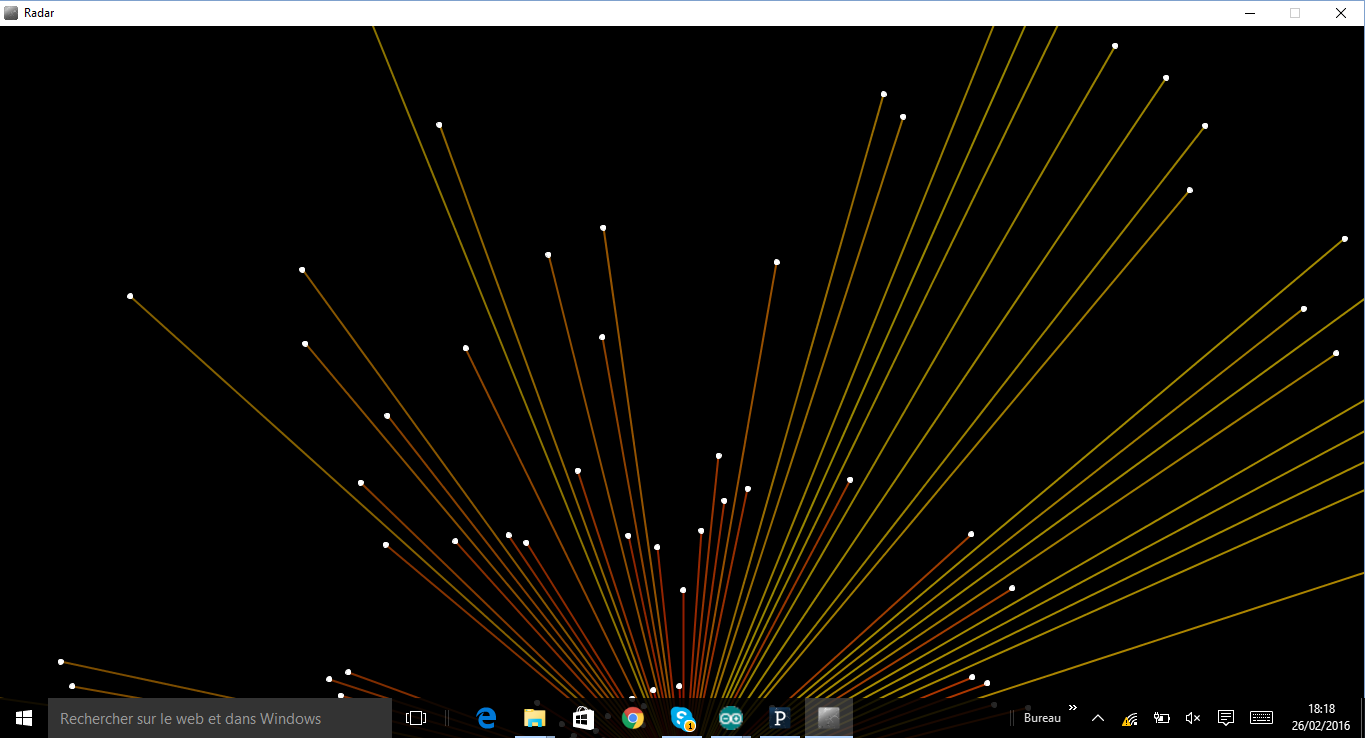
And finaly I got red of the lines, and change the points mode to persistant, so I could try accumulate them and build a representation of a room:
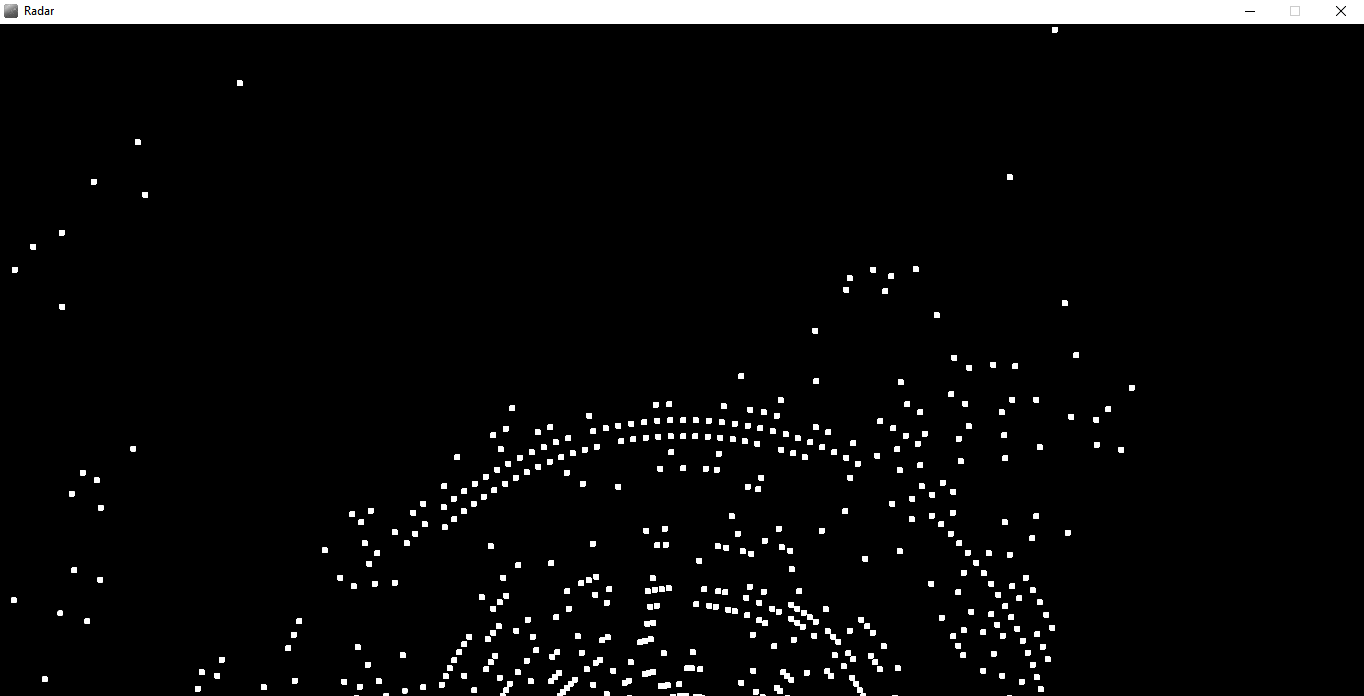
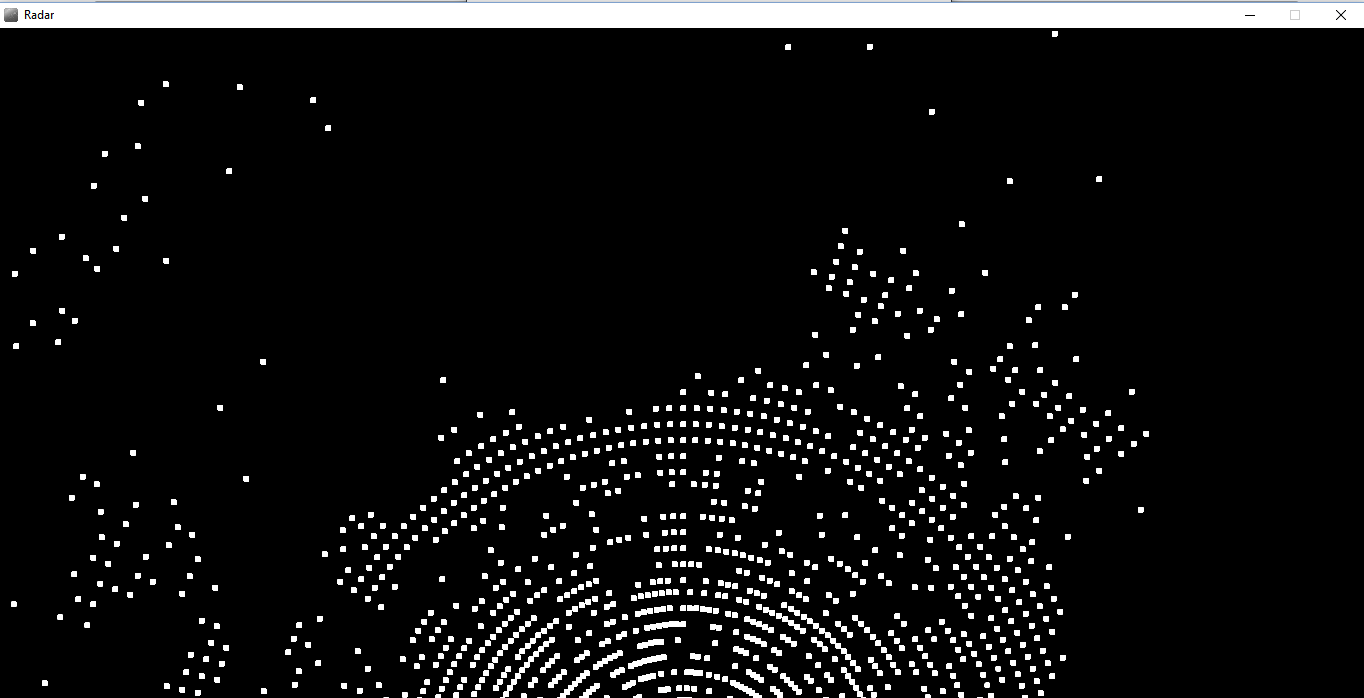
As you can see this will not remplace the Digitizer or your foto camera, but as I didn't even calibrate it, I'm sure there are lots of possible improvments , like adding an other ultrasonic detectors.

.PNG)