My press-fit and parametric design
I passed some days (and nights) on Grasshopper/Rhino, and I totally understood the power of it, but I think it is an awesome tool for architects and designers not for a maker, it is way too complicated and furthermore, not opensource , at all, so I decided to do my parametric design with Solidworks (I know not an exemple of open sourcing but at least I understand what I'm doing).
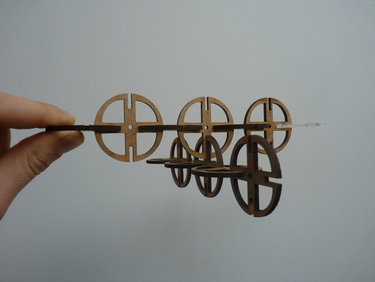
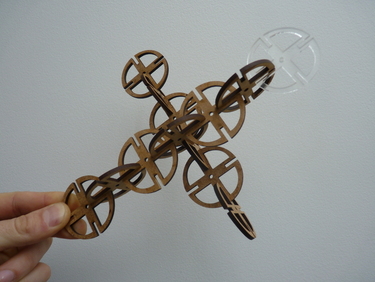
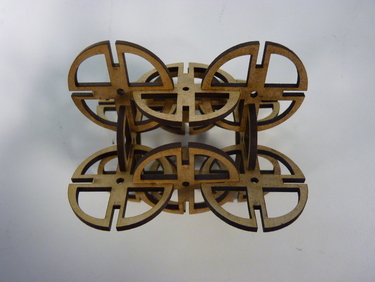
So I am going to quickly show what I've done, I use to play Lego when I was a kid, I thought I could come up with basic building blocks that I could assemble in different shapes.
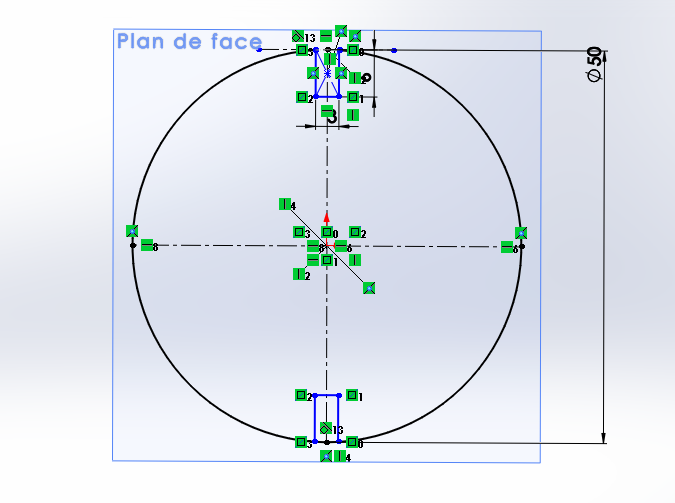
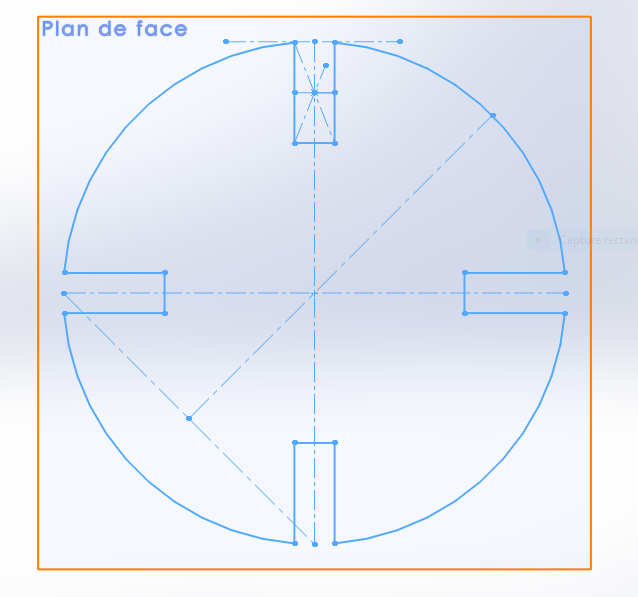
So here is the sketch mode of SW:
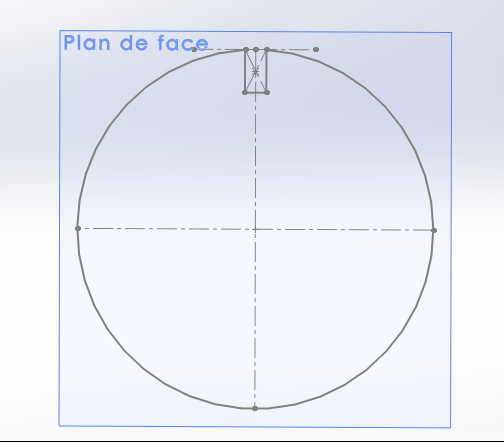
I drew constructions lines so I could then apply symmetries:
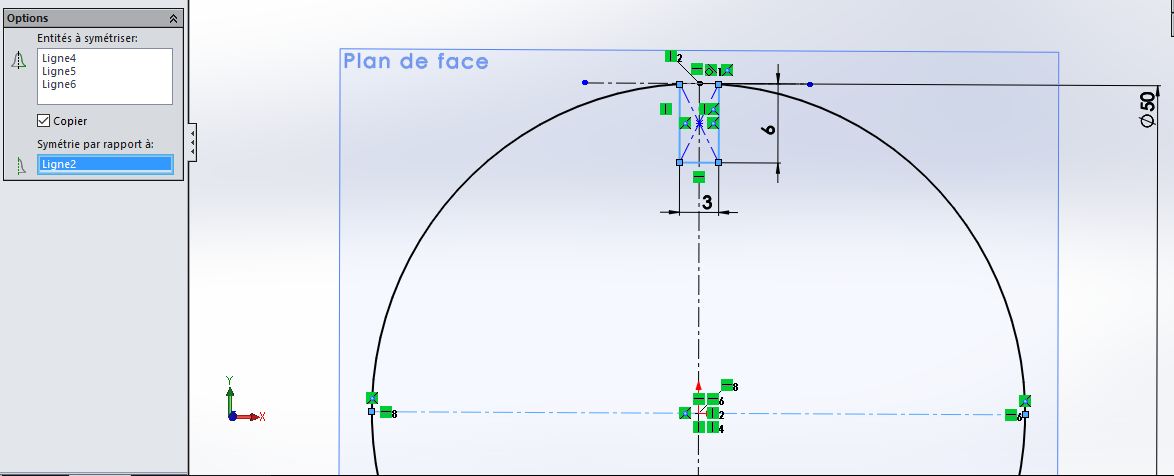
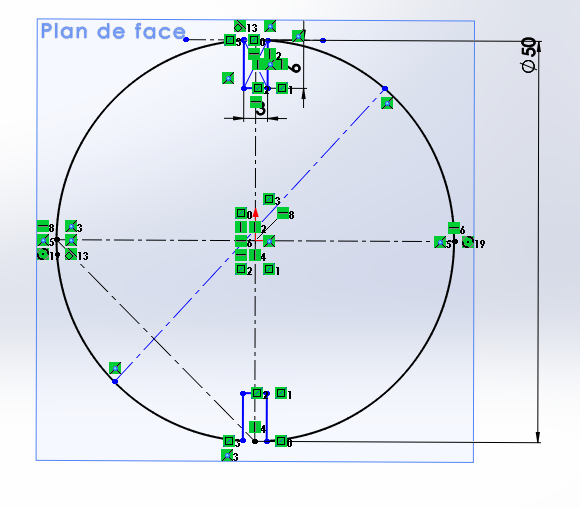
Symmetrie applied:
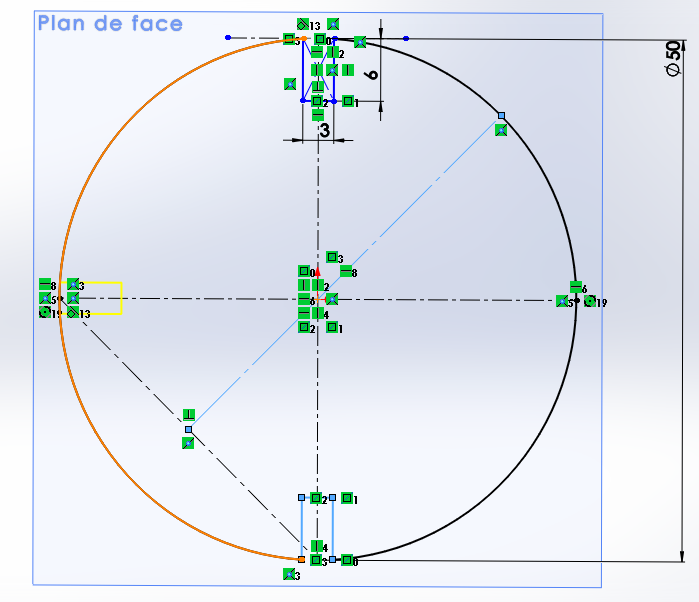
Here I jave my final sketch, so if I want to change the material thickness I just do it on one side and the sketch changes accordingly.

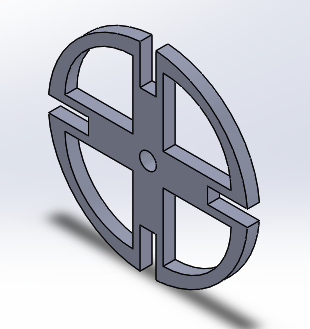
I then extruded the object to have a volume:
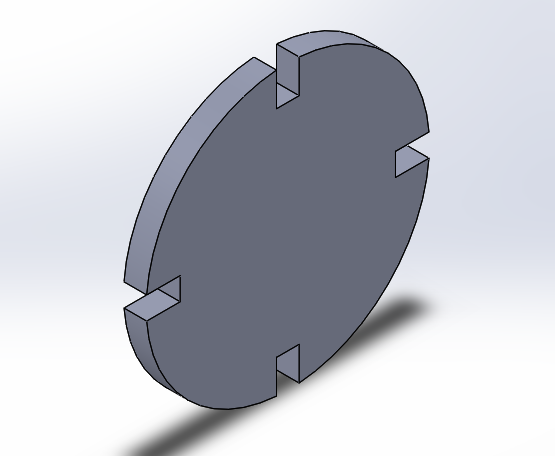
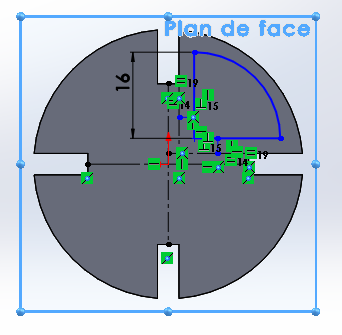
I decided to change the notch siez to make a little deeper:
As I said just by changing the upper notch, the fact that I applied symmetries changes the rest of the notches.
Deleted some material to make it look nicer:

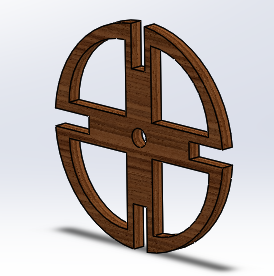
And played a little bit with the rendering:
It works a bit like Fusion 360 but I think Fusion has nicer final renderings.

Here cherry wood style:
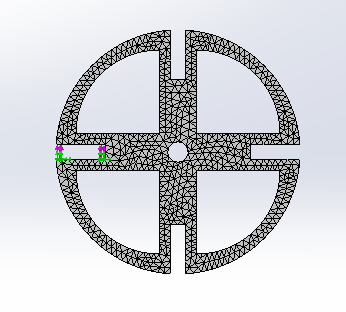
 Then I wanted to test out the simulations, so here is the meshing being calculated:
Then applied the force (10N) after defining a fix surface:
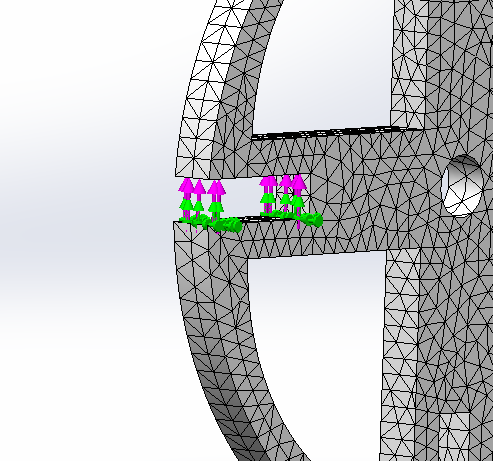
Run the simulation!
.PNG)
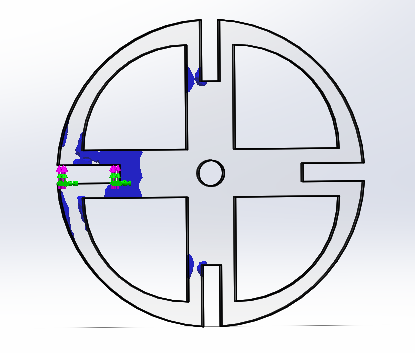
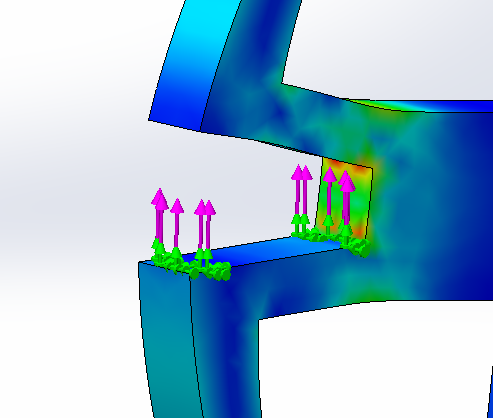
You can even export a small video of your simulations:
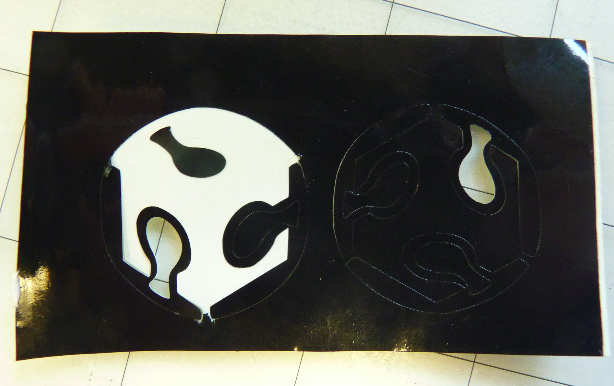
Here is the result after sending the exported DXF to the laser cutter:
Here are my files:
And also made it with Inskape to see an other way of doing it.
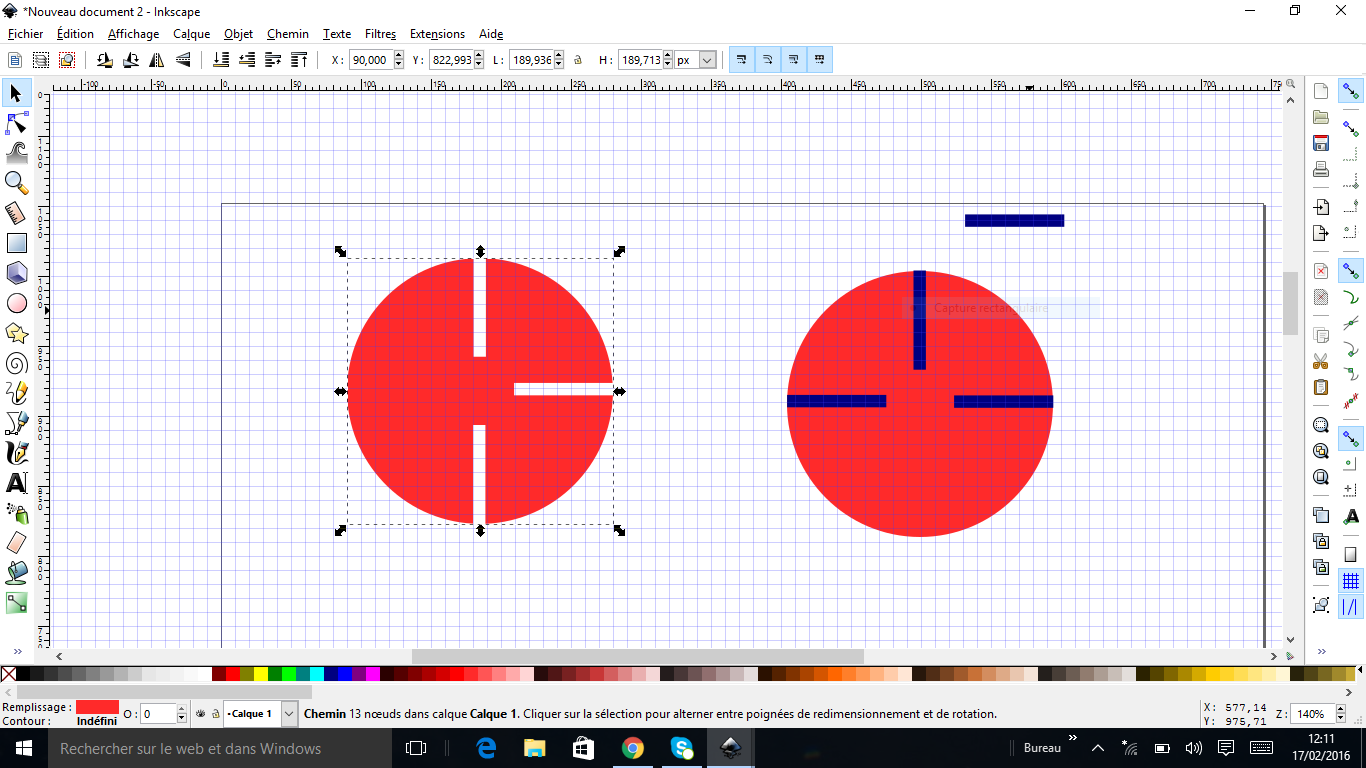
But the only way I found is by substracting shapes by using the "Difference" option, so not parametric at all, if I want to change the material I am working with I got to redo all the design!
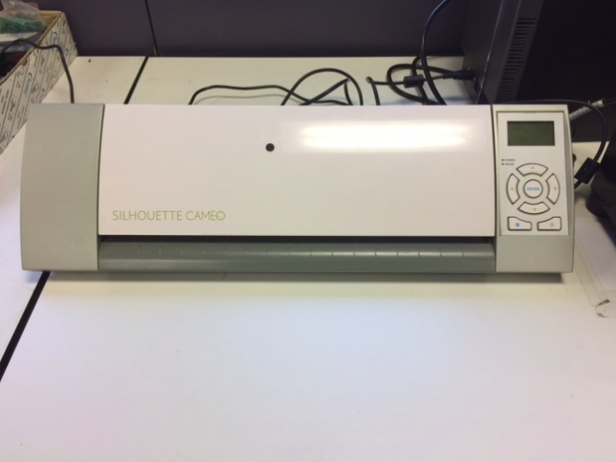
Using the Vinyl cutter
I also experimented using the Cameo:
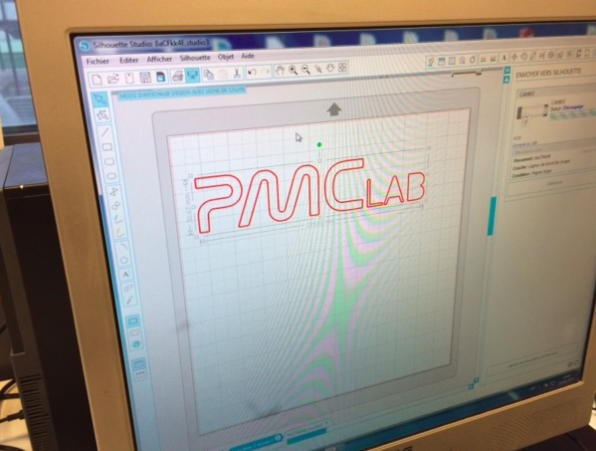
I used a logo in ".png"

That I vectorised using "Silhouette":
Adjusted the cut depth:
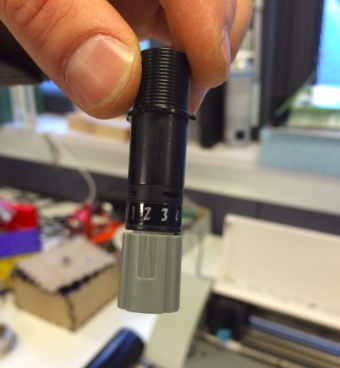
And sent the job:
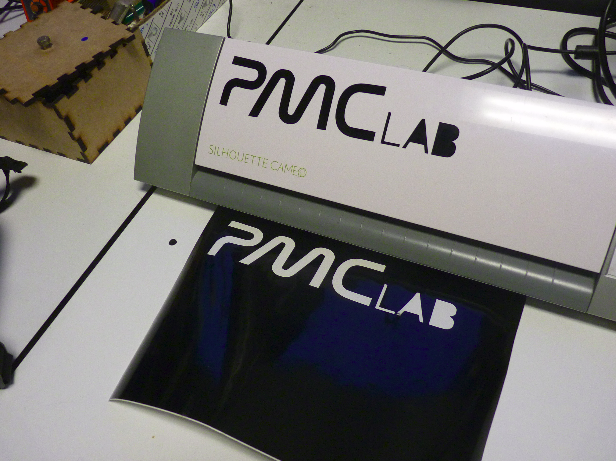
I also id some mistakes in the settings (to fast here):