I didn't recieve the appropriate material for this week yet, so I decided to do some tests with what I had! The materials finally arrived; here is all what I had time to do:
Machining
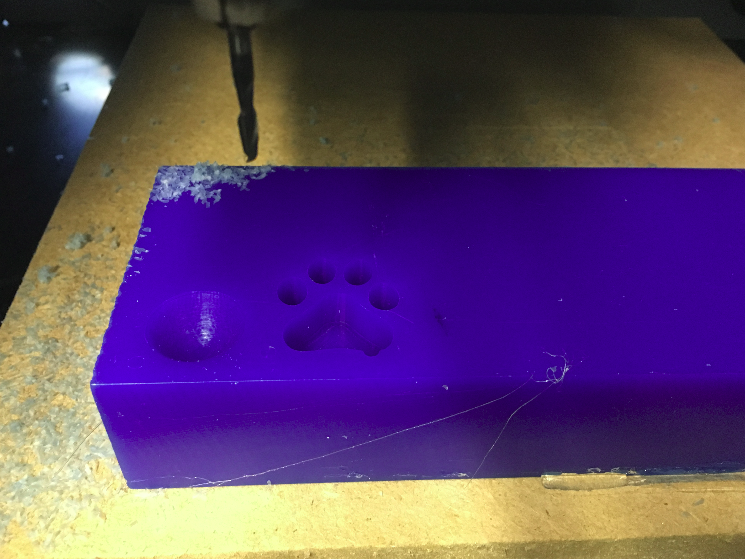
Unfortunatly I didn't have much time to play with the machining ,we had problem getting our hands on the materials.
So I wasn't able to actually cast something out of it, at least now I have a good idea of the process.
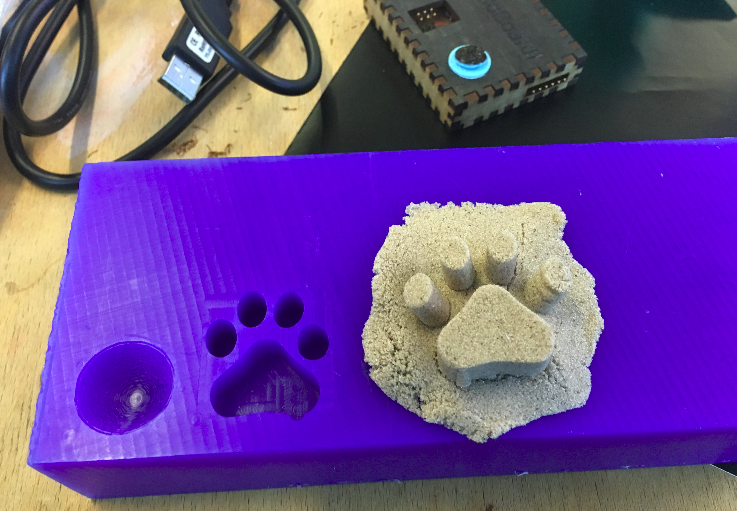
I just played with some amazing sand containg polymers that makes keep any shape!

Here is my exemple:

So in the next part you will see what I was able to do without any material we were supposed to use for the assignment, but I will definitly redo this on my own later !
Molding
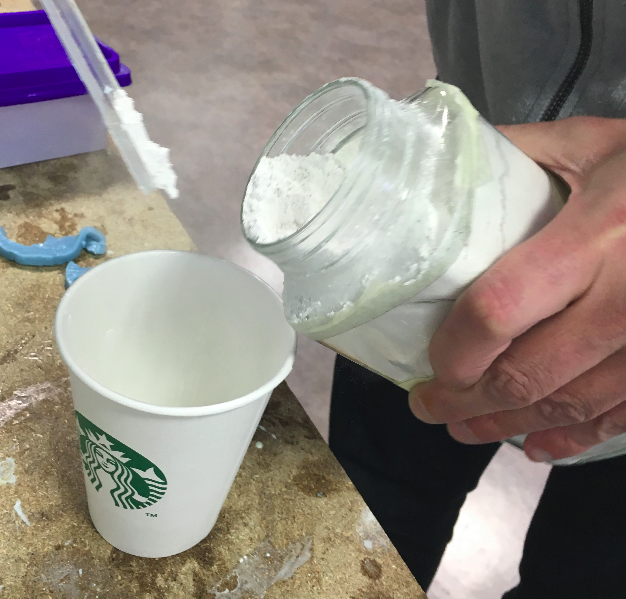
As a start, I tried to work with a quick-casting-paste called "CREAFORM":
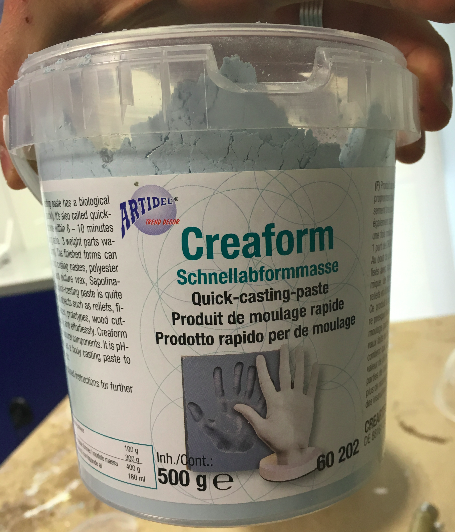
They advice to use one part of paste for 3 parts of water.
It is important to quickly mix the paste because it dries in less then 10 minutes!
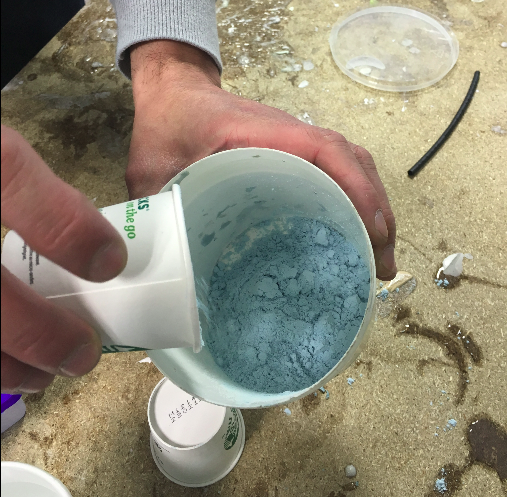
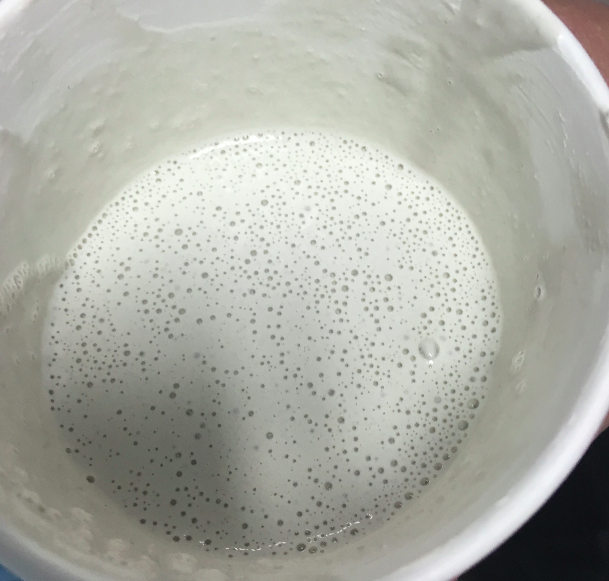
But without adding air in the mixture!

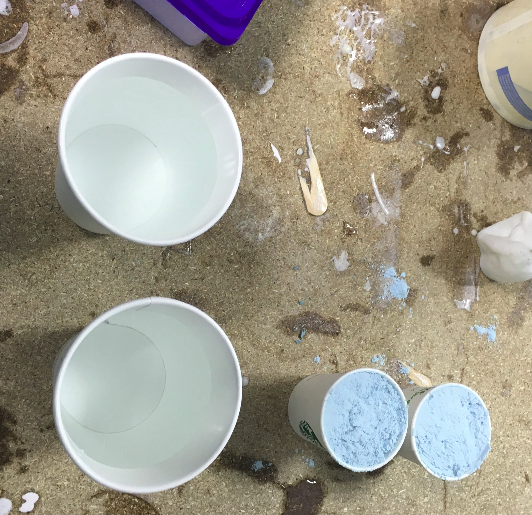
I made that mistake as you can see:

So I quickly re-made a mix, but his time I mixed it without taking my tool out of the mixture (to avoid air bubbles).
The result is also way better:
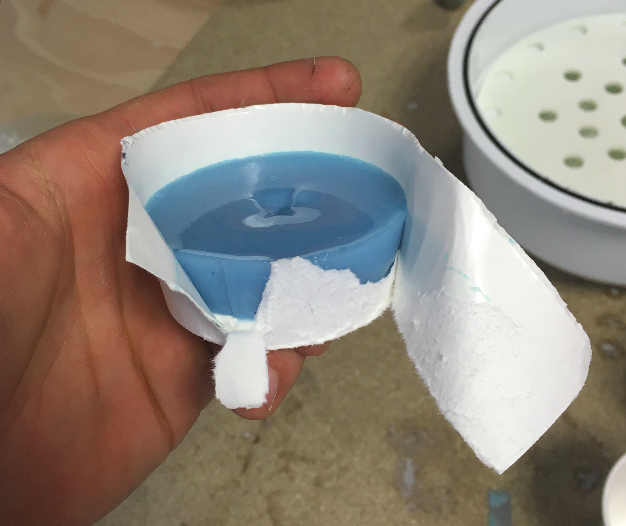
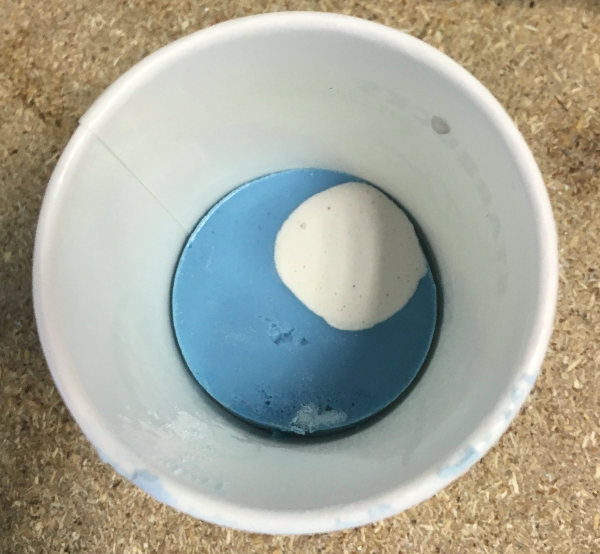
Here you can see my next mistake:
I didn't properly attach my object to the bottom of the container ,so some product passt underneath.
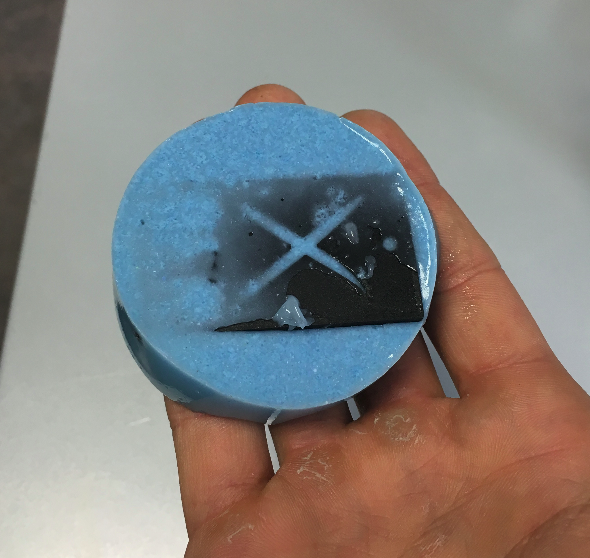
Here is the result of my first molding:

The mold was still very wet so I decided to change the receipe and add less water : 1 part paste and 1 part 1/2 of water.
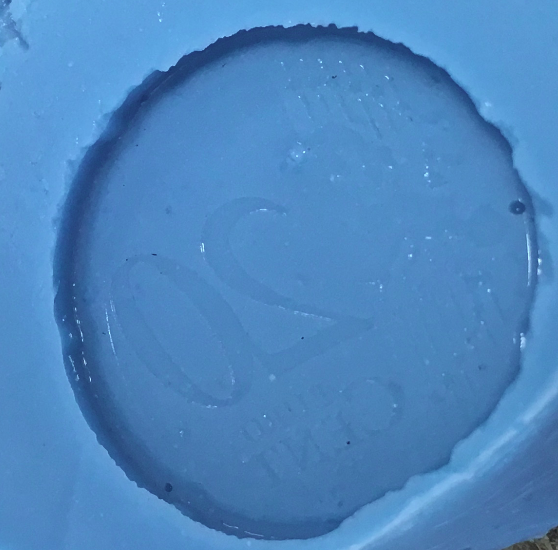
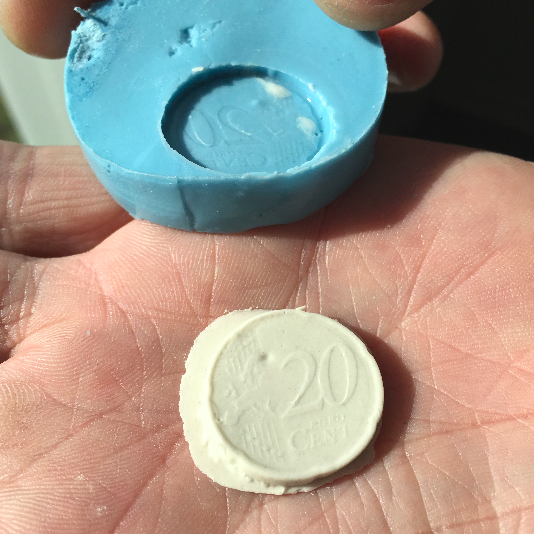
I then did an other test, but as I added less water I wanted to counter balance the lost of vescocity of my mixture by quickly puttung it in a vaccum chamber.

I was happy to see that I could retrace the details of a 20 cents euro coin.
Casting
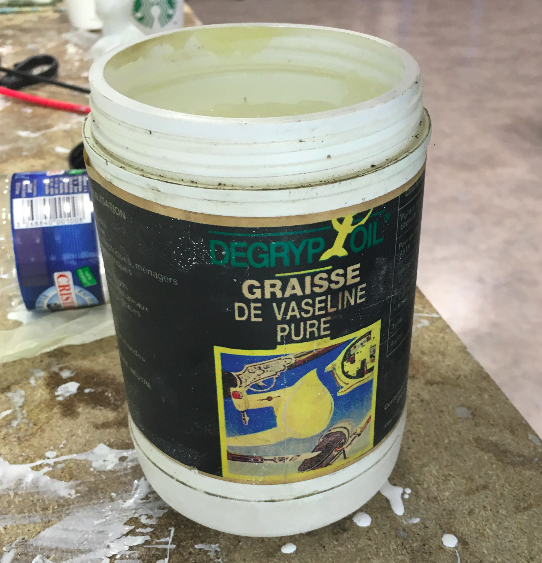
Here is your best friend for casting, it well prevent your mold to stick to the surface of your casted object.
I first tried casting with "Durarock".
I was pretty upset as I discovered all those bubbles:
So I plugged the beast:
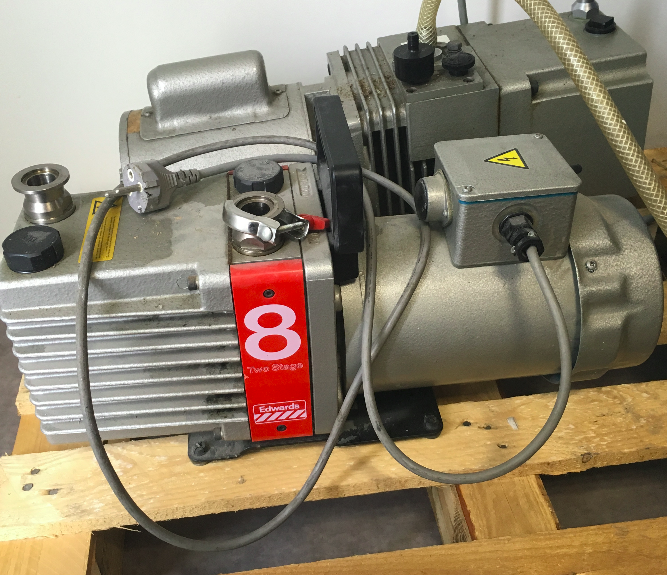
And started pumping!
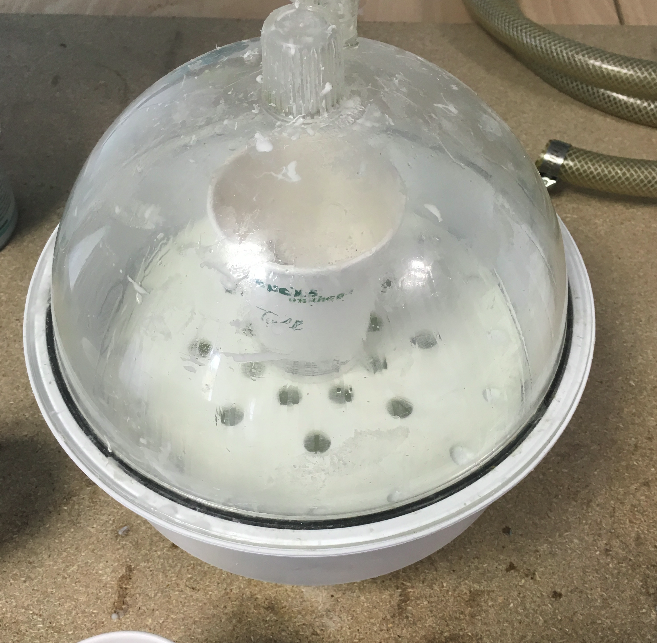
As we pull a vacuum in the chamber the air trapped in the mixture will be soacked out, but carefull! The mixture can expand a lot!
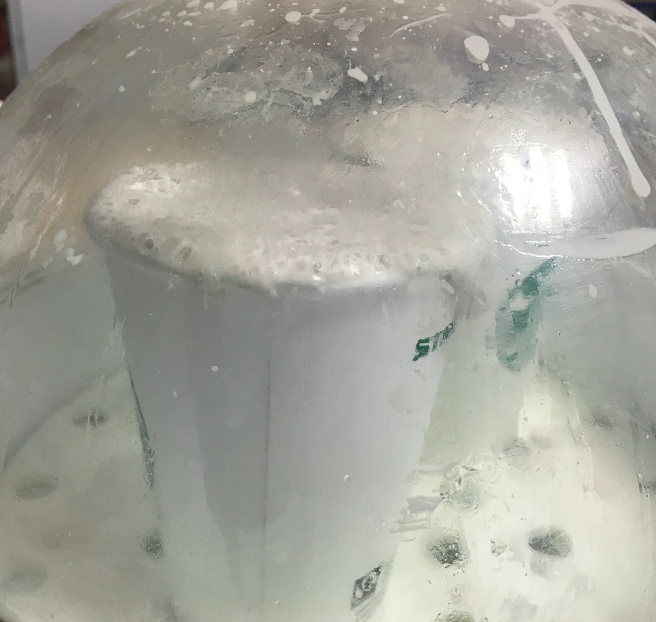
After 5-10 minutes GENTLY release the pressure, remember that releasing it to quickly sends your mixture flying everywhere.
And we can then pour the mixture into the mold trying to fill it in one shot (once again to avoid air bubbles).
Results!
This was my first test of molding and casting
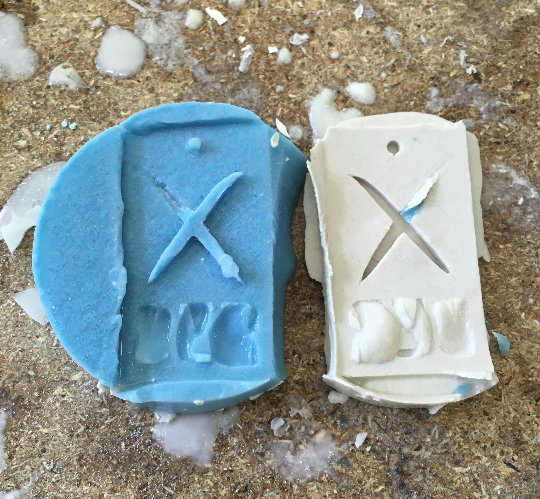
From left to right: Original part,silicone part, and plaster part.
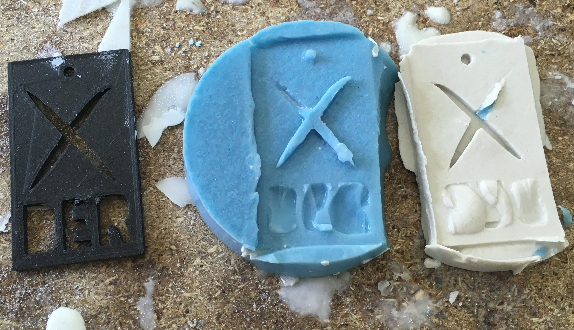
Some parts of this piece are actually pretty good:

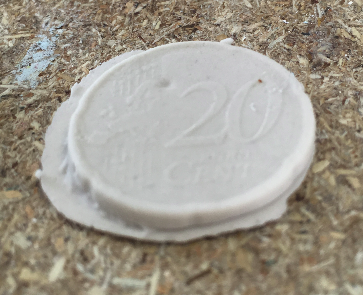
And the details on the coin aren't bad at all!
Need to build a small vacuum pump?
If you want to quickly be able to pull some vacuum, you can go search for an old refigirator, the compressor inside is pretty strong!
Be aware! the regrigirating cycle uses Freon gaz which is highly toxic if inhaled! Make sure to dismantel your fridge outside.
