Week 11: Input
This week we have to measure something: add a sensor to a microcontroller board that I have designed and read the value.
This week we have to measure something: add a sensor to a microcontroller board that I have designed and read the value.
I took the exemple that was on Neil's page and redesigned it on Eagle:
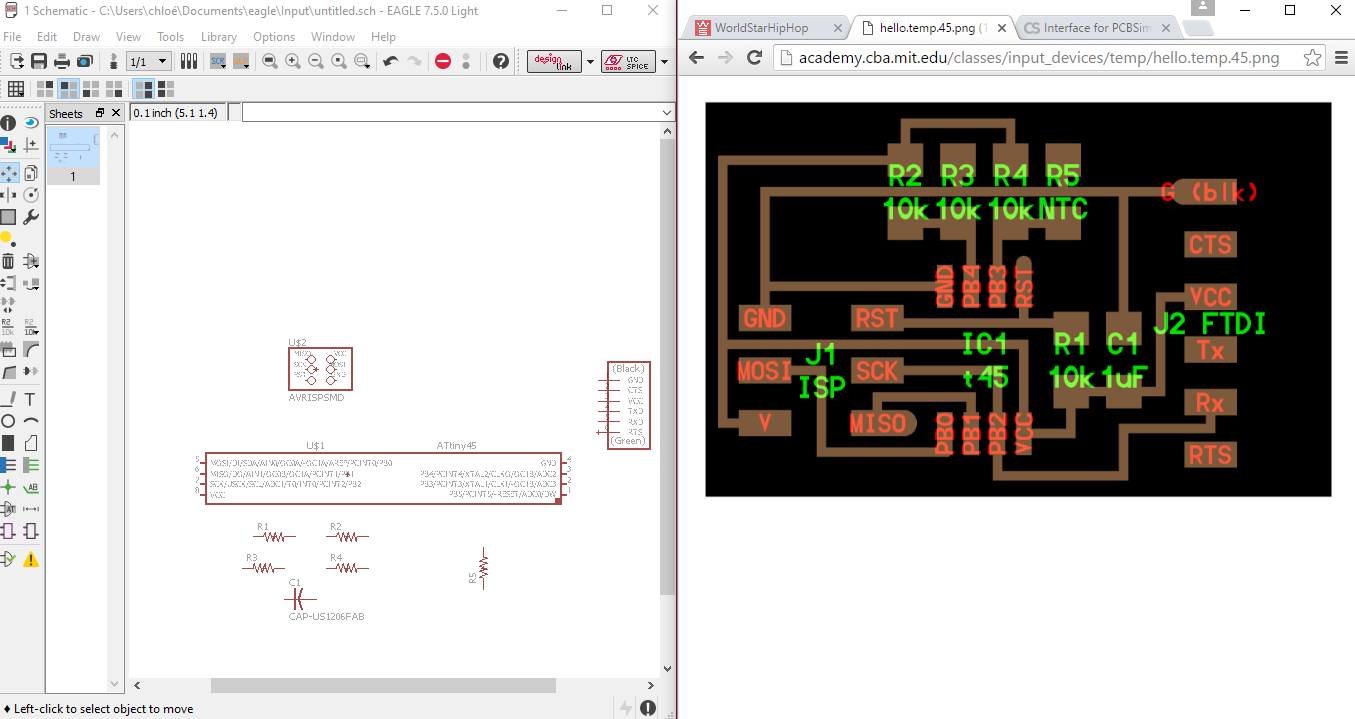
Using the fab library made it easy to find each component, and using the auto-router option in Eagle made me win some time:
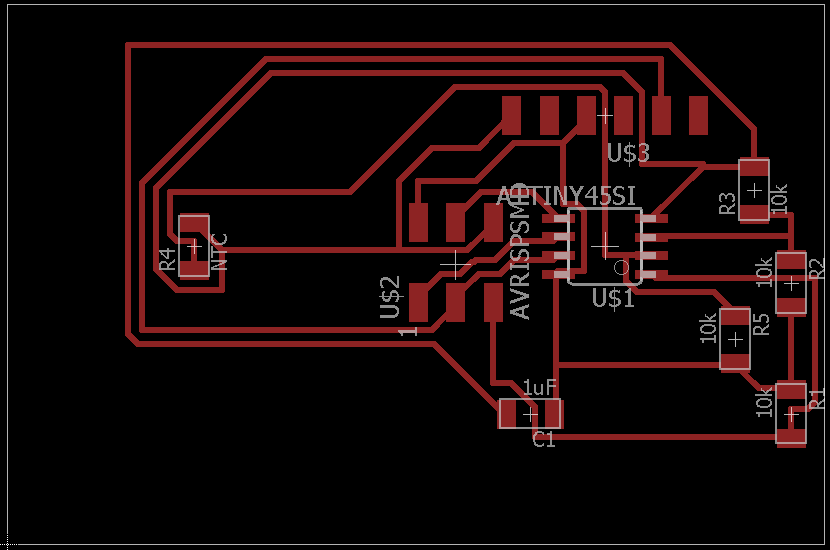 (try to avoid 90° angles!)
Then I exported le first layer in monochrome to send it to the Fabmodules:

And the outline also:

Here are the.rml files to send to the machine:
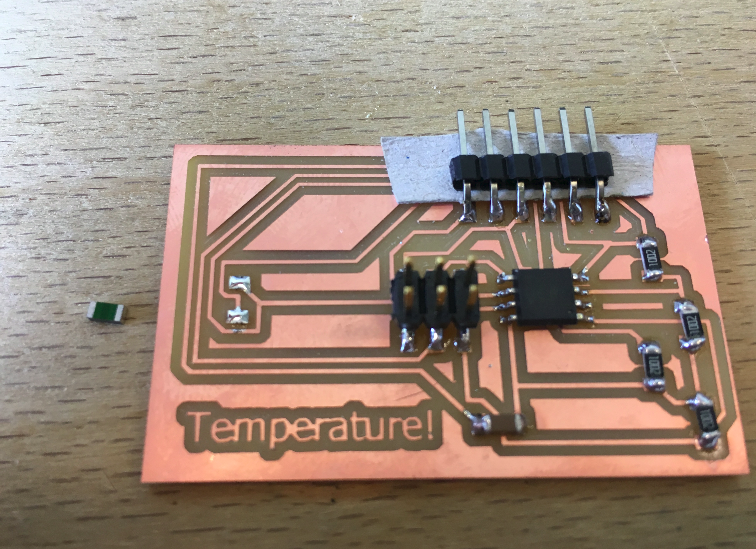
After a bit of soldering and testing with a multimeter here is my temperature board:
Settings:
The component you see on the side is the actual NTC resistor, it as just a resistor which value depends on the temperature.
I am going to program the Temp Board like for the other boards, I need the archive hello.temp.45.c to generate the hex, and the makefile to build the file hello.temp.45.hex.
I already used both Arduino and the terminal to flash my boards, but since I wanted to run the Python script I did it on a terminal.
I installed Arduino (on Ubuntu there is only the 1.05 version),from the terminal:
I installed AVRDUDE and GCC from the terminal:"
I dowloaded the files from the Fabacademy page :
These contain all the different codes that you need to program your board and also create a graphical interface with Python.
I then plugged my board to the FabISP (the FabISP to my computer with the USB cable) but also the FTDI cable:
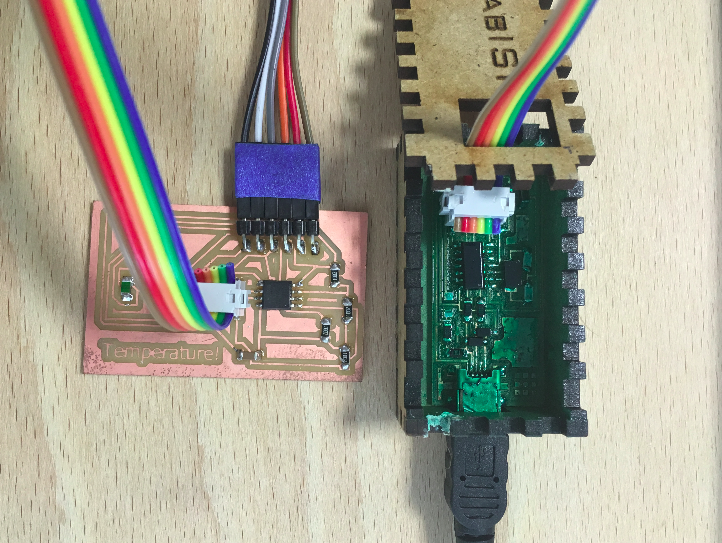
Opened a terminal where I had my files: :
And obtained:
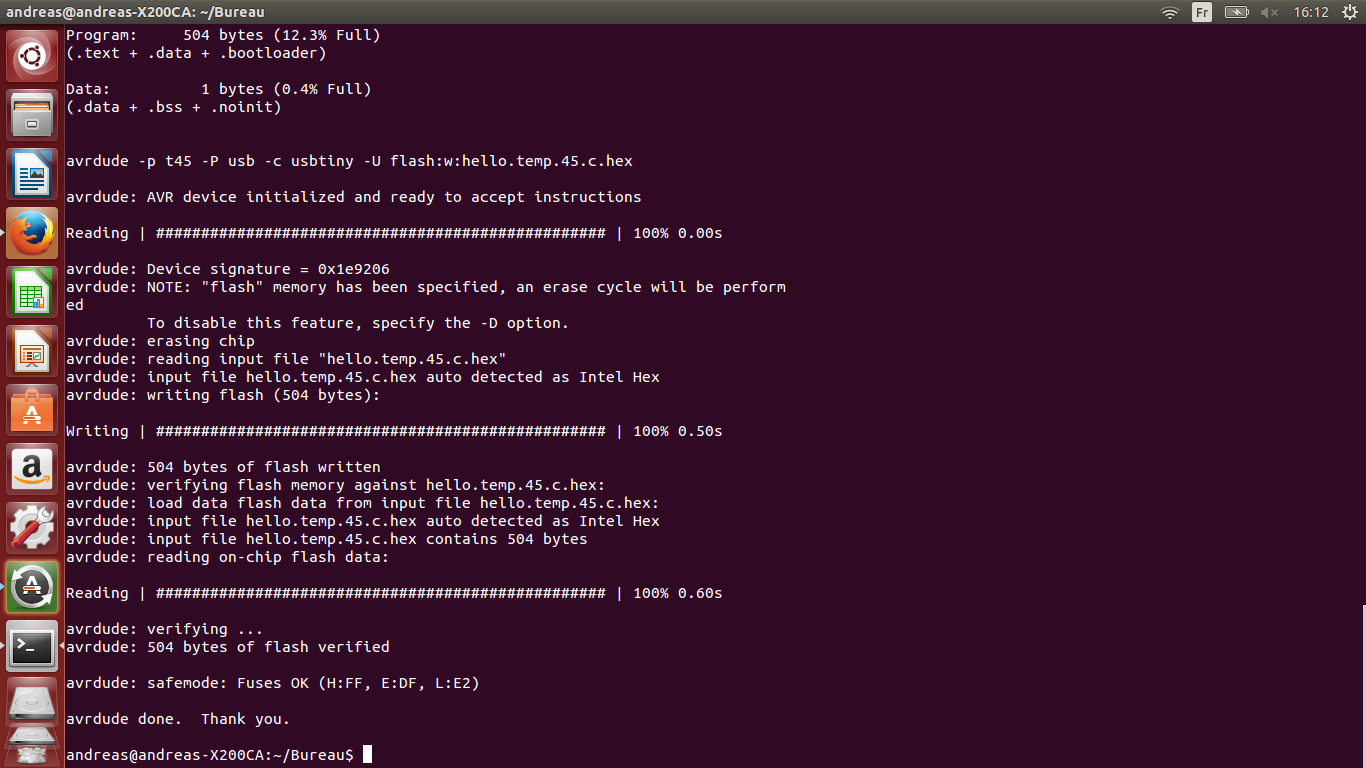
Then I flashed the board :
So everything went find (for the first time!), next I wanted to have some kind of GUI to display the temperature.
To do so, I used the python script that is on a Neil's Page:
Before need to install the Python TK in UBUNTU enviroment, and use the correct serial port. For that we must open the terminal , as administrator and typing:
We find "ttyUSB0" (port 0) , next we can then use the python code:
I had a problem: COULD NOT FIND NUMPY-> so I installed anaconda which is supposed to have all the librairies for python. But numby wasn't installed so tried "install numpy" but apparently I needed to install "pip".
Installed pip and then numpy : "sudo apt-get install python-pip"
Maked sure I had the latest version "pip install --upgrade pip"
So first install pip and then numpy.
So i retried : "sudo python hello.temp.45.py /dev/ttyUSB0".
But I had an error about "serial" that wasn't found, so : "pip install pyserial".
I still had problems with python that could not find numpy, closed everything, tryed to uninstall numpy : "pip uninstall numpy" and reinstalled it : "pip install numpy".
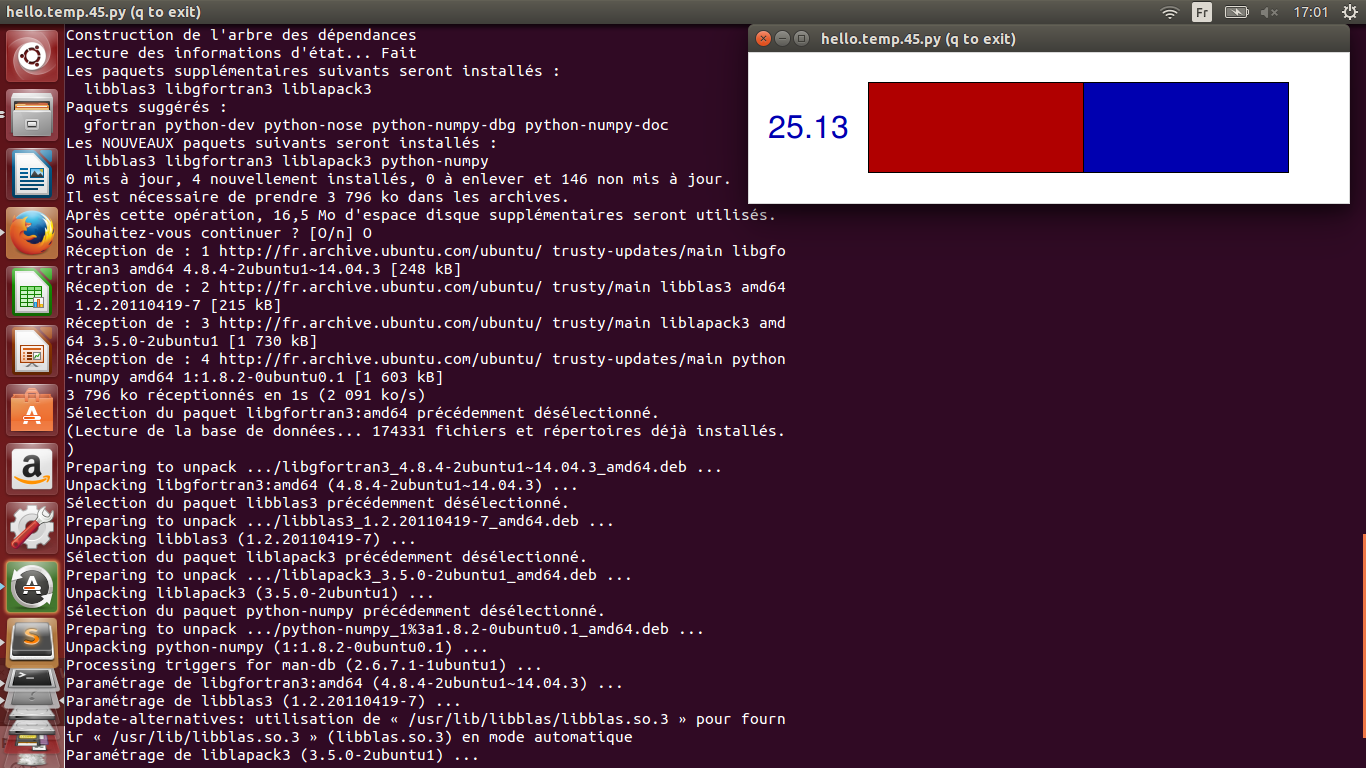
This solved my "numpy" problems! I then typed : "sudo python hello.temp.45.py /dev/ttyUSB0"
Here is the victory screenshot:
And a little video where I test the sensor with my finger:
ANd here you can see the GUI a little better as I blow air on the NTC resistor (goes from 20 to 30°C):
I would like to to a last test to try to read the values with the Arduino IDE and display them in the serial graphic (problems with Arduino 1.6 and some lib for the moment..)
