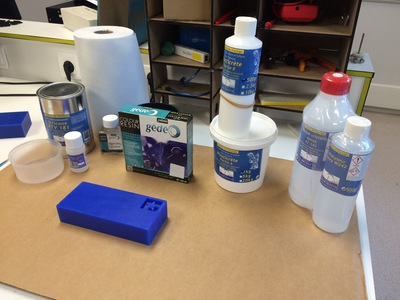
We've been waiting for the compounds ordered so long, that we decided to buy alternative materials.
All the compounds described here are available at Rougié et Plé.
 |
 |
 |
 |
 |
 |
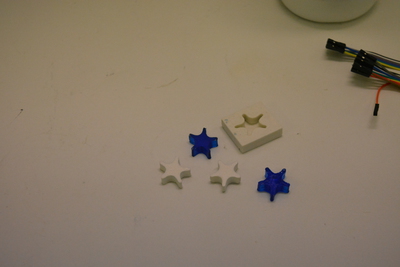
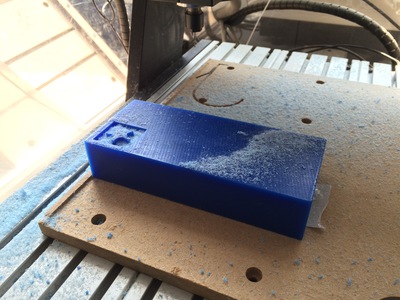
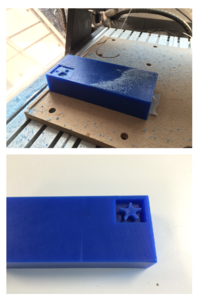
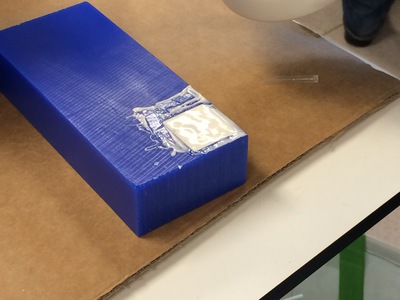
The shape is removed, and is ready to use:
 |
 |
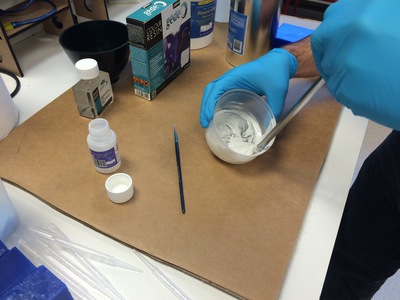
The silicon is mixed with the hardener. The RTV silicon from "Esprit Composite" comes with two kinds of hardener: the "regular" hardener allows slow work, and is hardened after more than 12h or a "fast" hardener (6h). From our tests, there is no other modification of the properties (same viscosity, same final color, etc.). Process and proportions are the same in both cases.
We strictly followed the proportions printed on the bottle, using scales (1g precision seems enough regarding the quantities).
However, it can be usefull to add a fluidizer in the mix: it reduces the viscosity of the mixture, and therefore reduces the risk of forming bubbles (unfortunately, still pictures do not really show the change):
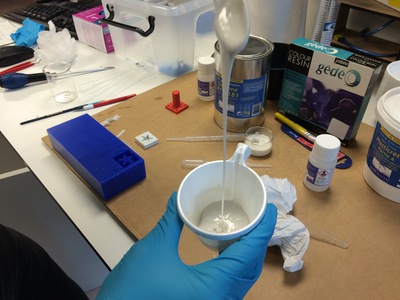
The shape is filled with the silicon-hardener-fluidizer mix:
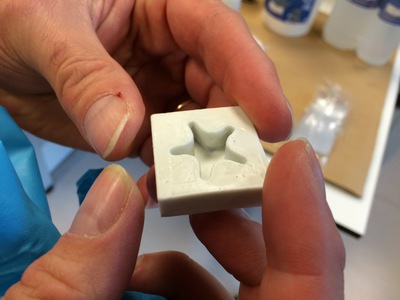
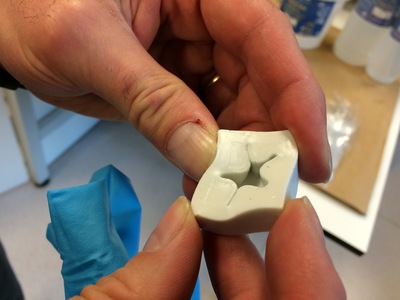
After the hardening, the mould is removed from the shape:

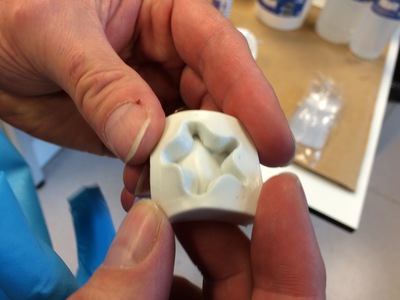
The mould shows very precise details, and reveals milling defects better than the shape in the wax. The mould is nicely flexible:
 |
 |
 |
I have used two different compounds: the first one is a non-toxic tinted epoxy resin; the second one is called "Plasticrete", with a concrete/stone look-and-feel.
Here are the results: