So, about this 3d printing thing.....
Directly after Wednesday's lecture, we (as in the Incite Focus class of 2016 Fab Academy students) decided to jump on our assignments for 3D printing by doing our test print. Before we could even attempt to try printing, we encountered some valuable lessons/steps that I think are helpful for any person whether its your first time printing or hundredth time.
- make sure all machines are up-to-date. Because we are a CCP (Center for Community Production), Fab Academy is one aspect of our organization that we use to prepare ourselves in learning about the developing technology as well as we take what we learn and teach others. Sometimes, machines can be inactive for months at a time. When we finally need or want to use them, you can encounter issues if you have not kept track of any updates that have occured.
- with inactivity, comes desensitized machines. The machines we have in our lab are Makerbots Replicator 2x and Z18 as well as the Formlab Form-1. While trying to attempt a test print from the Replicator 2x, we were encountering issues within the machine's main screen and not being able to maneuver through selecting what we wanted the machine to do. We believe because we weren't actively using the machine, the button became less sensitive and now its harder to choose options. The issue was resolved by replacing the button pad of our printer after troubleshooting that it was unresponsive to touch.
- keep all machines and machine tools in the same location or your lab could waste time looking or waste money having to replace lost items. Before operating the Form-1, it was stated in the manual that if you have previously used the machine, you must use the provided spatula and a comb to sift and remove any cured resin from the resin tank. If theses things aren't done, it could ruin your print and waste valuable material. If you don't have the necessary tools, then it halts the entire process
- read all manuals for machines first BEFORE operation. If you don't know how to use a machine, you can not operate it... plain and simple.
Testing design rules


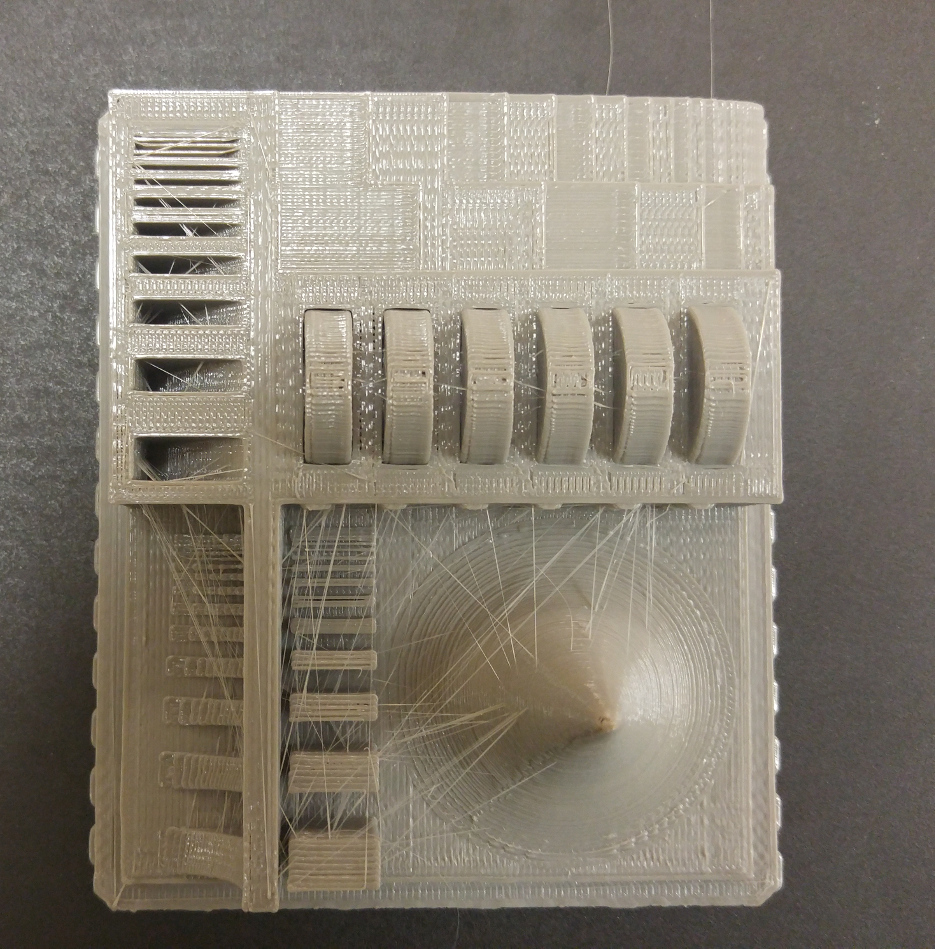
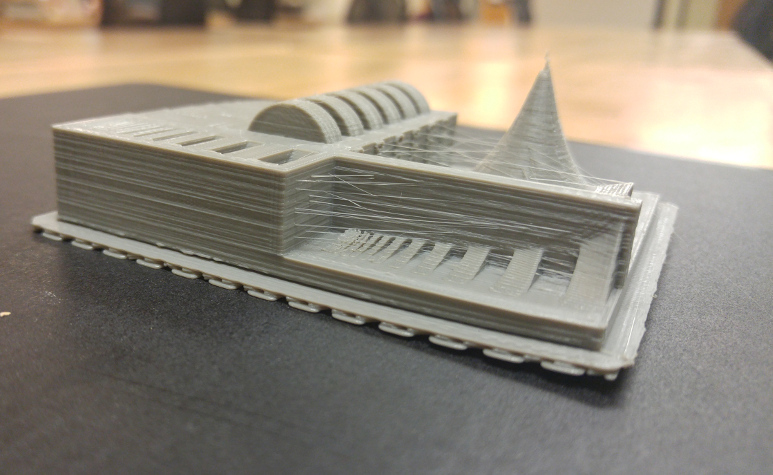
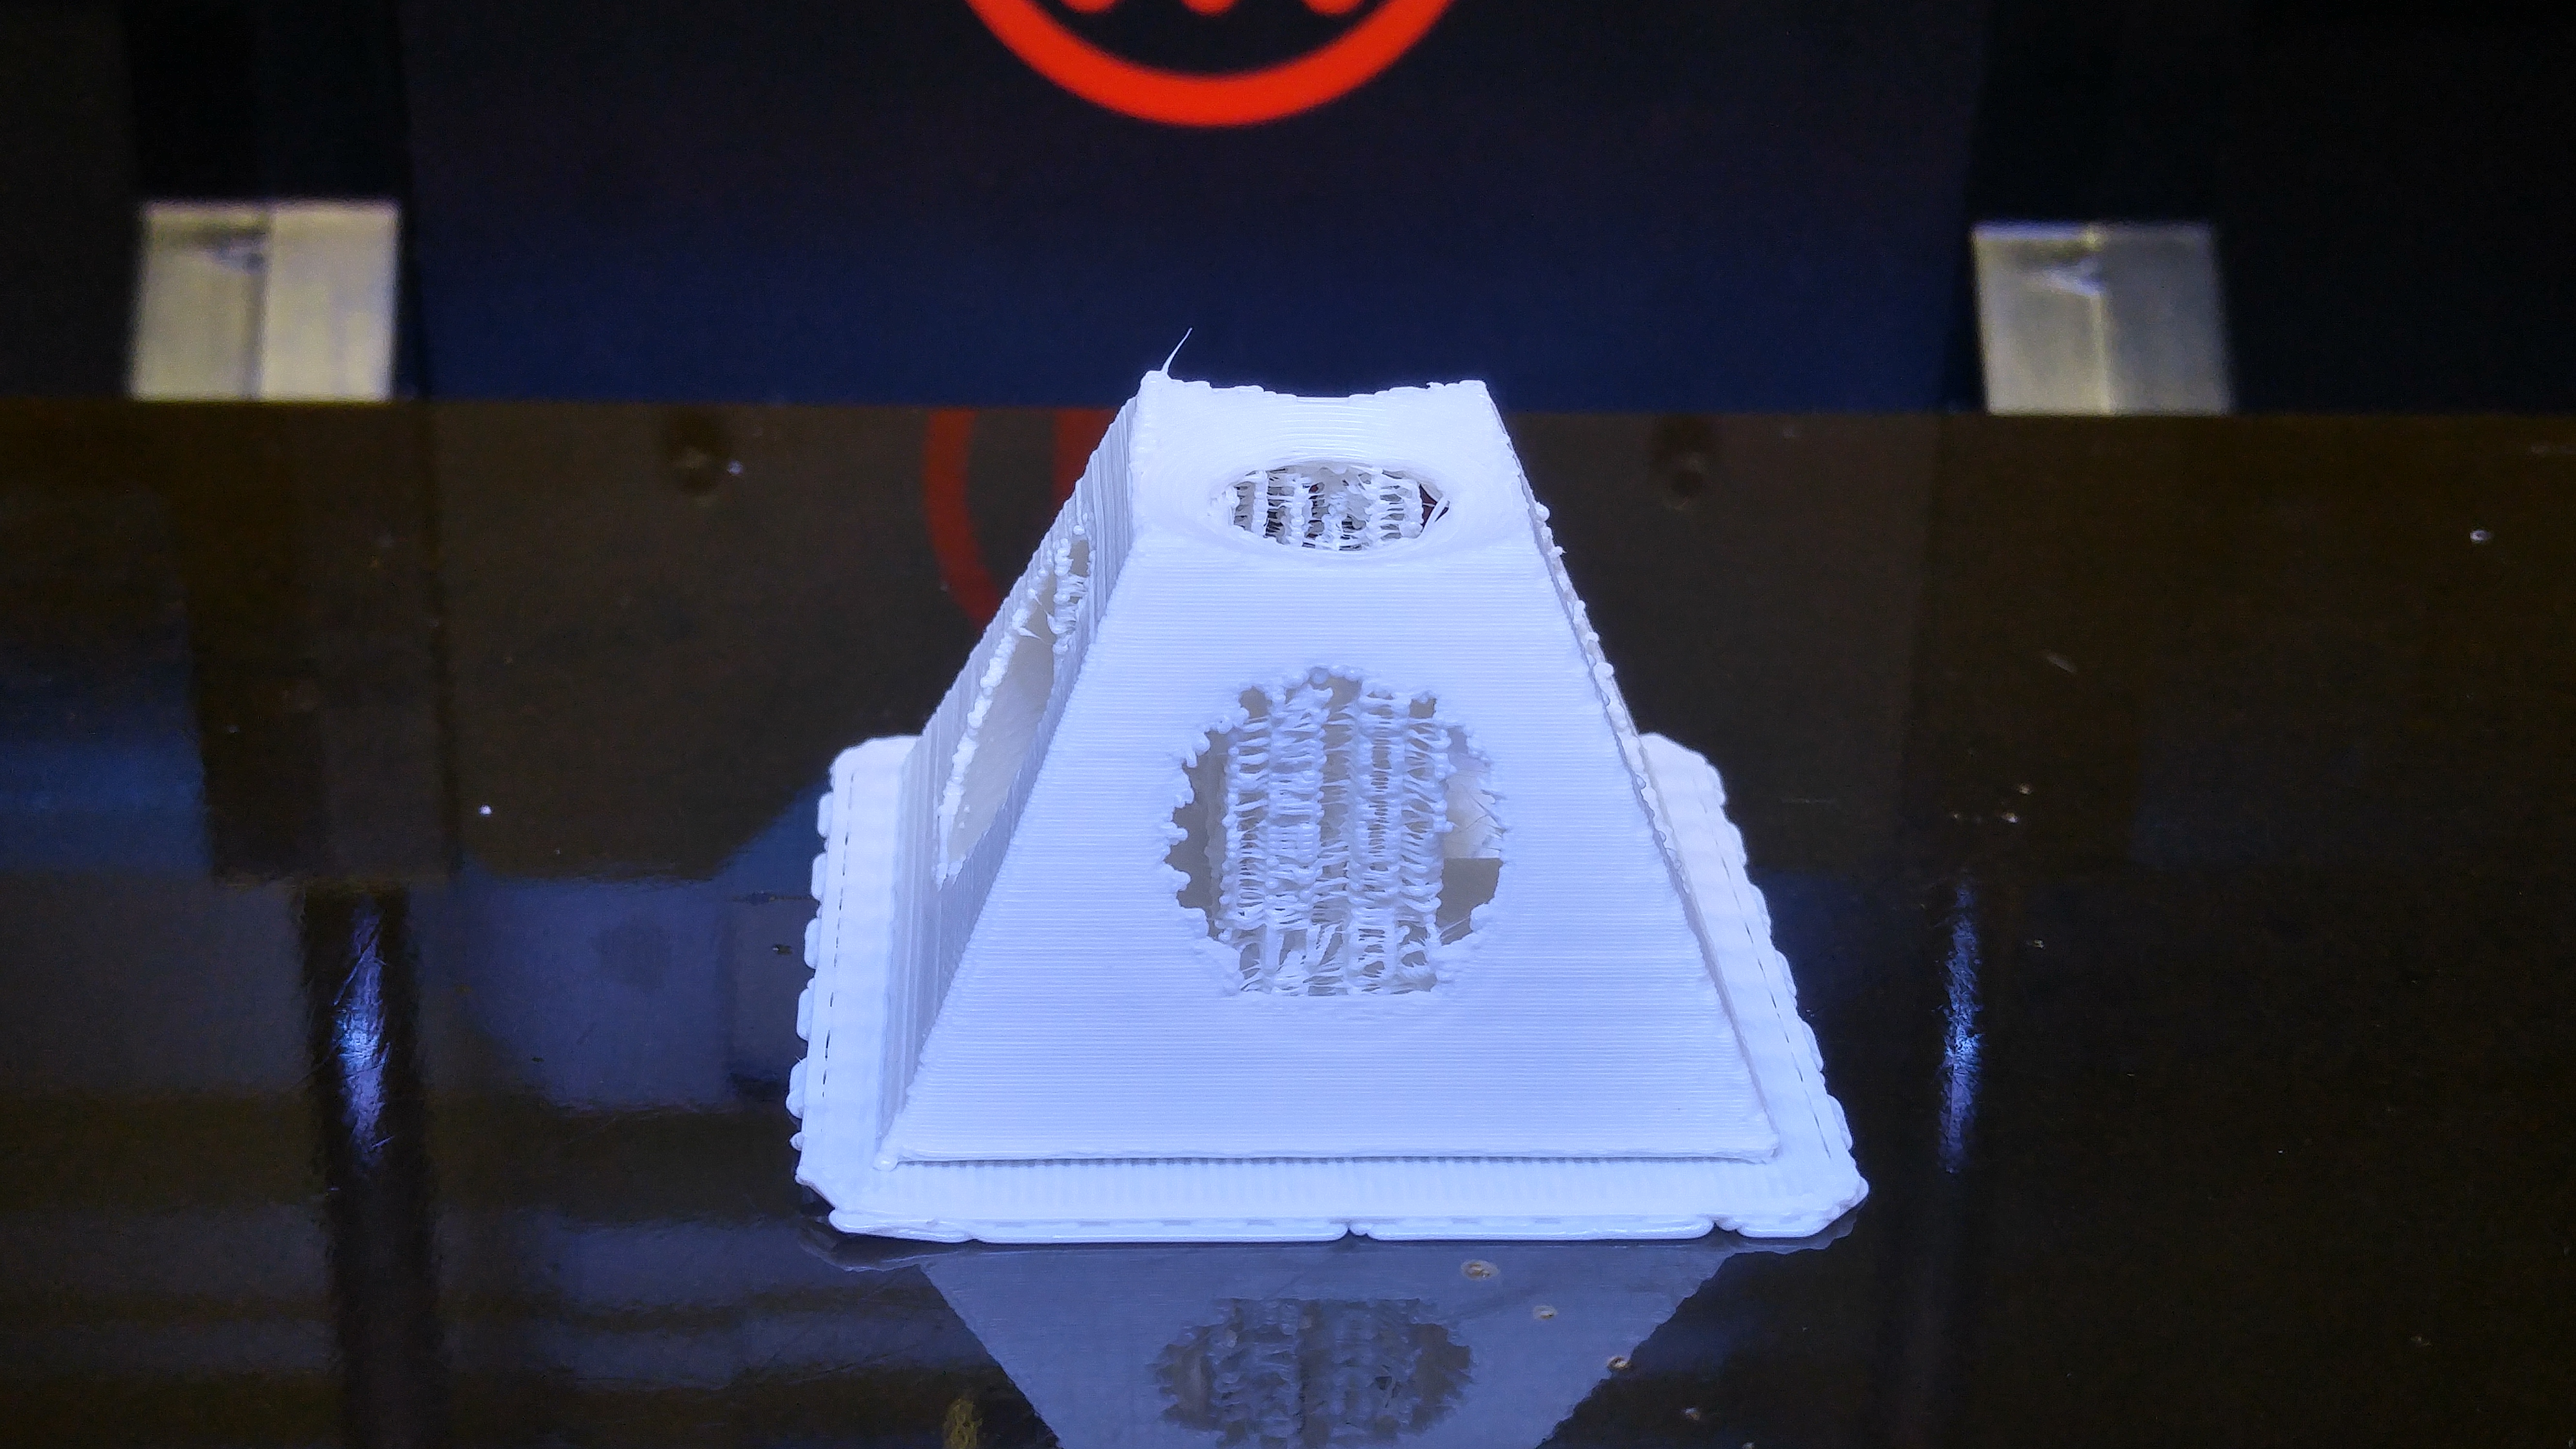
The first test print our lab did occured on the Z18. Some things we observed from this print were:
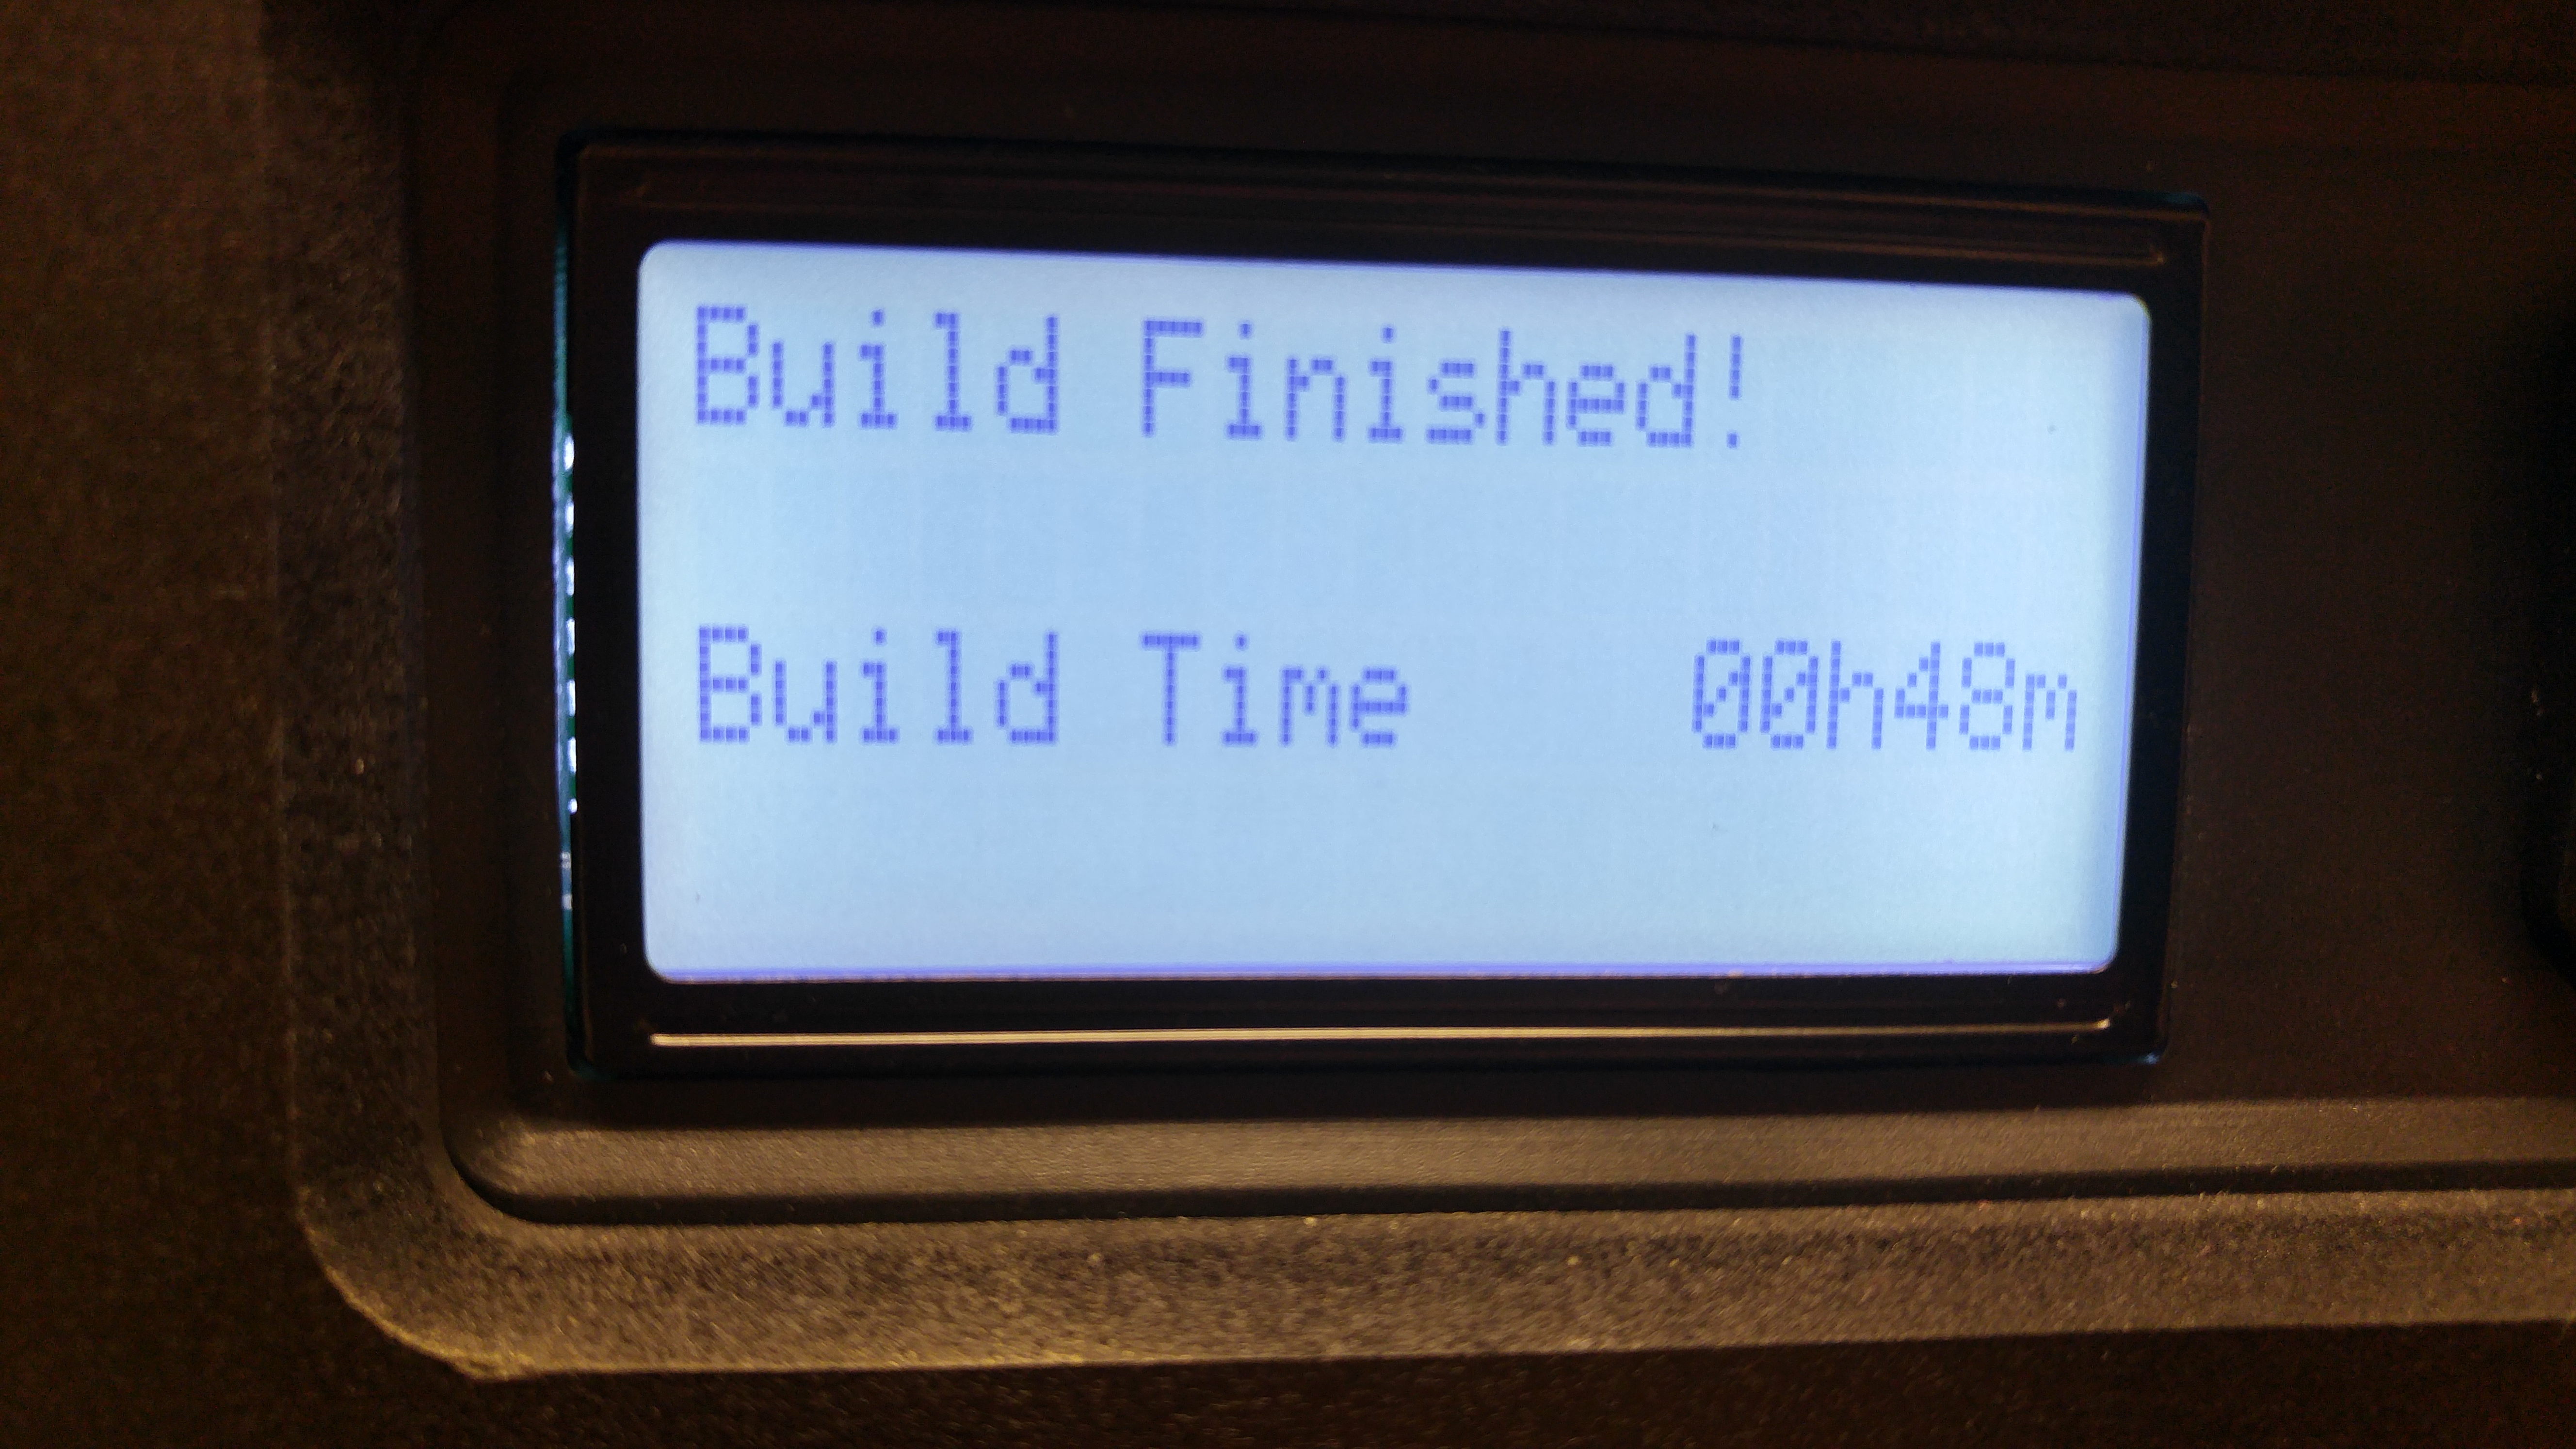
- the timing for this print took roughly four hours
- our software determined the resolution for the print at .2. Due to this setting, clearances and other fine details were not produced efficiently.
- ".044" was the best minimum measurement for very small spacing
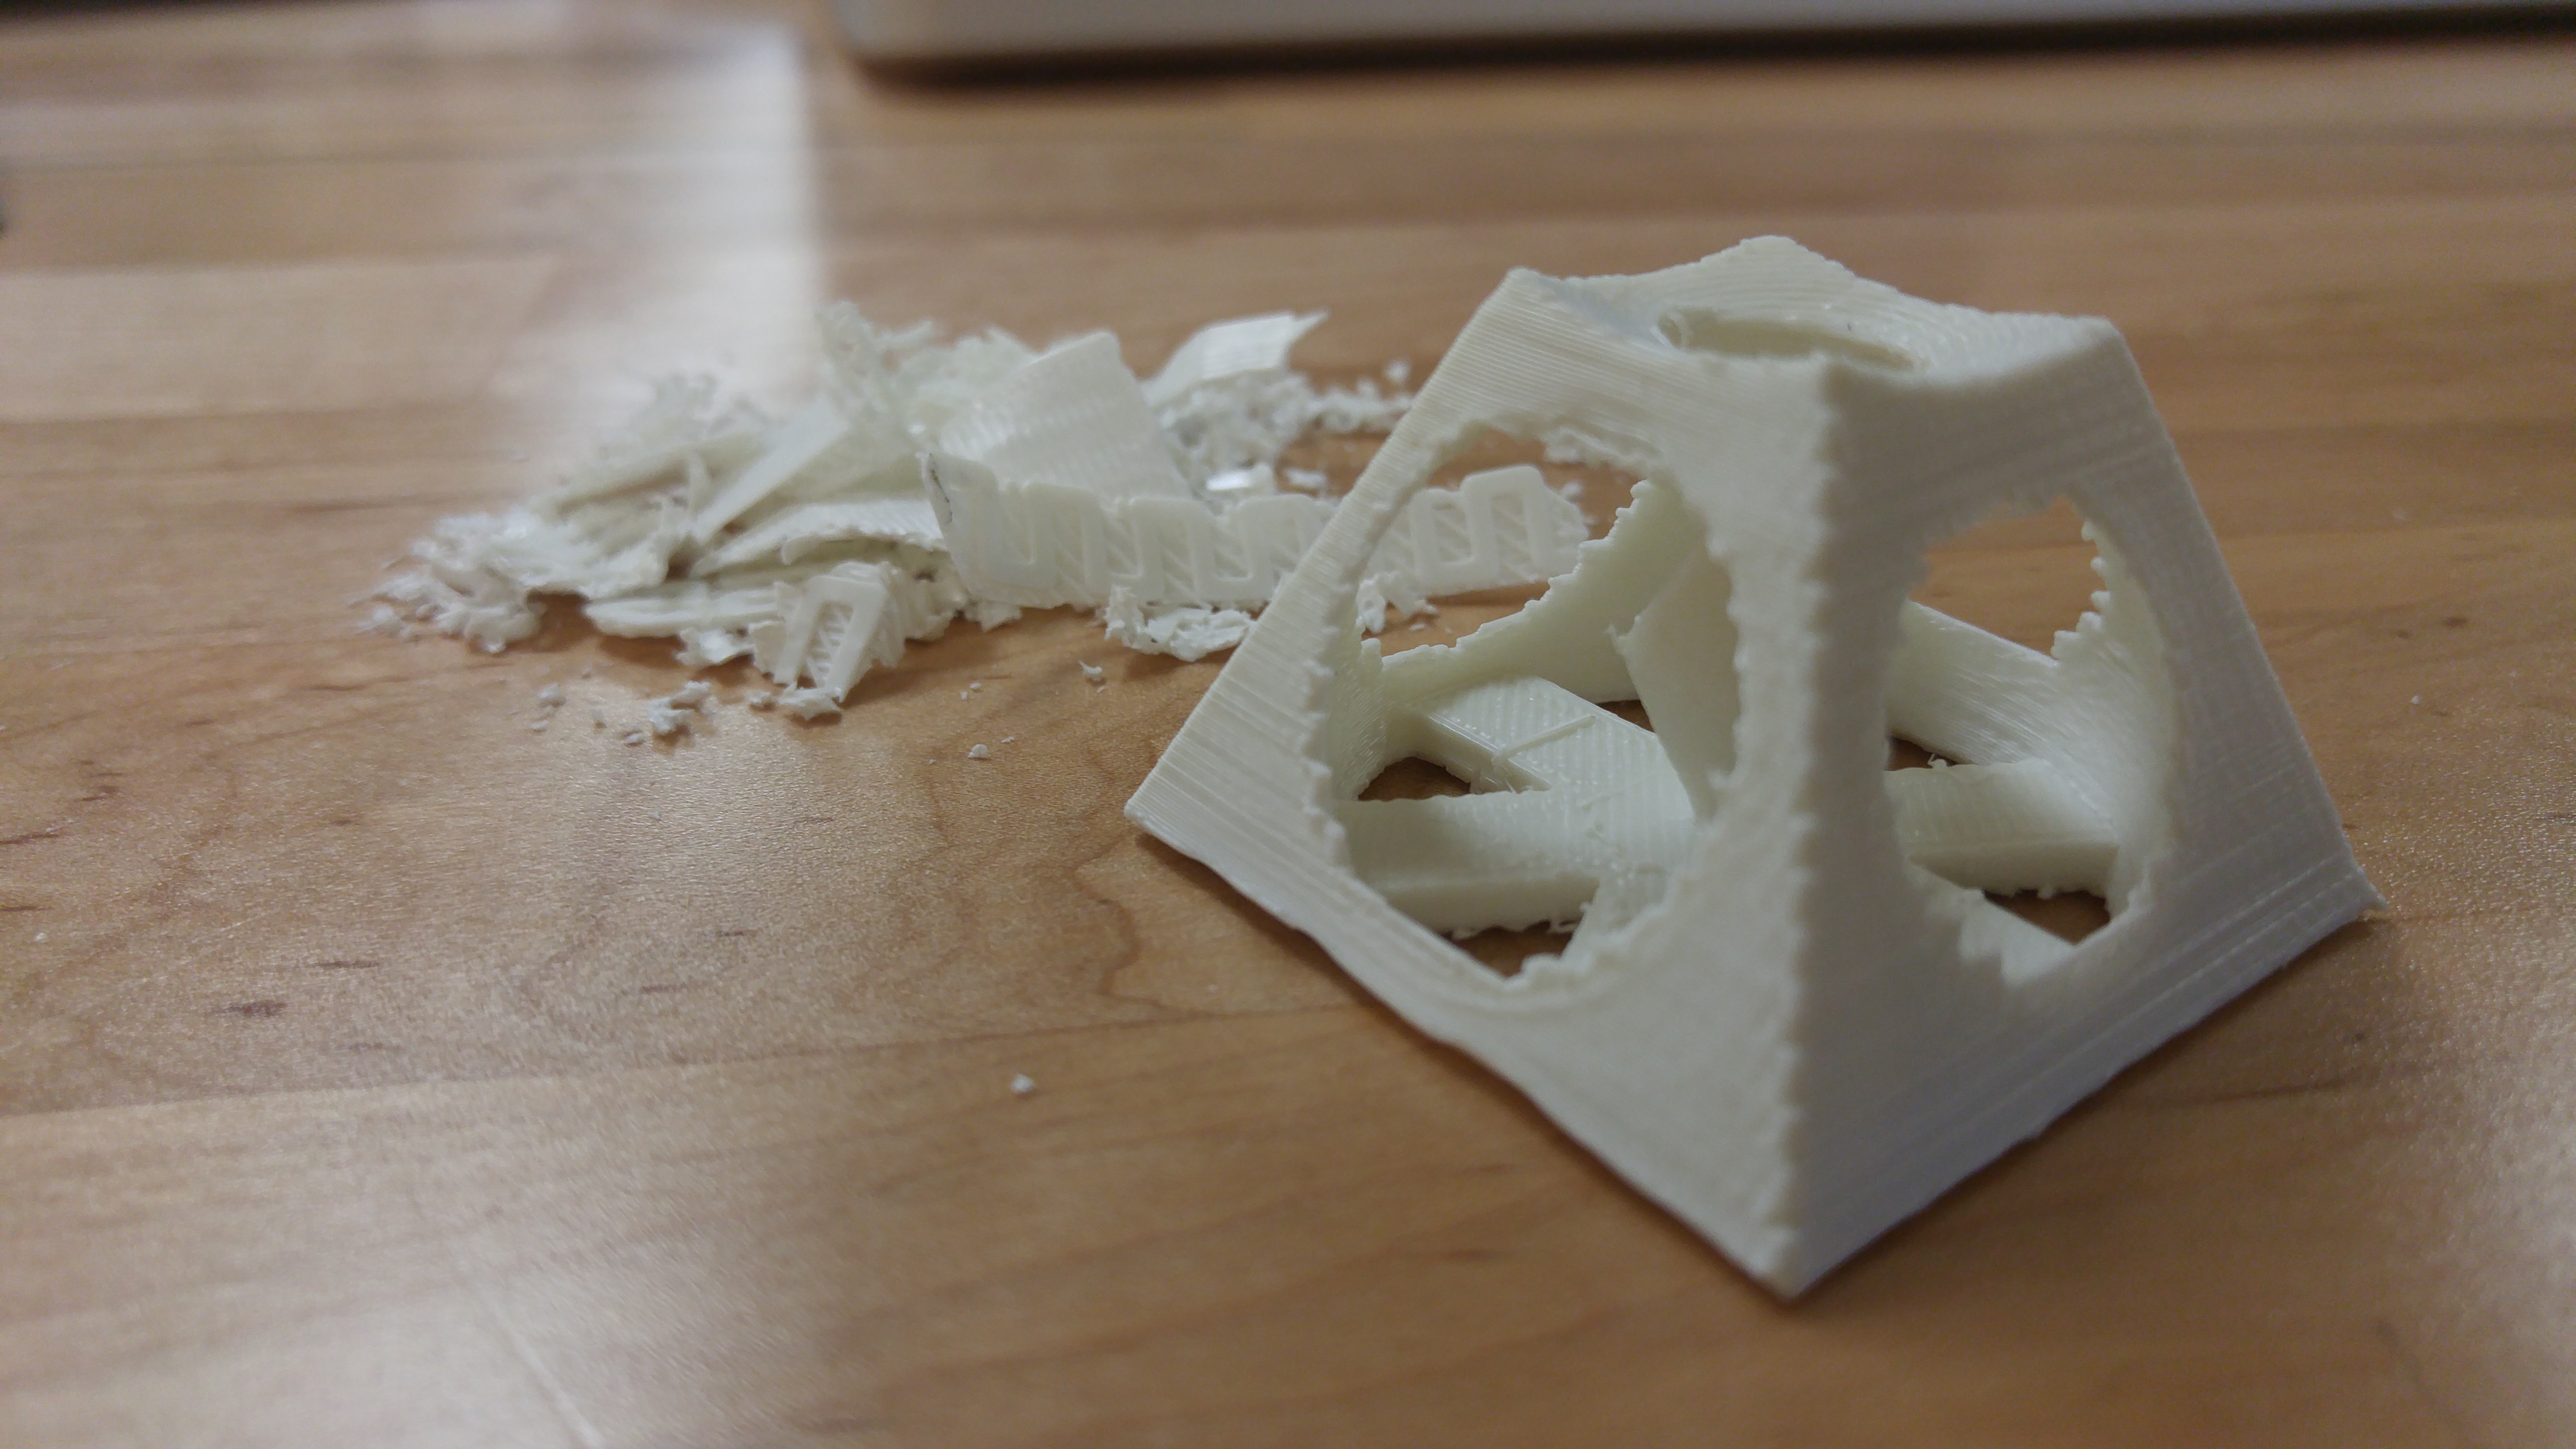
- as far as support structures go, removal of the raft was easy
- there was over-extrusion during the process causing fine fur-like strings within the print
- there was a .095" distortion at the top of the print's cone
3D Printing
For the printing aspect of this week's assignment, I chose to experiment with Neil and Matt Keeter's Antimony program. Given that there is a limited amount of tutorials on how to use Antimony, in addition to the emphasized explanation in Wednesday's class lecture, I am pleased to say that my experience with the program was not an entire headache. Of course experiencing and development of something new will always take time. But thankfully, my time in having worked in OpenScad made this transition smoother than expected. The only difference I've found between the two are the interfaces: with OpenScad you must ultimately know and decide the shape, neumeric digits by converter whatever the ultimate measurement will be into millimeters, transformation and operation; in Antimony, everything is there for you to choose and you can either work with the numbers or move the shape itself in either windows and that is what I appreciate the most.
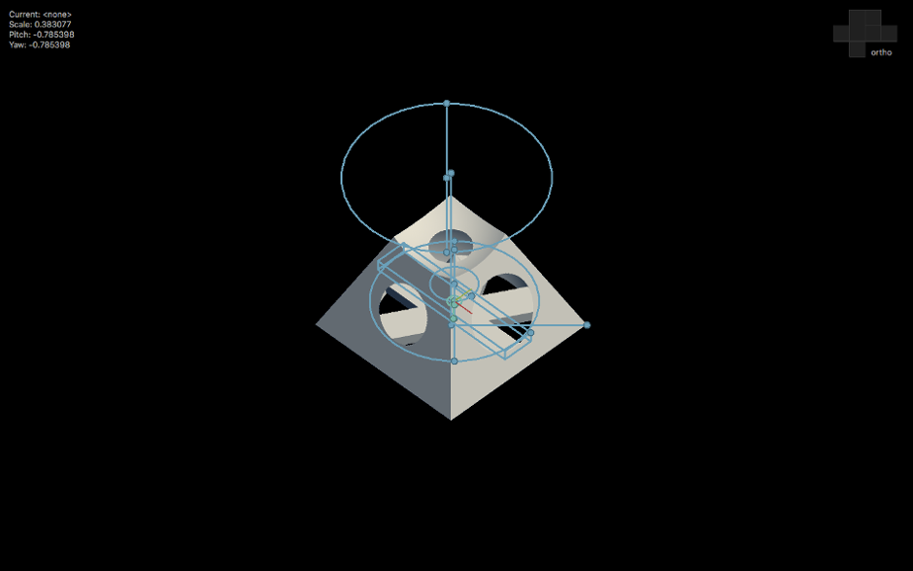

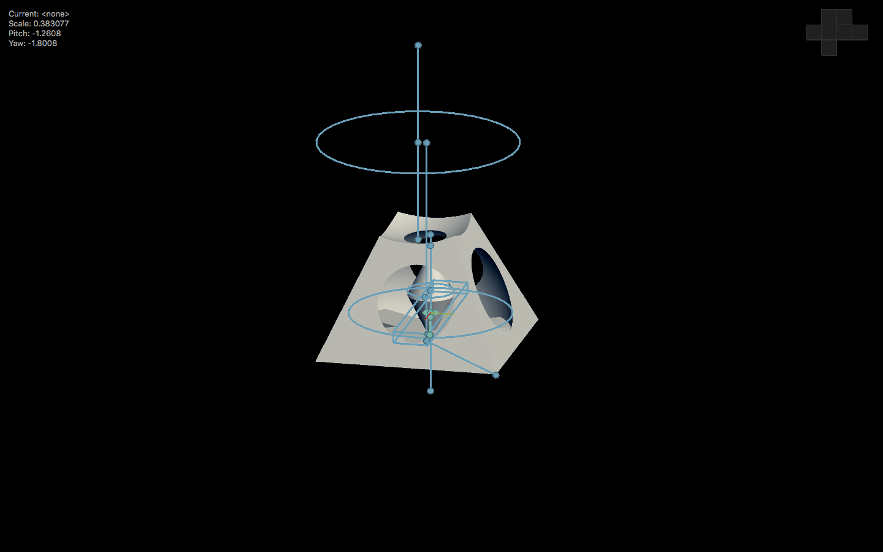
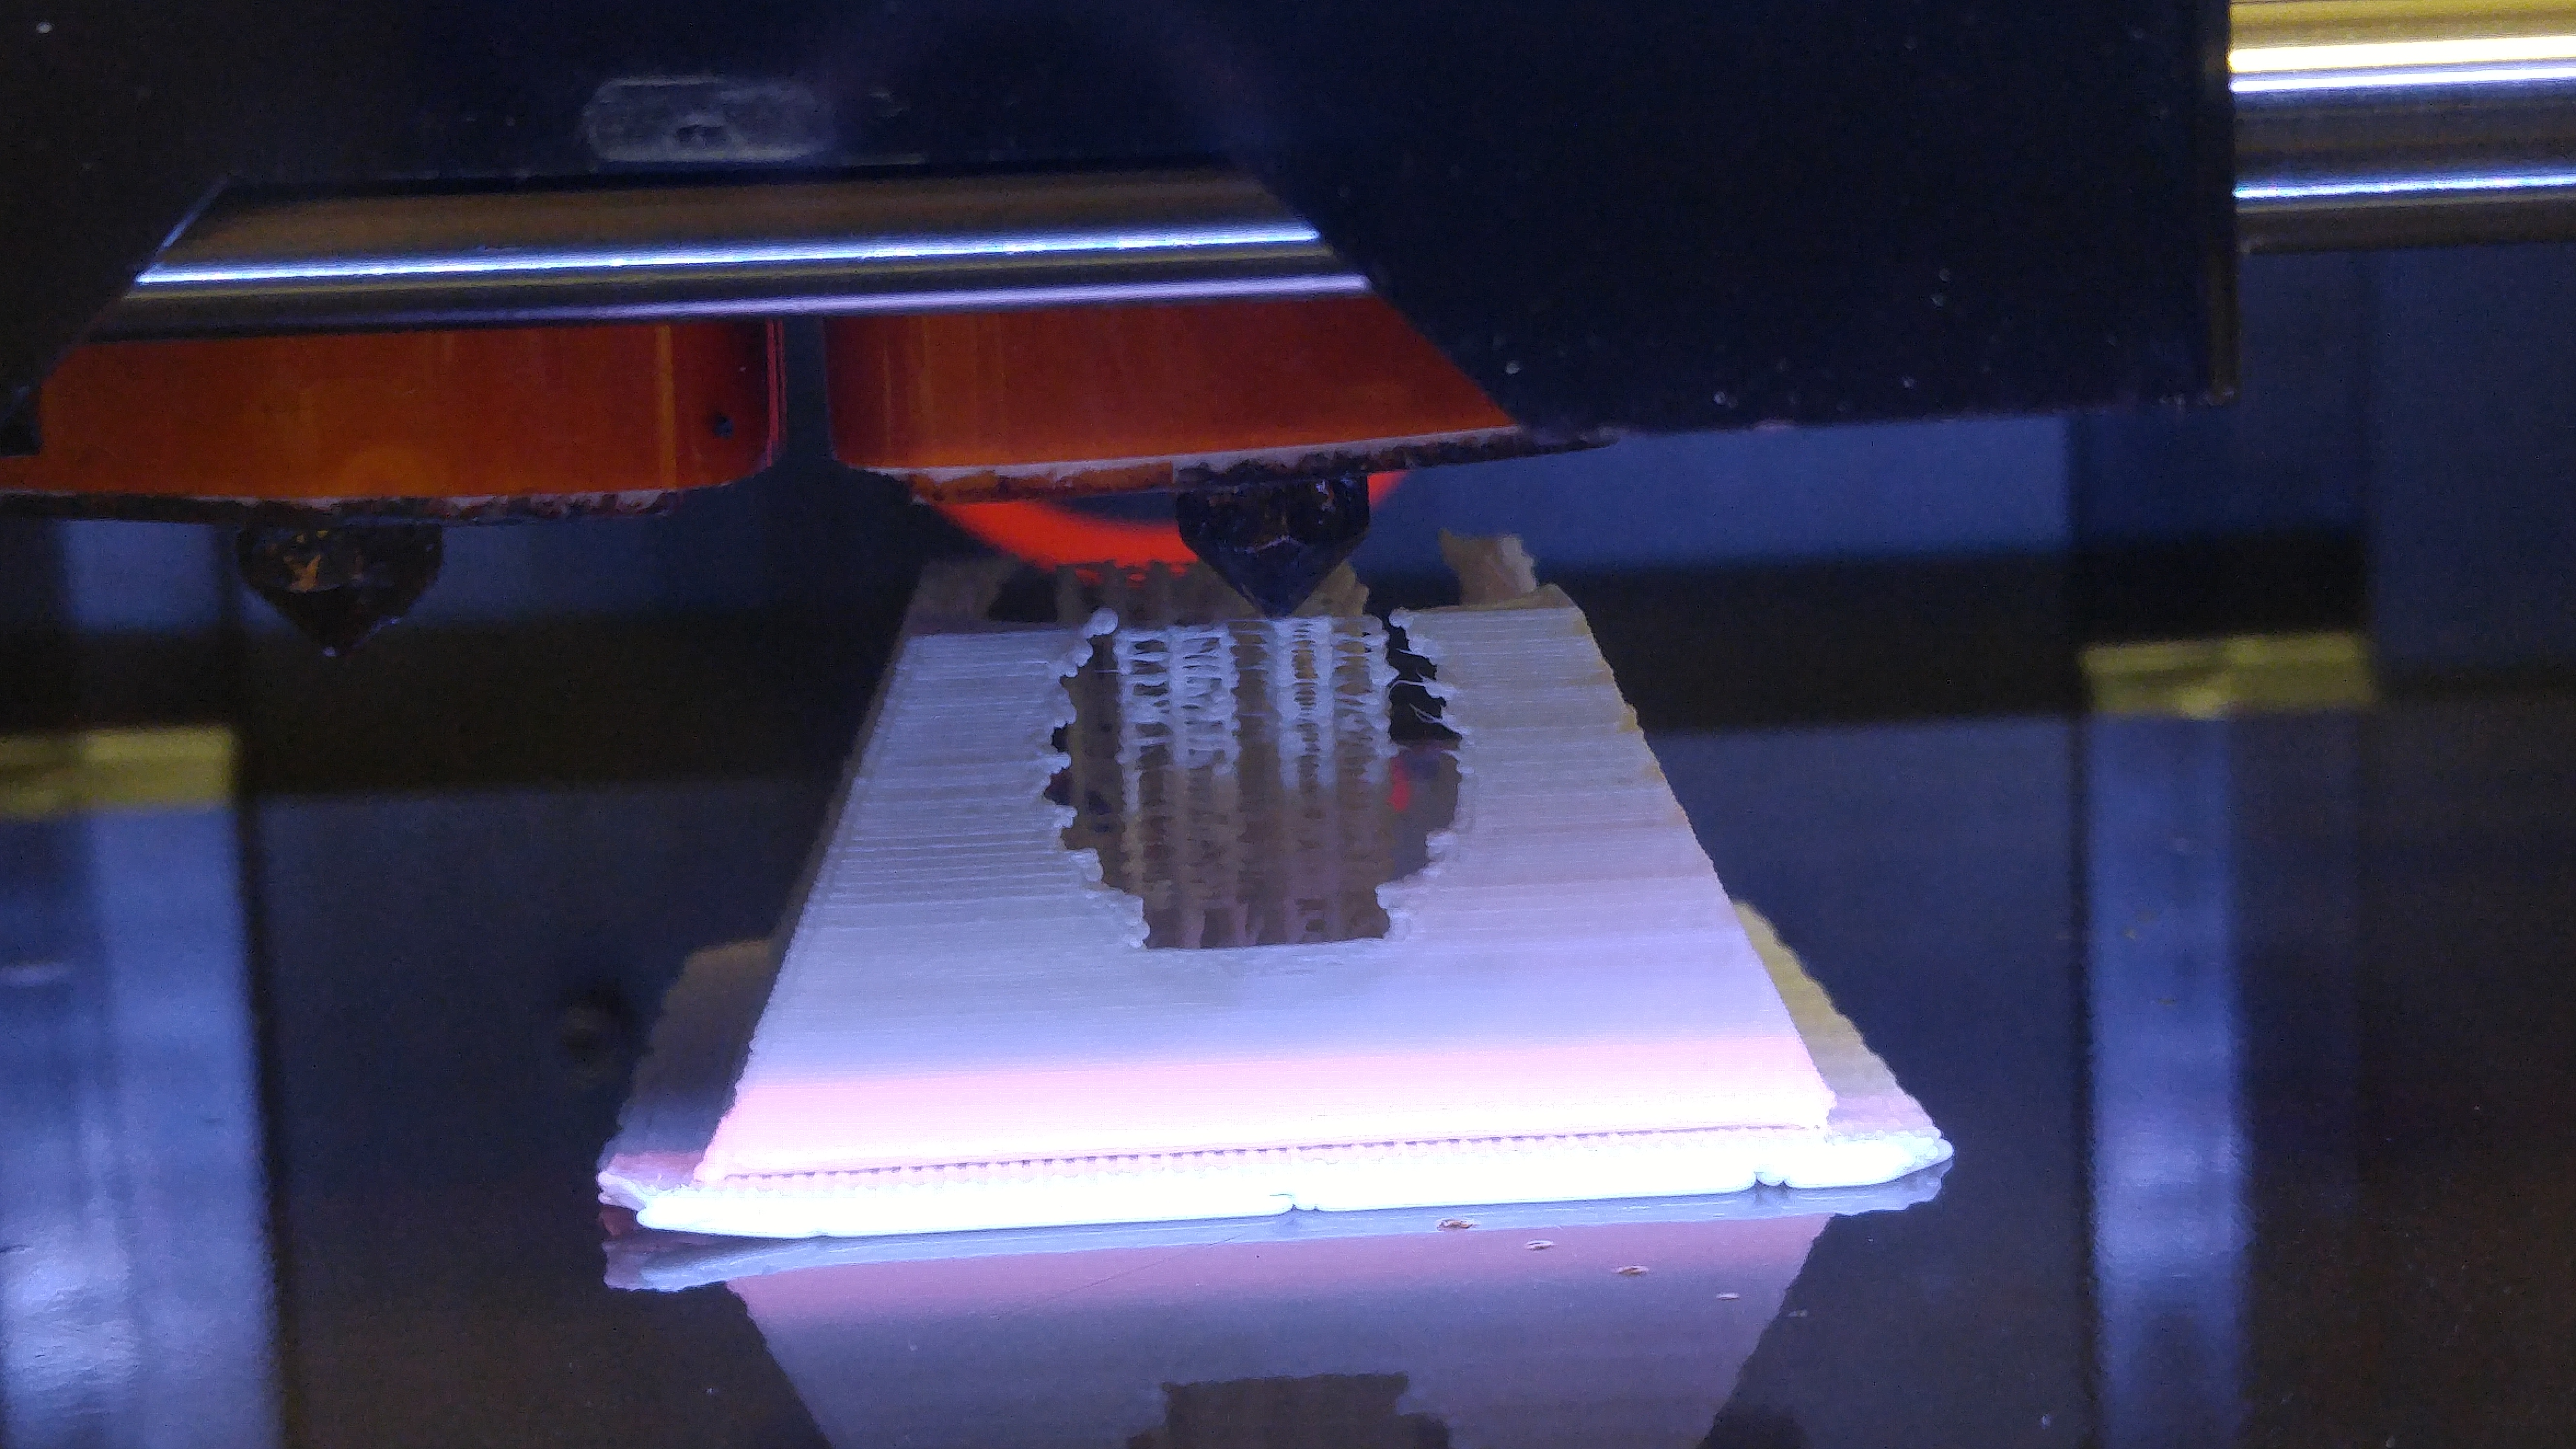
In analyzing the concept of 3D printing and applying it to my design, I understand that 3D printing is a very useful (and sometimes over-exaggerated) process. It is useful in the sense that with the object I made, its specified construction could only be done by adding pieces in parts and not taking a total amount of material and cutting away what I don't need. If this object were to be made subtractively, it would have to have additional parts made seperately versus the one whole piece that was made additively. For this print, I initially used our MakerBot Replicator 2X. Visually it has some flaws regarading the different sizes in the circles surrounding the sides as well as the print resolution. But I do believe it can be improved by possibly reprinting it as a largerr size and even using a different printer that has the ability for higher resolution such as our Z18. In the future, I plan to use the Z18 to compare designs.

3D Scanning
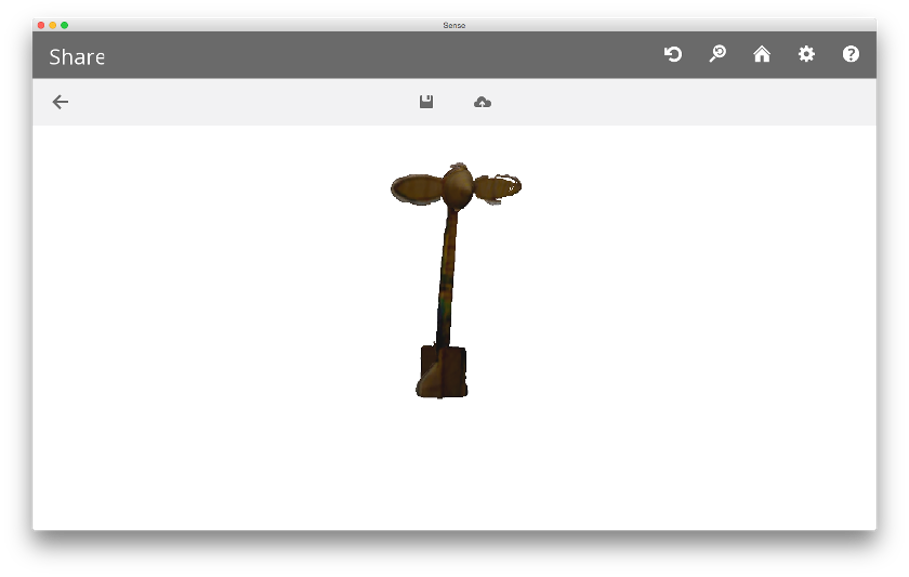
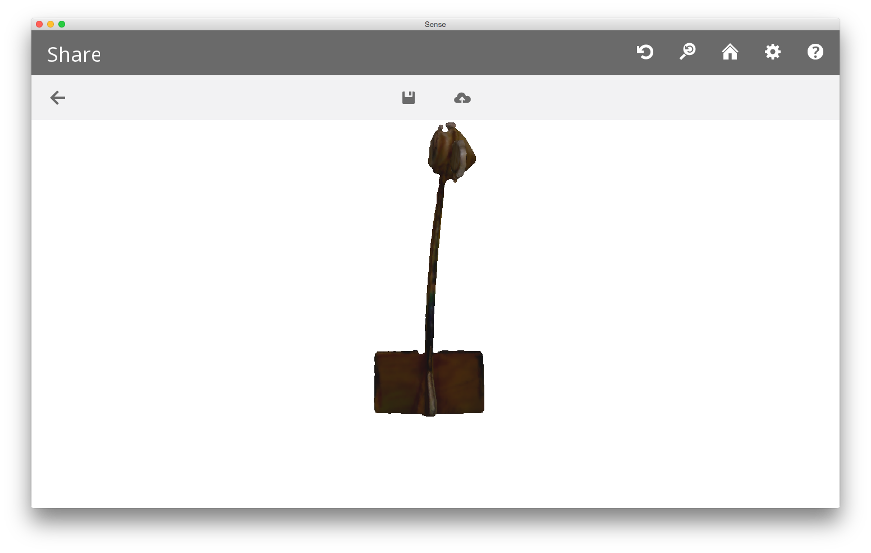
Although it seemes to me that this part of our assignment would be the easiest, it became THE MOST annoying. The object I chose to scan is a wooden module of a propeller that was made by one of our students whom is fascinated by airplanes. I chose this item because I thought it would be big enough to capture as well as a possible candidate to be reprinted (if I'd had enough time).
The Sense program itself was not hard to learn about and attempt to master. The part where I seemed to hit a brick wall was being able to keep track of the object being scanned as well as capture certain parts in order to not have to do multiple scans. The object can be seen and downloaded from Sketchfab here. But as you can see (from my captured images), I may have to do one or two more scans in order to get the pieces that are not seen.