For this week's assignment, we are being (re)introduced (for some) to the actual machines to design a construction press-fit kit. In my past attempts, I have always stuck with using CorelDraw as my program of choice. This time, I want to expand my design skills and use different design tools. So I am choosing to begin my work with CorelDraw, and once my introductory pieces are created, I will work my way to a more detailed press-fit using Inkscape and fab modules online.
Vinyl-Cutting...
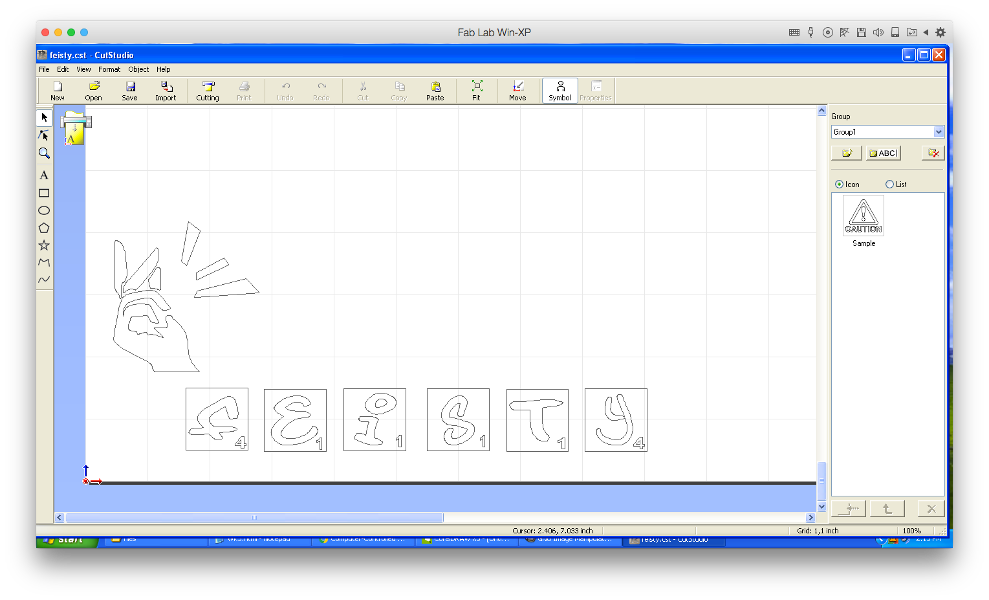
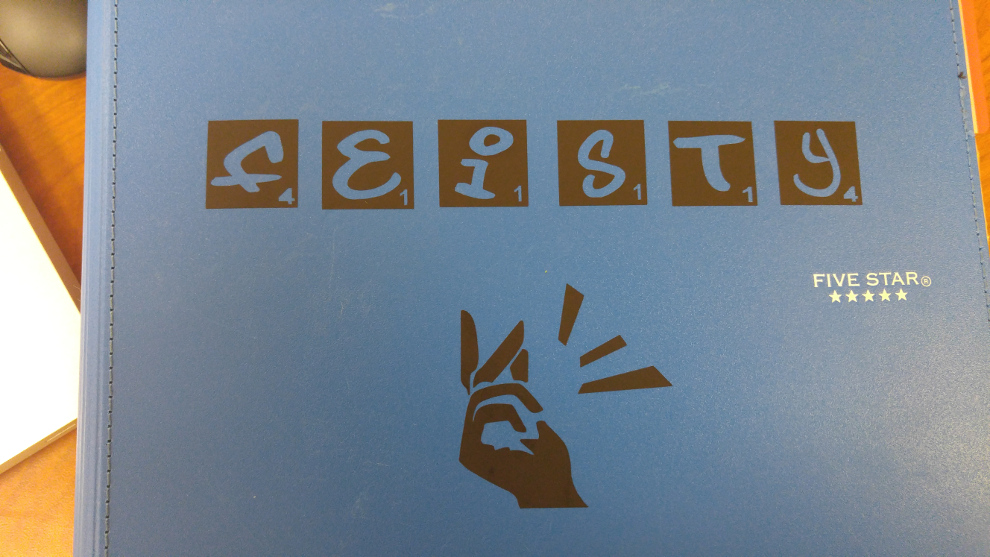
This section of this week's assignment seems pretty straight-forward. I randomly chose the word feisty (don't ask me why... it just came to me). With this word, I want to create an image where everything about the image itself is described by the word. And so with that, I chose a different type of font as well as a picture (see below). Once in CutStudio, I copied and pasted the image. Because it was a bitmap and the vinyl cutter only reads lines, I needed to use find some way to get the vectors. So I right-clicked the image and selected Image Outline. I also used the text tool to spell out my word of choice. But rather than putting the letters together, I wanted them to be independent. My reason for this was because, I wanted to use each letter creating a (sort of) scrabble tile.

Parametric Kit...
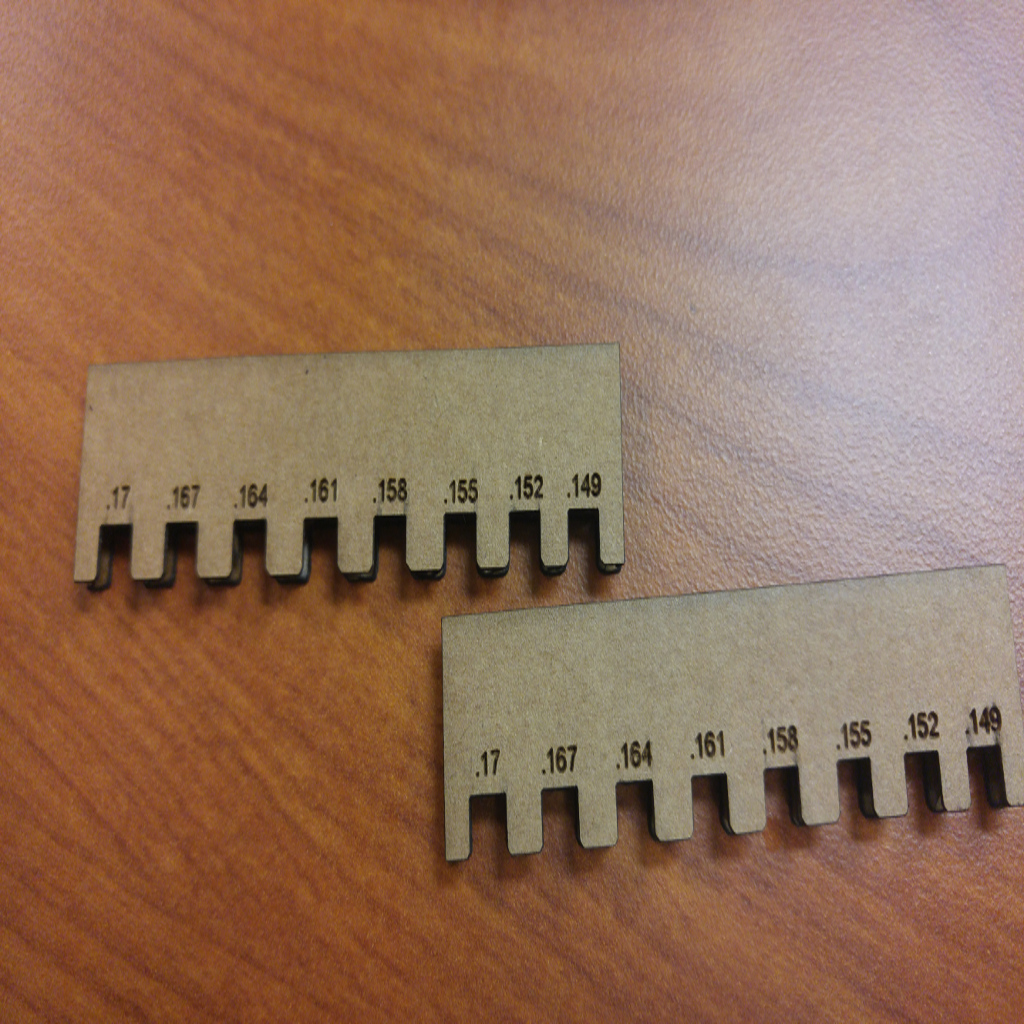
A press fit (or interference or friction fit) is the fastening of two parts, which is achieved by friction, after the parts are pushed together rather than by any other mechanism of connection. Before working on a kit design, I started designing potential joints to use. I created test gauge pieces with various slot measurements to see what sizes worked best. I settled on using the measurement .155" for the width of my slot. My print settings to achieve this were 25(speed), 75(power), and 550 (frequency). In our lab we are using the 75 watt Epilog Legend EXT. I derived to these power settings by doing multiple attempts to see what is the machine's sweet spot for this material. It is more desne than paper, but weaker than glass or acrylic (depending on the thickness). So I looked in the manual's power recommendations to compare the materials and what what is recommended for certain materials. From my understanding, the correlation of Speed and Power is knowing the thickness of a material, if the machine moves too fast and the intensity of the power is not enough, the machine will not cut; if the speed is too slow and power is too high, the material you are trying to cut will burn. So there needs to be equal amount of both in order to successfully cut different types of material once (no more than twice).

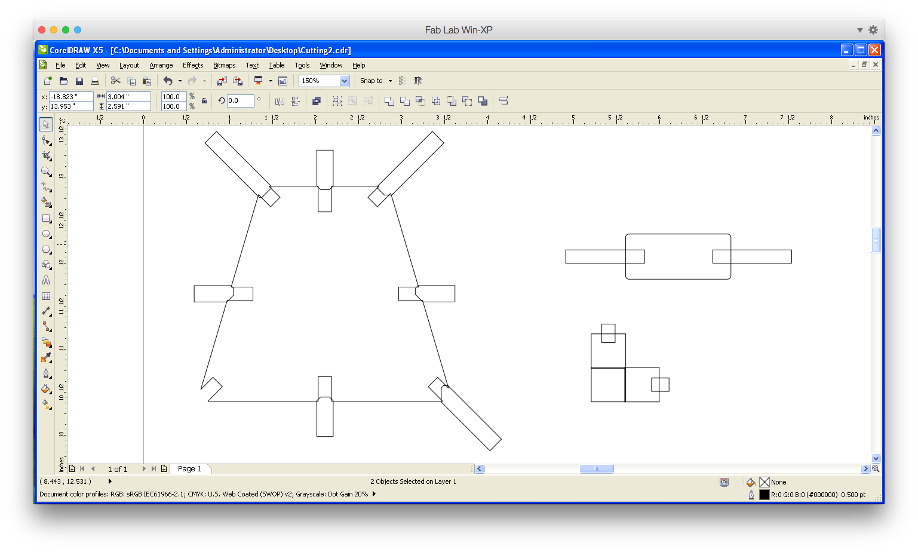
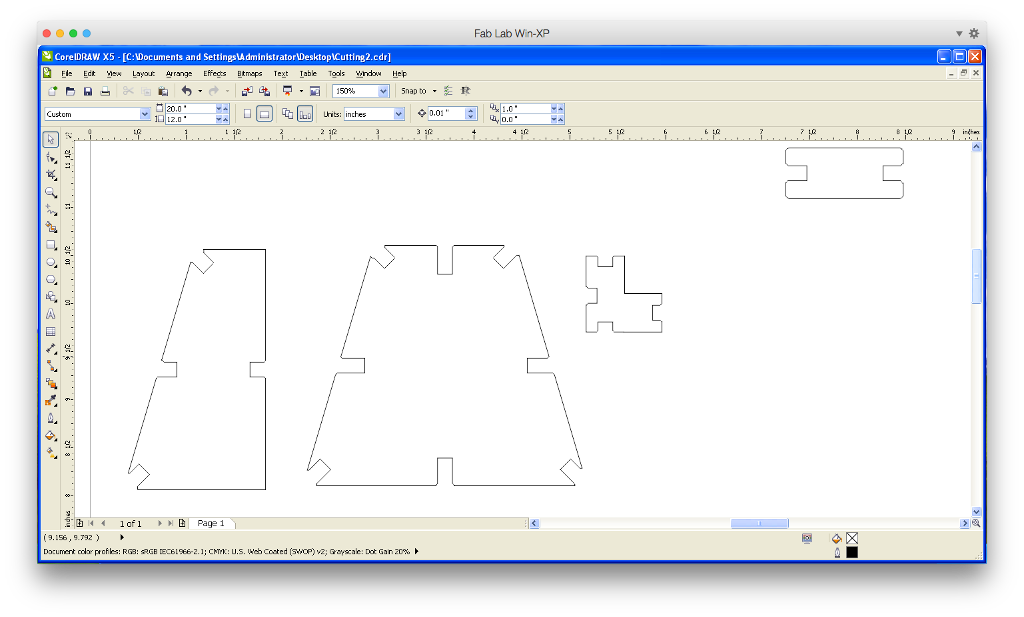
In order to gain some practice with using press fits and joints, I decided to use my .155" measurement to create a basic shape kit. With regard to previous years' press kits, I am not so fond of using the familiar shapes (i.e circle, rectangle, triangle, etc) as my general style. In exploring CorelDraw, I became slightly intrigued with the trapezoid and would like to see what I can come up with. In keeping the trapezoid as my main focus, I created .155" rectangles to be my slots, weld three squares for my connecting pieces.
Once my file was set, I was ready to prepare my material on the machine bed. This is a very critical point when using the laser cutter. The material must be flat so that the laser itself can properly move all the way through the cardboard. To be sure that my cardboard was secured, I use masking tape to secure in each of the four corners and in the outside middle of the material. These are pivotal points that help to give a clean cut. I learned that with material like cardboard (or even wood), if it sits for too long, the material can easily bend (or be bowed). If the material is flat, it makes it easier for the machine to focus adding that the laser will cut cleanly through. I found it easier to use autofocus because my material was flat; manual focus is for if the material is bowed, you can manually move the laser to the highest point of the material in order to be cut.
I sent my file to be print via wireless internet. If we can't wirelessly send files, we can connect via USB directly to the printer. The file format I used was .cdr because i used CorelDraw tocreate my parts. After cutting out my first try pieces, I was satisfied with the pieces that came out so I decided to stick with these.


Overall, I am pleased with my general press kit.