The challenge: composites. Due to this week's complexity, myself as well as another student, Victoria Bell, will partner and do a conjoining assignment to learn and understand these processes. Upon discussion, we decided to create a 2-part composite case that can hold a Mac laptop. The case will also house foam padding for extra protection. We started by using the specs of the computer to identify how we wanted the case to look. Because this will (essentially) be a 2-part mold, Victoria will produce the top of the case, and I will create the bottom. Insulated foam will be used as the core of our composite as well to provide a light weight.
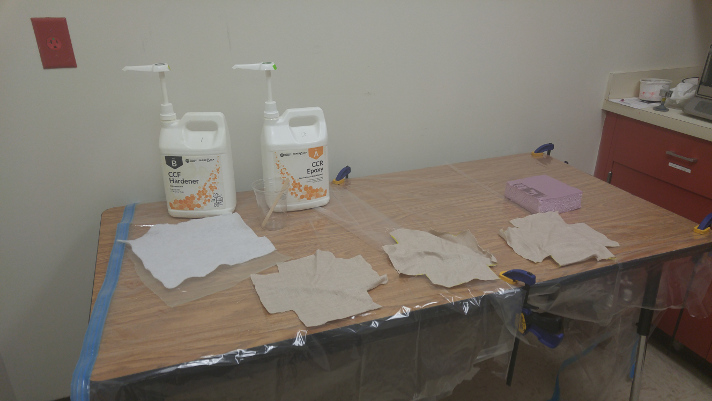
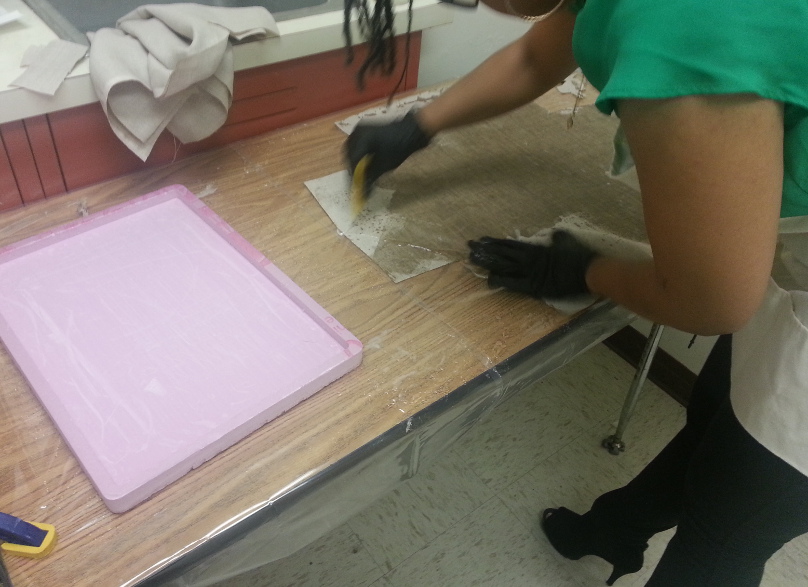
In order to fully understand the compositing process, we decided to do a mock run-through of what it will be like to create a composite. So we took scrap pieces of foam and fabric and fully went through the molding procedure and established our own technique. During this trial, we discussed and worked on how to properly pre-preg the fabric, the layup of the fabric and the pattern for how the fabric should be cut out depending upon the shape of our composite. Once our coupon was fully cured, We saw that the ends of the fabric were raised and not flat onto the foam. I believe it was due to the fact that there was not enough resin pregged into the fabric, as well as how we tried to do our vacuum bagging. We also attempted to do creases in order to have the best sharp corners of our coupon.... Needless to say that didn't work out how we wanted so we are not doing creases for our actual mold.


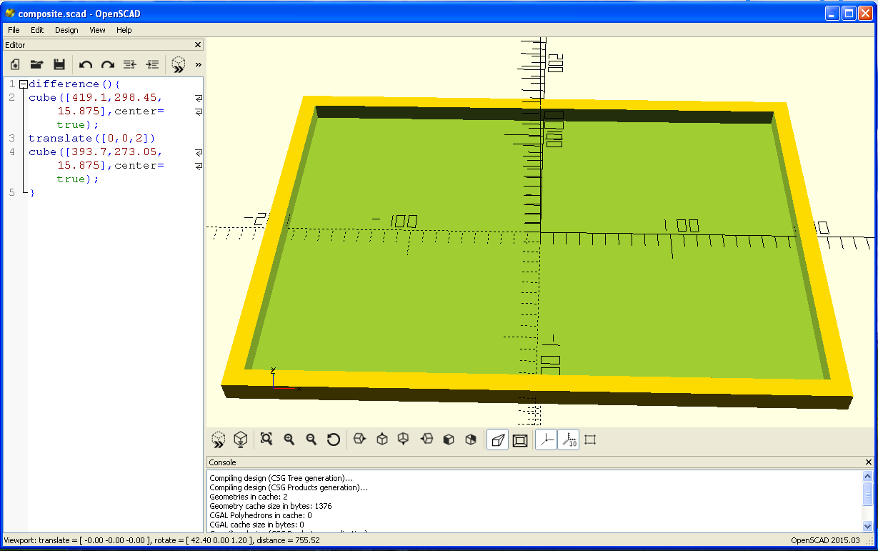
Because our concept seemed to be simple and straight forward, I started out my design by creating it in OpenSCAD just for 3D imaging to know what would potentially be the end effector. Once that step was complete, I recreated the file in Partworks to be milled on the ShopBot.
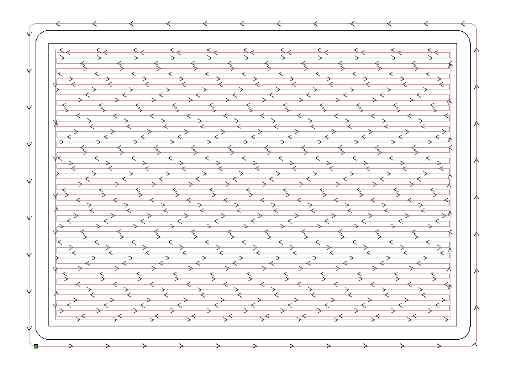
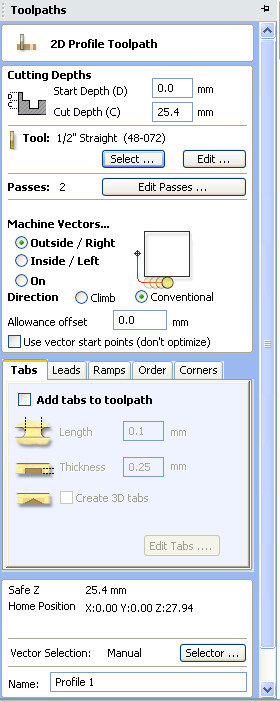
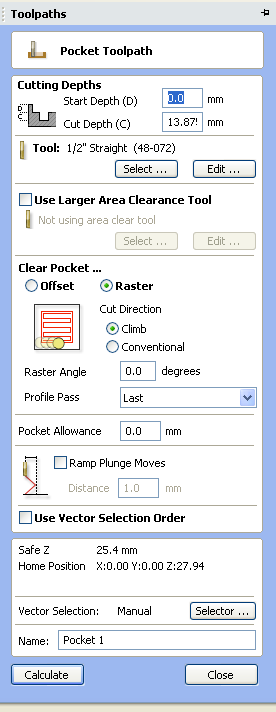

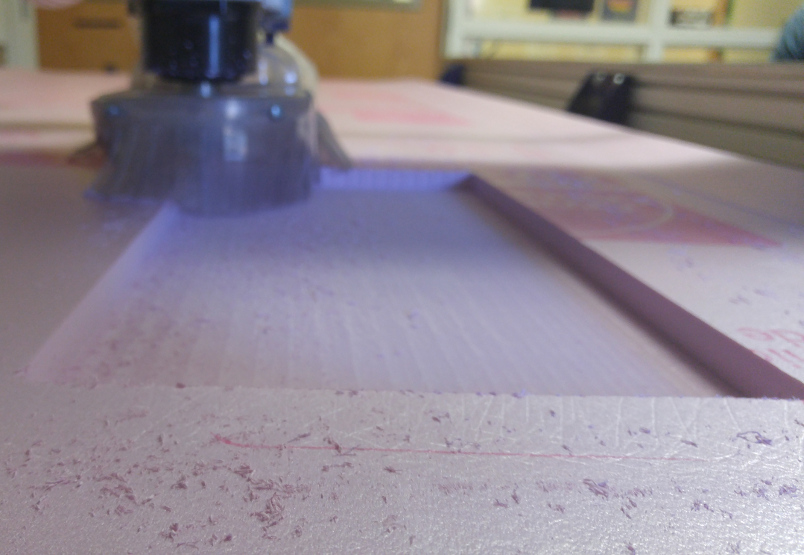
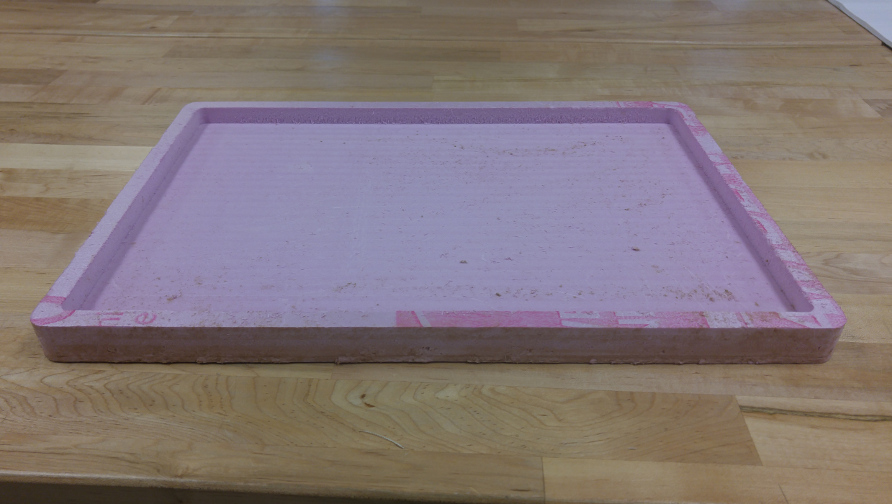
Because my mold had included an insert, I needed to create a pocket (for my object to sit it) and a profile (for the object itself to be cut from the material). Because we were using foam rather than wood to be milled as our core, we used carpet tape to secure it to the bed (rather than nails or screws) so not to damage or tear it, an 1/2" straight bit and slowed down the machines' R.P.M. to 9000 from 14000 so that the material would not melt due to the extreme speed of the machine.


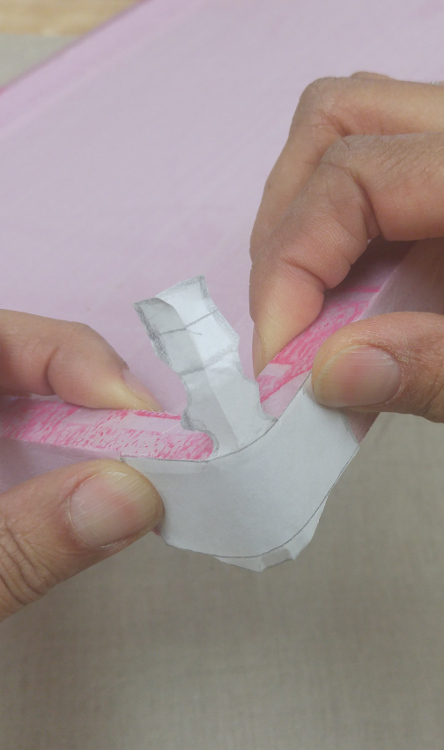
Once our parts were milled, we needed to design the fabric pattern that would be the layup into our composite. I used CorelDraw for this step so that the fabric would be cut precisely with the laser. It was brought to our attention that we needed an efficient way to cover the corners of our core; so Victoria hand-drew a small tab that I recreated in CorelDraw and was cut out with each of our patterned layers.


Tips, Tricks & Lessons Learned
- When you have an extensive process like compositing, ALWAYS do a dry run through. Whether it is a mock trial or the real thing. It always helps because from the mock to actually creating the composite, you are comfortable with each step and are aware of your limits (i.e. how much resin to mix, the allotted time you have to work with, etc.)
- Don't be scared to really use resin. I found it very beneficial to fully soak and apply more resin to my fabric while pre-pregging; but I did know my limits and did not over-soak. While doing my layup, the fabric seemed to adhere very well in the places (i.e. corners, lips) that I thought would've been harder to reach. But of course, I also did two dry runs in order to be fully comfortable
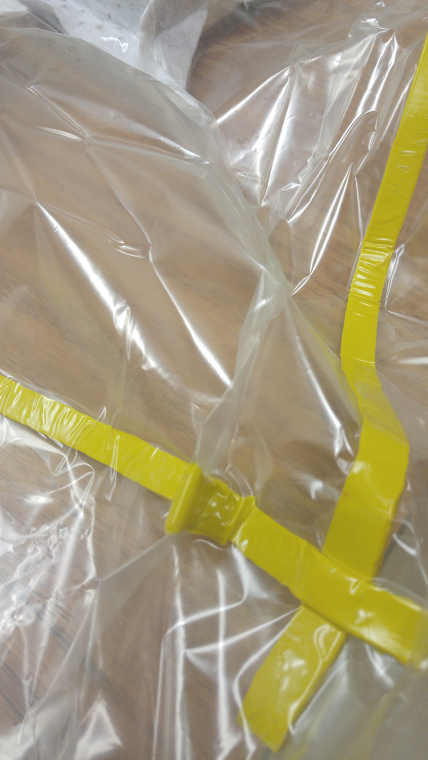
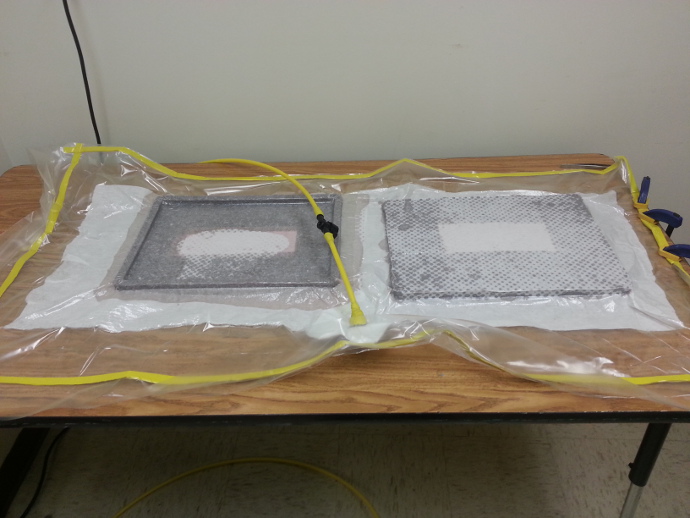
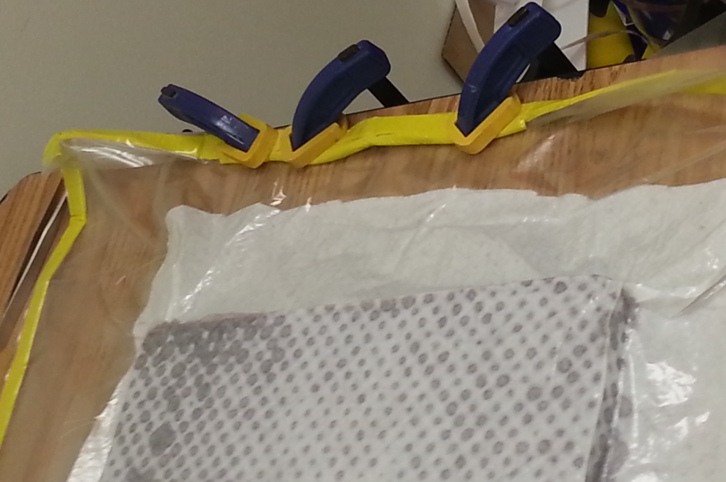
- When it came to doing the vacuum bagging, this was the one step during the entire process (mock and actual compositing) that we had issues with. Laying out the bag and attaching mastic tape was easy, but after trying to seal the bag caused issues for us. To absolve this issue, we used tab clamps to make sure all the air was being sucked from the bag.