Week 5
3D Scanning and Printing
The fifth assignment for this course is to test the design rules for your printer(s) (group project) * design and 3D print an object (small, few cm) that could not be made subtractively * 3D scan an object
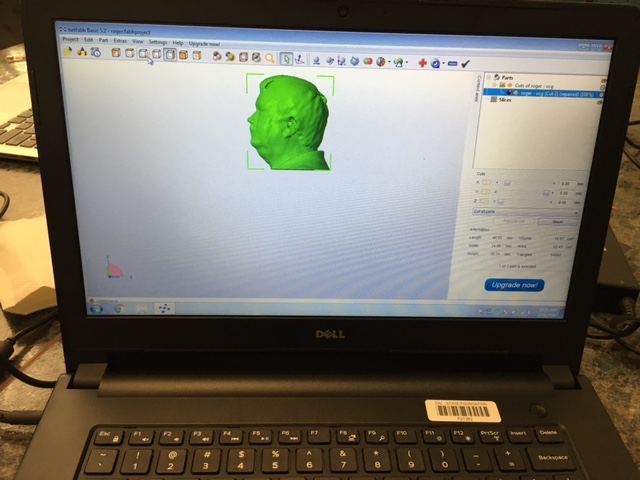
I used a commercial piece of software called Skanit to capture the output of the XBox Kinect scanner. I had a classmate hold the Kinect and I spun around slowly on a swivel chair. After one 360 rotation, my classmate shot under my chin and then above my head to capture information on the top of my head. I then selected "make waterproof" and the gaps filled in. I rotated the image a bit and cut off the stuff below my upper shouldes and saved it as an STL file. I then took it back to my school in Los Angeles to 3-D print it. After struggling with the 3D printer jamming and software errors for about five hours....I gave up. I might be able to print it when I get back to the Bakersfield Fab lab. OK, Matt saved me again. I drove to Bakersfield a day before week 7 and spend the day at the Bakersfield Fab Lab. The Makerbot Replicator didn't print a thing. Unjamed the extruder and the second attempt went just fine.
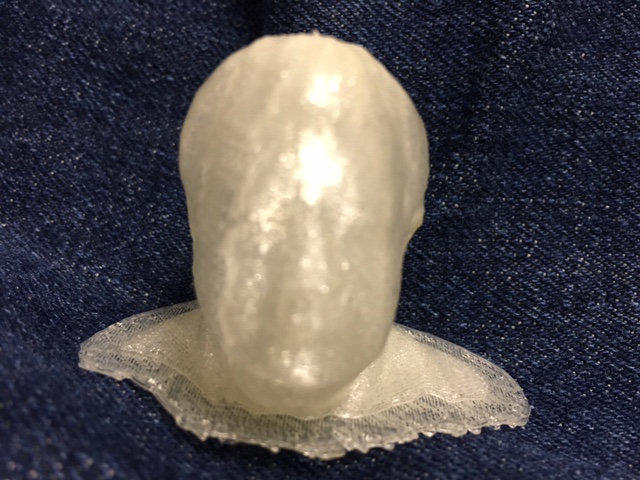
PB 3D Printer
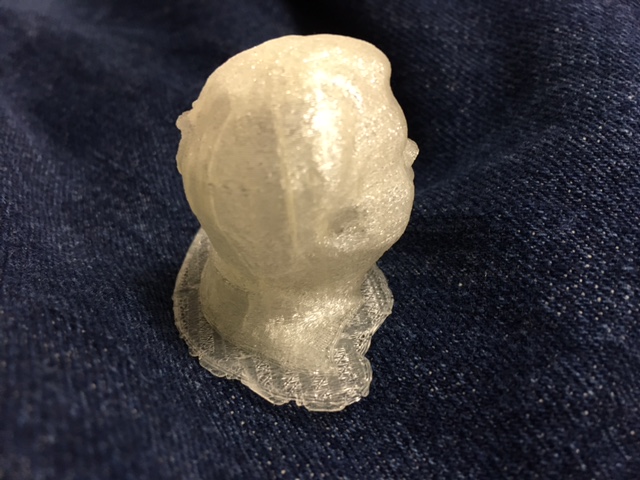
Back/Side view...a bit better. Click here to access the stl Skanit print file of my head. Or view File Repository on the left hand side of the browser and find rogervcg head.stl Week 5
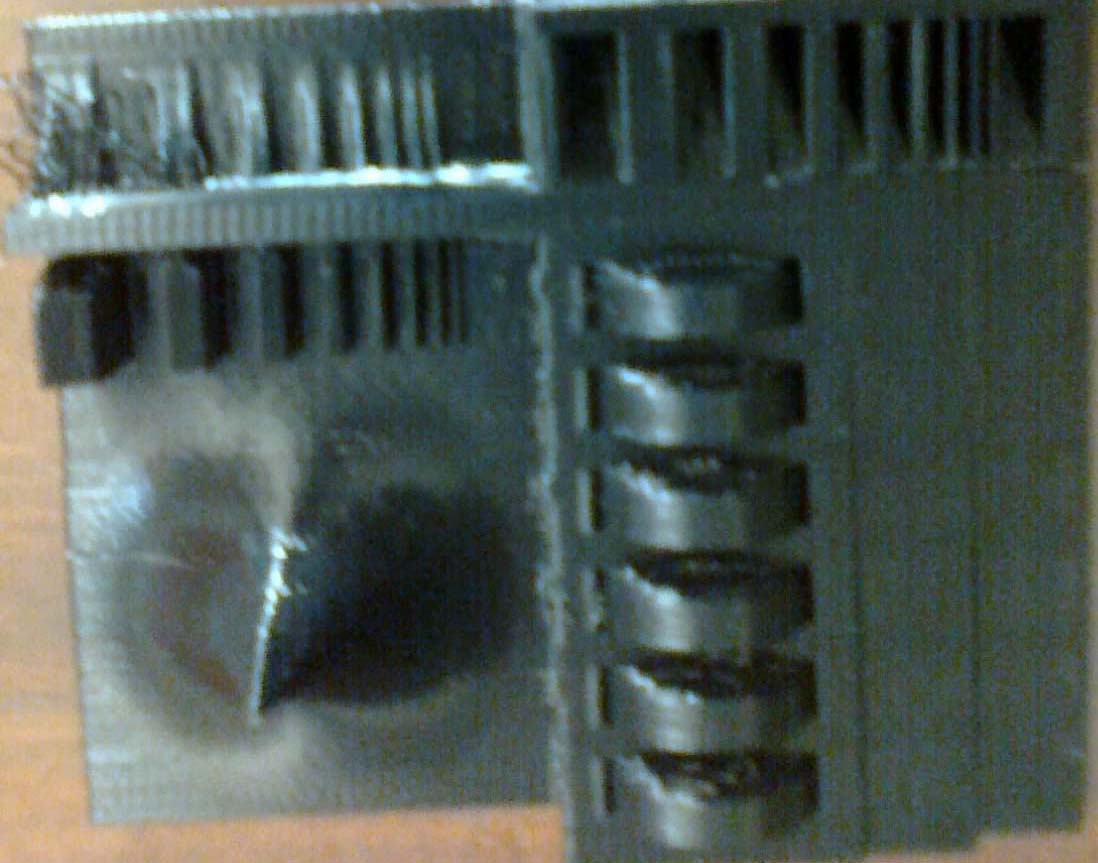
This is a test file that Neil gave us to test 3D printers and associated advantages and disadvantages. See the link below, or in the File Repository link on the home page.
http://www.thingiverse.com/thing:636363 3D Printer Tolerance Test by amandaghassaei is licensed under the Creative Commons - Public Domain Dedication license. http://creativecommons.org/publicdomain/zero/1.0/ # Summary Tolerance tests for a high res 3d printer, designed with features beyond machine resolution (~1500dpi) to demonstrate how your printer/material fails. Must be printed on a machine that uses some kind of support material. Includes thin walls and wells up to 0.00063425in thick, a wide range of curvature (including gently sloping surfaces to test z axis resolution), a sharp peak, a cavity, and several moving hinges of varying tolerances.
We printed the above test file and found multiple problems. The nested wheels were impossible to separate. There were multiple threads left on the bottom and overhang.
The Bakersfield Fab Lab has three types of 3D printers. The MakerBot Replicator 2, the pb, and the Rostock Max V2. I had no luck at all with the Rostock Max V2. I had three filiment jams in a row. The bottom fills were faulty. The only potenial advantage would be printing something taller than the other printers could handle. I don't know if the machine needs serviceing or is just a bad design. The MakerBot Replicator 2 jammed the first two times I used it, and the nesting wheels on the test print would not break loose. The pb printer was the most reliable. It worked the first time and it became my go-to first choice printer because of it's reliability. The overhangs of the on the test print had threads of plastic on the bottom. I am not ready to condem any of the printers, but I assume with enough practice, I will want to use different printers depending on what I want to print. Having a variety of types and more then one printer would certainly be an advantage in any fab lab.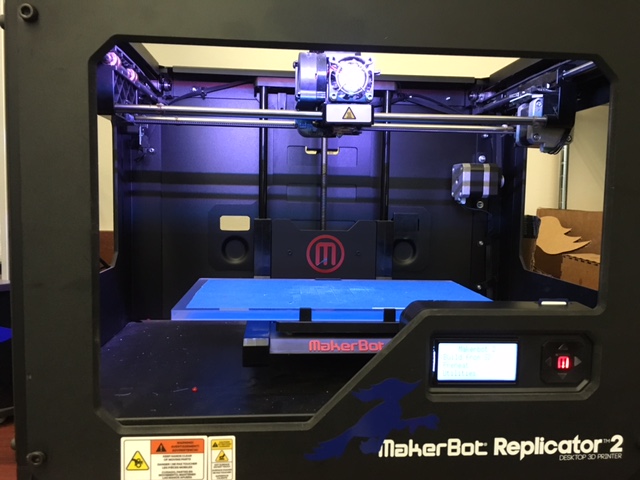
MakerBot Replicator 2
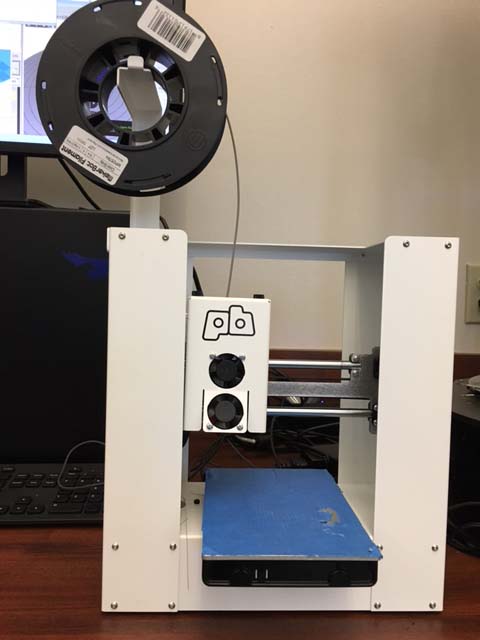
PB 3D Printer
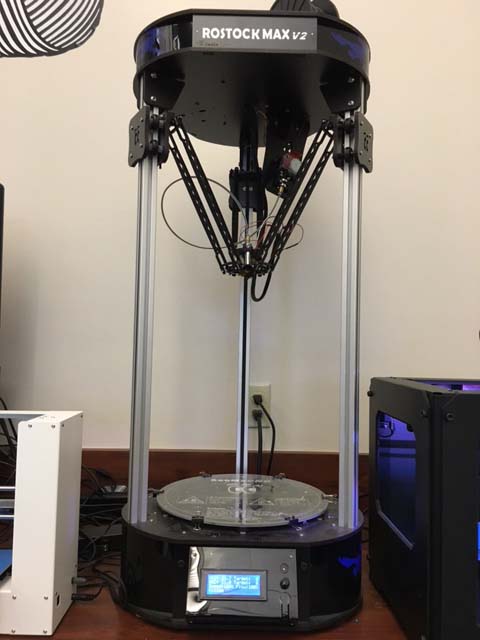
Rostock Max Version 2
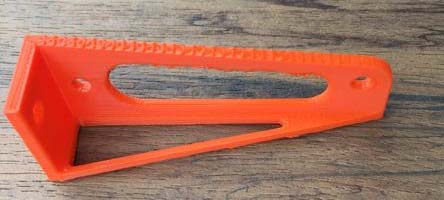
PB 3D print of actuator bracket for my final project.
I needed something to support my 12V car door actuator for my final project so I designed one using Solid Works and printed it on the pb 3D printer. See the associated files in the File Repository link on the left side of the browser window. BracketR2.STL, Bracket.STL, Actuator Mount.PDF This would have been impossible to make on any subtractive technology available to me. I think possibly this could have been made on a four axis CNC mill, or possibly on a 3 axis by rotateing the part and resecuring it in another axis orientation....but it was much easier and faster to just 3D print the bracket.