Week 3
Computer-Controlled Cutting
The third assignment is to cut something on the vinylcutter,design, make, and document a parametric press-fit construction kit
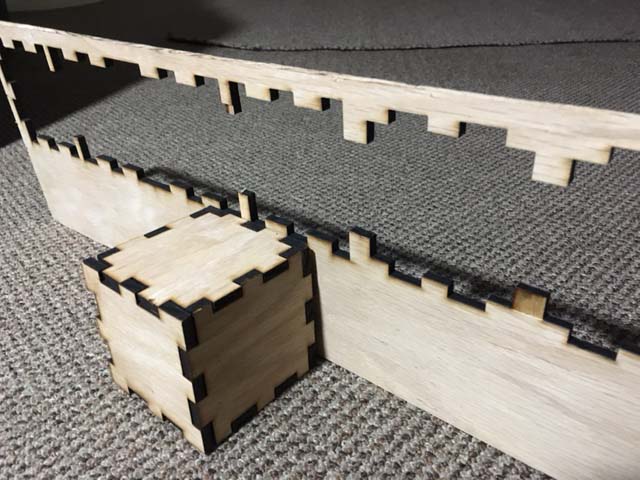
I have to drive over two hours to Bakersfield from Los Angeles to get access to a FabLab. Matt helped showed us how to use the Vinylcutter and I cut a few pieces of Vinyl, but I did not take any pictures. I was rather amazed how easy it was and yet how creative you can be. It seems the potentialy tough part is transfering the cut items to the surface you want without distorting or ruining them. This process is called "weeding". I was rather amused by the term since I have done a lot of "weeding" on my farm. :-) I could not travel to Bakersfield for the February 17th class as I was in Omaha, Nebraska. I was worried about getting behind, but I decovered a Fab Lab in Omaha, and aquired access to their Lasercutter. I designed a box with parametric tabs on Solidworks and saved it as a PDF file as I was told all lasercutters could use pdf files. In Solidworks I inserted a design table in the feature tree and played with the dimensions of the parametric design. I grabbed a piece of quarter inch plywood from the scrap pile in my garage in Omaha, and drove to the MetroTech Fab Lab in Omaha. I encountered two problems. My piece of scrap wood was too small, and the lab said their Chinese lasercutter would only work with Corel Draw because that is the only software that was set up for the driver on the lasercutter. I knew that the fab modules should work....but I wasn't knowledgeable enough to show them how to use them. So, I ended up redesigning in Corel Draw and successfully make the interlocking press-fit box shown in the picture.
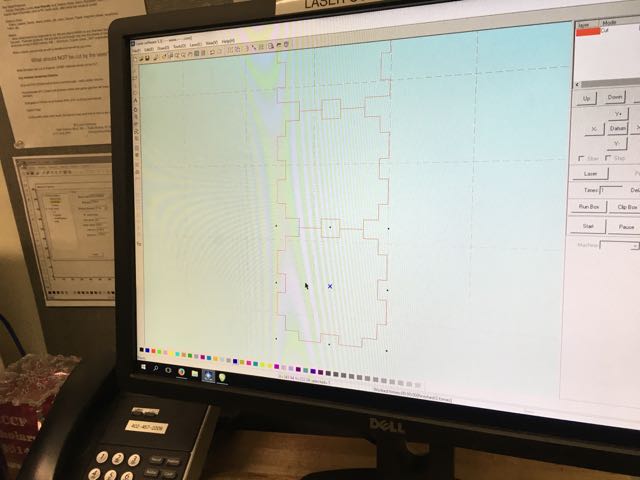
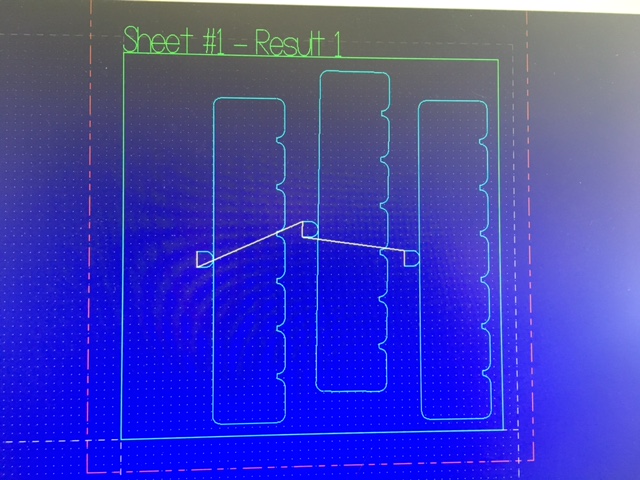
Screen shot of Corel Draw of pressfit box
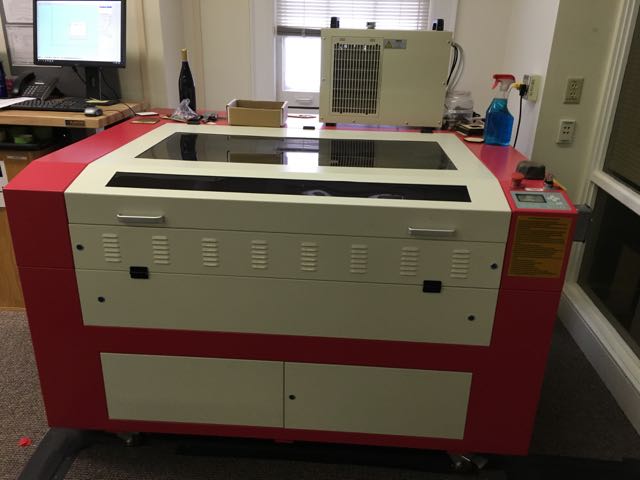
Omaha Chinese Laser Cutter I lifted the lid, placed the scrap quarter inch thick plywood flush with the upper left hand corner of the cutter, closed the lid, turned on the air supply and power and pressed "go". The computer on the left is connected to the machine and sends the Corel Draw file to the cutter. The process worked well. The cuts went all the way through the wood even though they were slightly warped. It snapped apart and fit nearly perfectly. The laser width was set to zero. I used auto focus and the recomended power setting on the chart by the machine.
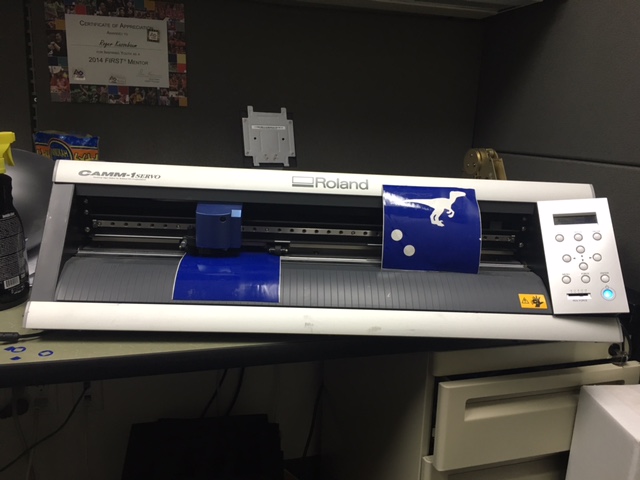
Our school has the same Roland 24x vinyl cutter as the fab lab. No one at the school knew how to use it. I aquired it and got it to work with the Fab Modules.
I found a jpg of a dinosaur on the web. I converted it to png format via Photoshop. The web based fab modules do not seem to injest jpgs. It worked on the first try.

Dinosaur png image coverted from jpg format on Photoshop. I then loaded it into the fab modules and sent it to the vinyl cutter.
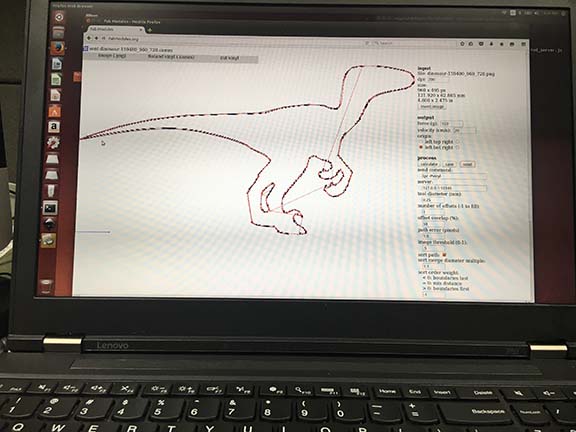
Click to load Dinosaur png image being processed by the fab modules software to be sent to the vinyl cutter.
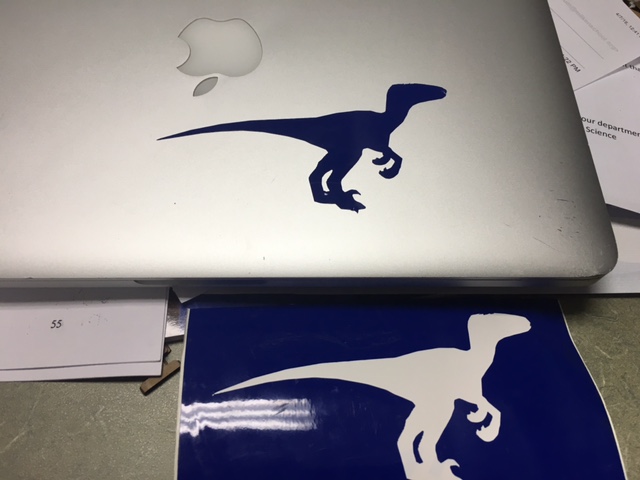
I placed the school's first vinyl cut dinosaur on my laptop. It reminds me of my three-year old grandson who loves dinosaurs.
I also made some progress on my final project. I used Mastercam to CAM some prototype driedel holders. Similar to the parametric box, my project included a parametric design that allows the driedel stems to drop after spining. See the attached dxf file created in Solidworks. (See Solidworks file).