Week 12
Moulding and Casting
The twelveth assignment is design a 3D mould, machine it, and cast parts from it
.
Except where otherwise noted, content on this site is licensed under a Creative Commons Attribution 4.0 International license.

I used Photoshop to convert the color jpg file to a black and white png file and then inverted the black and white color. It mills out the white and leaves the black for use by the fab modules milling operation.
The online fabmodules software steps you through the process of using the Roland mini-mill to set up the milling process to make a mould. http://kokompe.cba.mit.edu

This is a screenshot of the software making a milling path.
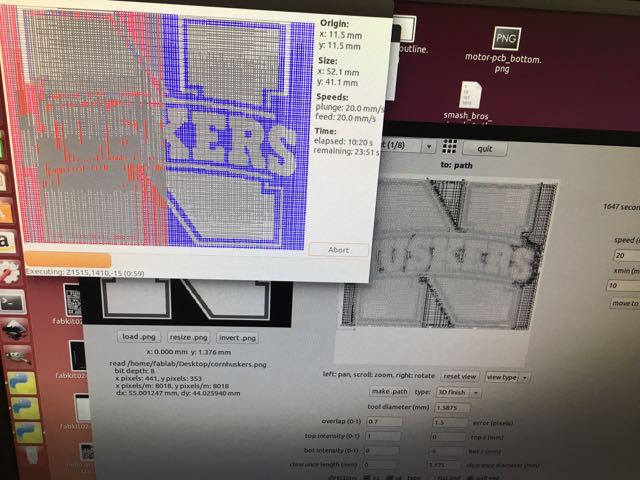
The red shows the completed milling, the blue shows what is yet to complete.
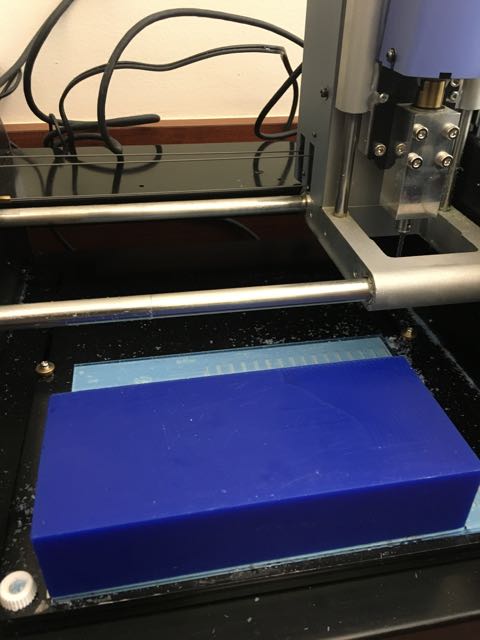
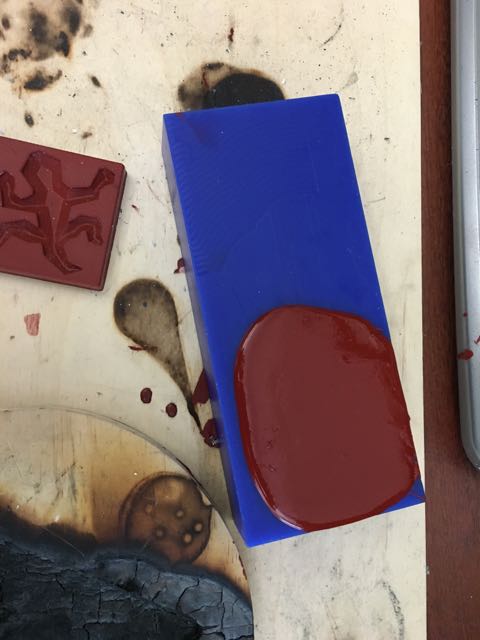
This is a fresh brick of milling wax that the mill will etch out the entered design. The remainder will become the mould.
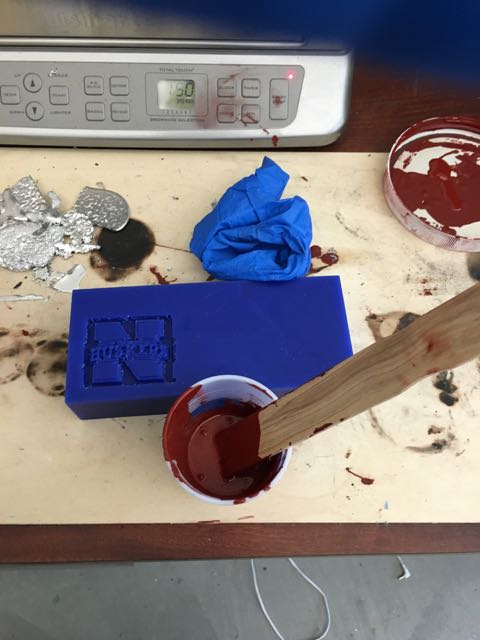
Here I am pouring the high heat resistant silicone rubber mixture into the wax mould. I did not use a release agent, but it might be necessary for some moulds. The Mold Max 60 compountd technical overview and processing recommendations can be found at this site. Mix ratio is 100A to 3B by weight. Cure time is 24 hours.Pot life is about 40 minutes but it only takes a few minutes to stir and mix. Bubbles are a problem and trapping air in small parts of the mould are a problem. I did not put the mould under vacuum, but for better results a low pressure vacuum will remove bubbles and the mould will come out much smoother.
The moulds are then placed into a toaster oven at a fairly low temperature (125 degrees F) to cure. Curing at 125 degrees for four to five hours assists in eliminating residual moisture and alcohol that is a bi-product of the condensation reaction.
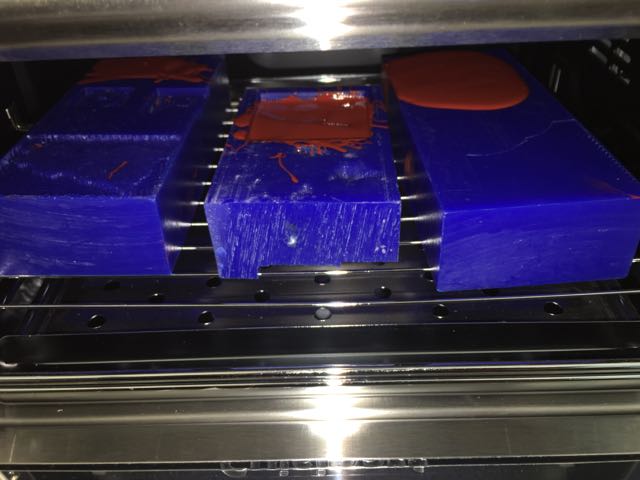
The wax brick on the right is my project, the middle one is a mold laying around that I used the excess mould material on and the left one is another student's project.
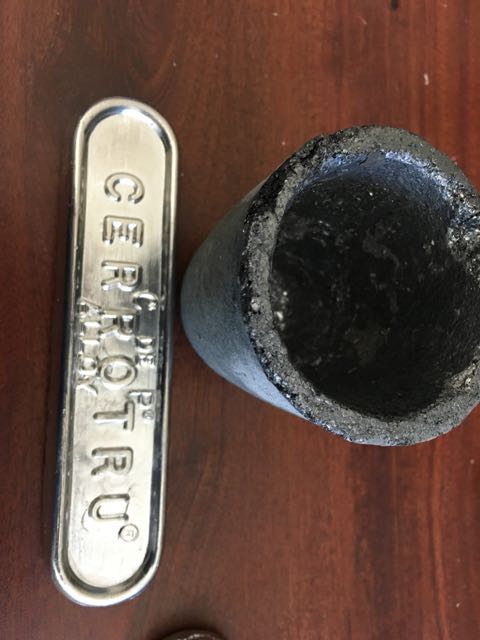
This is the ceramic crucible that I am going to melt the cerrotru metal in.
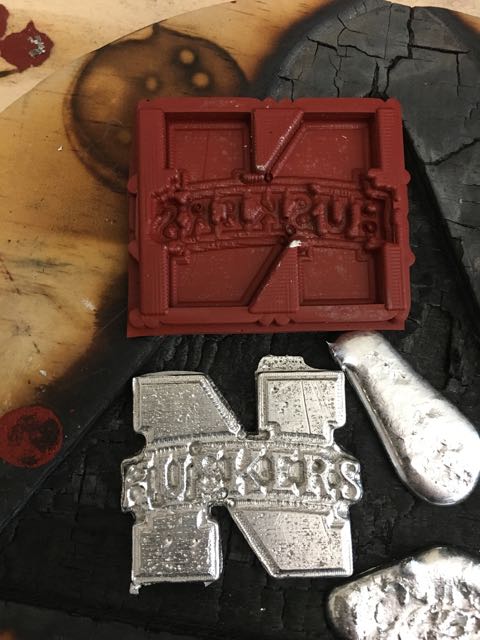
This is the final metal result of the molding. There are some bubbles in the mould and some of the metal "froze" before it could reach the depths of some of the mold. It is a bit of an art to pour rapidly so it does not cool too quickly. A vacuum would help in removing bubbles. This was just practice..and I thought it came out pretty well for a piece that wasn't optimal to make a mould. I wanted to do a piece that would not come out perfect so that I could see what happens when you try to do narrow sections and do not begin with a optimal mould.
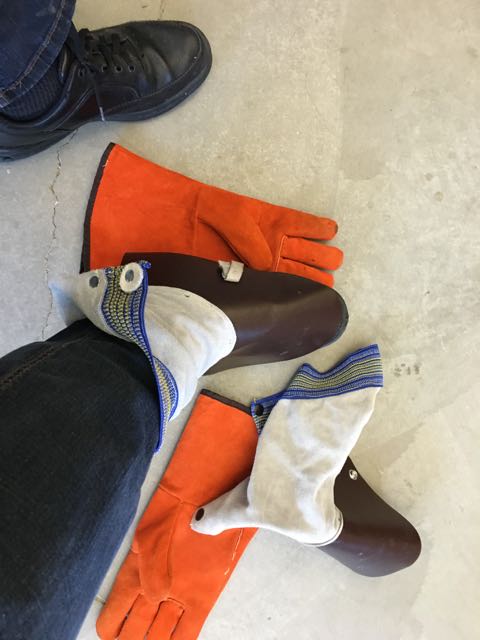
This is safety equipment that I wore to protect my feet and hands. It would be very bad to drop molten metal on your feet/shoes. Hot metal between your toes does not sound like a good ending of a fab lab experiance. So, I am glad I was not surprised by dropping molten metal on my toes!