Composites
Assignment:
1. Design and make a 3D mold, and produce a fiber composite part in it.Design the mold.
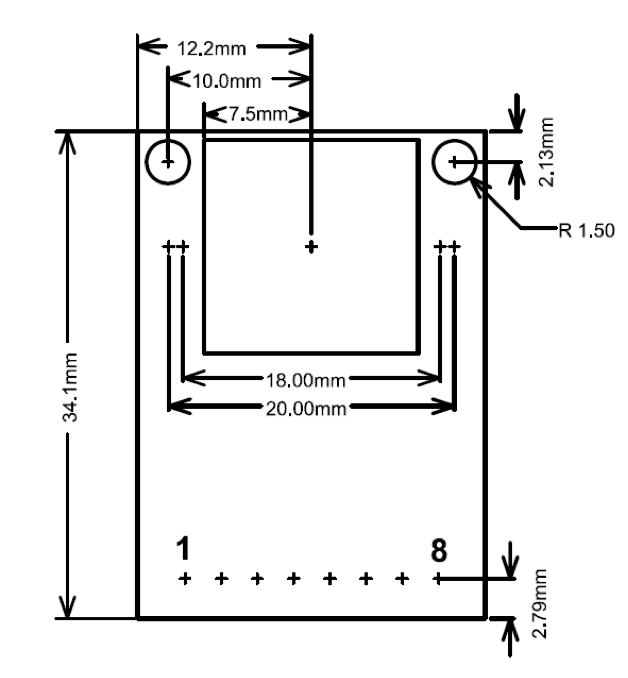
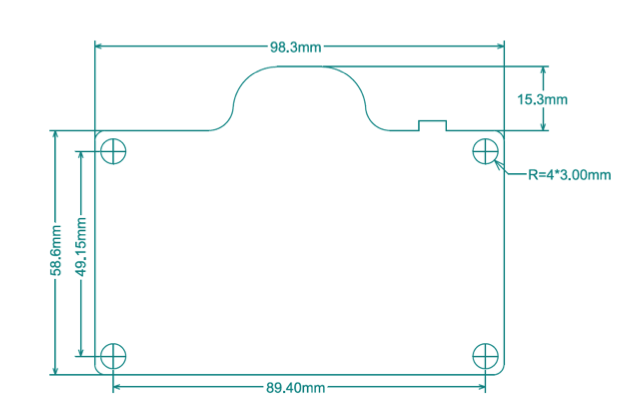
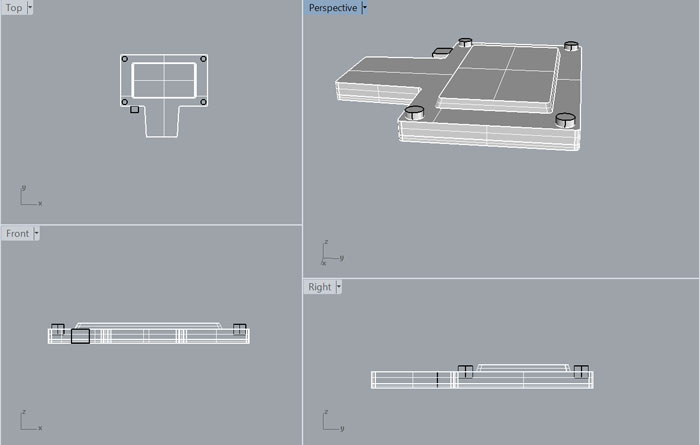
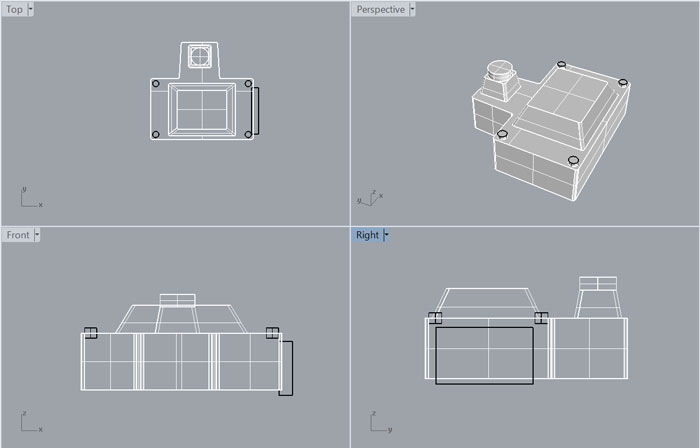
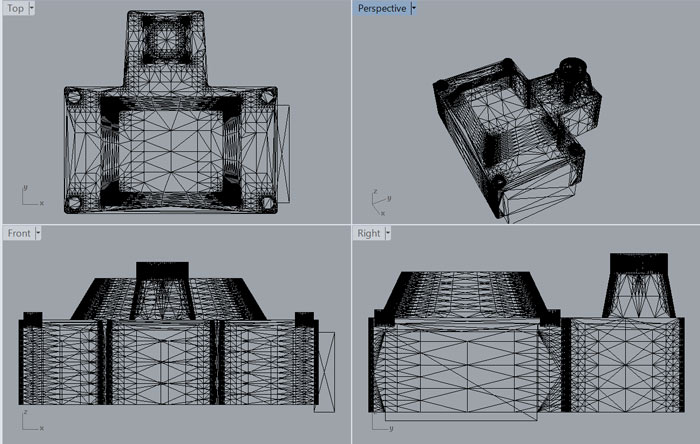
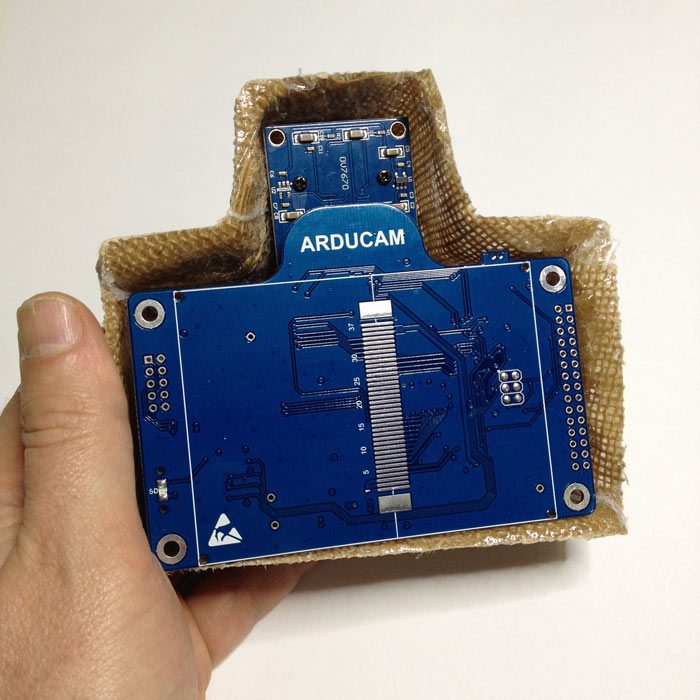
Using Rhino I decided to design a case for the Arducam shield.
Using composites is difficult to create shape with a lot of detail. That's the reason why I wanted to keep the design as simple as possible. I started taking measures of the arducam shield with the camera and the arduino board assembled. With the datasheet and a caliper I started the designing process.After designing the model I exported an .stl file and used the Roland SRM 20 for milling the process. I used the SRM 20 for two reasons:
1st my model is not very big, it fits on the SRM 20.
2nd people in the Lab are waiting for use the Shopbot and I don't wanted to wait.
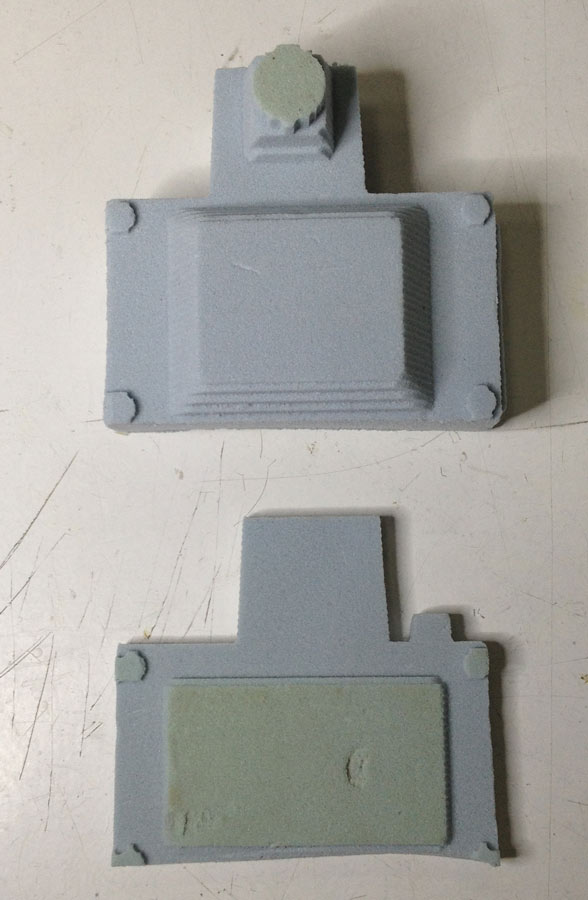
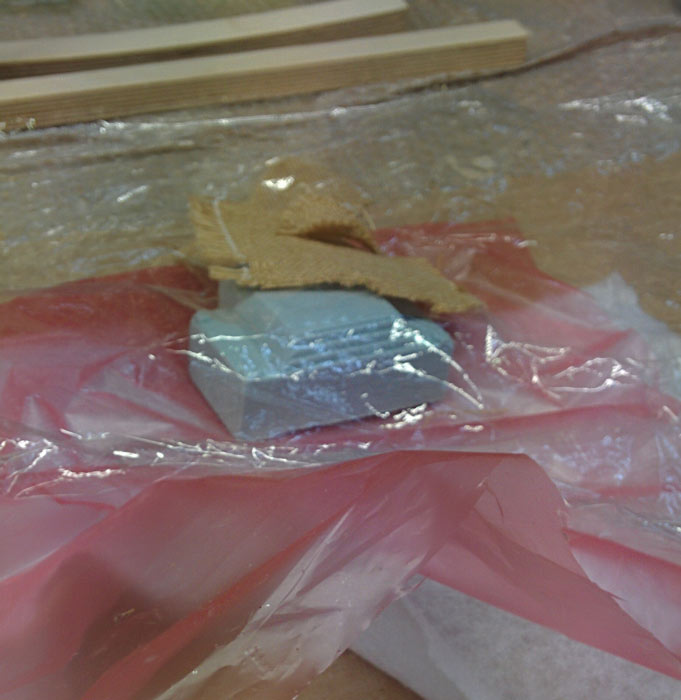
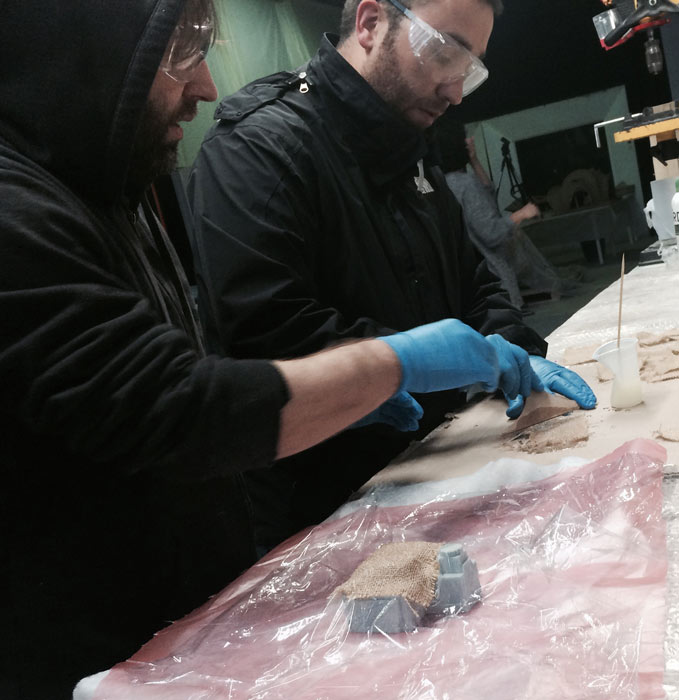
I used the Modela Player software for the .stl file and choosed the material Styrenefoam and create only the roughing process, since composites doesn't need too much detail, only the basic shape.First, I made a front case and a back case, but at the end I just used the front case.The next step is to place the paper layers like a "sandwich":
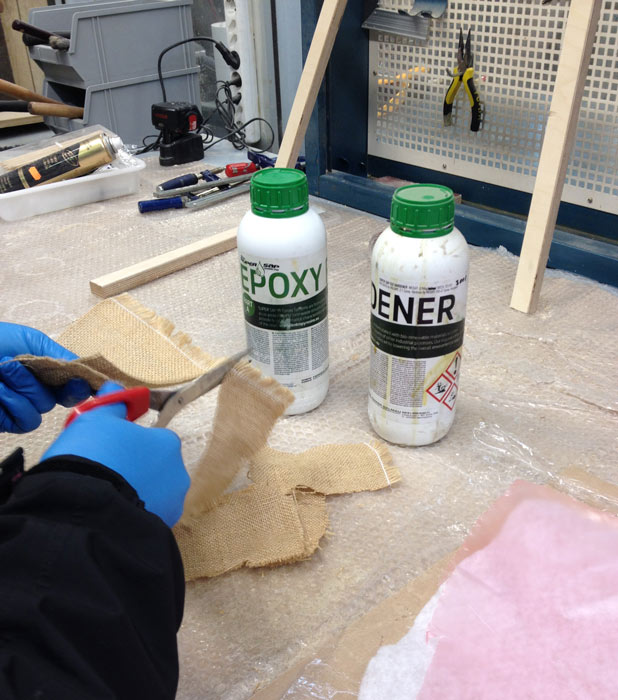
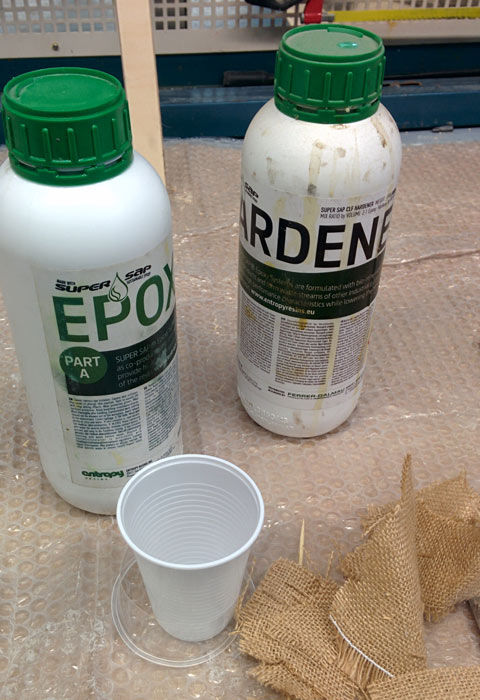
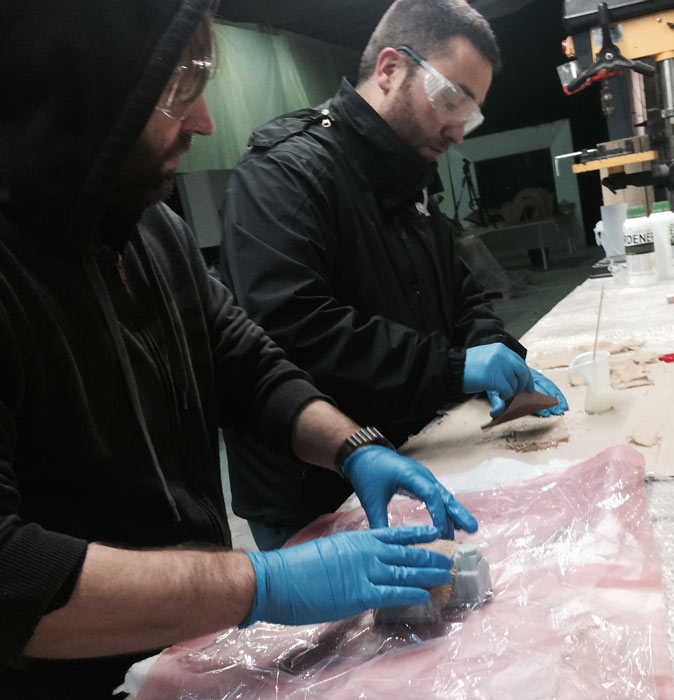
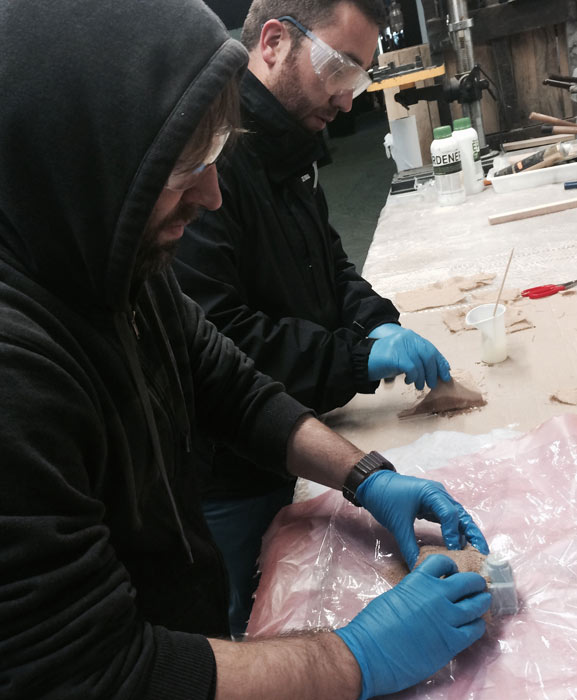
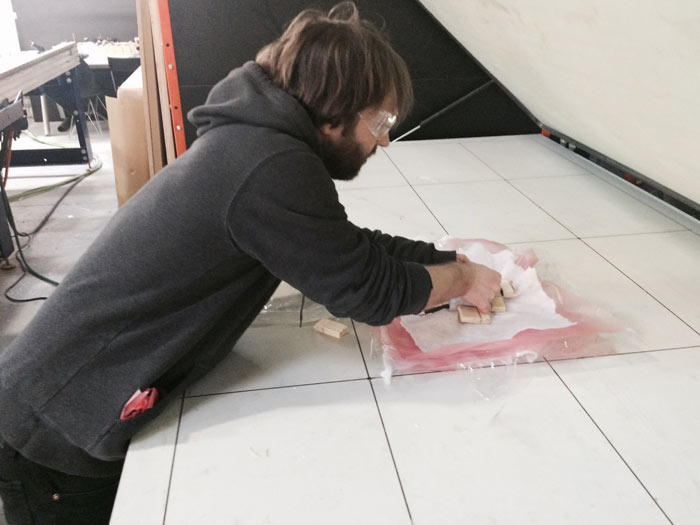
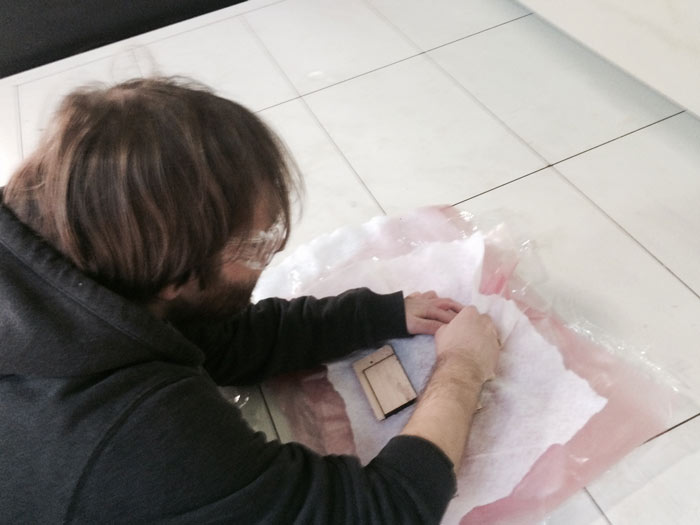
First layer plastic release film, on top of it, the breather (white cotton) and the perforated film or rip layer (the pink one), then we place the model and get ready for casting the composites.For, the casting we are using Epoxy and Hardener the ratio is 2-Epoxy-:1-Hardener-Thanks to my classmate Xavi for helping me in the process.I did not made the UV unwarping with Blender and laser-cut the pieces of fabric. Insted I cutted manually the pieces of fabric. Maybe this was an error and it would have been better with a lasercut but I wanted to test the whole process at the same time.
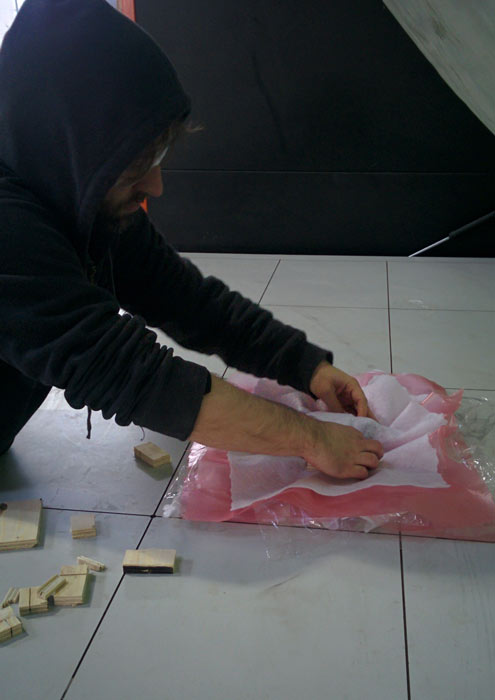
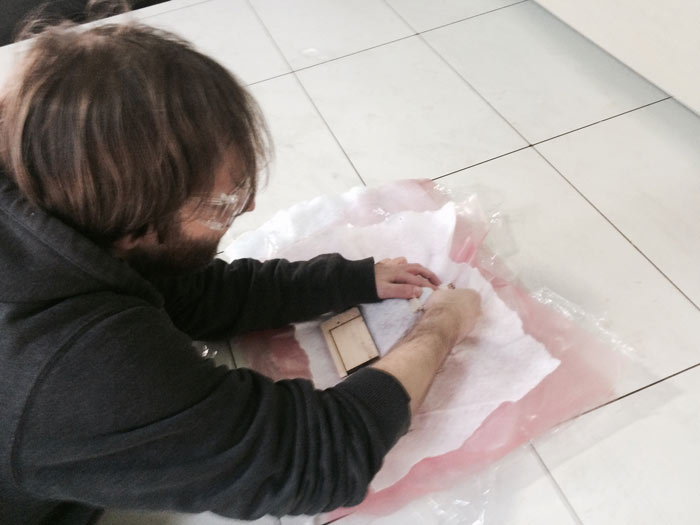
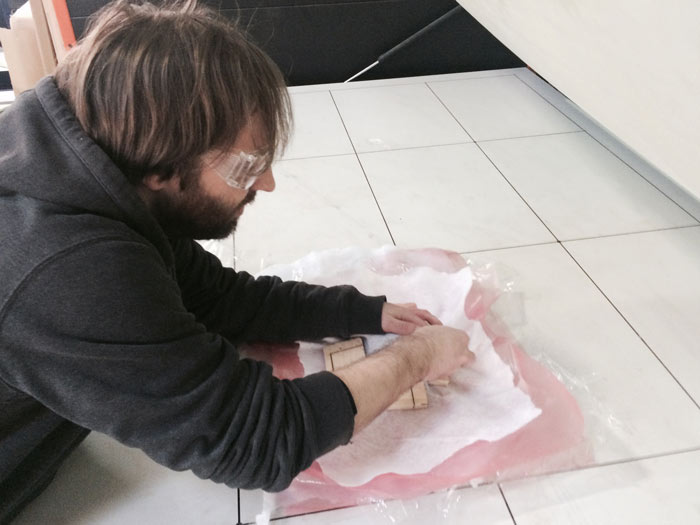
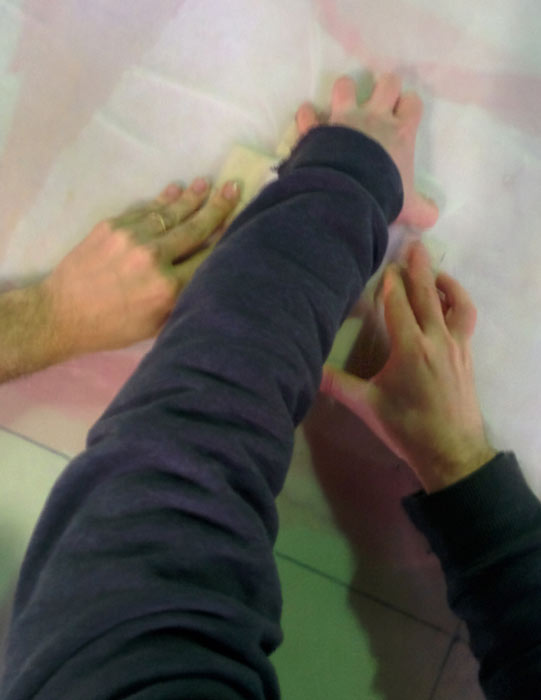
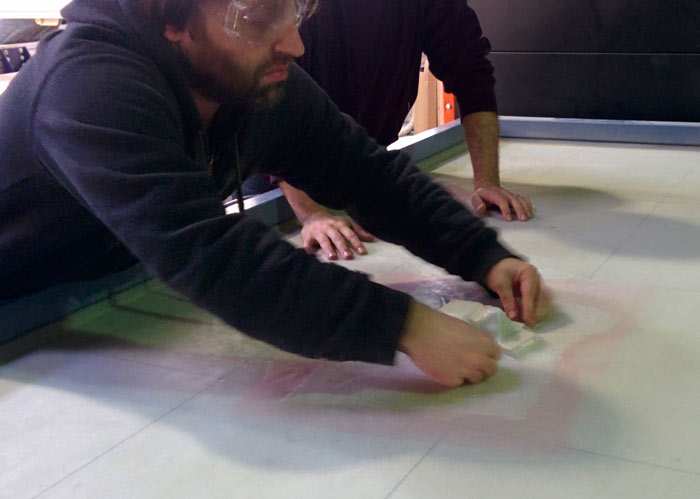
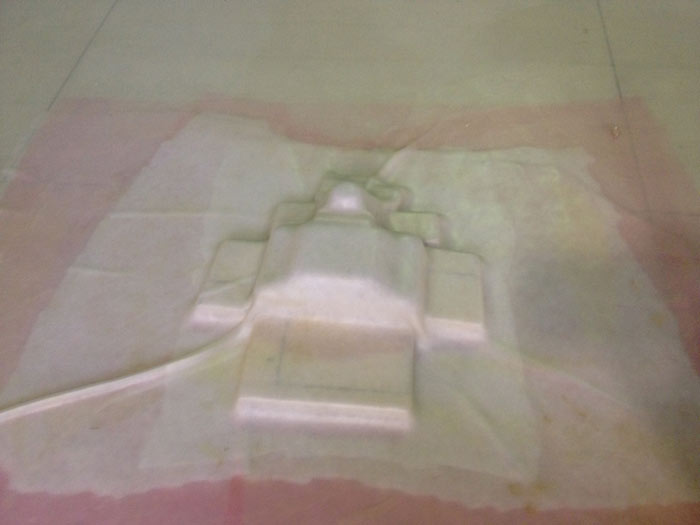
The next step was to place the whole model in the vacuum machine.
You need to place it with the 3 layer underneath and three more layers on the top of the model with the inverted order: first the perforated film, on top of it the cotton breather, and finally the plastic release film.
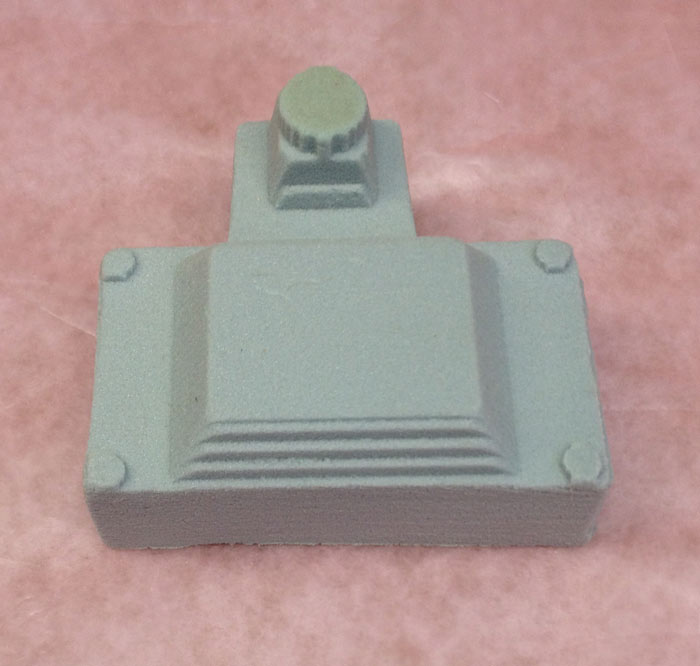
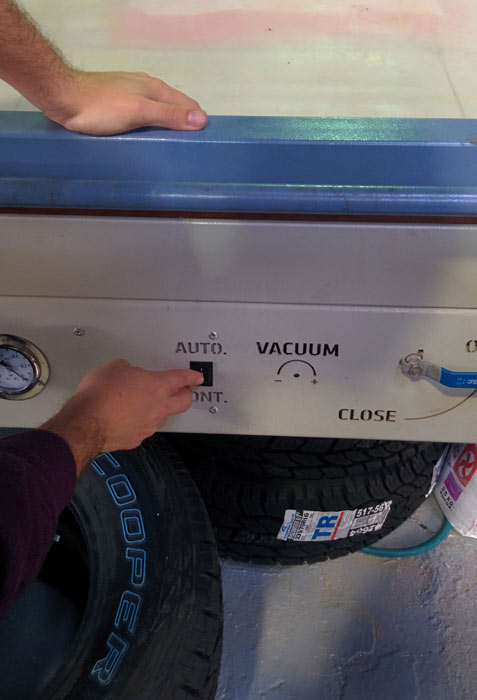
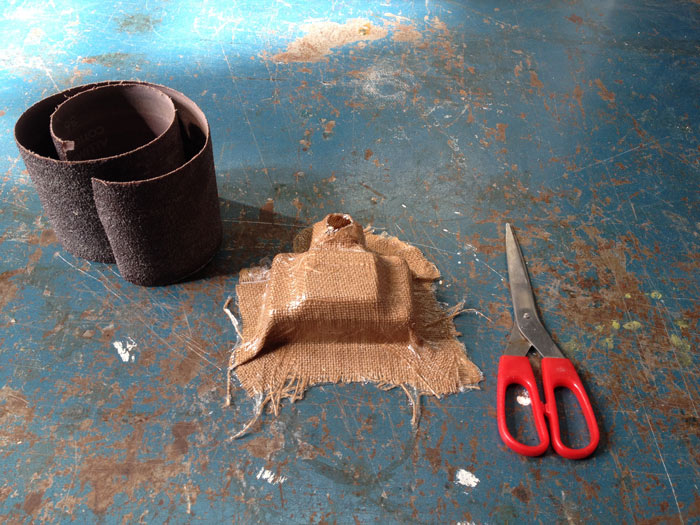
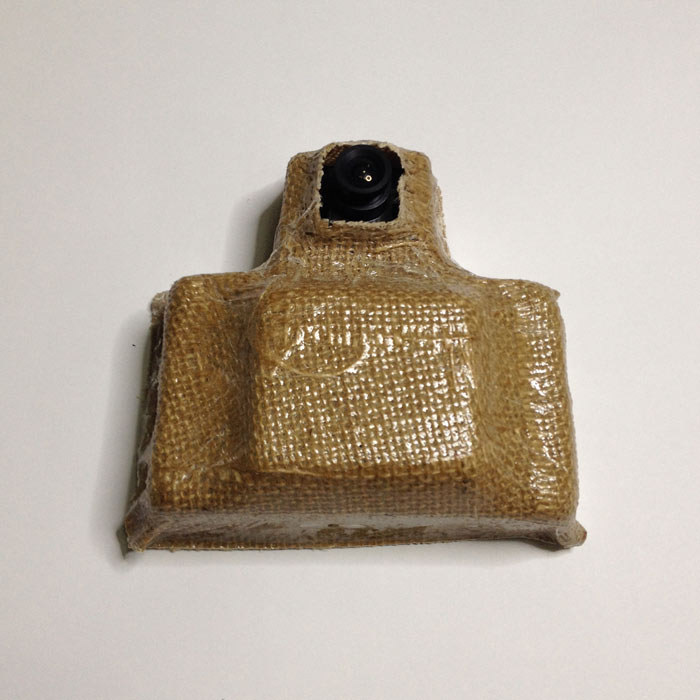
I also used some wood pieces to help the machine on the edges.Now is time to close the machine: you set it on closed and "continuos mode" for a minute. And after this, you should set the machine on "auto mode".After 12 hours on the machine is time to see how the composite is.Final retouching, cut the parts that you don't need, with scissors or cutter. Sand the edges (better with a powerful sanding machine). And that's it. The HoboCam is ready to rumble! :)Here is the first pic shooted with the HoboCamNext step apply some color with a spray can.Download the files here