Molding & Casting
Assignment:
1. Design a 3D mold, machine it, and cast parts from it.Design the mold.
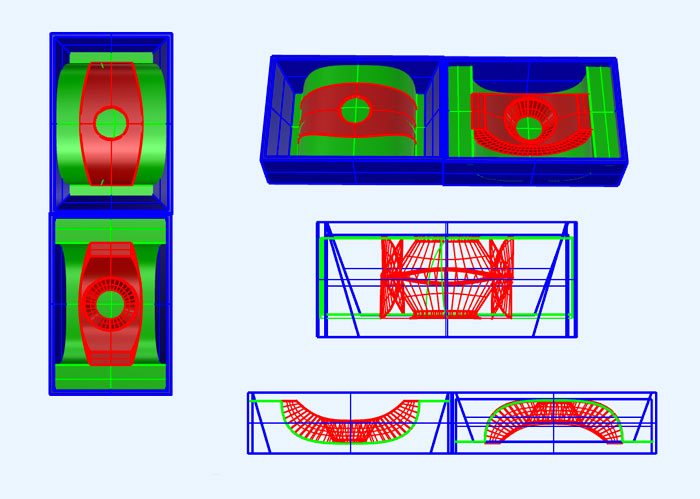
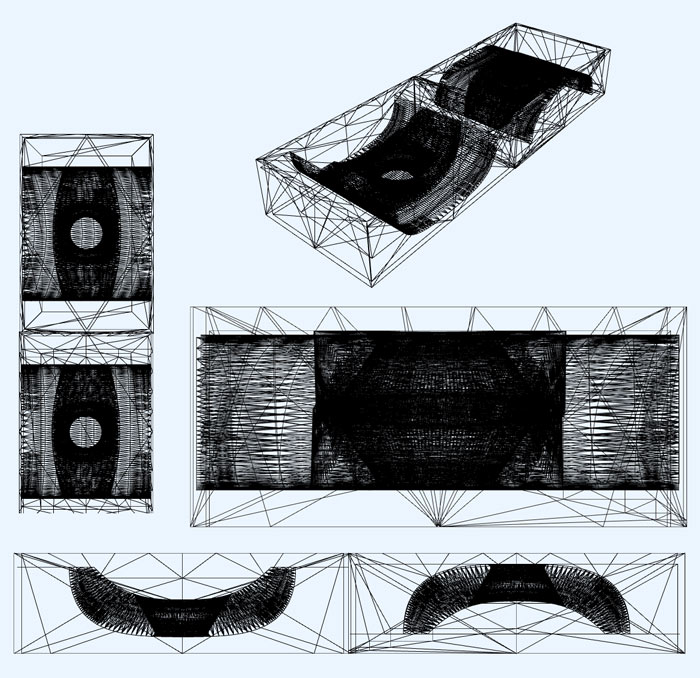
Using Rhino I made a curved object with a boolean hole in the middle.
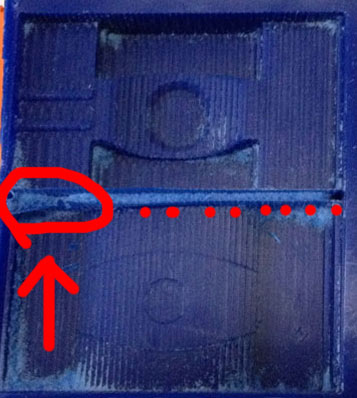
I had a problem when exporting the .stl file. I did not join all the shapes and when the SRM20 monofab was milling the mold make an unexpected path between the walls.
I had to stop the milling process.
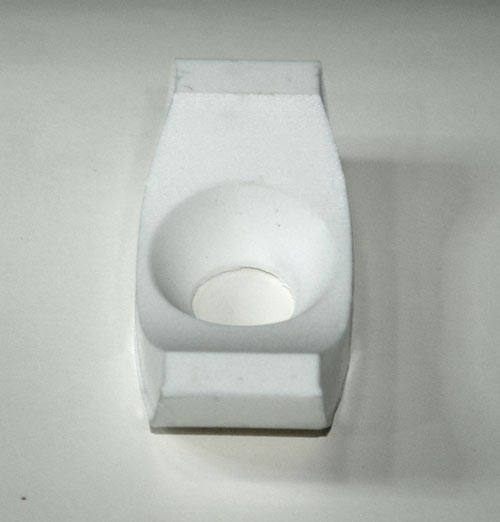
I did not considered this a problem and the consequences of this can be seen on the next picture.
This is the result, you can see how the machine milled between the walls.Back to Rhino to fix the design problems for exporting again the .stl file.
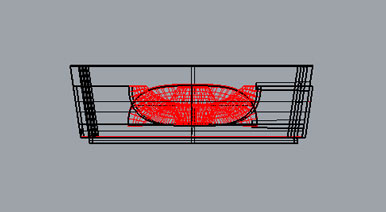
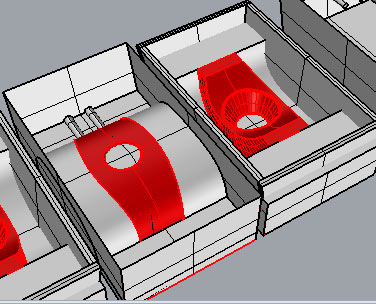
I continued working on the design. Improving the box and the walls.
This is how the mesh looks like. All the shapes are joined together to avoid the same problem.
In the Lab we used Modela Player software for the milling procedure. We open the .stl file with Modela Player.
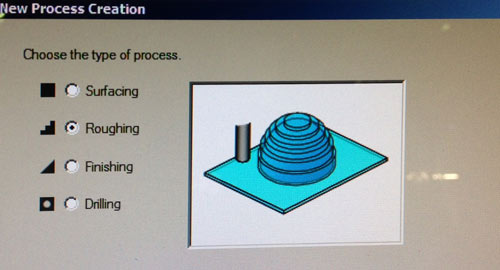
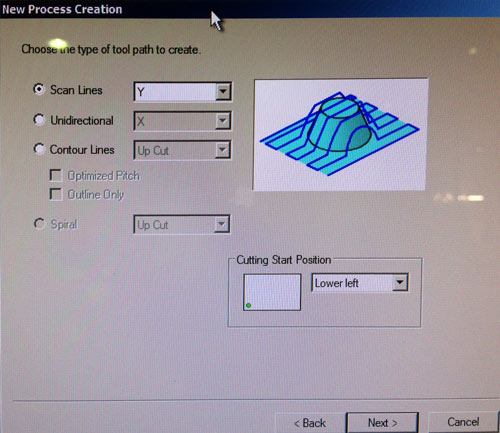
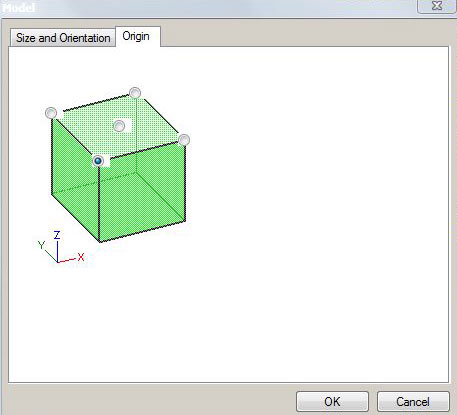
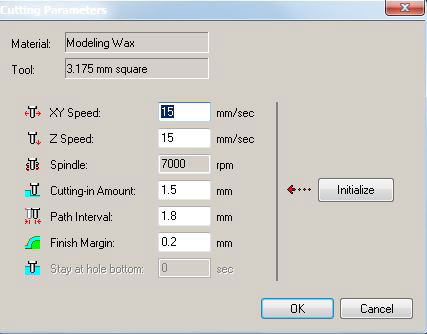
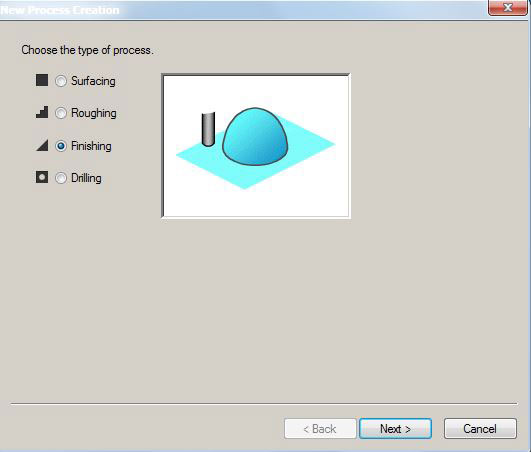
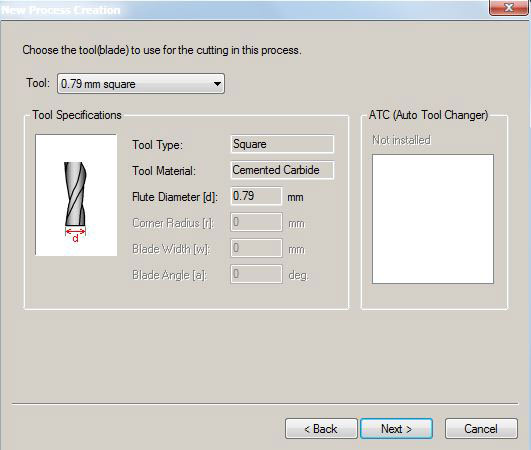
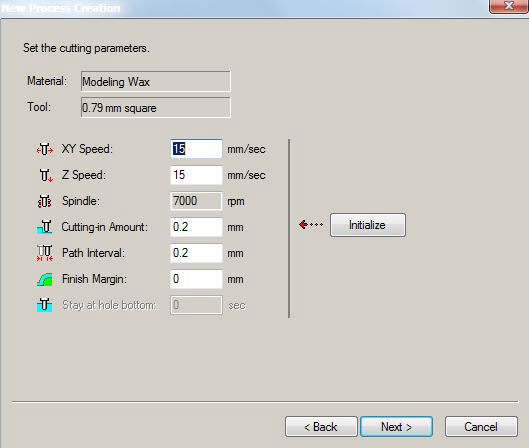
First you need to select the machine for the milling.Second, the milling bit, you will be using. For the roughing process we used the 3.175 mm square.Third, the material we will be using.Fourth, the type of process: starting with the roughing and the finishing process for final details (smooth surfaces).Set the scan lines X/Y, you will do it in to times.Set the the origin.The cutting parameters.The software generates a .mpj file and we open this file with the Vpanel software (the same we use for milling the boards).
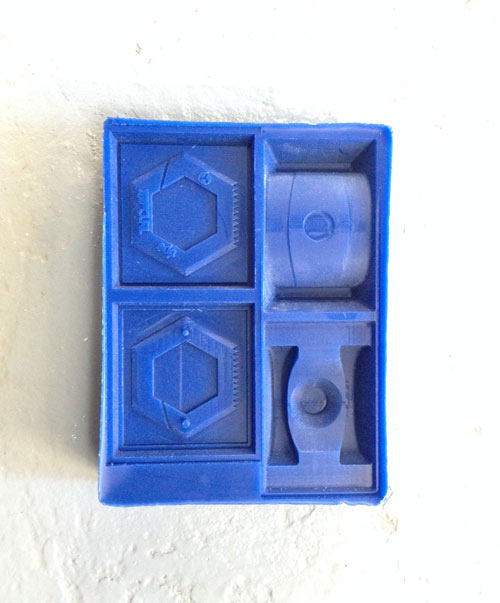
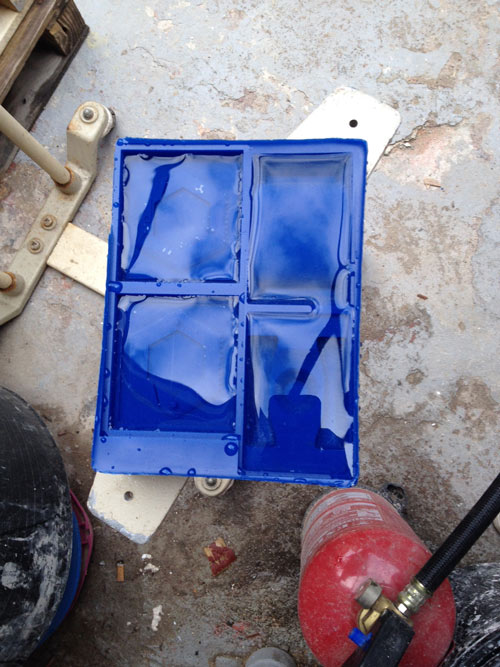
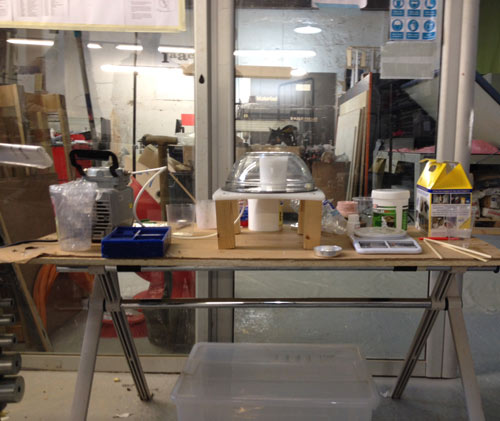
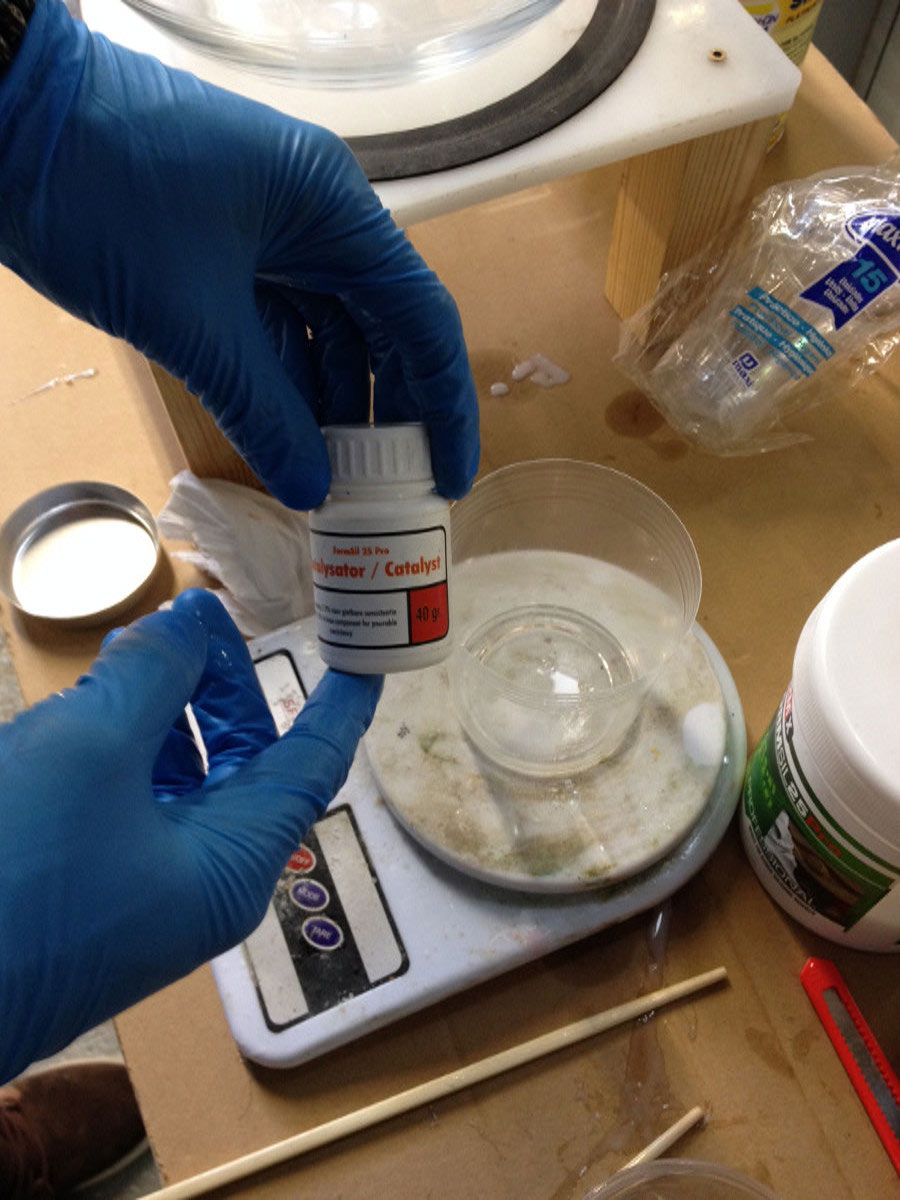
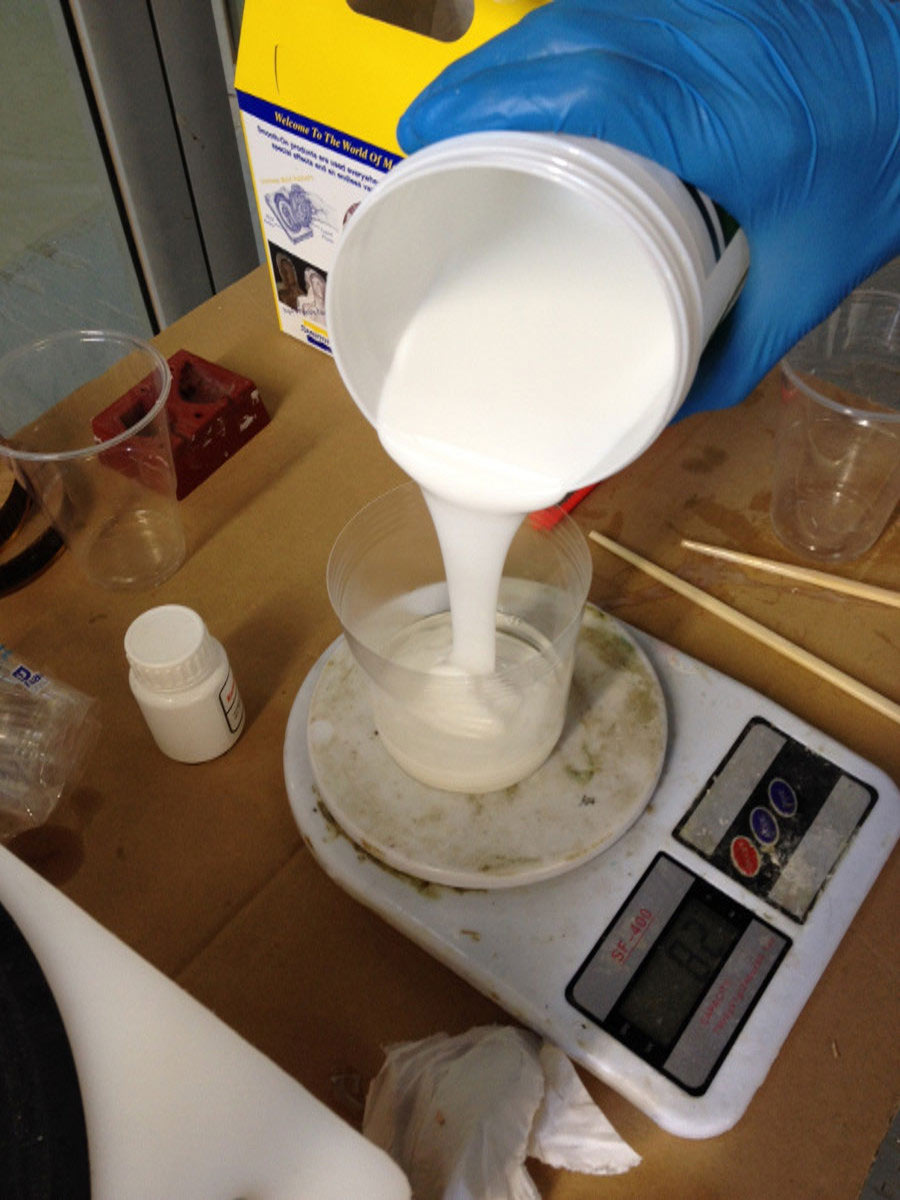
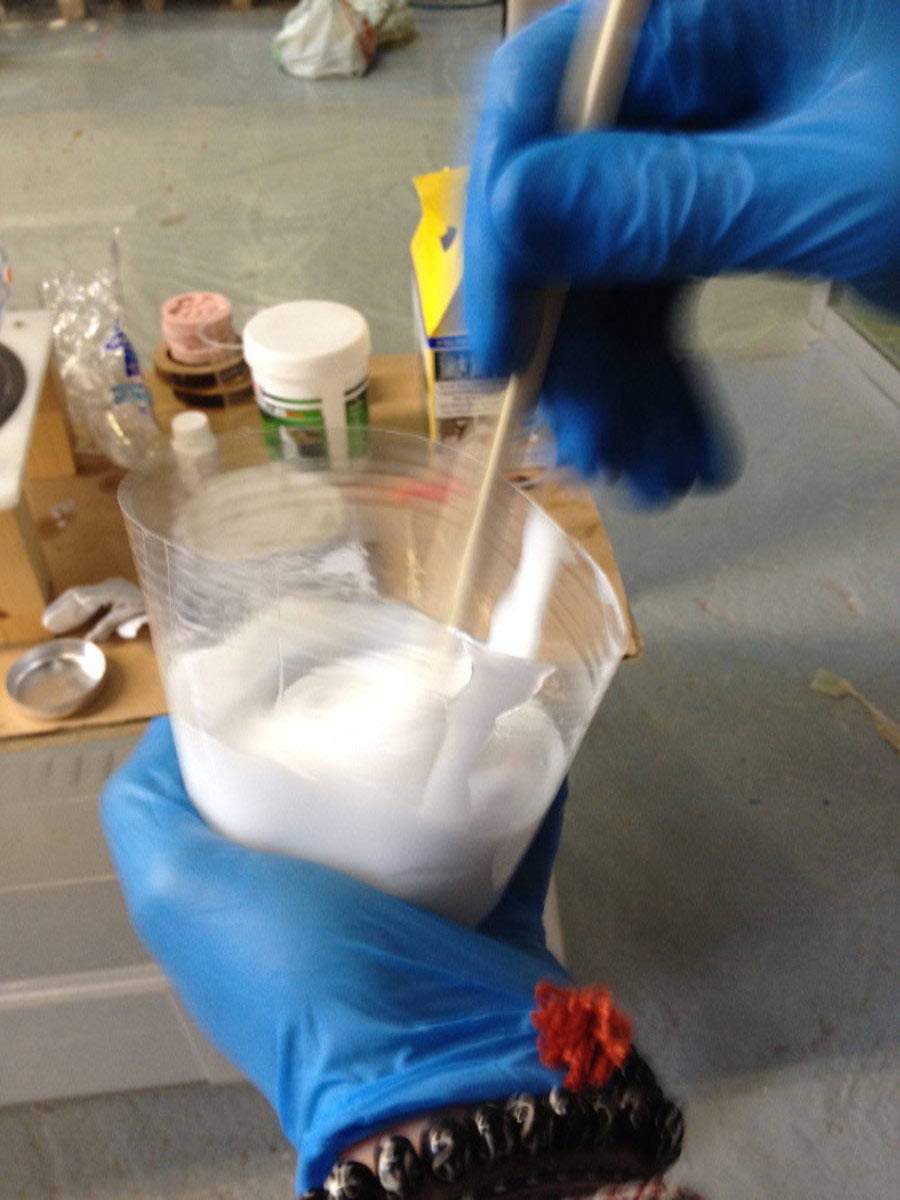
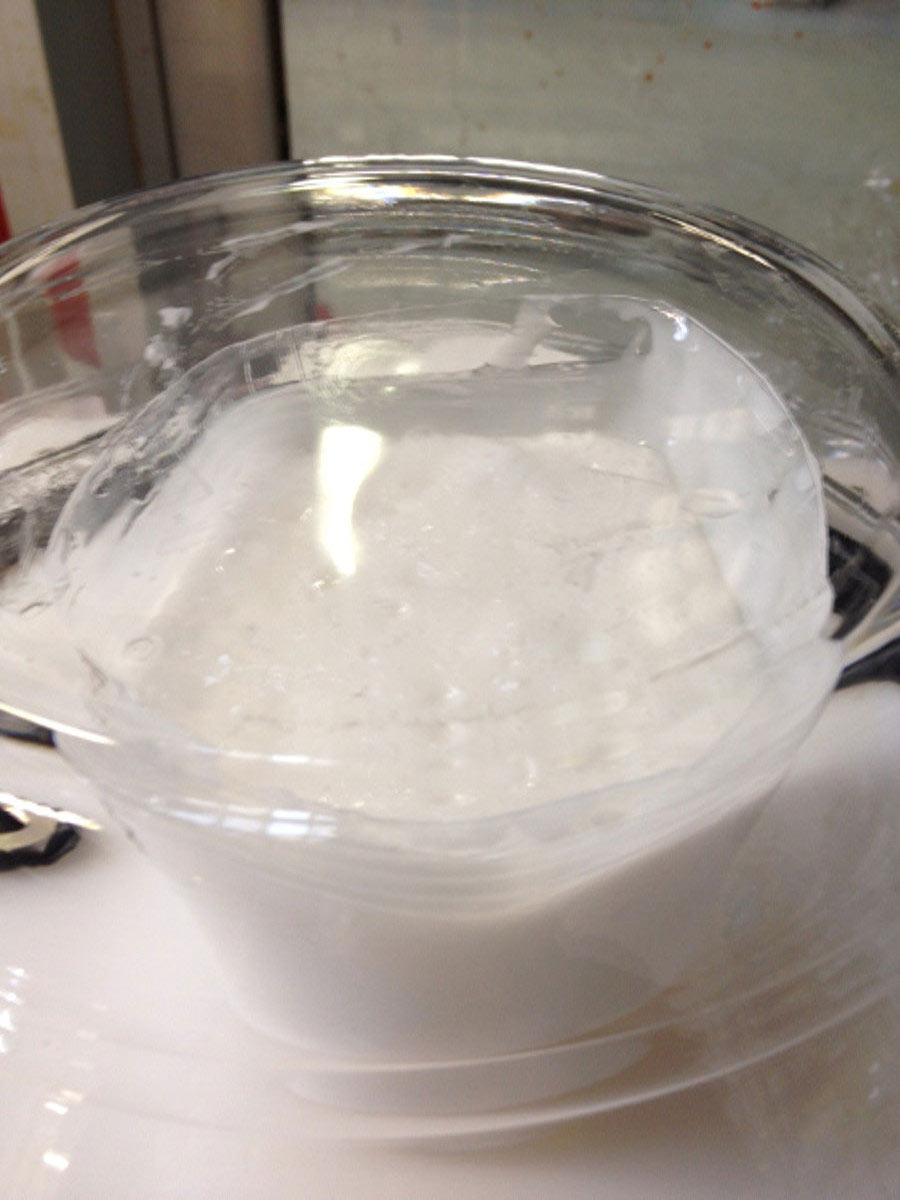
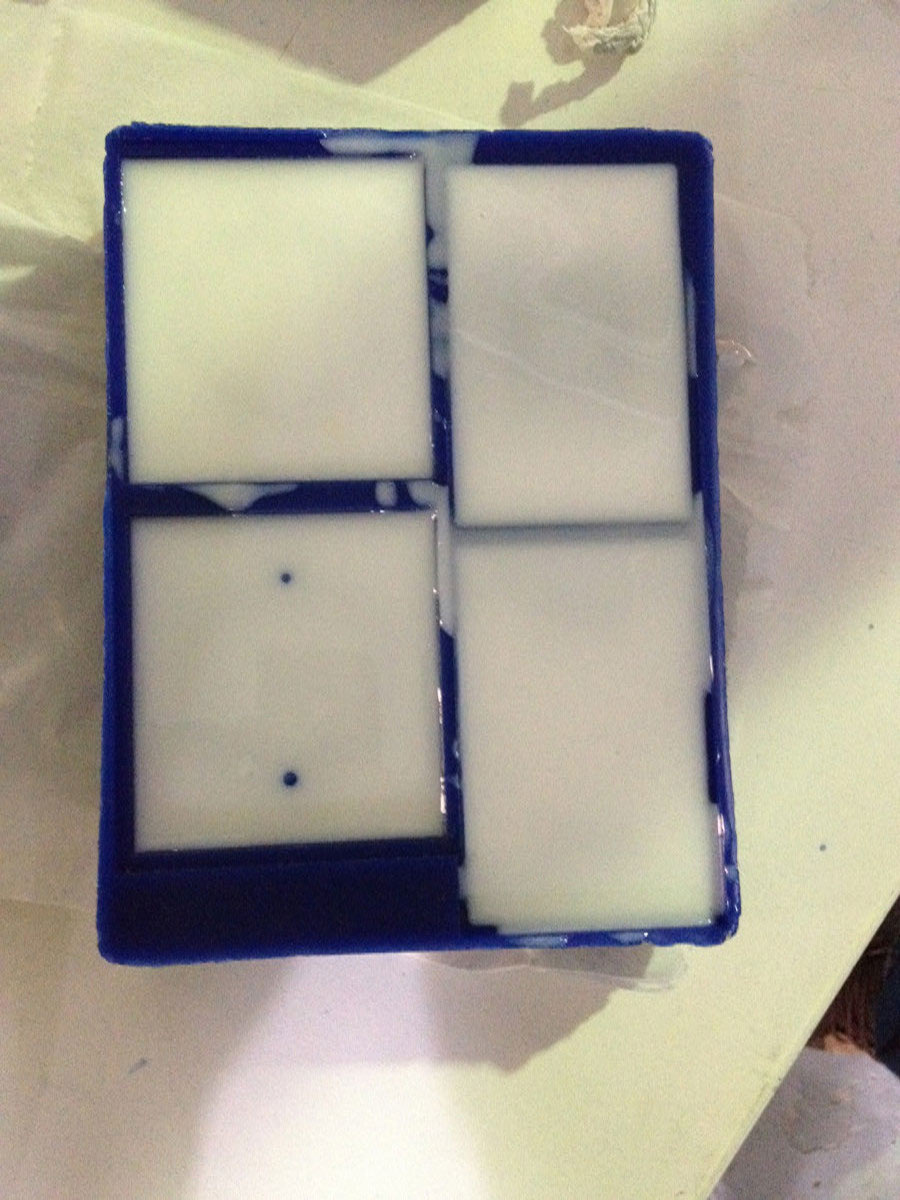
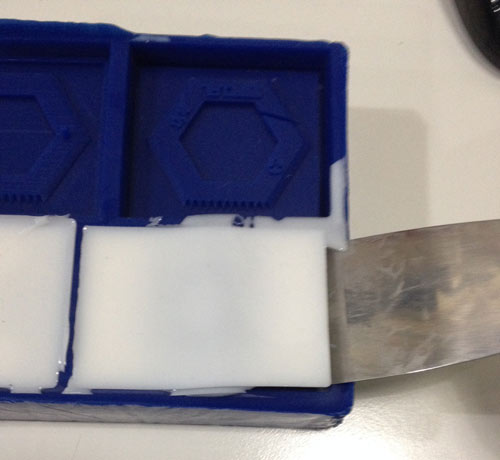
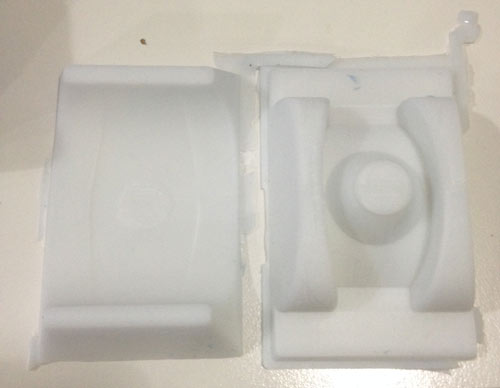
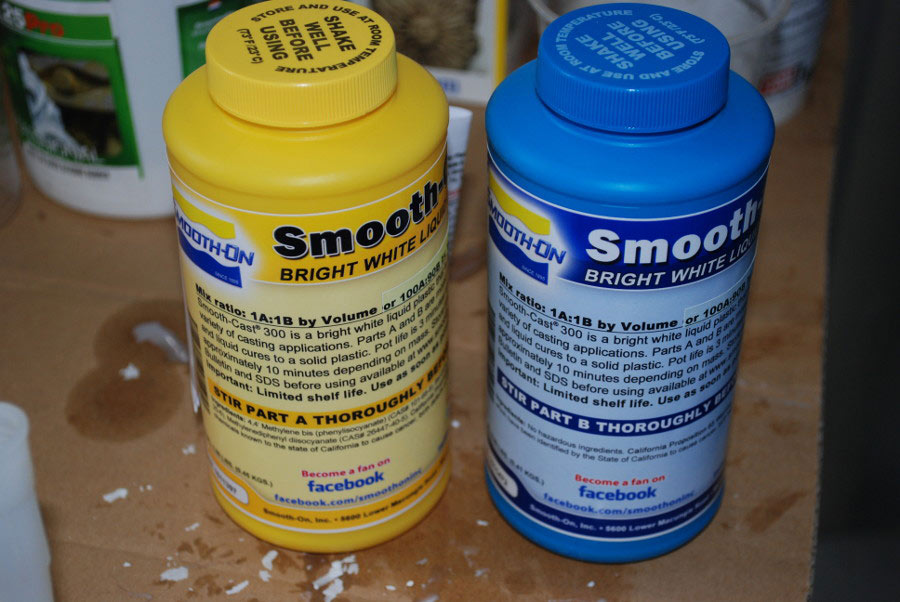
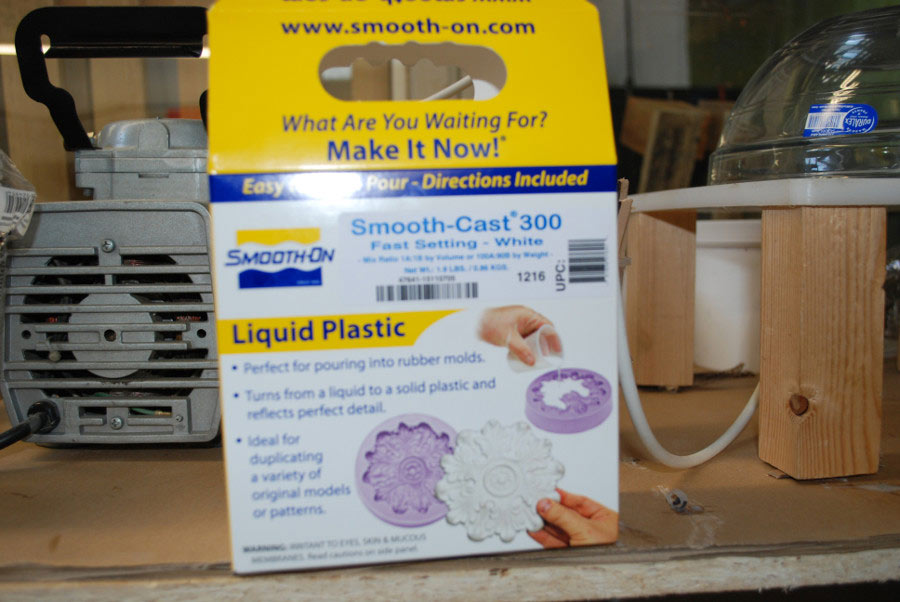
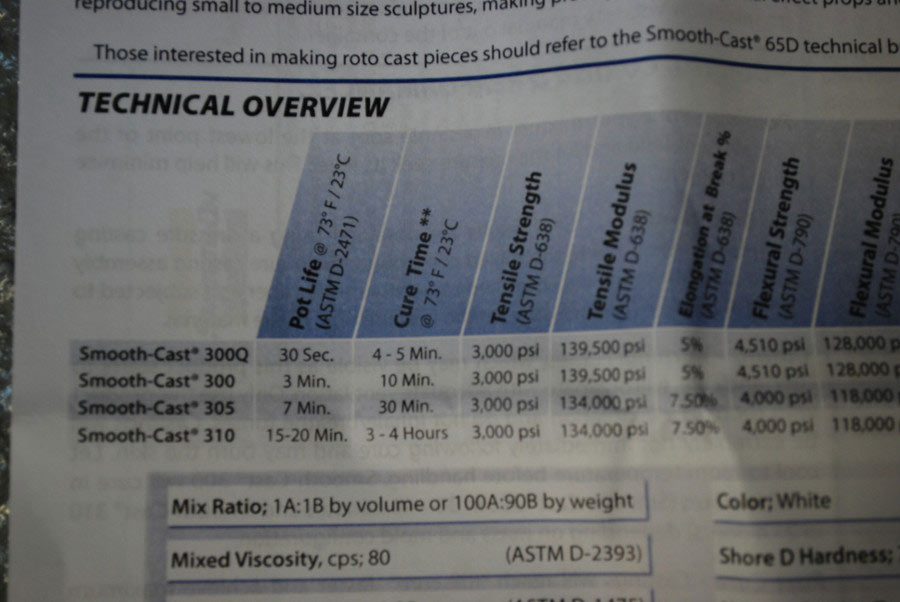
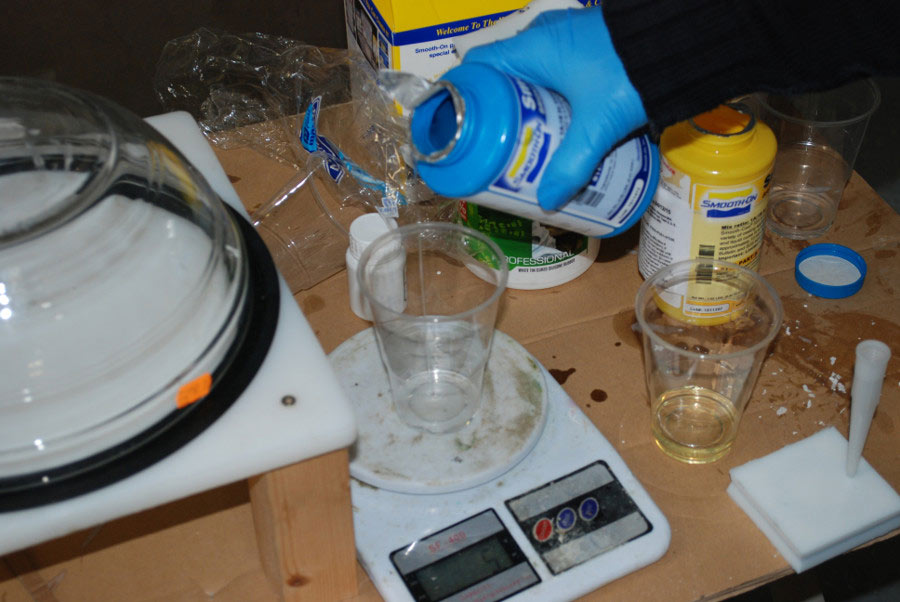
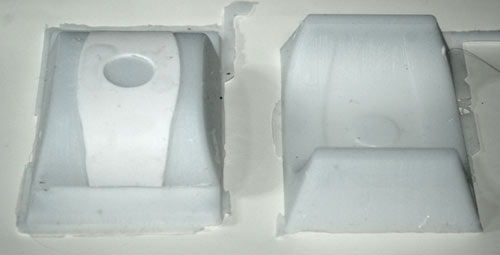
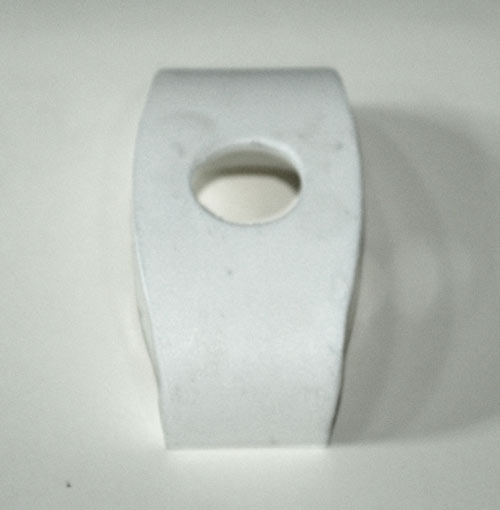
This is for finishing the process.This is the final result.The next step is to know the volume of the mold. We fill it with water, to get an idea of how much liquid we need for creating the mold.The Lab can become very chaotic, so becarful to don't get confused with the hardener. We had a nice setup to keep things tidy.The next step: Add 5 parts of B and 100 parts of A, mix during 5 mins witha chopstick and vacuum the mixture to remove the bubbles.Pour into the wax models.After 8-12 hours extract the silicon mold.Now i't time to make the positive mold, the final shape.And this is the final result. After, 15-20 mins the mold is ready to remove. Our instructor told us that is better leave it one day on the oven at 60 degrees celcius for curating and make it harder.Lesson learned, keep things tidy when you are making things. Chaos can reduce your chances of succes.
Digital tidiness is also important, the machines sometimes get confused if your file is not neat.
Download the files here