Week 7 - Computer-controlled machining
Assignment
Make something Big
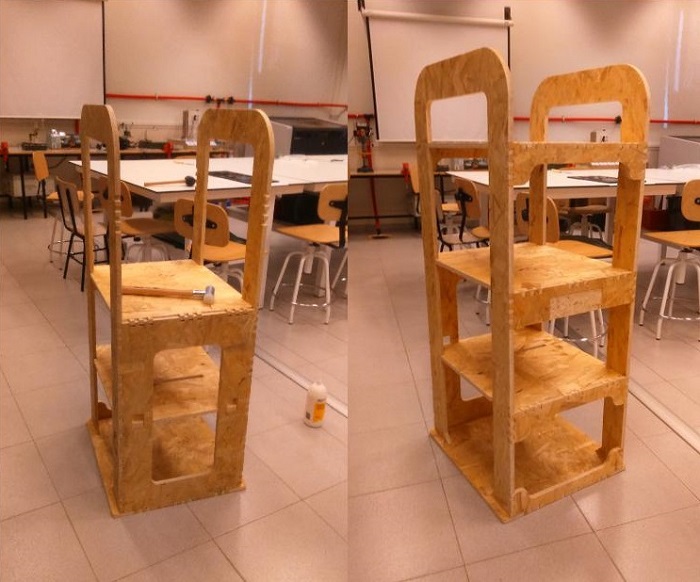
For this exercise I decided to make an auxiliary cabinet with wheels for my lab. The auxiliary cabinet serves to accommodate the electronic equipment, so they can be used anywhere in the laboratory and not be anchored to one place.
Designing the auxiliary cabinet
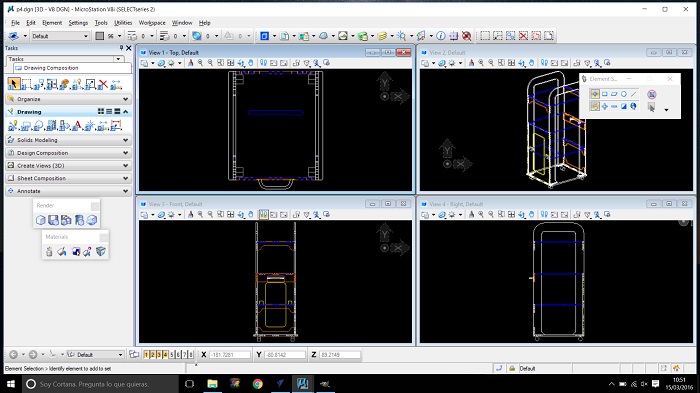
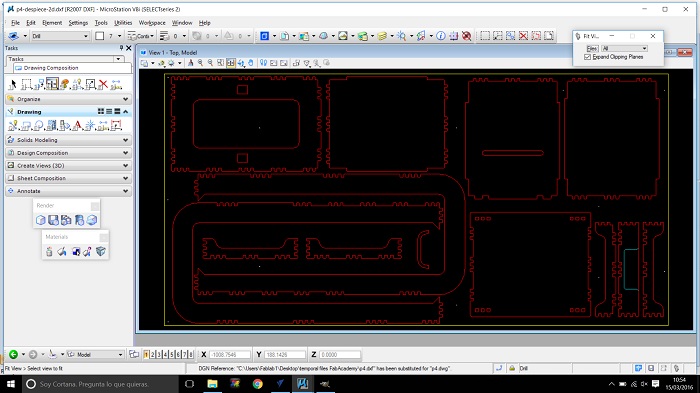
I used the MicroStation design program to design and locate the different parts within the board. To design this object I have taken into account the material that will provide for the exercise and the requirements of the auxiliary cabinet (working height, storage and size of electronic equipment that will host.
Before applying joints I had to make sure that the different pieces fit into the board
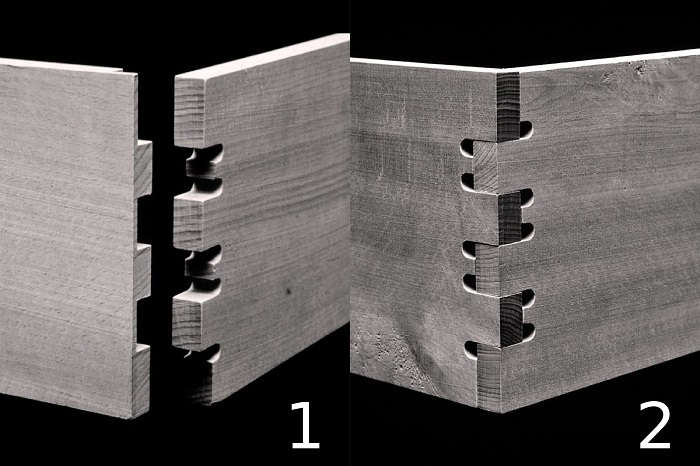
For the object that I designed I have chosen two different joints I but i had to discard the number 1 because we will use OSB for the assigment. I don't think joint number 1 will resists enough. I need a functional cabinet
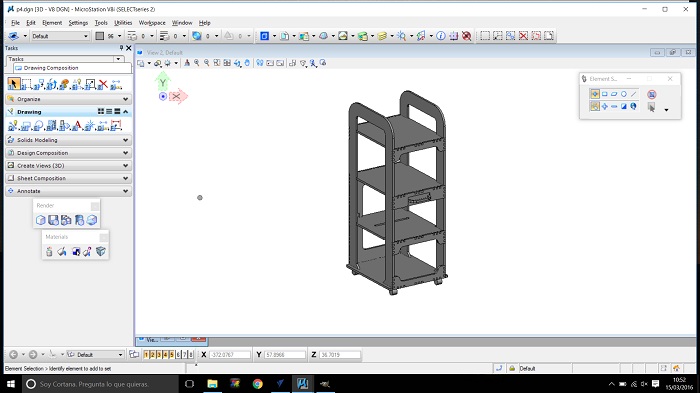
The design is ready! now I have to export to dxf to fit the different pieces inside the board and to make chamfes
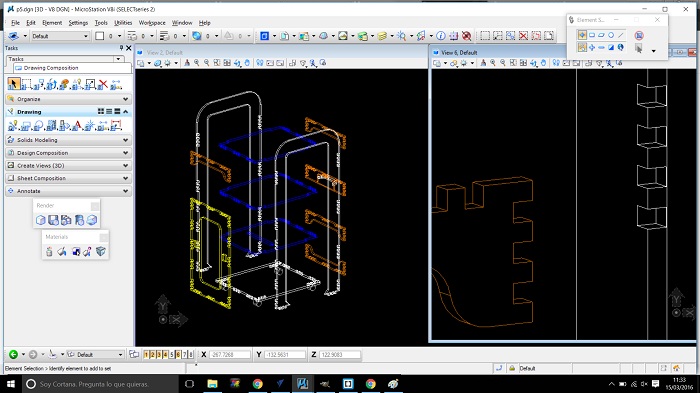
After making the chamfers I have drawn a few points to make the drills. I have separated the different work by levels.
Working with Vcarve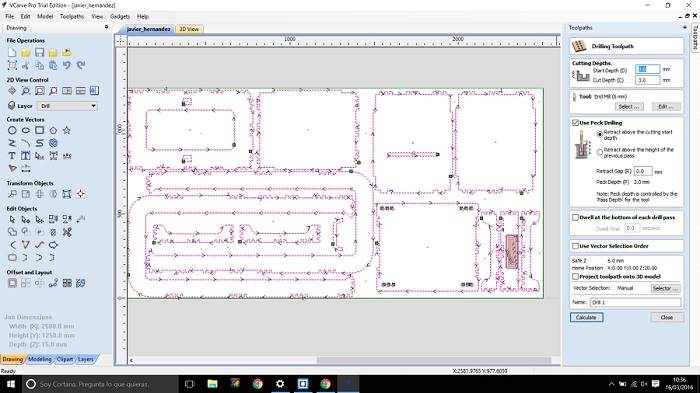
I've select a 6mm end mill for drilling and setup a 3mm cut depth.
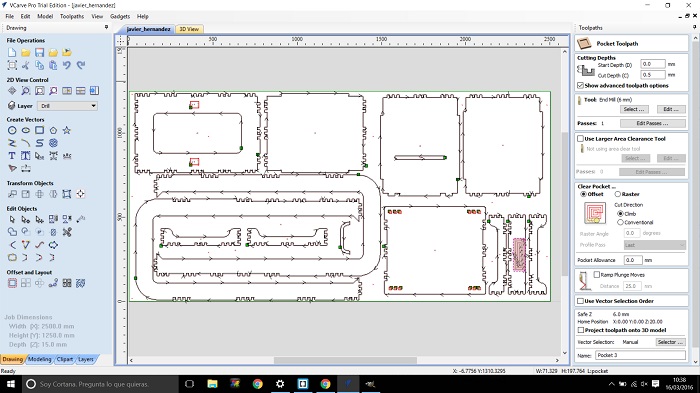
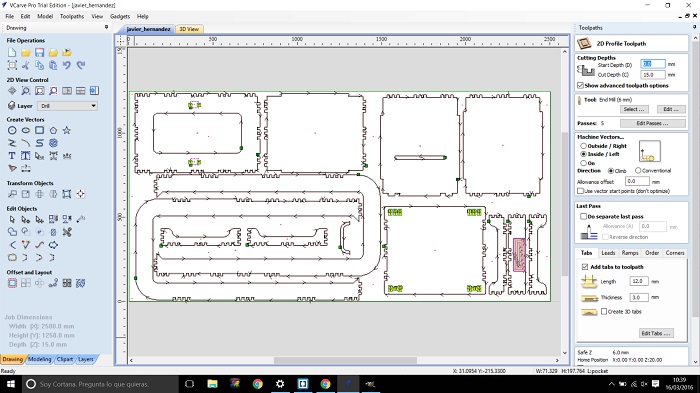
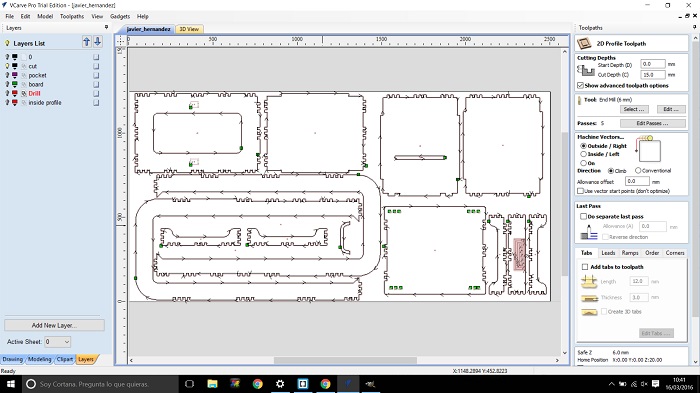
After drawing the dogbones i have setup the diferents works (pocket, inside profile and out side profile. evrething it's ready to export to sbp format.
I have not been able to complete the assignment for today, because the Vcarve trial version does not allow export to bsp format. I tried to save and open the Vcarve file on the pc that is connected to the shopbot but the versions are different and can not be opened. I will have to redraw and set parameters again.
Milling process
Day 2. I've reconfigured the parameters in the version of VCarve of Fablab Valldaura. Ready to start working with the shopbot
After configuring the X and Y I configure the z with the z-zero plate, click to Jog home and then CUT PART!
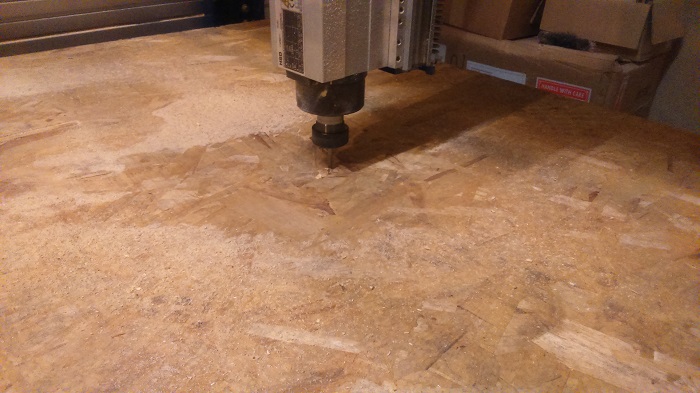
I didn't make enough drills and the board has not been sufficiently attached to the cutting table. or maybe the board thickness may be nonuniform. I sent another job changing the number of passes by one and changing de thickness of the board by 17mm
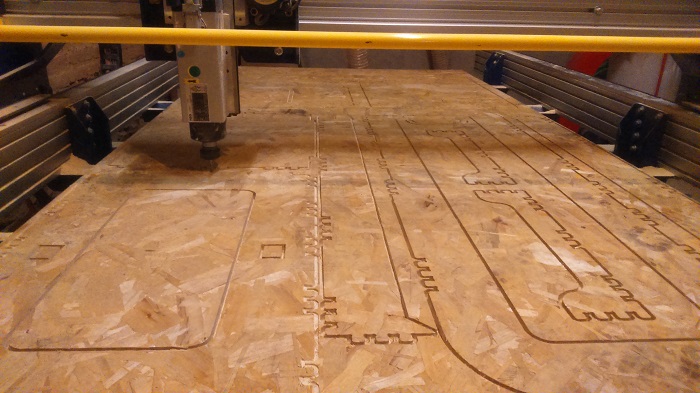
Work completed, now it's time for the assembling work.
Assembling process
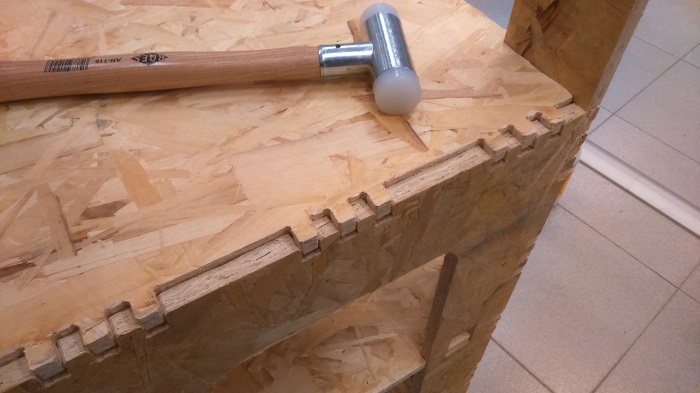
Day 3. The Dremmel it's a fantastic tool!.
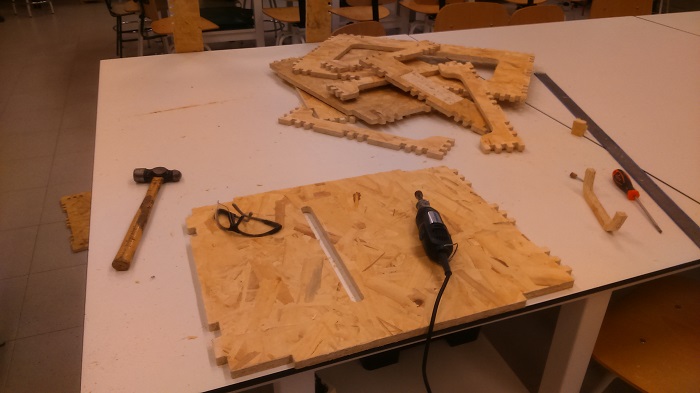
The joints are perfect, every thing it's going ok.
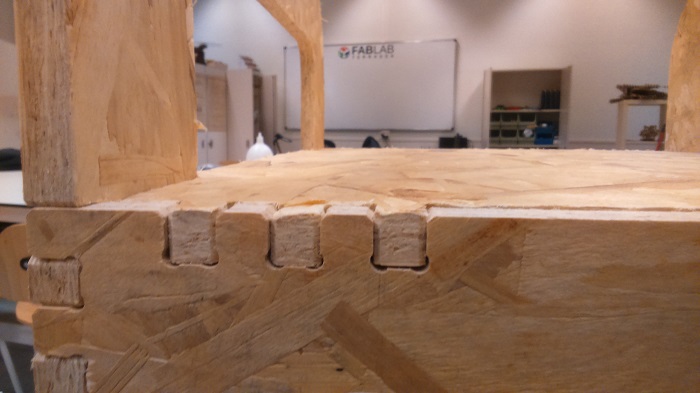
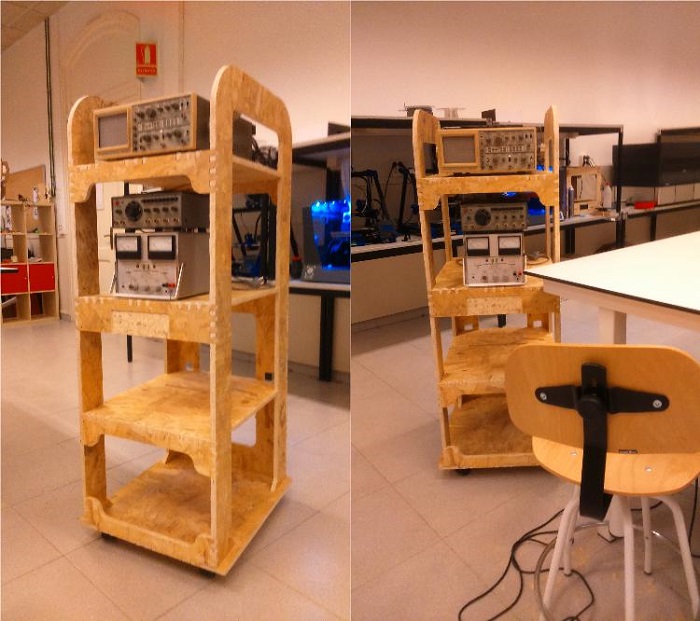
I would have liked to use other types of joints but board material is not good enough to use these connections. I wanted a functional furniture and here it is!.