Week 6 - Electronics design
Assignment
Redraw the echo hello-world board and add (at least) a button and LED (with current-limiting resistor)
Check the design rules, and make it
Redraw the echo hello-world board
For this assignment we are going to start working with EAGLE, and the first thing to do is downloading the EAGLE software here
The second thing to do is start watching some tutorial here, there is also an assignment tutorial, cool! here
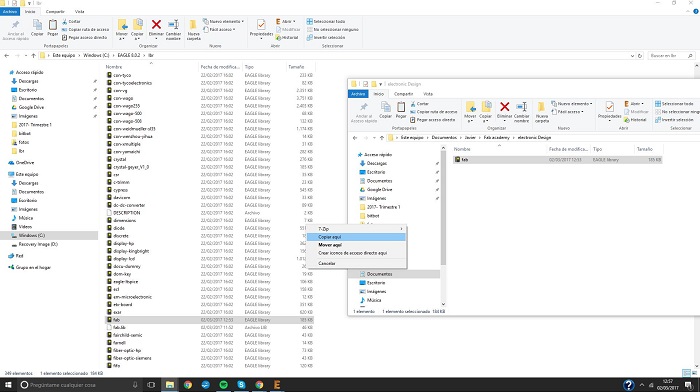
Working whit EagleOnce we have installed the software we must download the fab.lbr file (fab library) and drop it into the libraries folder of Eagle /Eagle/lbr. To activate the libraries launch Eagle software and go to libraries/use.
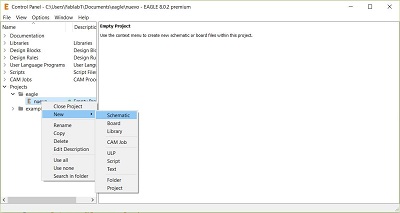
Now we can start a new project. File/new/project, and then we must create a "new schematic"
1X 6-pin programming header
1X Microcontroller: attiny44A
1X FTDI header
1X 20MHz resonator
2X Resistor (value 10k)
1X Button
1X LED
1X Resistor (value 100 ohm)
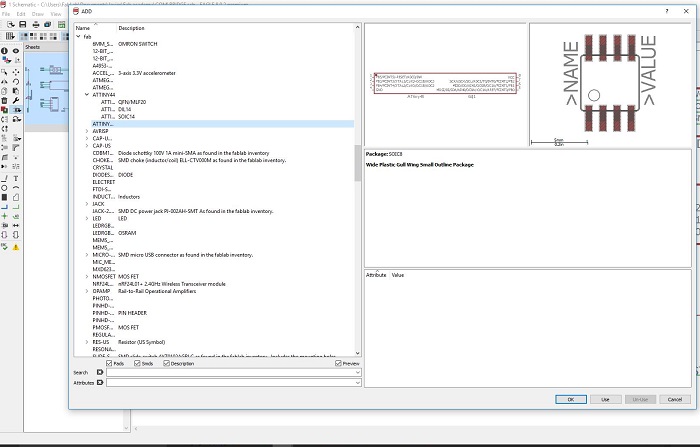
Now we can start adding components by clicking in toll button of the side bar, selecting them fron de fab library

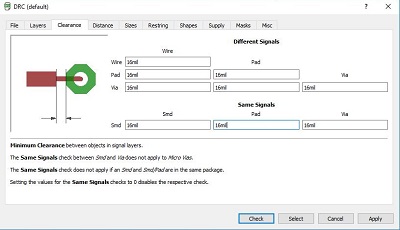
It's important to set the connexion betwen the components by clicking in the "name" button, set it's values whit the "value" button and connecting with the "Net" button. It's also important to set the DRC clearence settings as you can see in the image
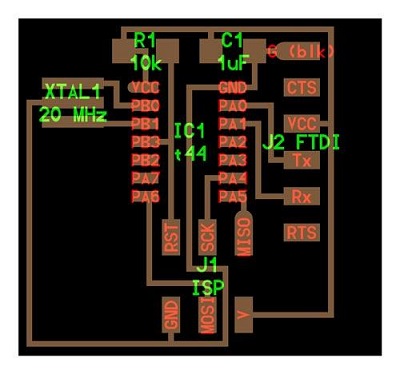
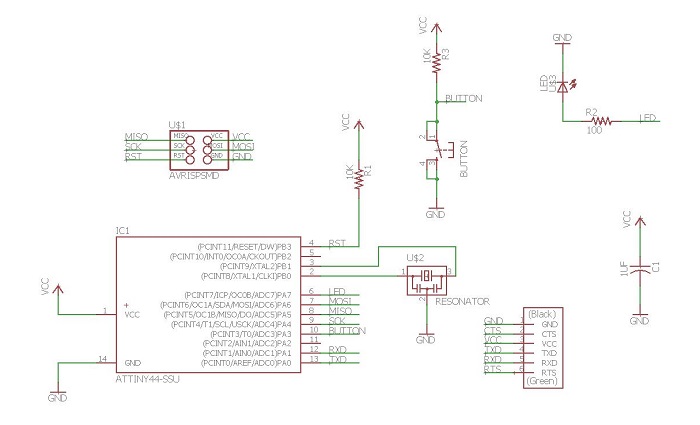
This is the scheme of the board
Now we can change of window by clicking in the button "Generate/switch to board" in the top bar
Now we can change of window by clicking in the button "Generate/switch to board" in the top bar, the components must be into the design area to start adding the "Route" lines
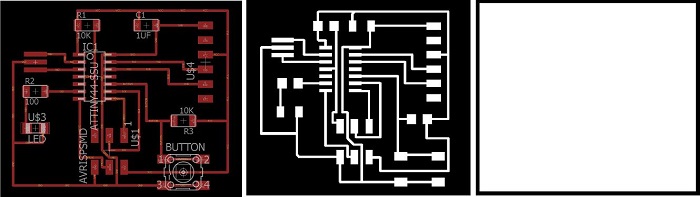
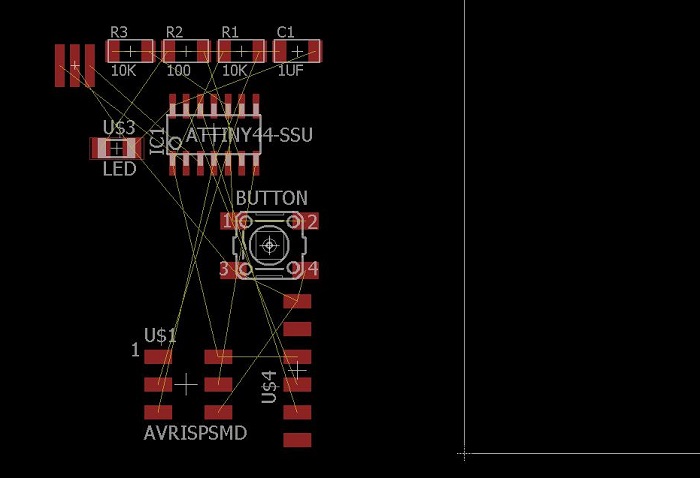
This is the result of distribution of the different components always trying to optimize the dimension of the board. To optain an image for milling we must File/Export/Image and setting a resolution of 600dpi. Don't forget to turn off the layers we don't want to be shown in the png image.
Milling
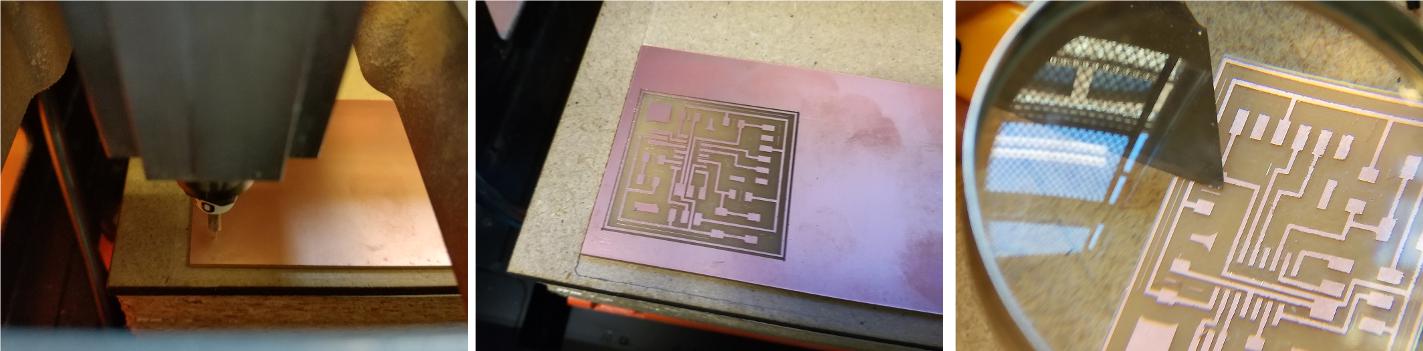
This is the result of the milling, I had to clean a little the board using a cutter, i don want to have problems with the conexions after the soldering.
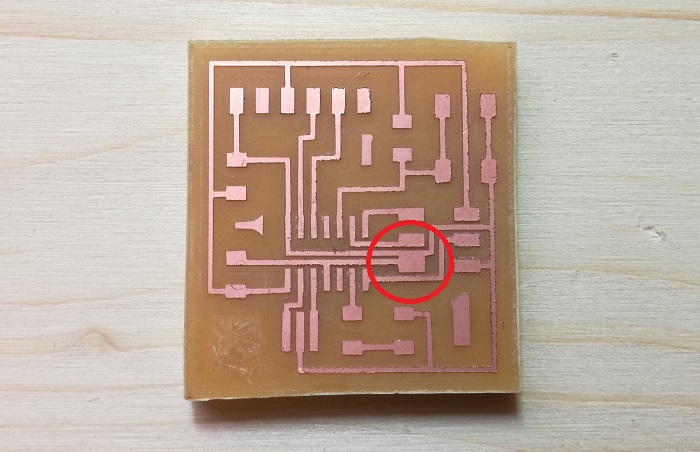
Nice result, but...., as you see there is an error, there is a pad and a trace together. I cut it usin a cutter. it'´my second milling in FA.
To know how to perform the milling check the information of the week 4 Electronic production
Soldering
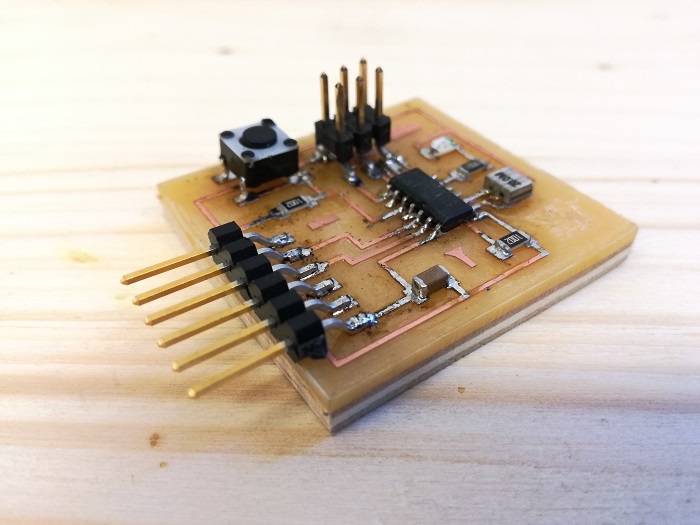
To know how to perform the soldering check the information of the week 4 Electronic production