Networking and Applications

Telling an Arduino Uno to open the flower via bluetooth

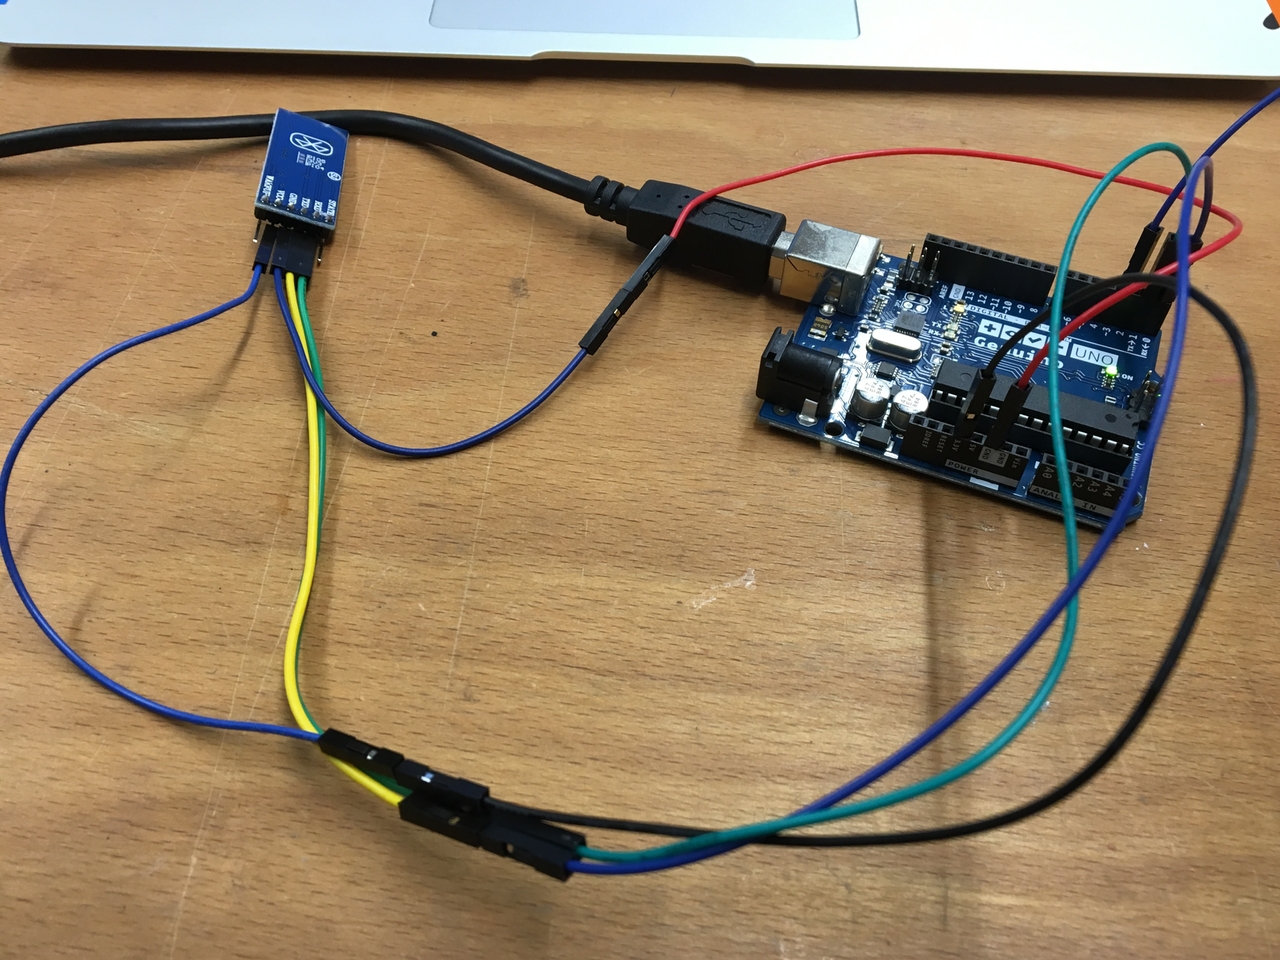
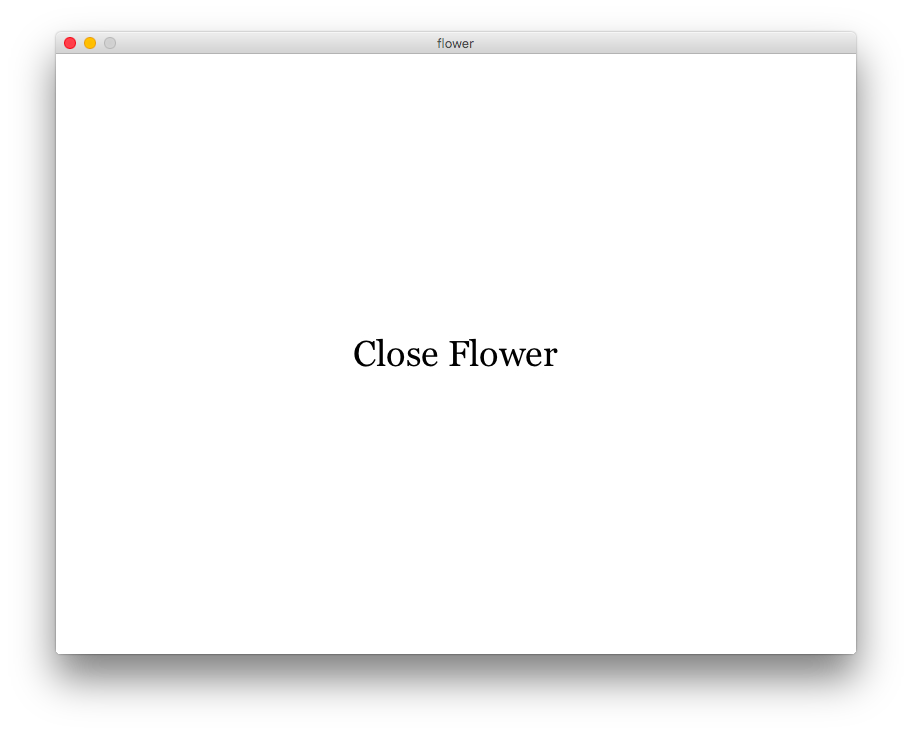
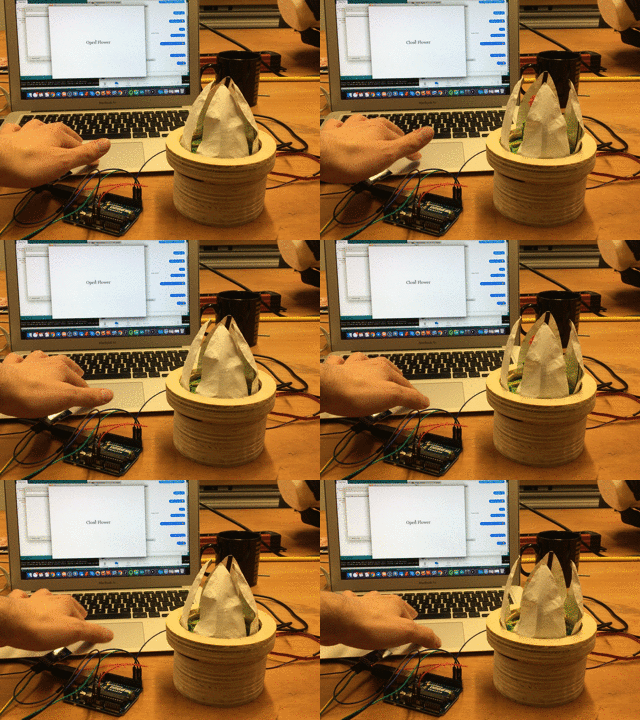
For the networking and application assignments I wanted to implement a simple button in a processing application which can open and close the flower from my final project via bluetooth. I use a HC05 Bluetooth Module ( Data Sheet ) to open a bluetooth connection to an Arduino Uno. The HC05 Bluetooth Module is connected to TX RX of the serial connection of the Arduino Uno. The Processing Code generates a simple interface which can be pressed to open and close the flower and changes the background image of the interface. With this I can now open and close the flower from my Computer.


The wiring itself was pretty easy you just need to provide GND and 3.3V to the HC05 Bluetooth Module and connect RX and TX to the according RX and TX port on the Arduino Uno. In Code then you need to set the Serial Connection of the Arduino to to 9600 baud and read the incomming data. The Process Code connects to the Bluetooth port of a computer and sends data via the bluetoot connection. You then only need to pair the bluetooth component of the computer with the HC05 and start sending the data. The arduino code then reads the data and moves the motor accordingly. The Image in the app on the computer simple says "open flower" or "close flower"

Arduino Code

                
                #include Servo.h
                    Servo myservo;  // create servo object to control a servo

                    // the setup function runs once when you press reset or power the board
                    void setup() {

                      Serial.begin(9600); // 9600 baudrate of the HC-05 Bluetooth module
                      pinMode(8, OUTPUT);
                      myservo.attach(3);


                    }

                    void openFlower(){
                      myservo.write(40);
                      delay(15);
                    }

                    void closeFlower(){
                      myservo.write(110);
                      delay(15);
                    }

                    // the loop function runs over and over again forever
                    void loop() {

                    while(Serial.available()) {
                      int command = Serial.read();
                      Serial.print(command);

                      if (command == 49){
                          openFlower();
                      }
                      else {
                        if(command == 48) {
                            closeFlower();
                        }
                      }

                      delay(15);
                    }
                    }


Processing Code

                
                    import processing.serial.*;
                    import processing.dxf.*;

                    boolean toggle = true;

                    PImage logo1;
                    PImage logo2;

                    int width = 800;
                    int height = 600;

                    Serial myPort;
                    int portNumber;


                    void setup() {
                      size(800, 600, P3D);
                      smooth();
                      background(255);
                      logo1 = loadImage("Logo1.jpg");
                      logo1.resize(width, height);
                      logo2 = loadImage("Logo2.jpg");
                      logo2.resize(width, height);
                      image(logo1, 0, 0);
                      for (int i=0; i< Serial.list().length; i++) {
                        if (Serial.list()[i].length() > 17) {
                          if(Serial.list()[i].substring(0,18).equals("/dev/cu.HC-05-DevB")) {
                            portNumber = i;
                          }
                        }
                      }
                      println(Serial.list());

                      String portName = Serial.list()[portNumber];
                      myPort = new Serial(this, portName, 9600);

                      myPort.write("0");
                    }

                    void draw() {
                    }


                    void mousePressed() {
                      blendMode(REPLACE);
                      background(0);
                      blendMode(ADD);
                      if (toggle) {
                        myPort.write("0");
                        image(logo1, 0, 0);
                      } else {
                        myPort.write("1");
                        image(logo2, 0, 0);
                      }
                      toggle = !toggle;
                    }


Additional Bluetooth networking with self made board


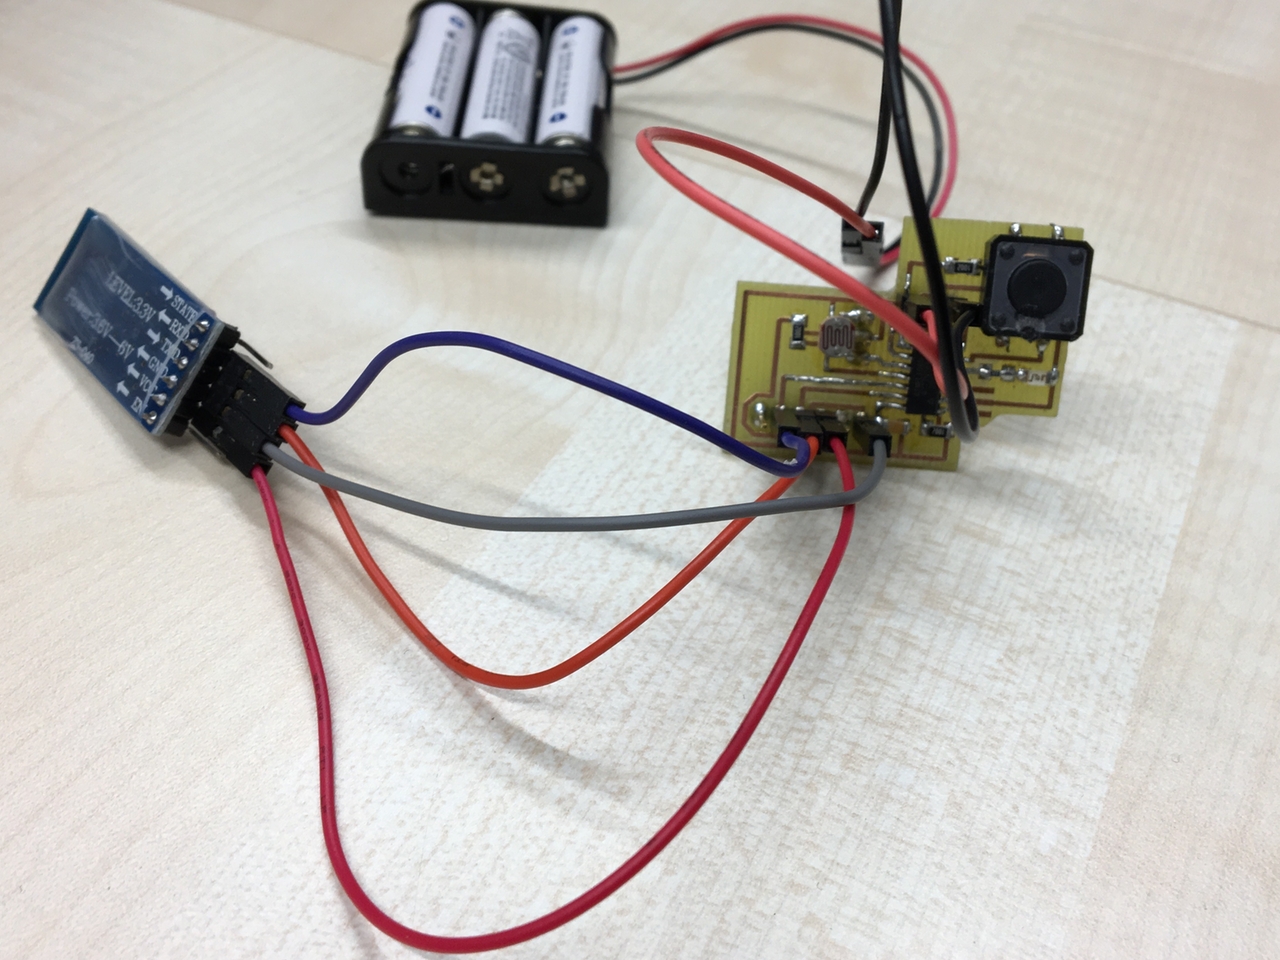
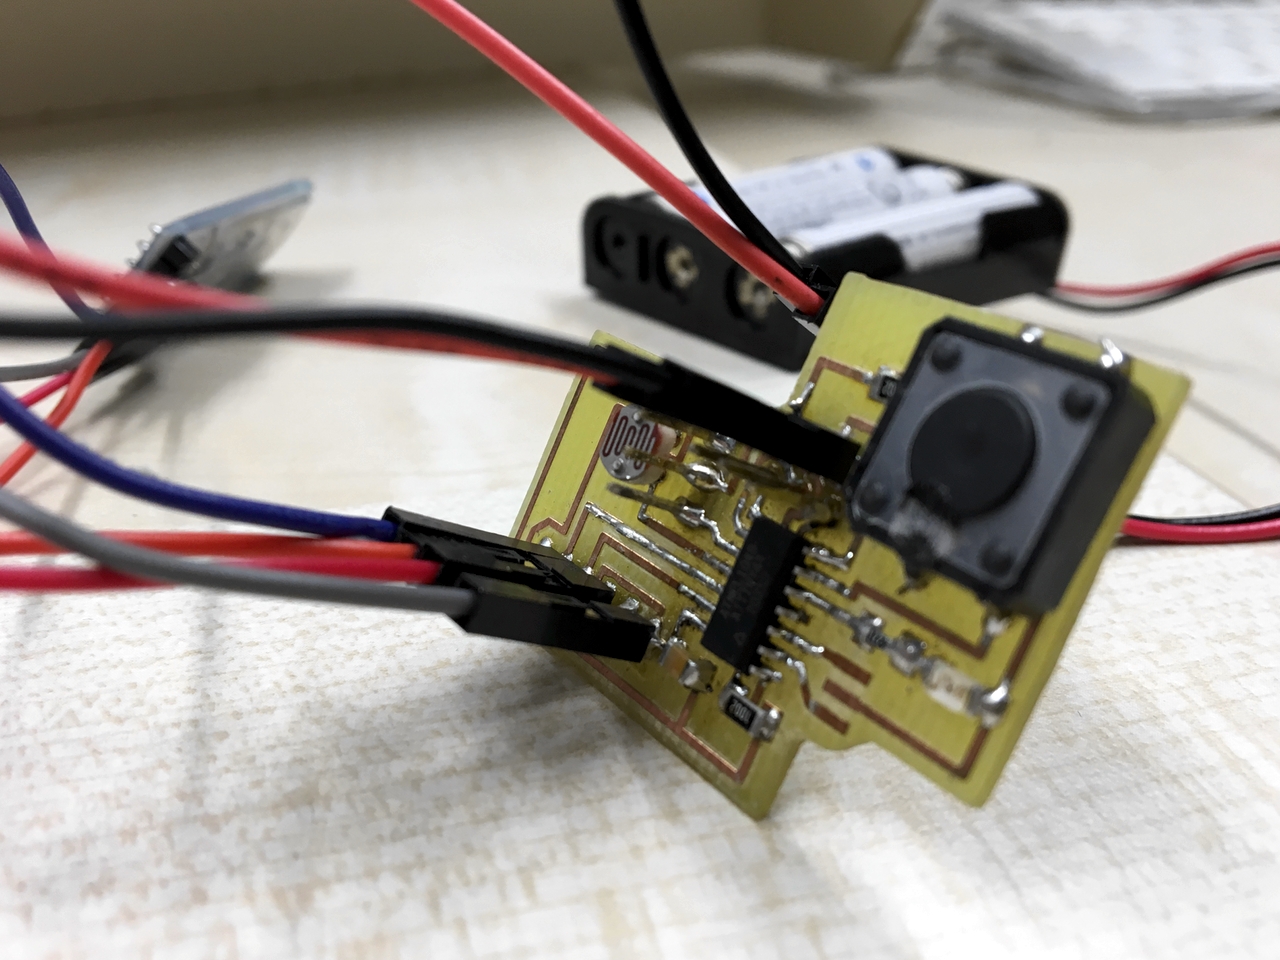
Additionally I connected the bluetooth to the board I build from week06 and used the processing app to switch the LED on the board on or off. I used Pin13 and Pin12 of the ATtiny44 as RX and TX. For the serial connection on the ATtiny44 I used the SoftwareSerial library. The Processing Code was the same as in the example above, I only replaced the text with an image, as one can see in the Video.


Board Code

                
                    #include SoftwareSerial.h
                    const int rx=0;
                    const int tx=1;

                    SoftwareSerial mySerial(rx,tx);

                    // the setup function runs once when you press reset or power the board
                    void setup() {
                      pinMode(rx, INPUT);
                      pinMode(tx, OUTPUT);
                      mySerial.begin(9600); // 9600 baudrate of the HC-05 Bluetooth module
                      pinMode(8, OUTPUT);
                    }


                    // the loop function runs over and over again forever
                    void loop() {

                    while(mySerial.available()) {
                      int command = mySerial.read();
                      //mySerial.print(command);

                      if (command == 49){
                          digitalWrite(8, HIGH);
                      }
                      else {
                        if(command == 48) {
                          digitalWrite(8, LOW);
                        }
                      }

                      delay(15);
                    }
                    }