Computer-Controlled Machining

Preparing the Files

I wanted to create a simple replica of Link's shield from "The Legend of Zelda: Ocarina of Time" (Wikipedia Link). The shield, which the character is wielding when he is young, is made out of wood and has a simple shape. So I began looking online for references.

source: Link
source: Link


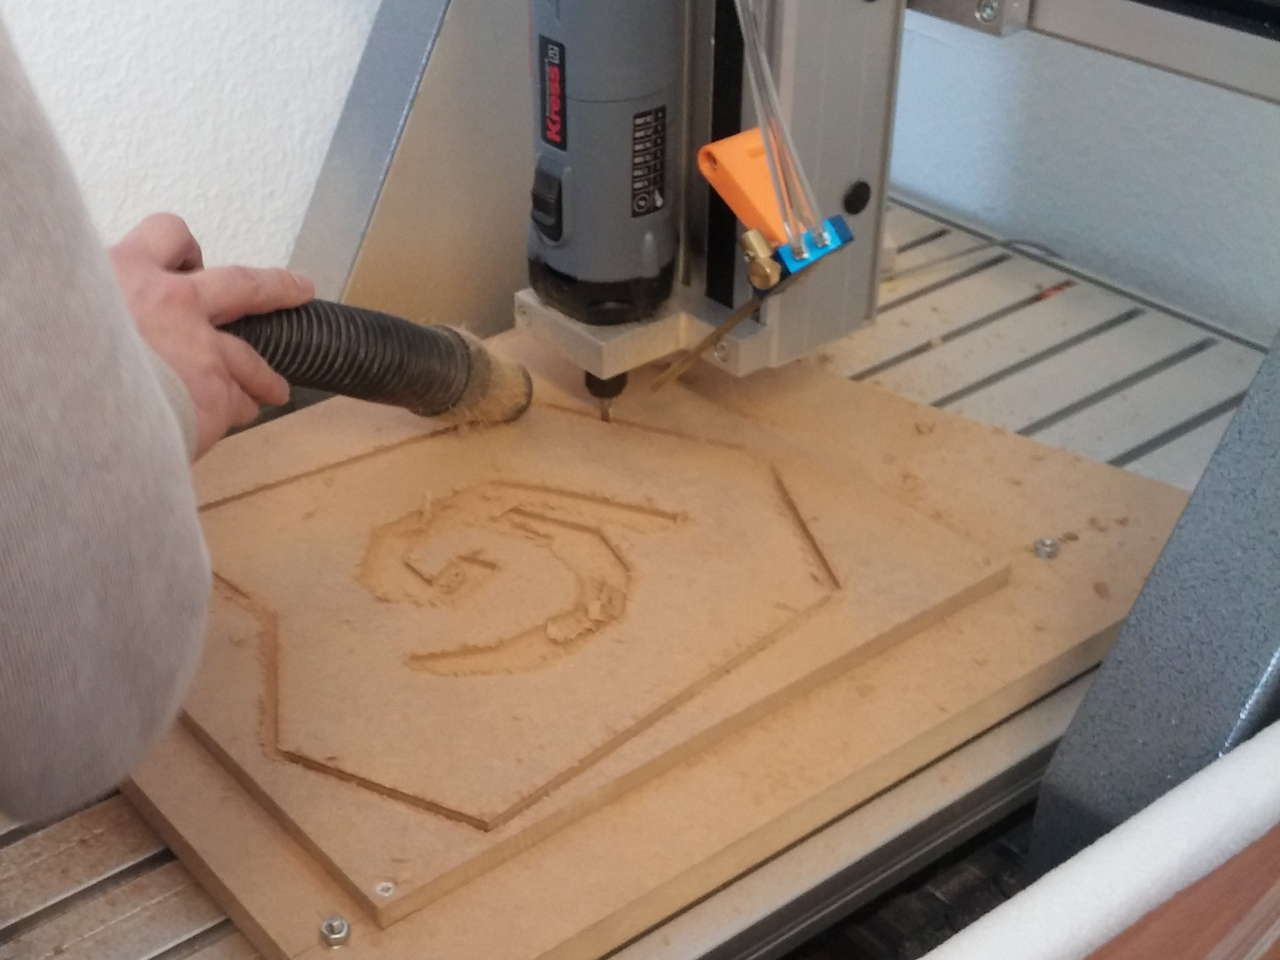
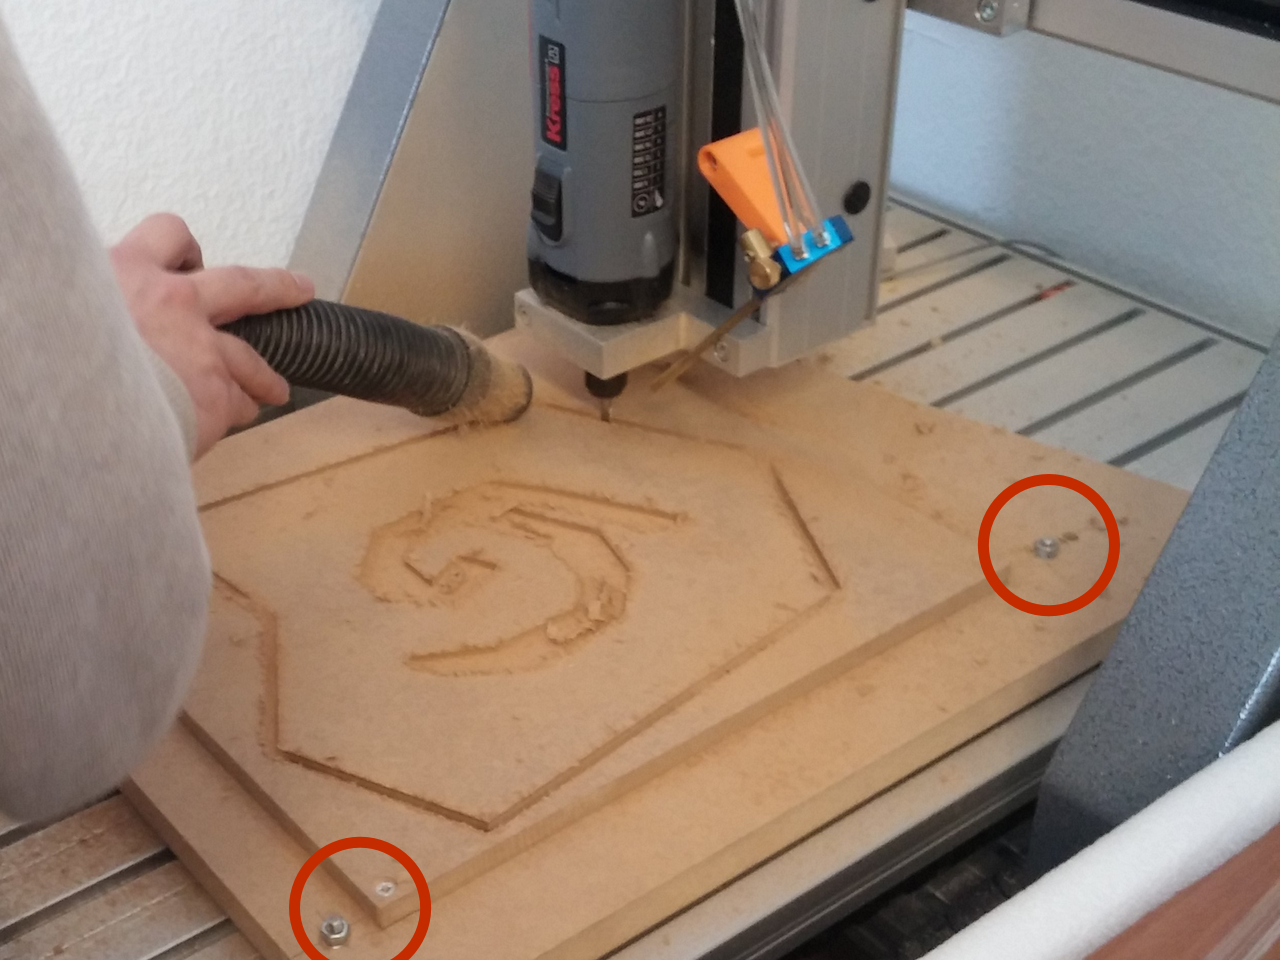
After I found those Images I used Inkscape to recreate the shield as a vector file for the CNC machine.


Shield DXF File

Configuring the CNC Machine

We used the software CamBam ( Application Homepage ) to configure the CNC machine. The software does not look very modern but it encapsulates the input data for the mill pretty good. You basically only need to show the drill where the zero point is. You can also let the drill move to the edges of the vector file to check whether it drills into any of the fixing screws. Otherwise I used the recommended parameters from the software for the mill. I then screwed the piece of wood onto the "table" of the CNC machine and began the drilling process.

Steps Summary
  • Fixed piece of wood to the milling bed
  • Loaded svg file into the software
  • Cleaning ot the svg file and setting the milling path
  • Highlighting the screws for the software to define the edges of the woodpiece
  • Setting the thickness of the piece of wood to 10mm
  • Used one Drill (6mm endmill with 2 flutes)
  • Speed Parameters: Feed was 1400mm/min with a rotation speed of 20,000 rpm.
  • Depth of the cut was 5mm
  • Start the milling process


Higlighting of the screws which were used to fixate the piece of wood. We drilled the woodpiece, which will get milled, onto another woodpiece and fixed everything with screws onto the milling bed.