Molding and Casting
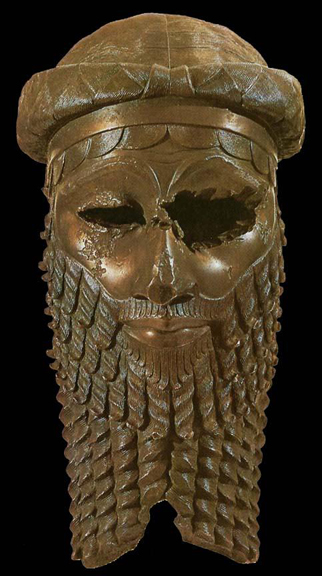
Head of an Akkadian Ruler, from Nineveh, Iraq. 2300-2200 B.C.Bronze, Iraq Museum, Baghdad. The first known hollow cast bronze in existance.
Note: My code and files can be found here in the Week 12, Molding and casting . I am only posting low resolution photos on this page. Week 12, molding and casting
Our Process
Research
I started the week out doing some research. Ironically I am an art teacher but have never done this process I watched several videos about molding and casting.
1. The first was from 2016 archive found here. Casting and Molding
2. The second was a slide show that one of my team mates sent me. It can be found here. Casting and Molding Slide Show
3.The third tutorial worked with was an Aspire Vcarve tutorial. I was very interested in this process and milling a mold with our Shopbot. It can be found here. Relief Sculpture with Aspire
I spent a lot of time with Vcarve and Aspire, documentation to follow. The learning curve is steepand I want to figure it out. I really want to come back to the this, but unfortunately I was running out of time and had to settle for an easier form of casting.Brainstorming an Idea
My first thought was that I would go back to my work in earlier weeks and use the Troll head I had made and scanned. It's creation can be found here.
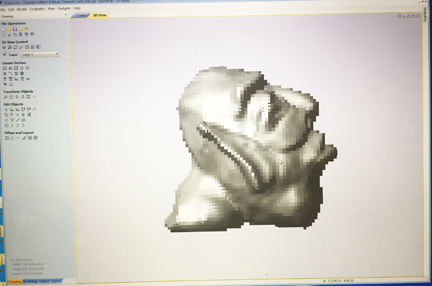
Troll HeadBecause I had an .stl file I thought it would be comparitively easy to get it into vcarve and create a mold to cast from. I was wrong. The Learning curve on Aspire was very high. I found the troll.stl file was really rough and orienting it on the surface of the work was hard. I tried to sculpt it down using Aspire's modeling tools, but I ended up making a real mess of it.
Troll imported into VCarve.
Troll carved down to mill with Aspire.
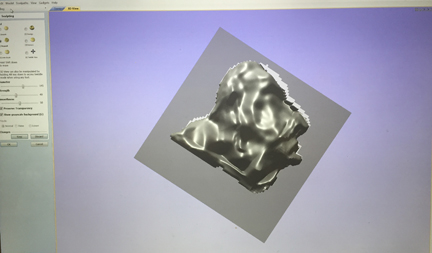
The deminsions of the troll were just to much to mill. After talking to my guru I gave up on this idea. I was going to have to go to a plan B.
Plan B
It was becoming evident that I was going down a rabbit hole with aspire and was spending way to much time for little reward. So I decided to move on to a different media. I fell in with the rest of my group that was molding with objects cut from the laser printer.
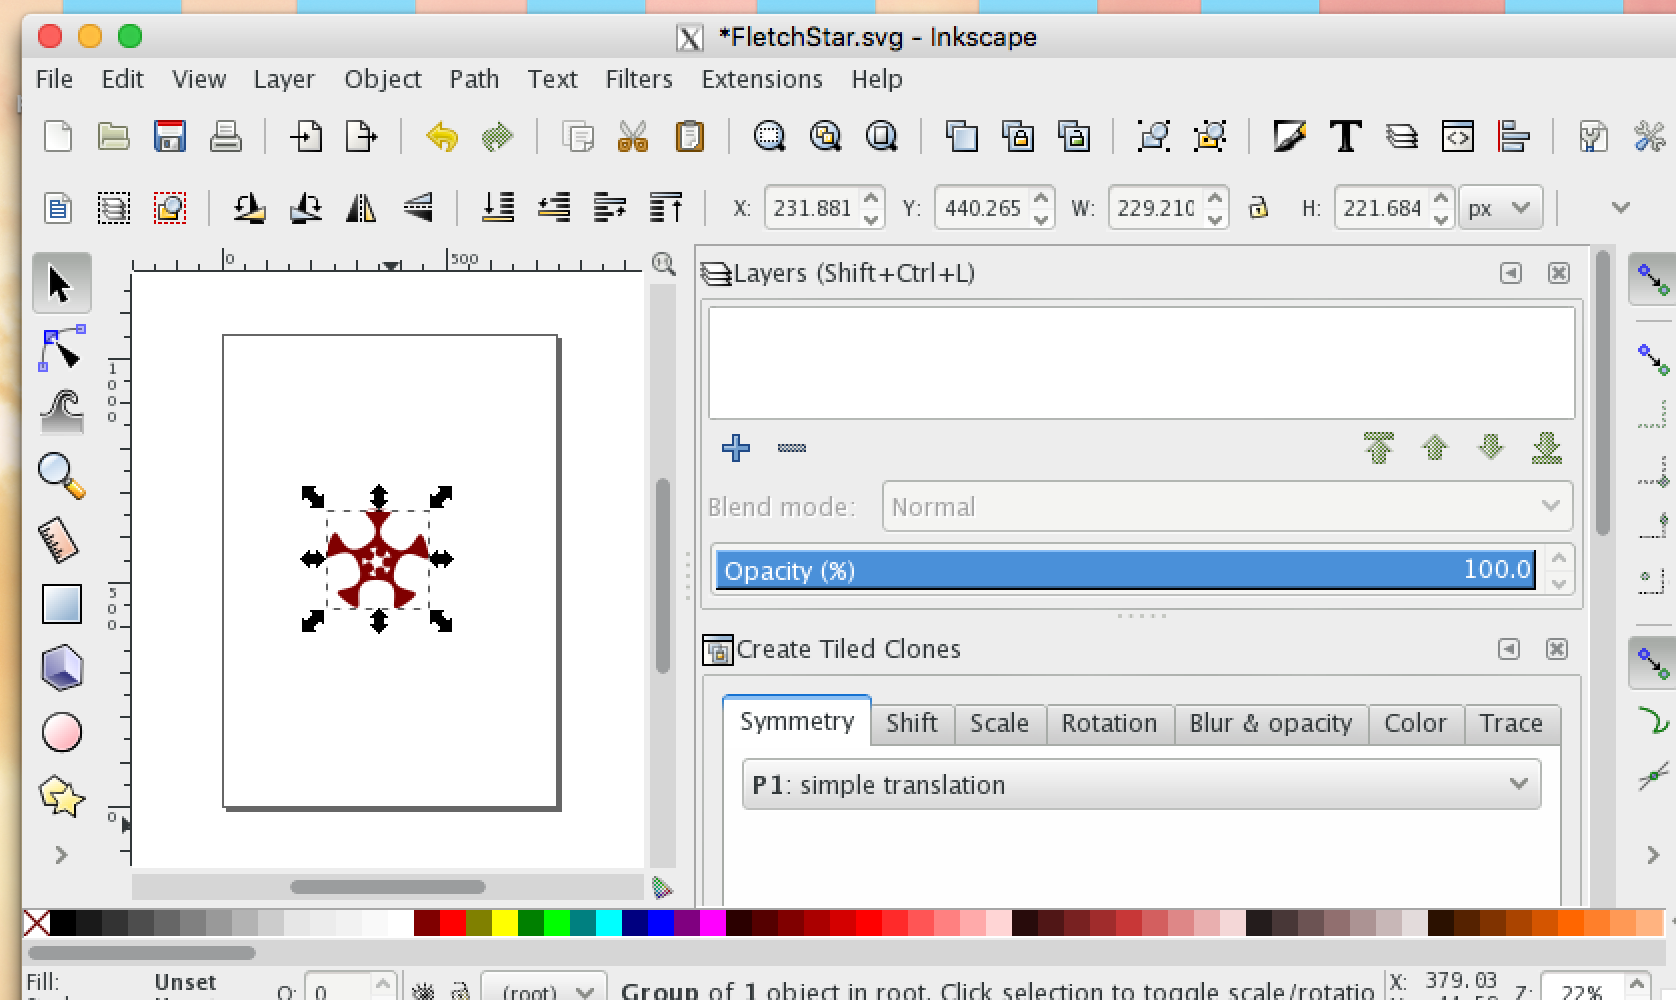
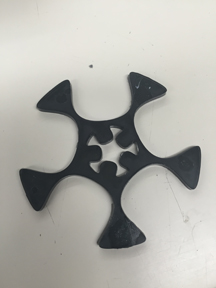
I still wanted to cast and mold something I could use in my creature final so I went back to the star scale I had previously modeled in inkscape. With a few adaptions it was ready to be cast and molded.
Here is a screenshot of the inkscape model.
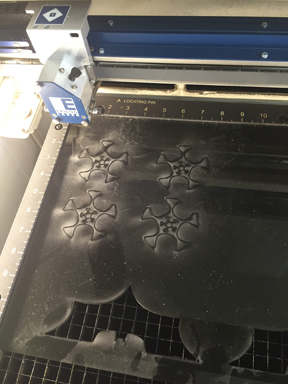
I then exported the file as a pdf and cut the image using correl draw to our laser cutter.
Molding Process
I now had created the object to cast.
1. The next step was creating a box to make our Molds in. We did this two ways. We used the laser cutter to make molding boxes and also used the art rooms mat cutter. Both methods worked well.
Laser cut mold below.
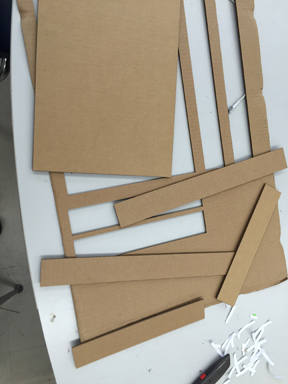

Mat Cutter mold above
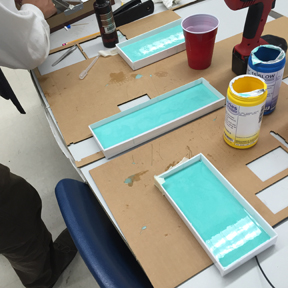
2. The next step was pouring molding silicon over the objects to create our molds.

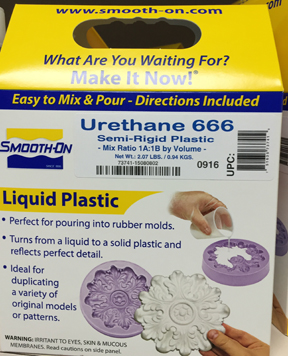
Here is the pdf file of the product we used to make our casts. Casting and Molding
3. The next step was creating the mold.
a. We made sure to mix the two bottles in a one to one ratio
b. We made sure that we shook the bottles up well before pouring them together.
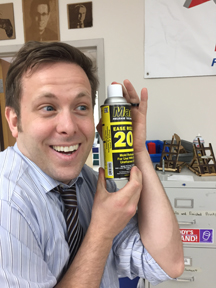
c. Before pouring we sprayed the interior of the molds with a releasing agent, pictured here.
c. We let the silicon rubber sit over night to cure.
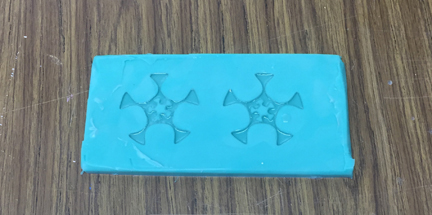
d. I pulled the mold out of the box and had cured over night and had a perfect reverse image.
e. The next process was to mix our casting agent and pour it into the mold. We used the product below to cast.
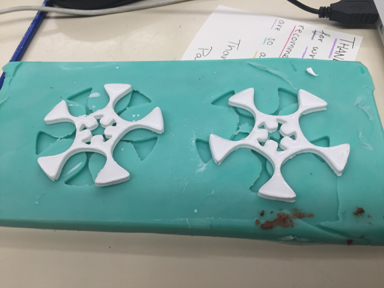
per the instructions, First we sprayed a releasing agent then we mixed the bottles to a 1/1 ratio and poured them into our molds.
We let cure for about 2 hours though. The result is below. My final molds.
Taking this knowledge to the Shopbot.
I was dissappointed that I did not make my mold using the shopbot so I resolved to teach myself and my team how to make a mold using the Shopbot.
1. I chose my inkscape scale pattern that I had used previously to have consistancy from media to media. I had already used aspire 8.0 when I had tried to make a mold of my troll head, so I knew a little bit already.
2. I booted up Aspire. First I set my Job size and set the bit to cut the z axis from the top. I left the rest of the setting alone.

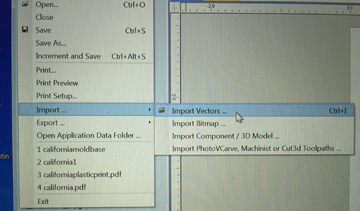
3. I then imported my file from the dropdown menu /file/ import vectors and chose the file I wanted. I centered in the job using the centering tools.
4. Once it was opened I encircled it with a vector circle I drew with Aspire8 and the drew a rectangle to outline the circle and starscale.
5. Now I had to reduce the level of everything inside the circle by .1 of an inch. I was using a .25 inch endmill bit.(the smallest we had.) Doing a pocket cut we used a two fluted up bit.I learned that the shape of my mold and size was determined by the endmill size. I chose to pocket cut the inside of the circle. This would give my mold a bottom because when filled with the molding silicon mix, the outter sides would be higher than the starscale I was molding.It should create a perfect cast.
6. The next step was creating a pocket cut between the inside and of the circle and the outside of the star scale. I set this to .38 depth and then milled that out.
7. The next step was to profile cut onlong the outside edge of the outter rectangle vector line. I set the depth at .519 to cut all the way through the material to get my final mold.
It came out great. With a little cleaning and sanding it was ready to mold.
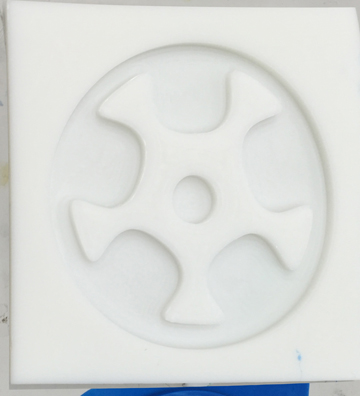
Casting from the shopbot mold.
To cast from the shopbot mold I followed the same process as before with the laser cut shape that I outline above. I won't redocument that process again, but the final outcome is shown here in the photograph.

Note: My code and files and a lot of photos can be found here in the Week 12, Molding and casting . I am only posting low resolution photos on this page. Week 12, molding and casting