Casting and Molding (Apr. 20)
Process
Below you will find my dictation, notes and documentation about the processes I went throught with regards to completing the Casting and Molding exercise. Each of the step and processs will be covered in seperate sections. The goal of this exercise was to be able to create a batarang and mass produce it. A link at the bottom of the page will take you to all of the files that I created for this exercise.
VCarve
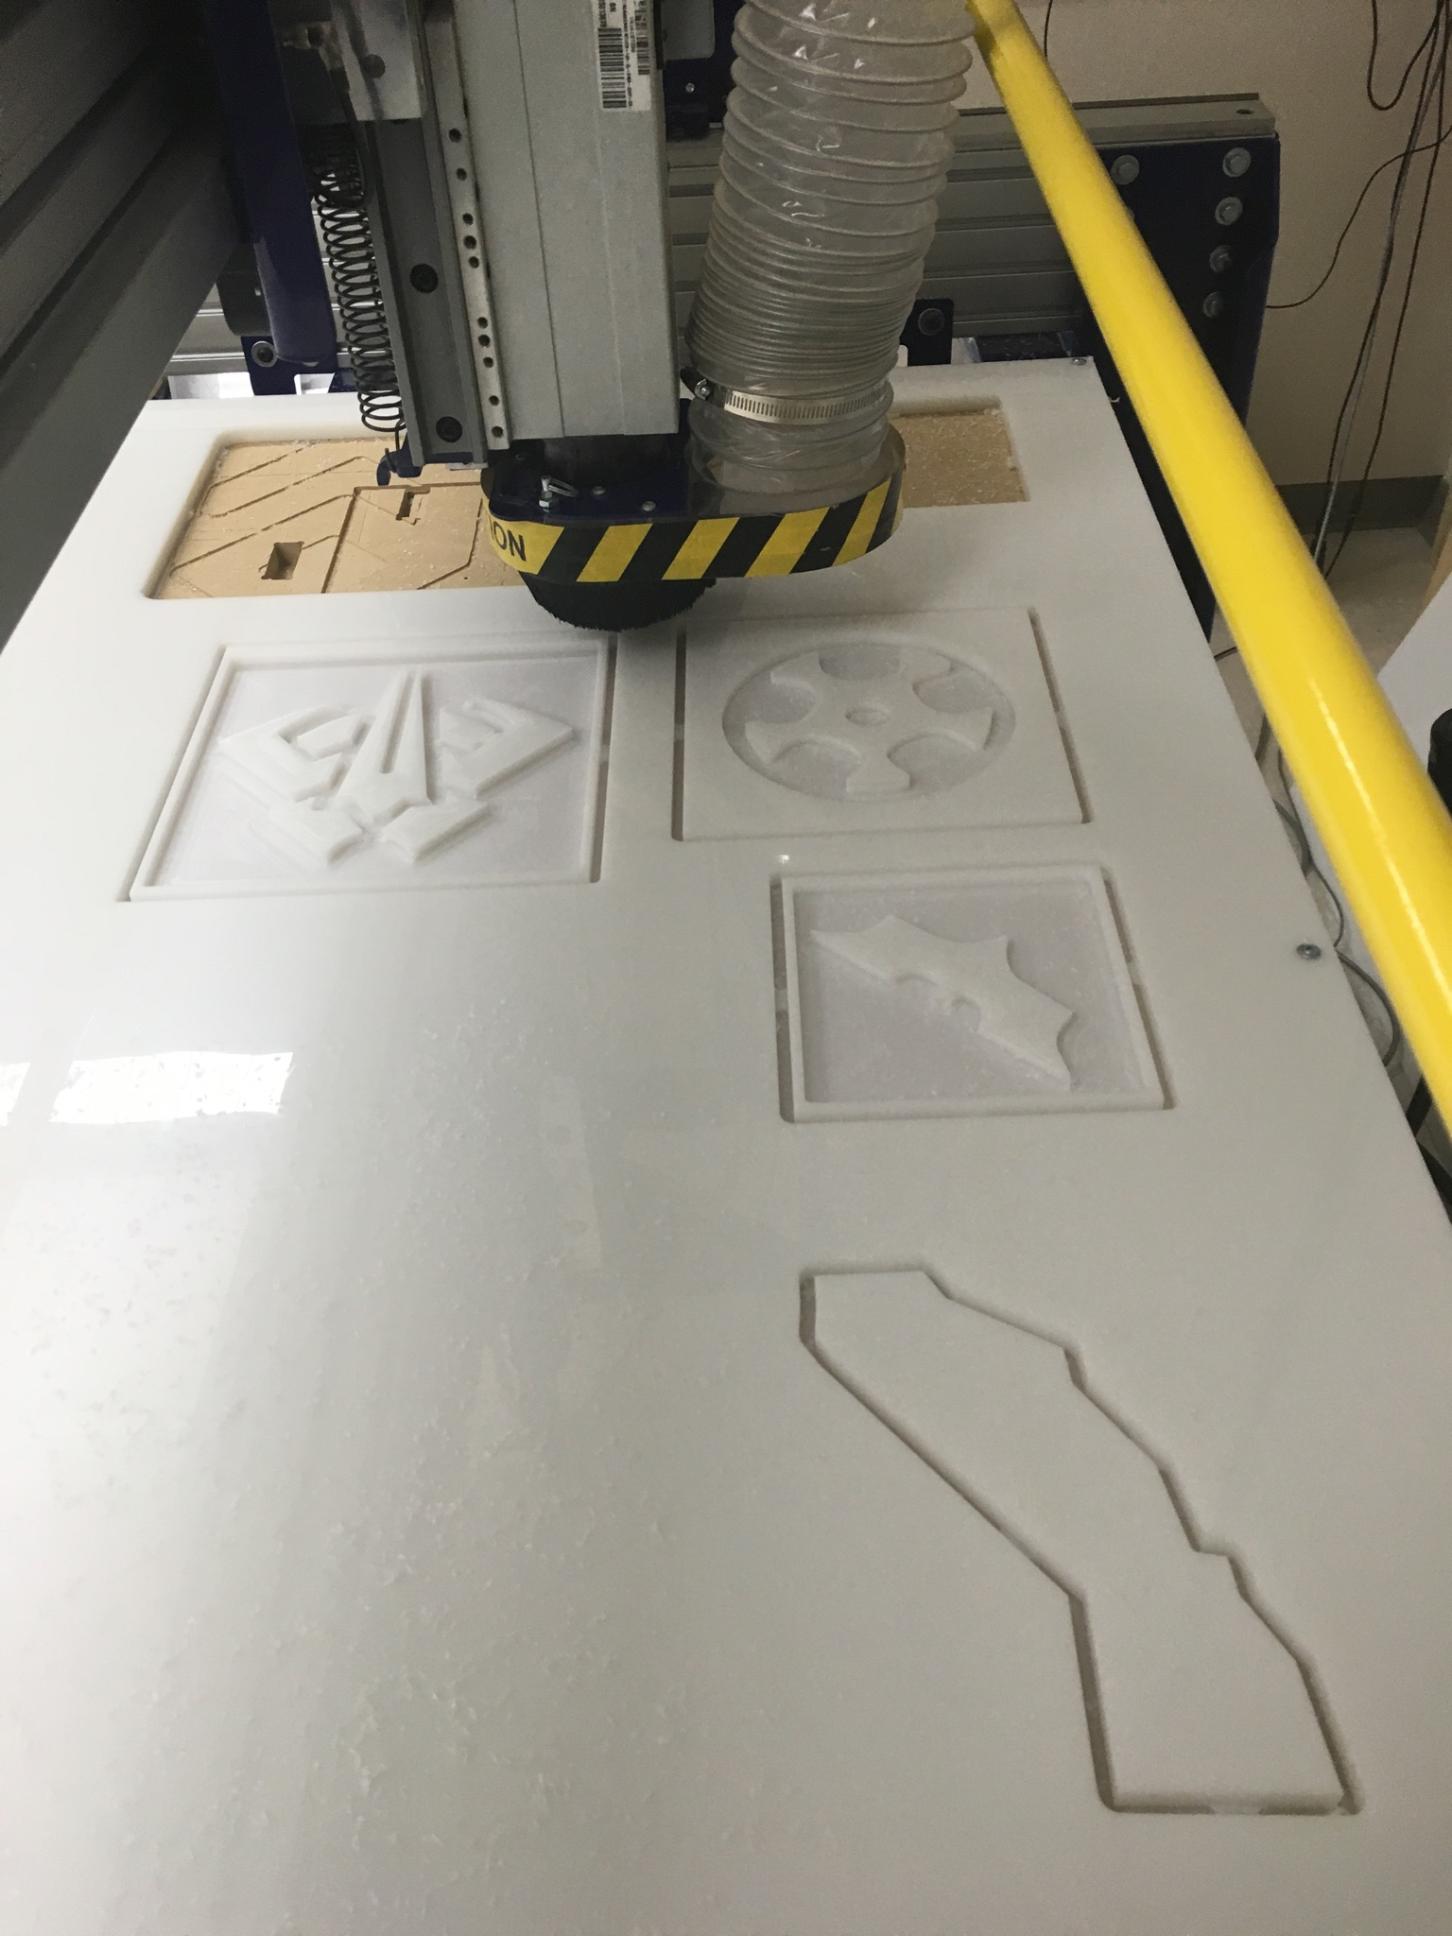
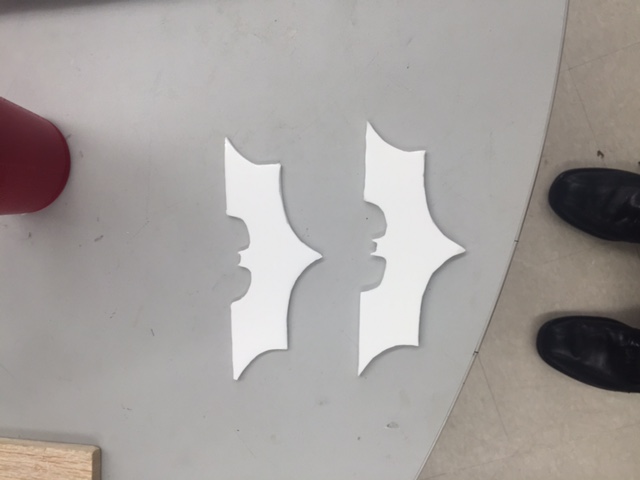
I first begin the lesson by creating a batman logo in Vcarve. I first setup my document properties to fit the deminsions of the material, including the thickness, width and length. Next, I imported a bitmap image of the batman logo. After importing the batman logo, I used the trace bitmap tool in Vcare to get an outline of the logo. I than used the 1/4" down dual flute cut out feature under the Profile Toolpath. I than made a copy of the logo and made a second batman pieces that used the same Profile Tool Cut along with the a 60 degree V bit under the Prism Cut toolpath. Below you see this process in the images:
![]()

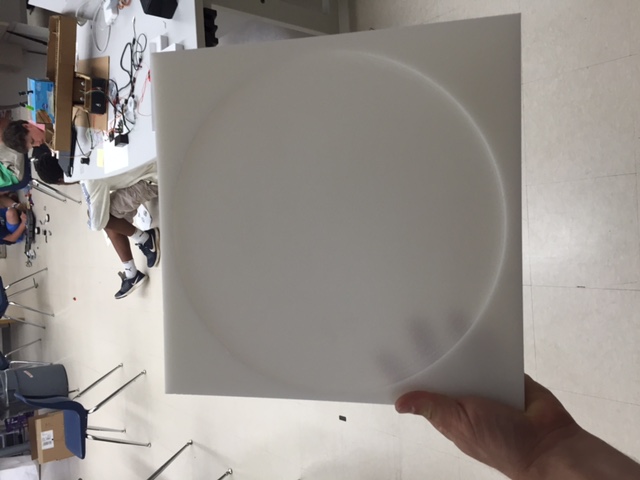
I also made a pocket cut circle with a profile cut square around the circle to make a mold for casting a laser cut batman logo. You can see this below:
InkScape
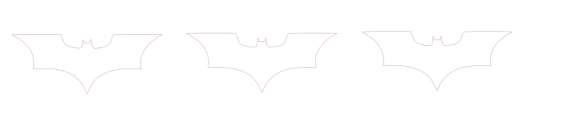
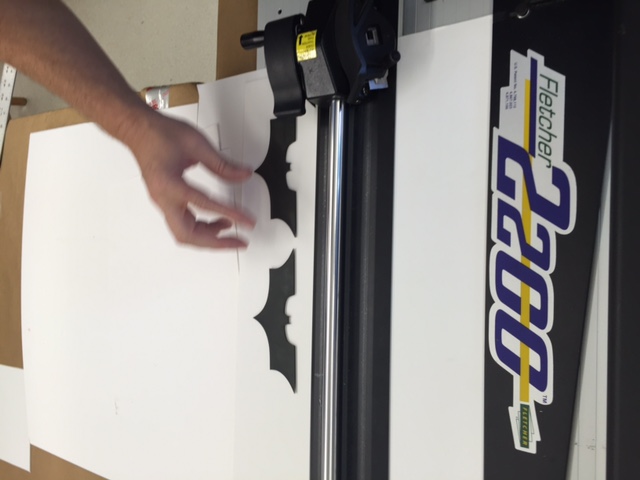
I also went through a similar process of using the batman logo in InkScape. I traced the logo using the bitmap feature under paths. I than turned off the fill and set the stroke to red 255 and the stroke style to 0.001. I than cut them out of arcylic. You can see this in the images below:

Box Creation and Assembly
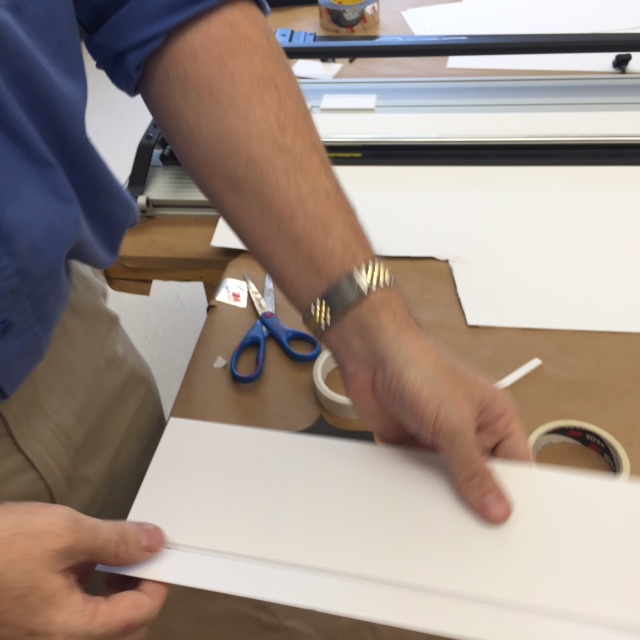
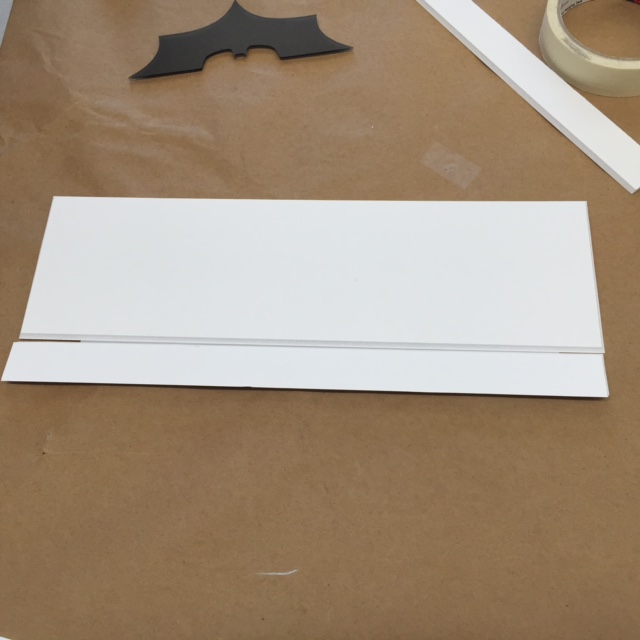
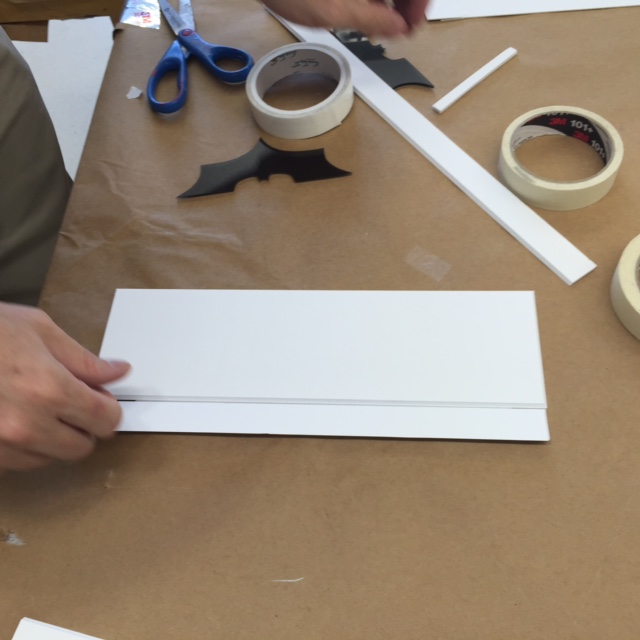
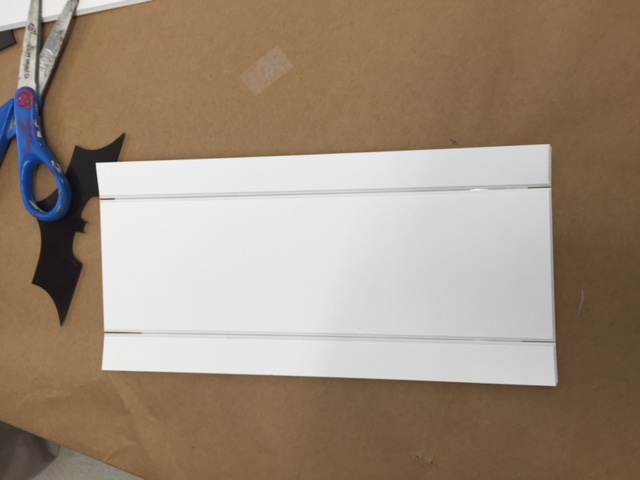
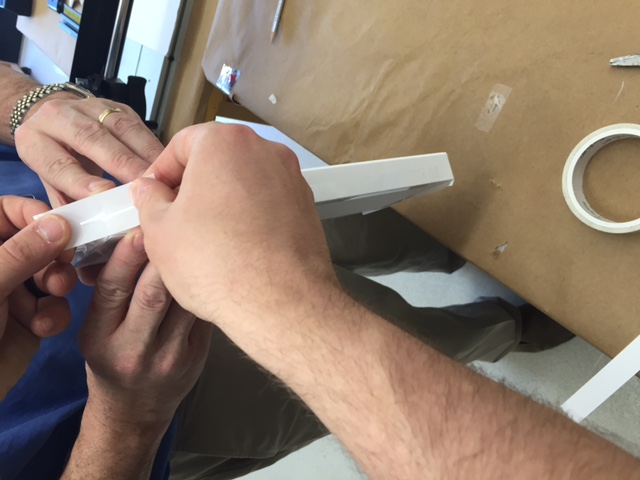
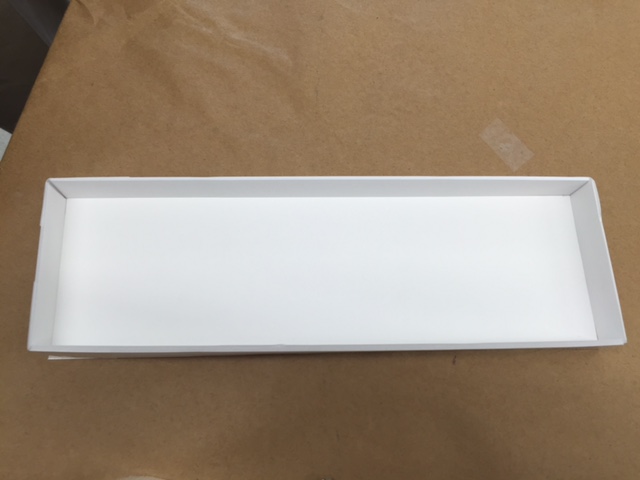
Richard helped me create a custum box for molding. The box was made out of foam board and tape with hot glue along the inside seams. The foam board was cut using a razor blade and a guide arm. The images below show the creation of the custum box for holding the silicon. I than super glued them to the bottom of the box.
Smooth-On - Casting and Molding
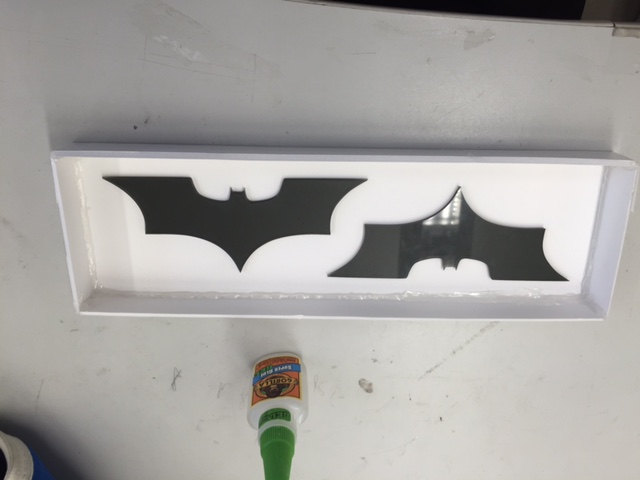
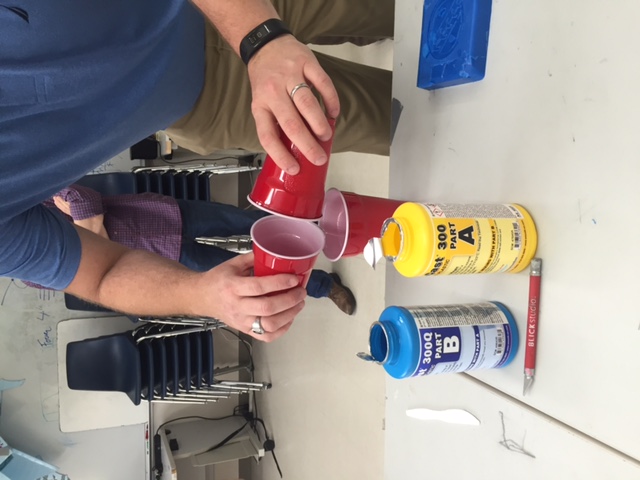
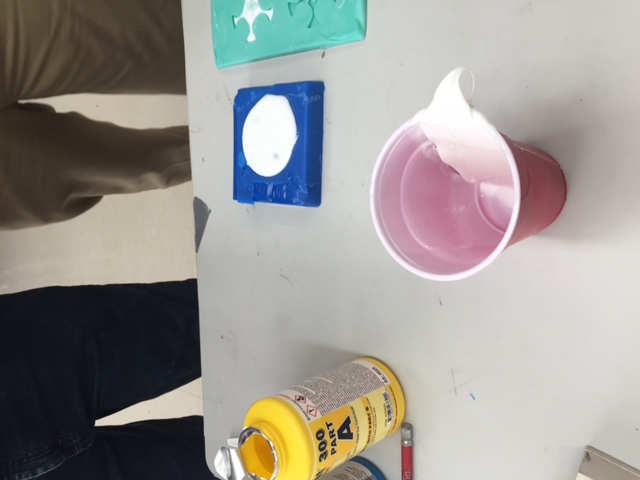
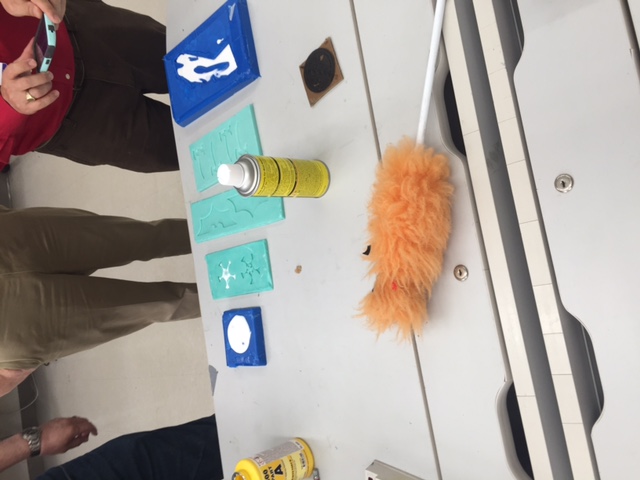
We used the Smooth-On Mold Star 15 Slow Platinum Silicone Rubber. We mixed a 1:1 ratio. We also used Silicone Ease Release, which was sprayed over the mold as well as during the casting process. This allows for the matieral not stick to the point it will break or rip. Next, we poured the mixture into the box to create a mold and waited until the following day for it to cure. You can see the photos below of this process.
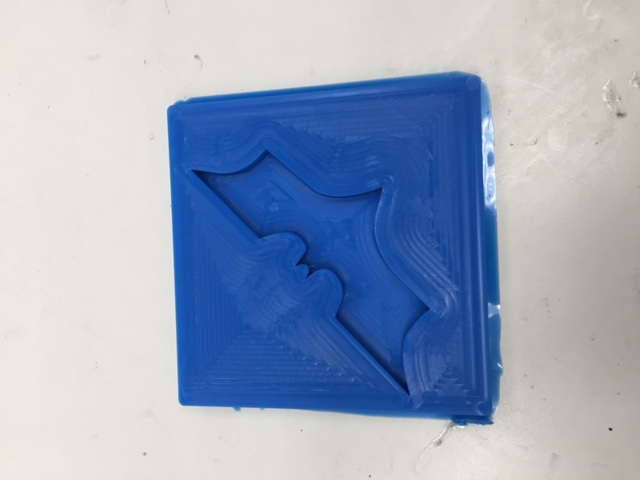
Next, I mixed the plastic harding material to make a second batch. I used the Smooth-On Casting 305. The imgages below shoe the process:
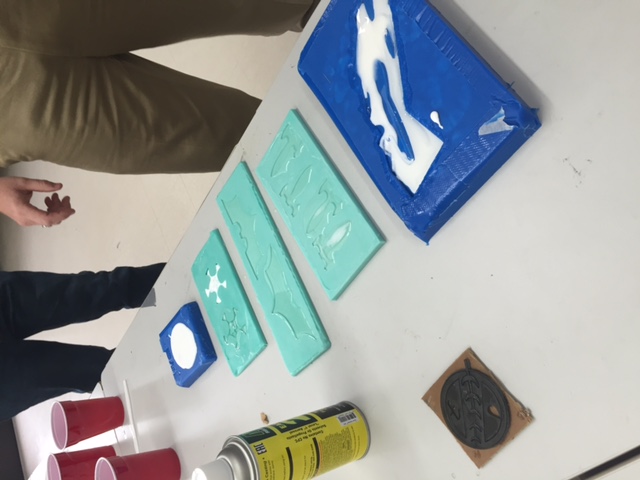
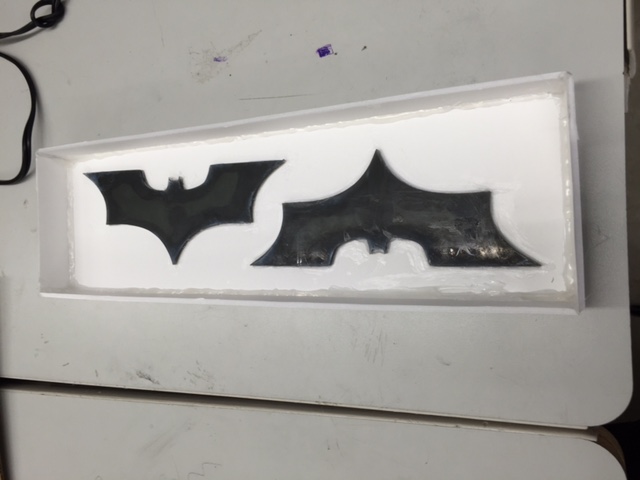
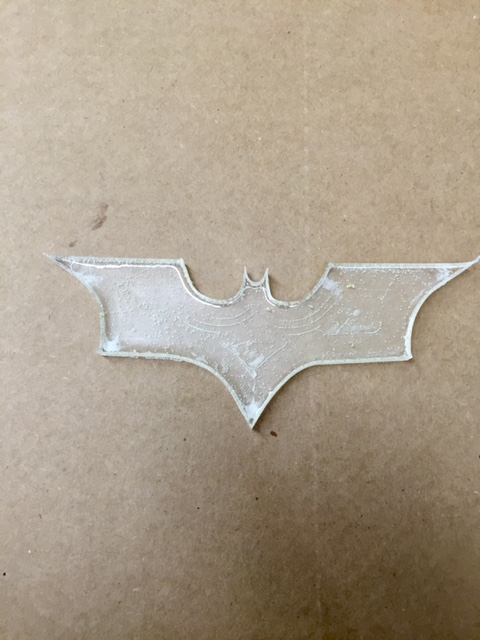
Next, I mixed the plastic harding material to make a second batch. I used the Smooth-On Casting 305 along with black color tintingto turn the casting black in color. This allowed for me to create multiple batarangs. I did not use a enough dye, because the second batch only had a dirty white look. You cannot een tell the difference.
Below is the casting and molding portation that was completed using the piece creating using the ShopBot.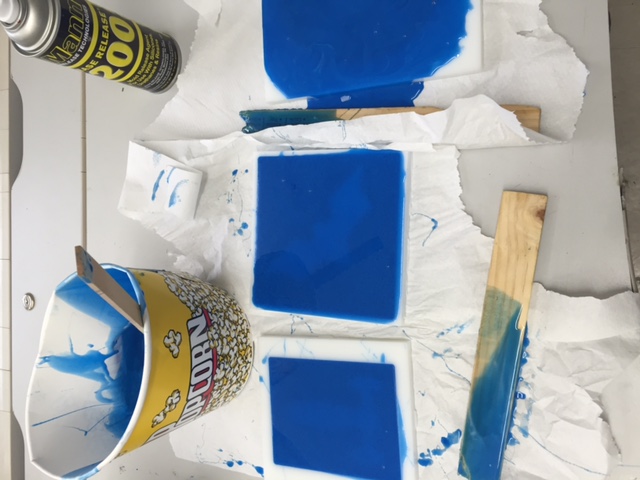
Casting and Modeling Presentation
I created a presentation for my students on casting and modeling that is baased on Smooth-Ons resources. Furthermore, I added other support information about the science of chemical reactions as well as videos. It provides helpful tips and other information.
This is a button to access the presentation created for this exercise.
Files
This is a button to access the files created for this exercise.