Files
3D models:
SpiralSquare
Tip
Box
Board:
Clay board, BRDClay board, SCH
Outline
Board
Code:
CodeBill of materials
BOM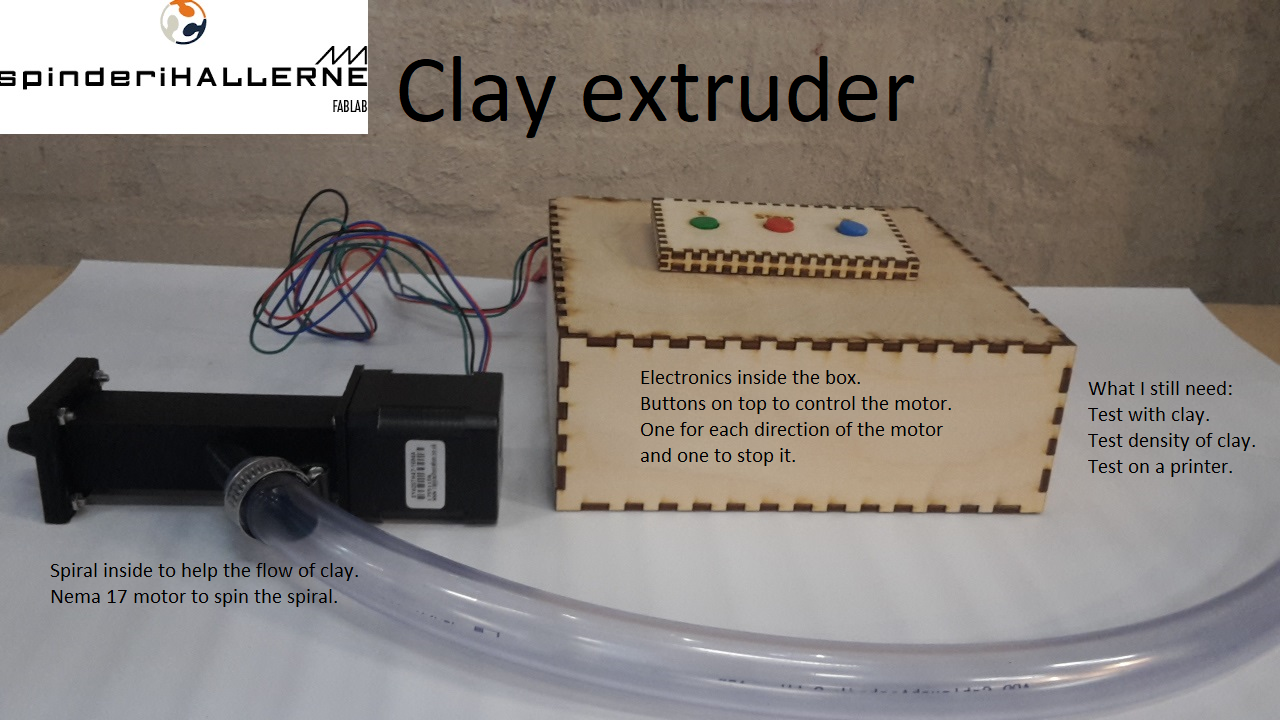
Final Project description
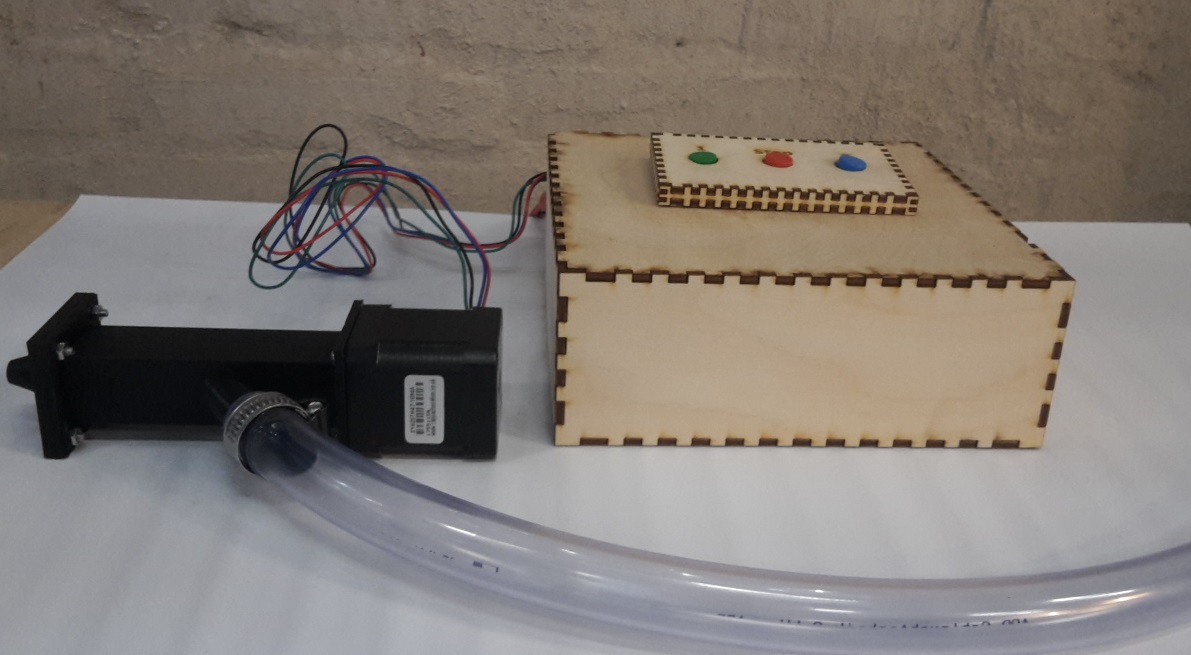
As my Final Project I have decided to make a clay extruder.An extruder is something that pushes out some material, and in this extruder I am making it for clay.
The goal by making this was to make the flow of clay better by adding a spiral to a tube that the clay goes through.
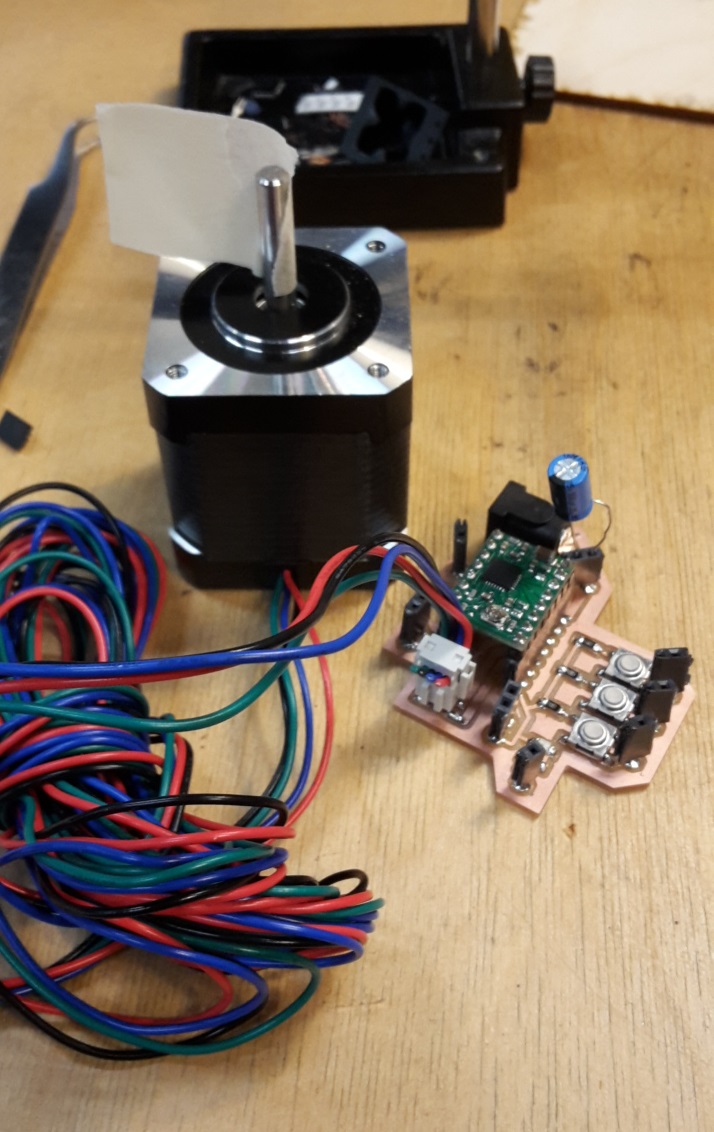
In order to make the spiral turn I have added a Nema17 stepper motor on top.
The clay comes in from an arm on the side attached to a hose that goes to a container.
When the container is pushed and the motor is on, the clay should come out of the extruder.
The extruder is designed to be attached on a Delta 3D printer. The motor weights a bit so this should be fastened to the middle part of the printer.
Test printing
I managed manually making a "kind of" circle while the motor was spinning and I was pushing the clay.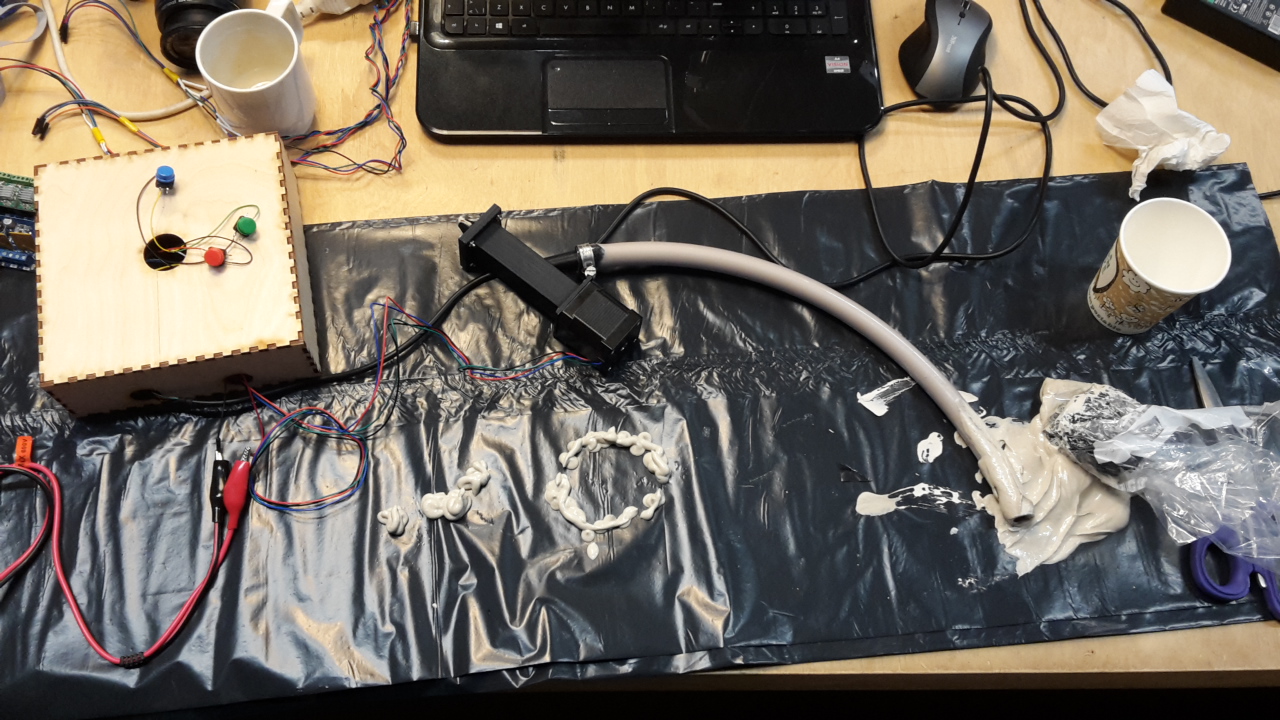
What is it made of?
You can see more about the process on the Project development page.The wooden box is designed on a webpage called makercase.com.
It is cut out on the laser cutter. It is made out of plywood. It has holes in the side so I am able to get the wires in. The lid is not secured so I am able to look inside and check the electronics.
See more about how to operate the laser on THIS page.
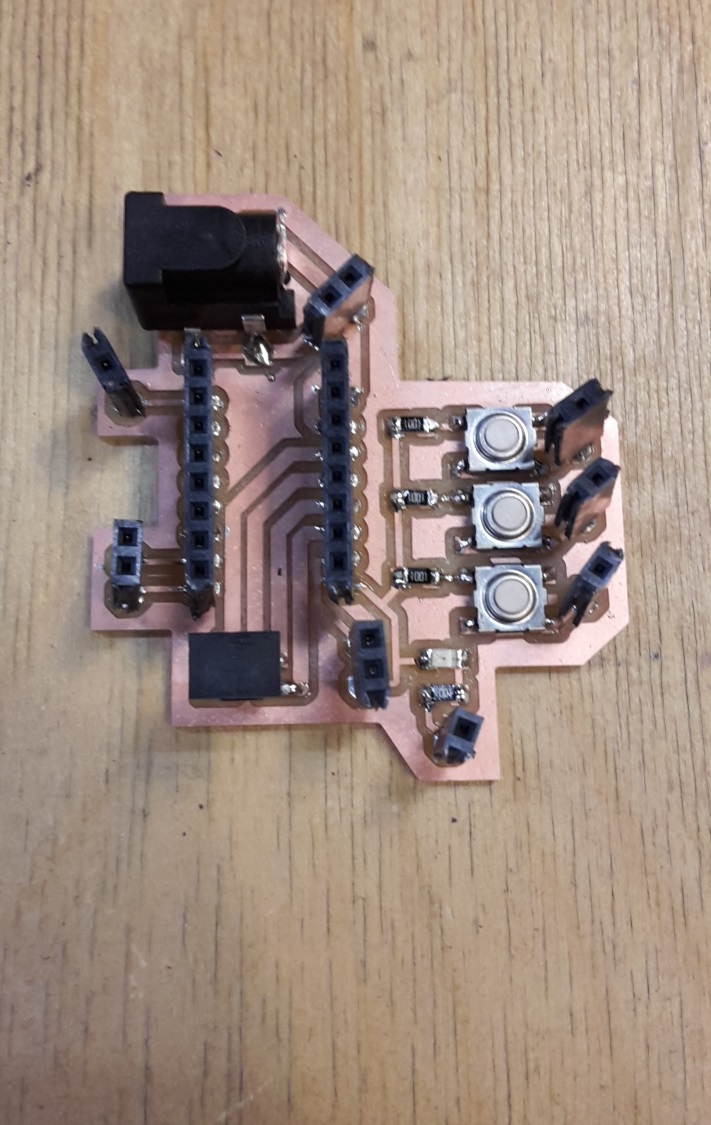
Inside the box I have the clay board connected to a Fabduino board.
On the clay board I am using a pololu and a 100uF capacitor.
I have later on added with wires the colourful buttons that you see on the picture above. I added this to give it a nicer and more efficient design. Because otherwise you would have to push the buttons on the board.
The motor and power is added via wires.
I also have an FTDI cable going to the Fabduino.
If you want to see more about how to make boards on the machine click HERE.
If you want to see more about how to make boards in the program click HERE.
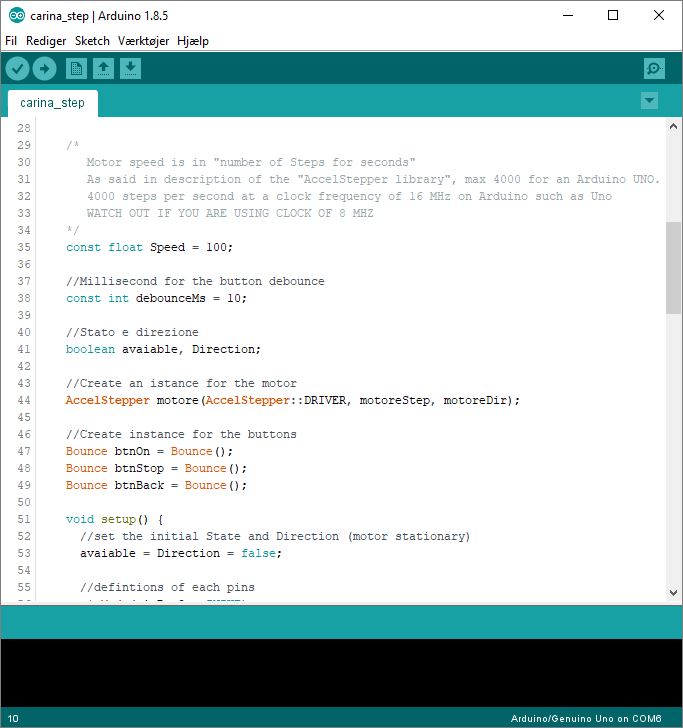
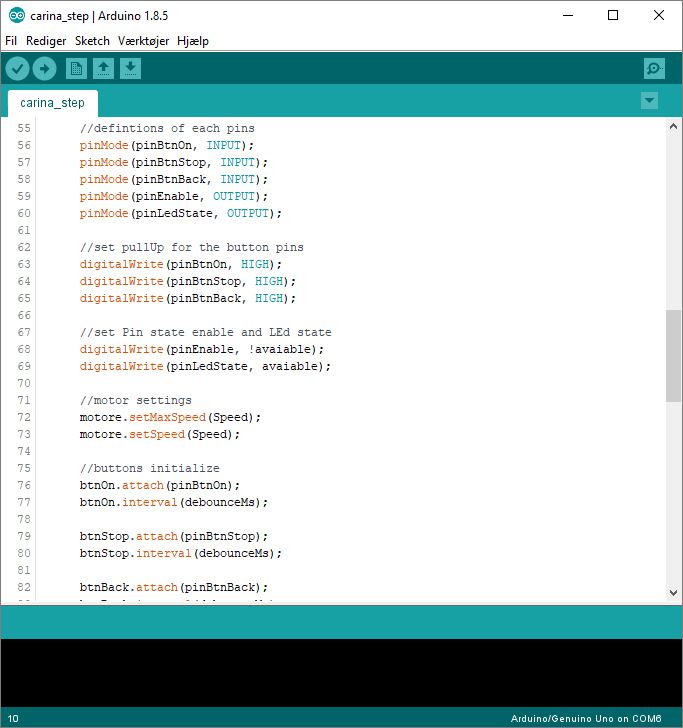
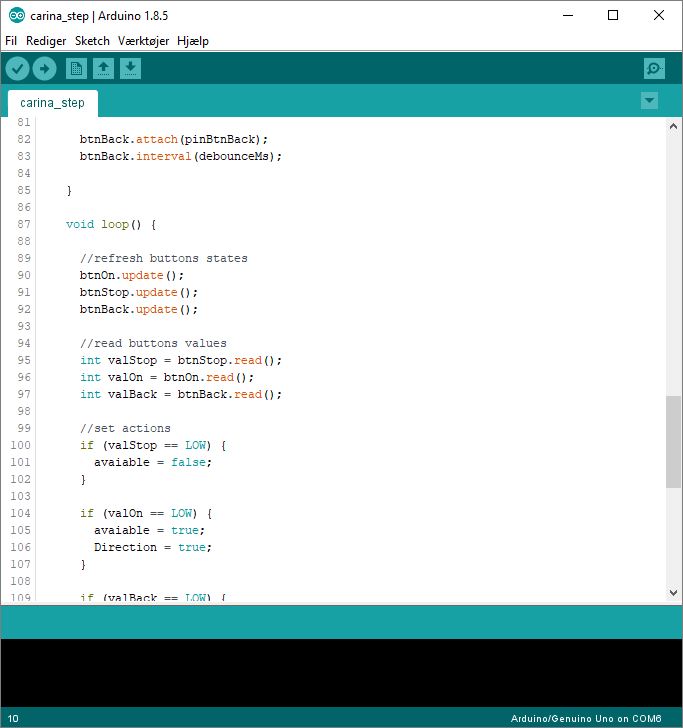
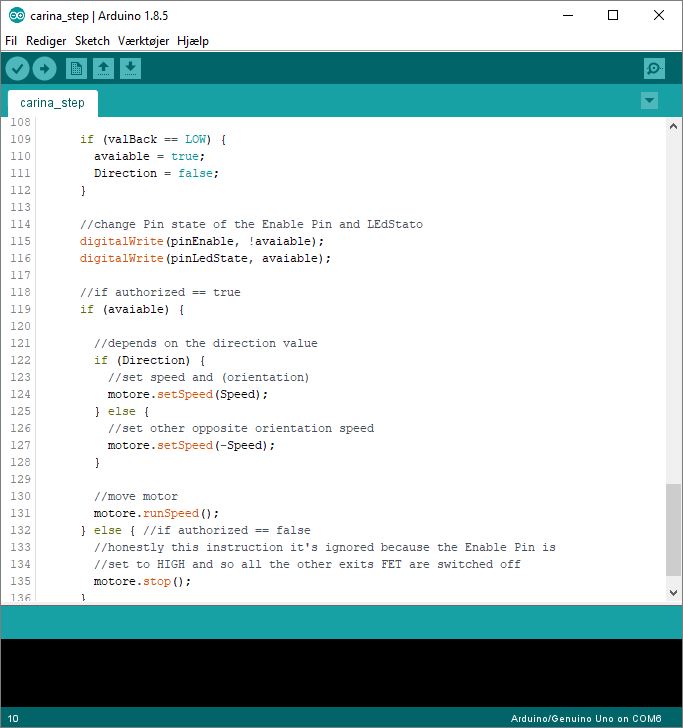
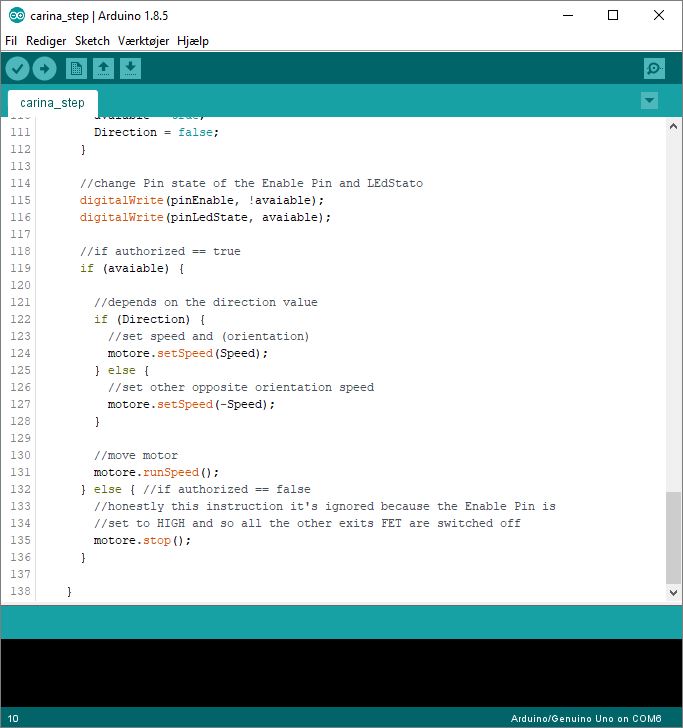
Arduino code
To see more about Arduino code click HERE.
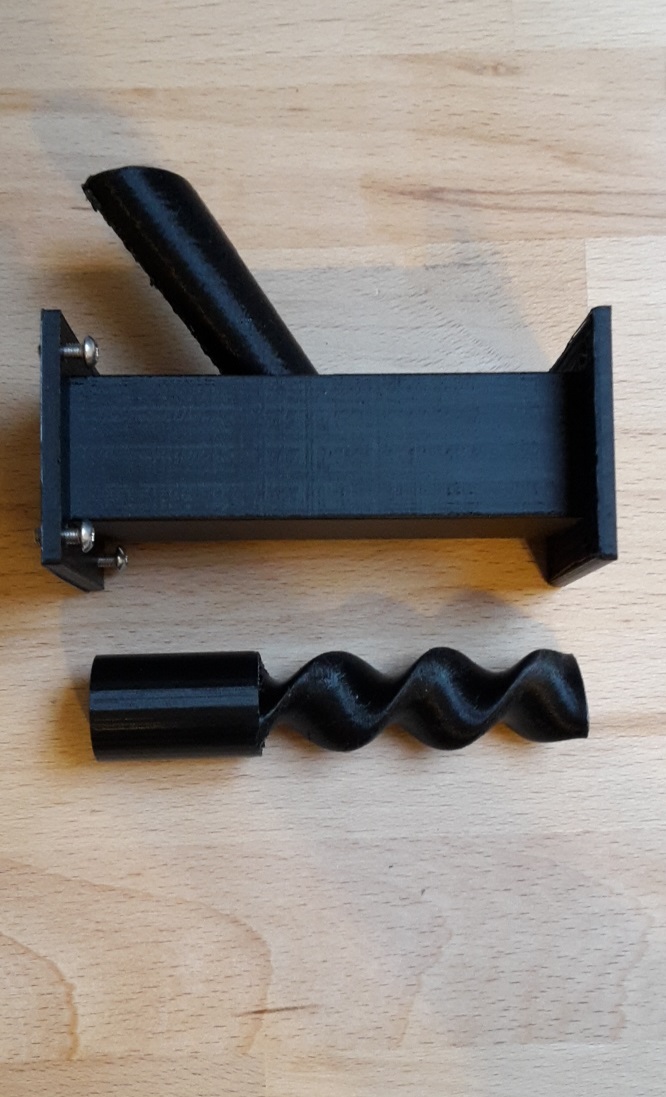
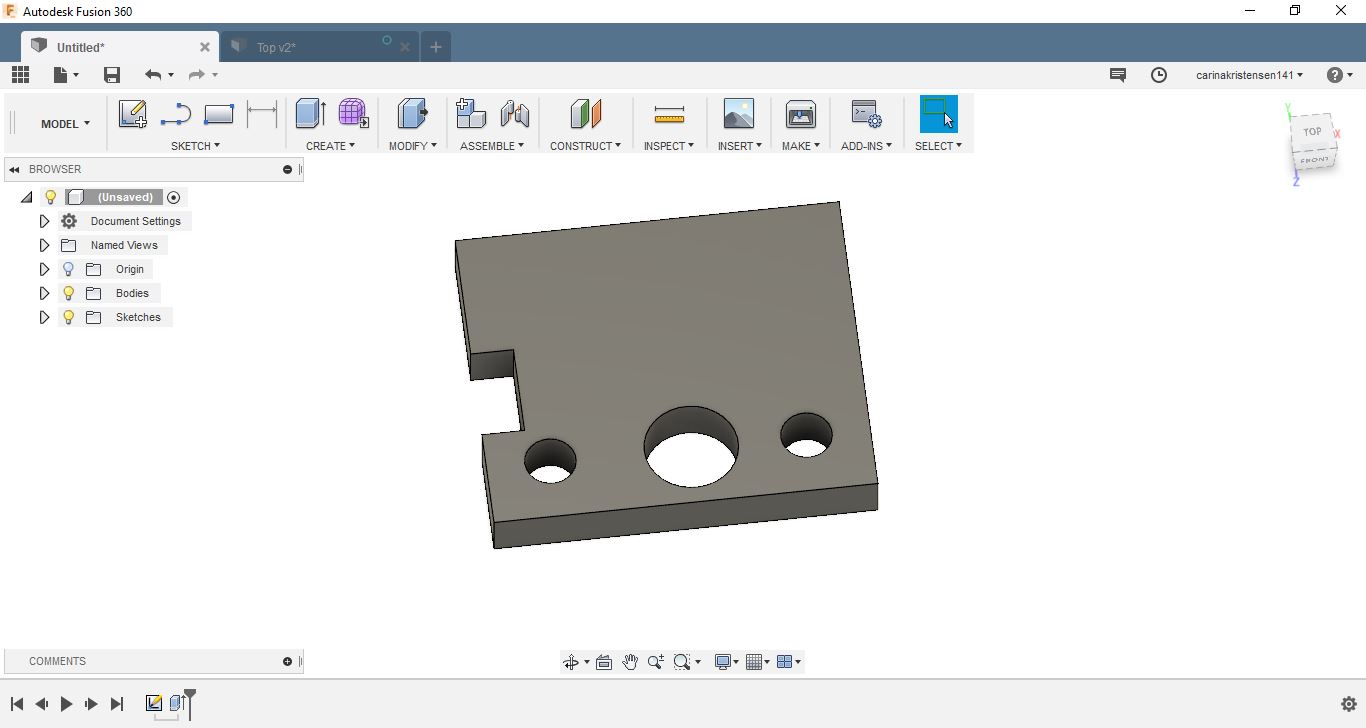
3D printed parts
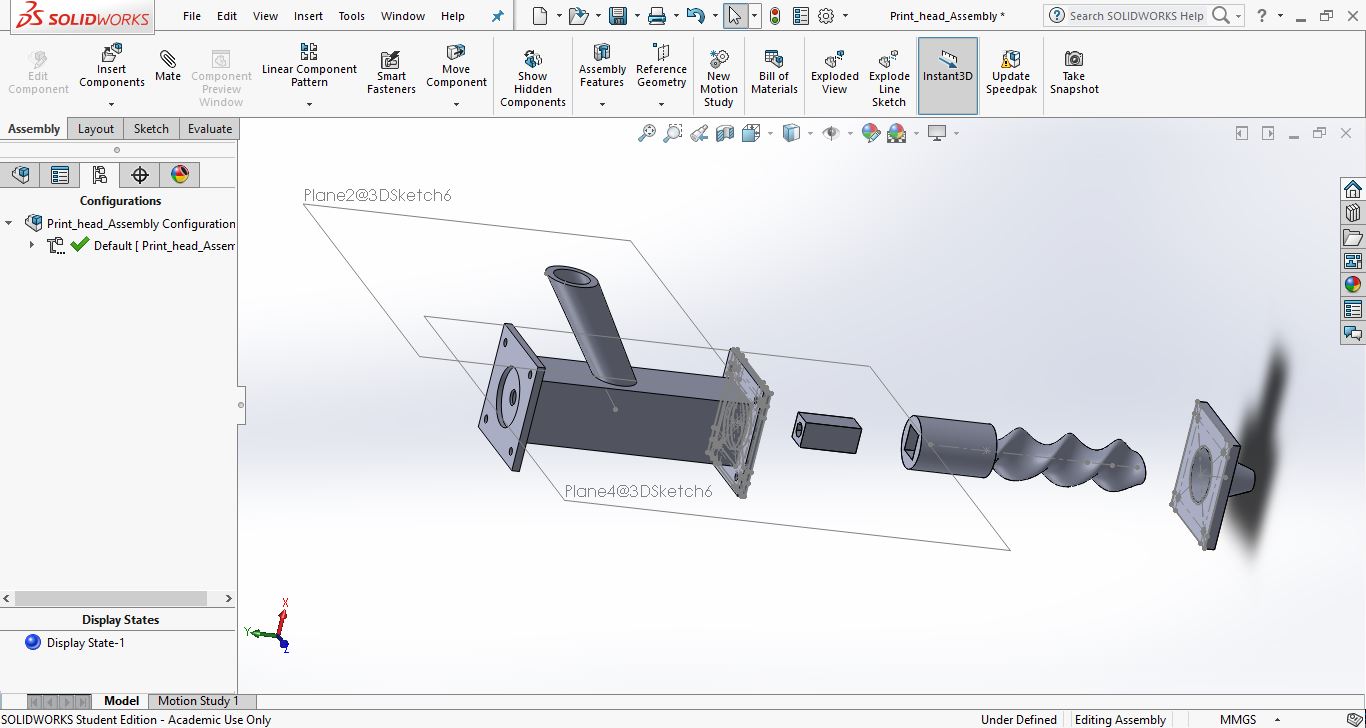
See more about 3D printing HERE.The extruder is designed in Solidworks as seen further down on the page. It is then printed on an Ultimaker 2 and Ultimaker 2+.
Afterwards I assembled the parts together with the Nema17 motor by using screws and bolts that fit in the print.
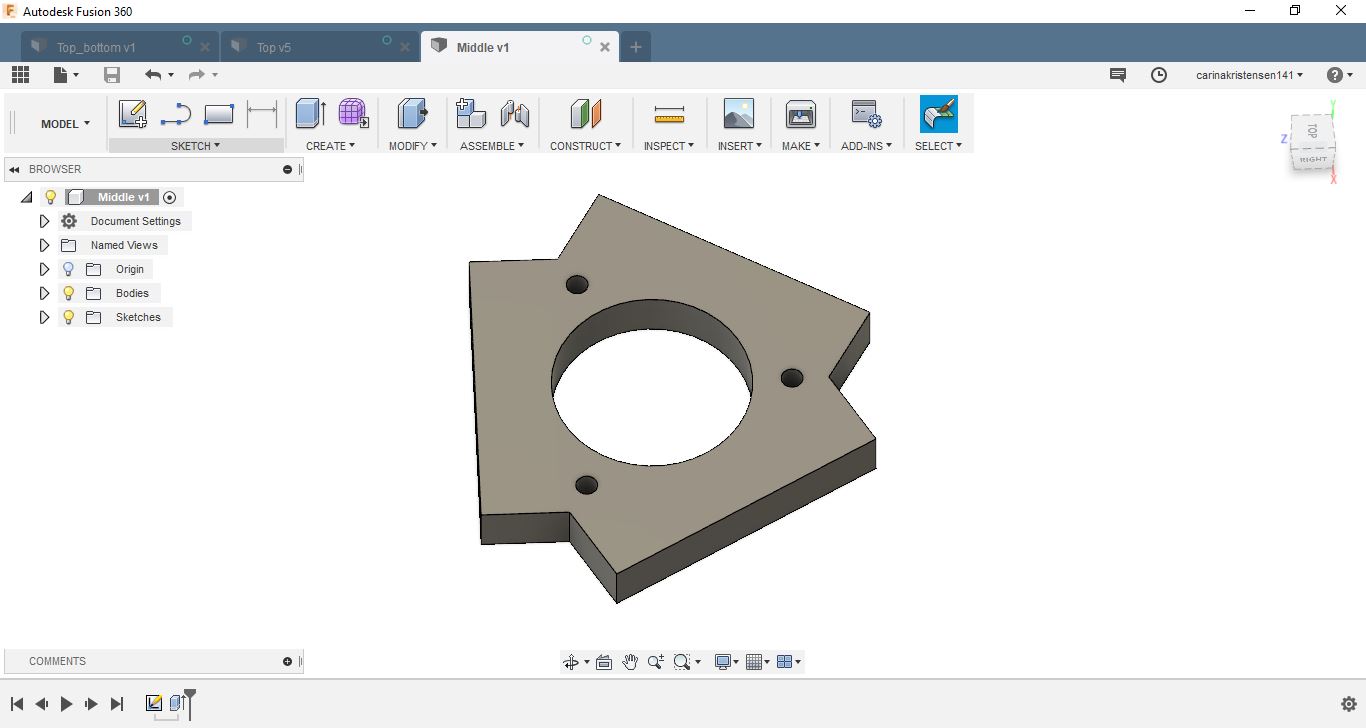
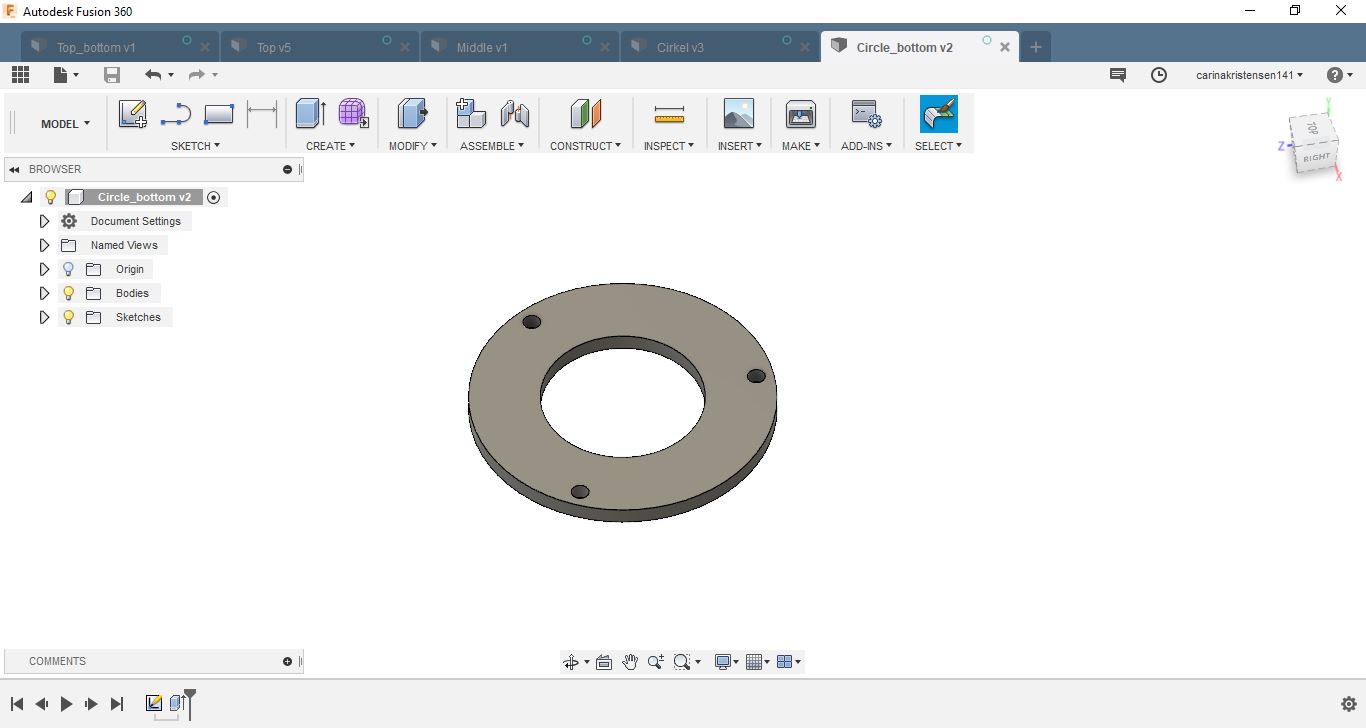
There are multiple pieces inside the extruder in order to make it fit on the motor.
First the little square is inserted to the spiral. Then the spiral goes inside the big part of the extruder. Afterwards the motor is added in order to make it fit proberly on the spiral. And then the nostle is added.
I then add the hose in the end and tighten it with a metal belt so the clay will only get inside the extruder.

3D Assemble
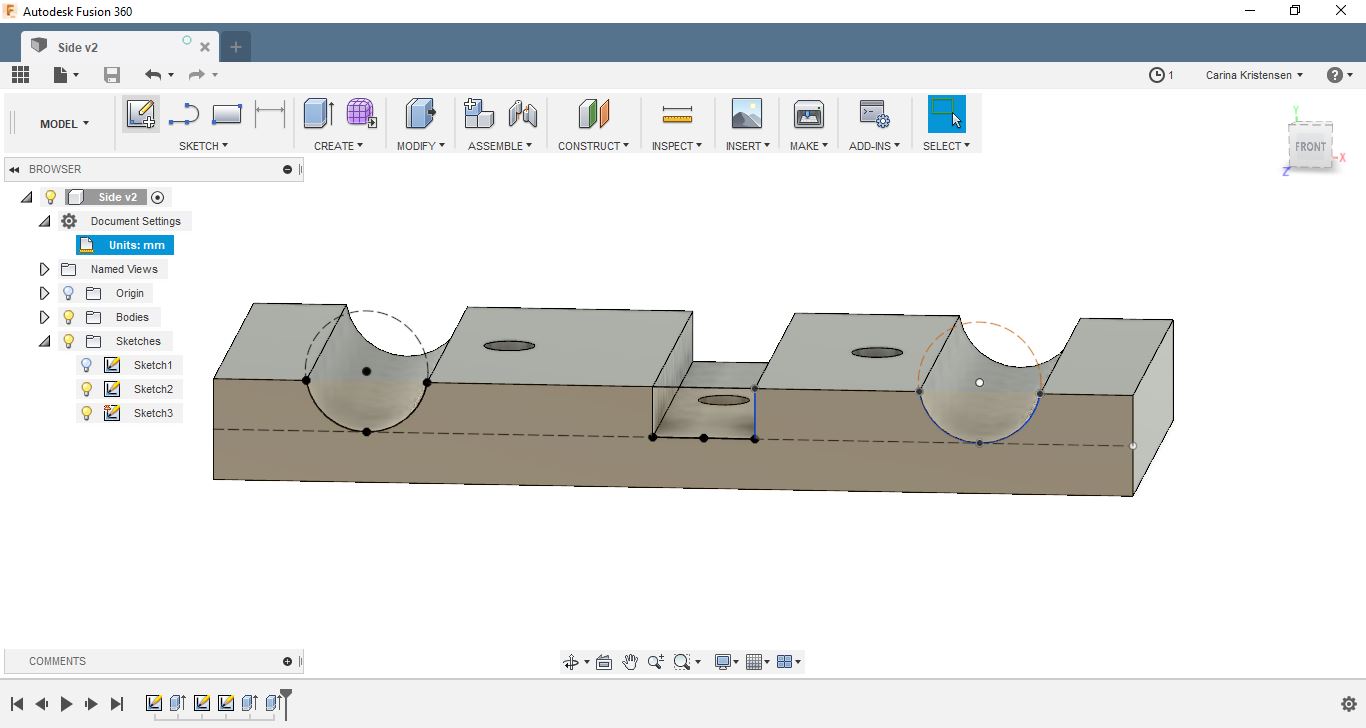
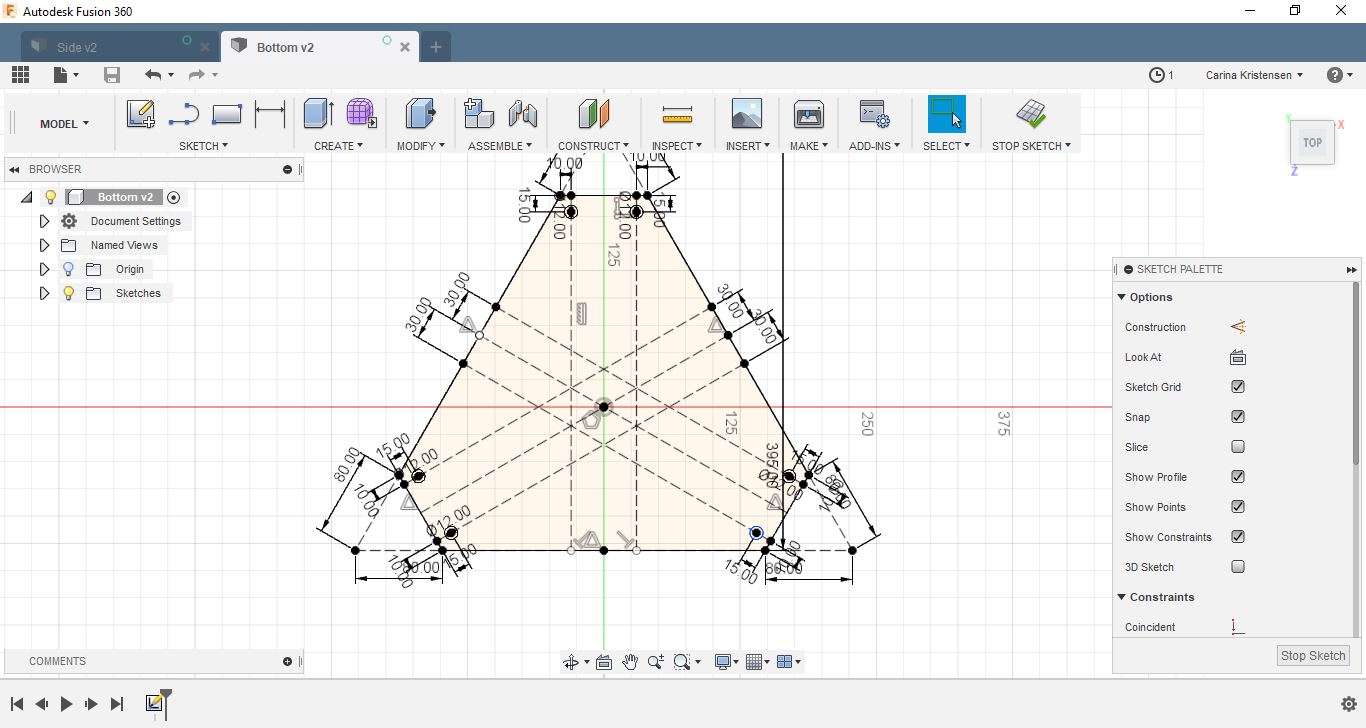
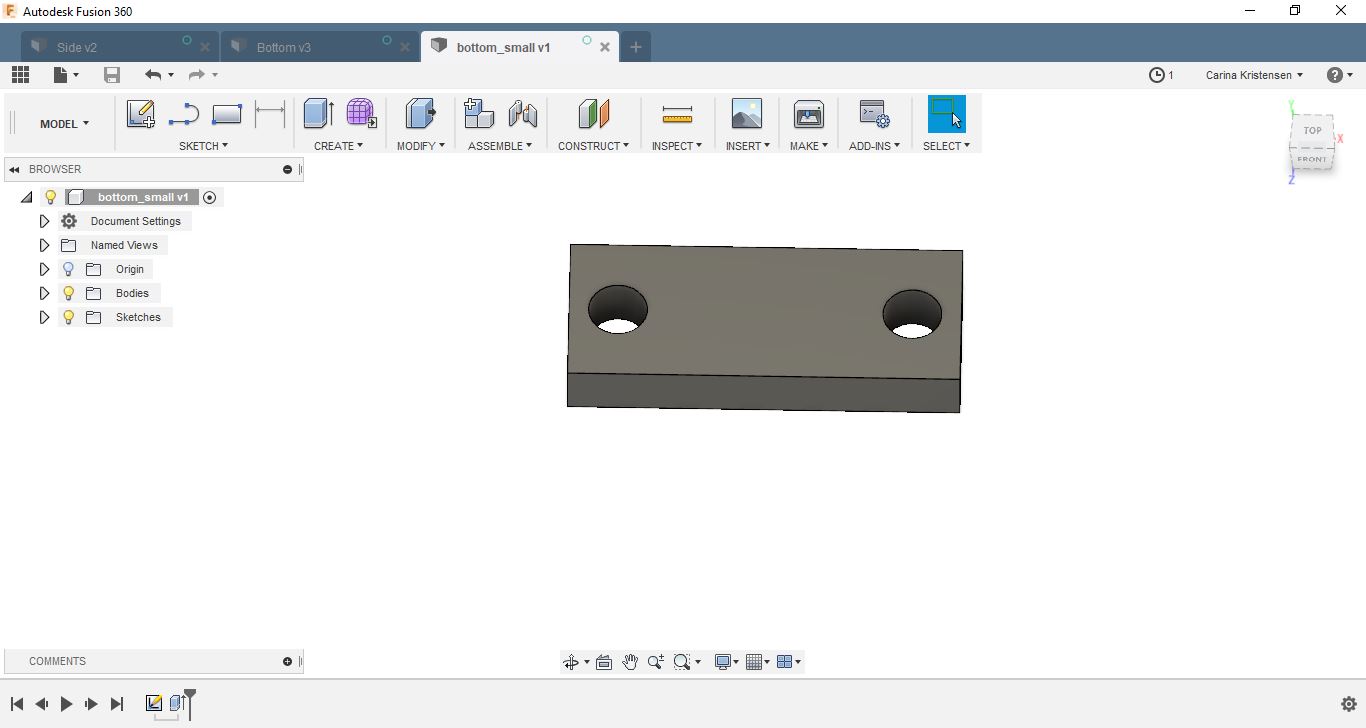
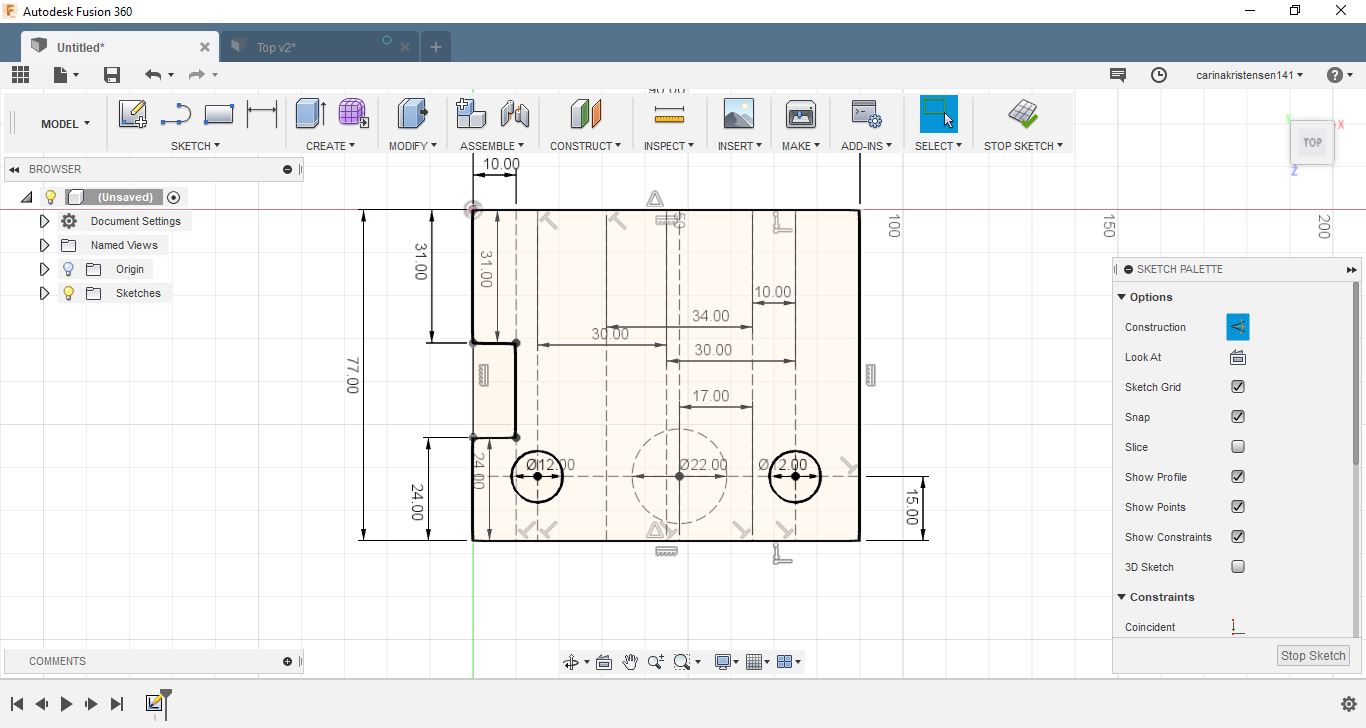
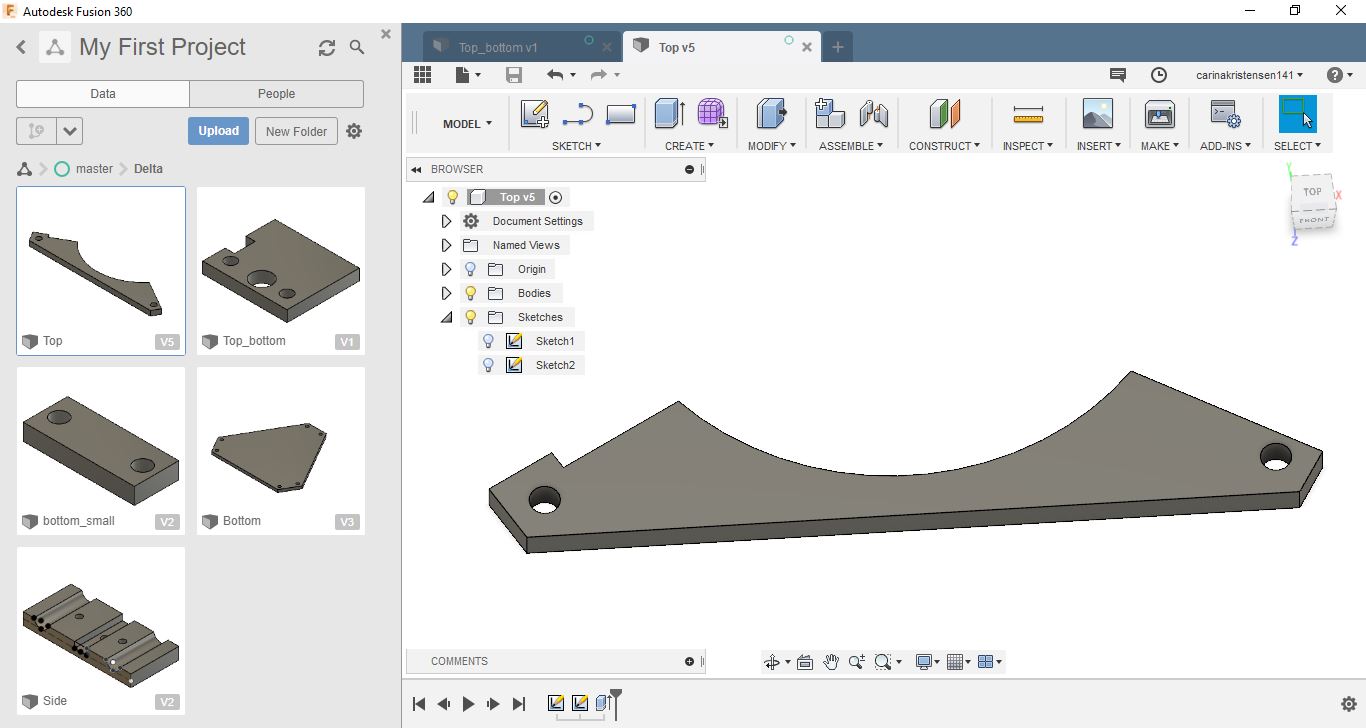
If you want to see more about 3D modeling click HERE or HERE.I have designed every part of the extruder in Solidworks.
The tip of the extruder is made so it can easily be exchanged with a bigger or smaller tip.
The tip’s size is deciding how thick the line of clay that is pushed out are. But the bigger tip, the more pressure to push out the clay is needed.
In the beginning I will stick with one tip size and later on I will make more tests with different sizes.
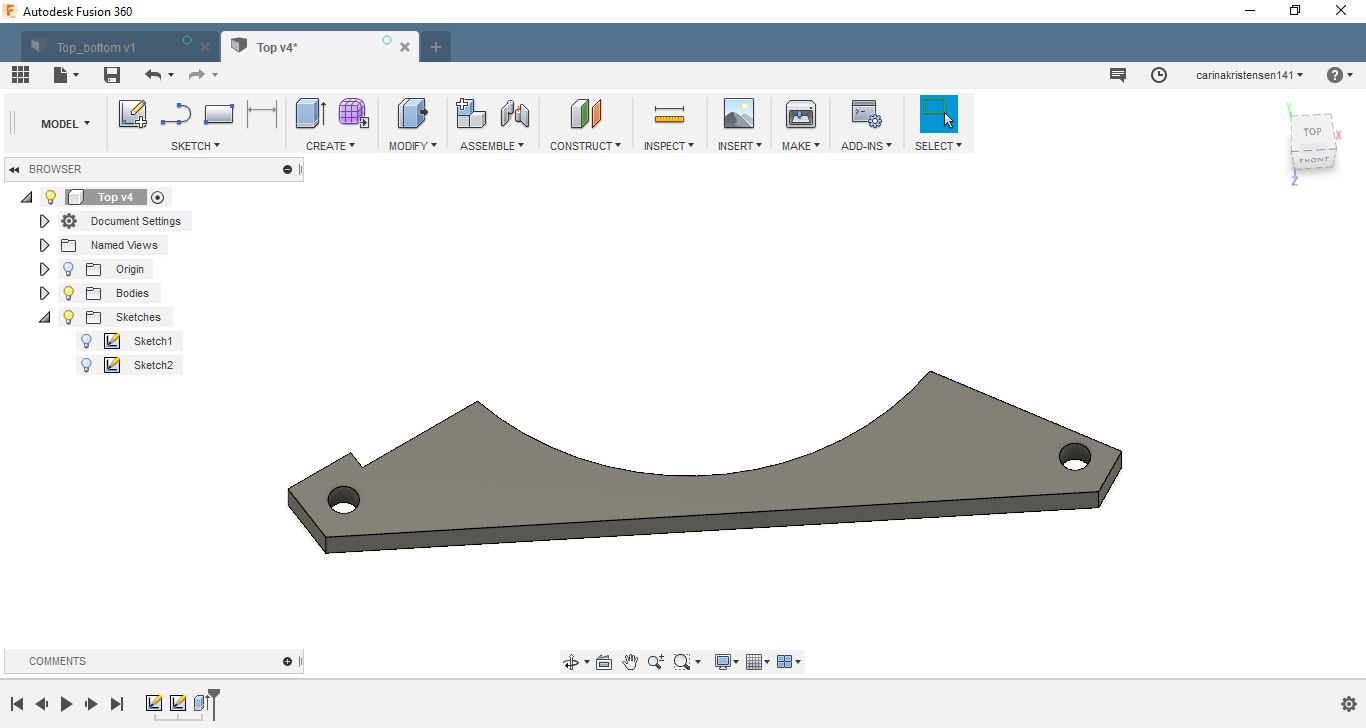
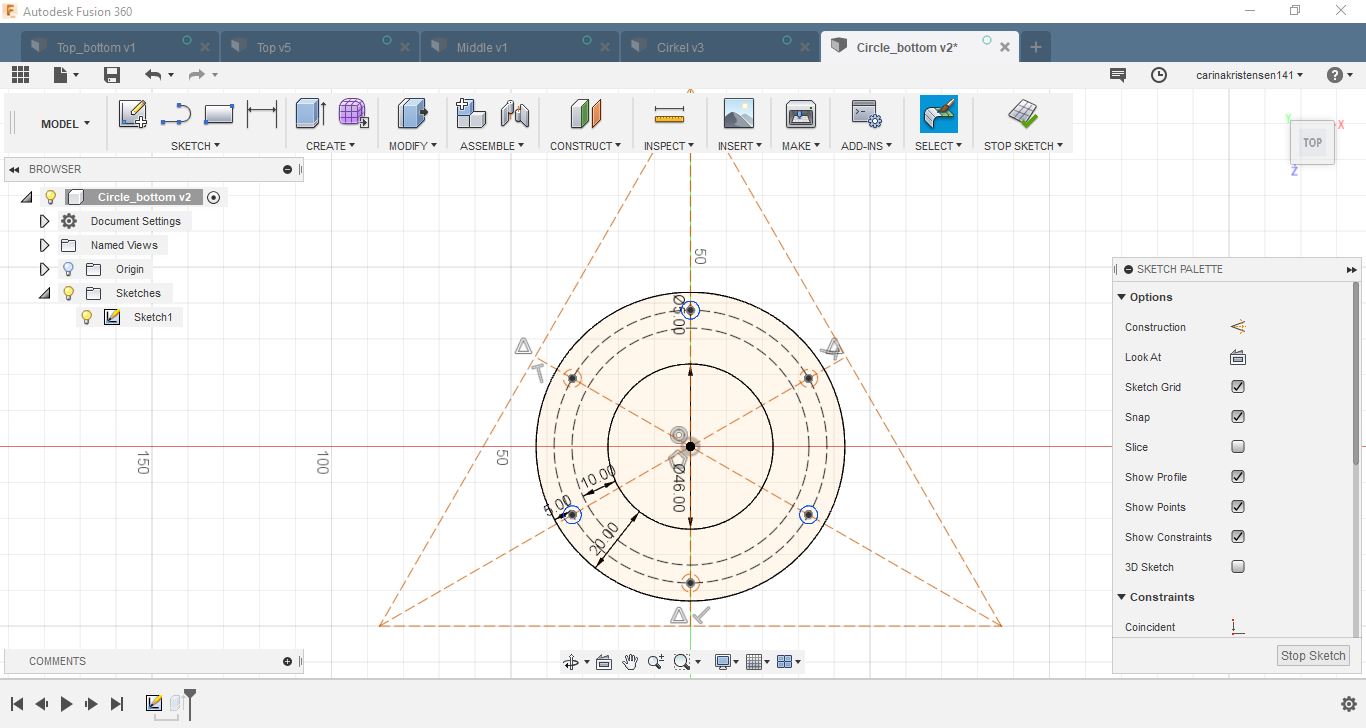
Inside the spiral there is room for a square.
I then made a separate square to fit in the hole of the spiral. I had some troubles getting the correct size of the hole to the motor. So instead of making 5 new spirals that could take a while, I made one new with a squared hole.
The small squares that should go inside the spiral I could easily make test with to get the right size of the tip of the motor.

Later on
I would like to use the clay extruder afterwards to make designs and afterwards experimenting with firing of the clay and glazes.I would like to start with some simple designs and then move up to more advanced designs as I evolve the machine.
I have seen many people taking a hairdryer in use when the print is on. This will help the clay dry a bit while it’s printing and make the print more steady.
This is the tricky part about that the clay needs to be really soft in order to get it through the extruder.
It can easily fall together.
Future Development
I have made the models in fusion360 so they are ready to be made on a cnc to get a better result on the clay printer.I am also working on a holder for the ekstruder.

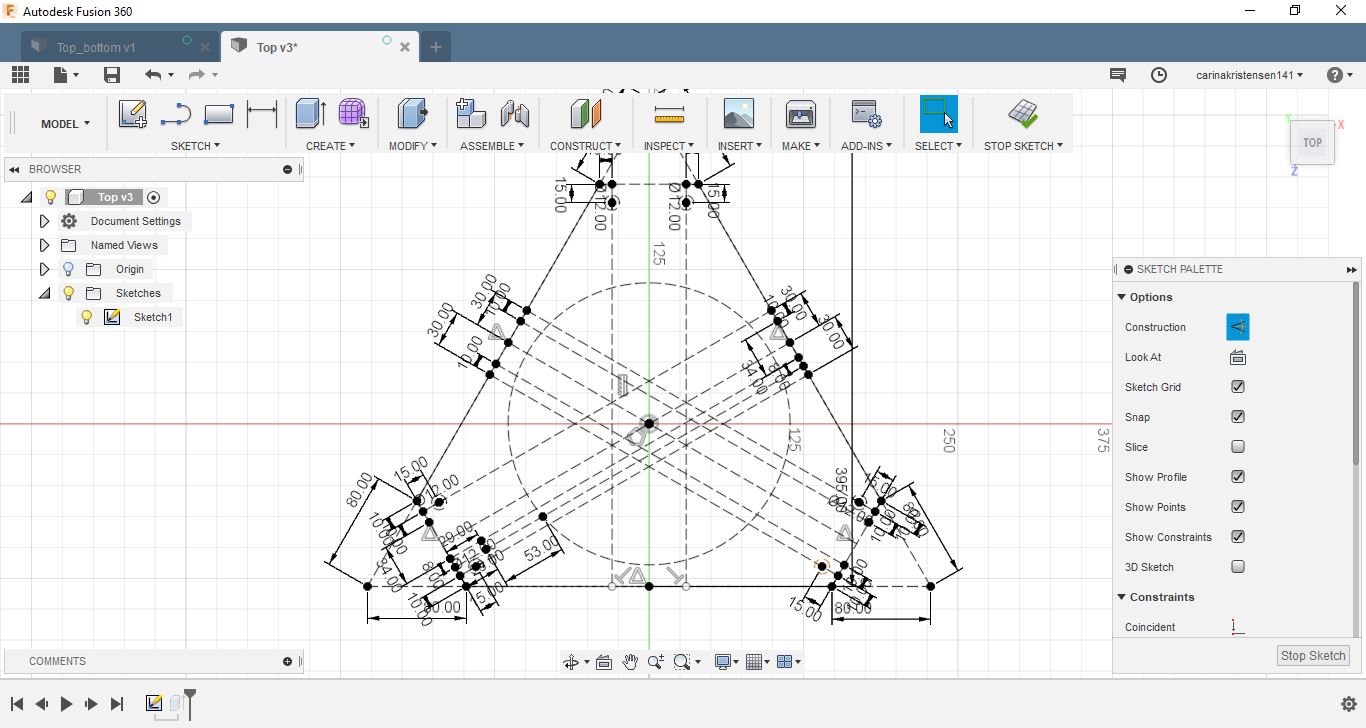

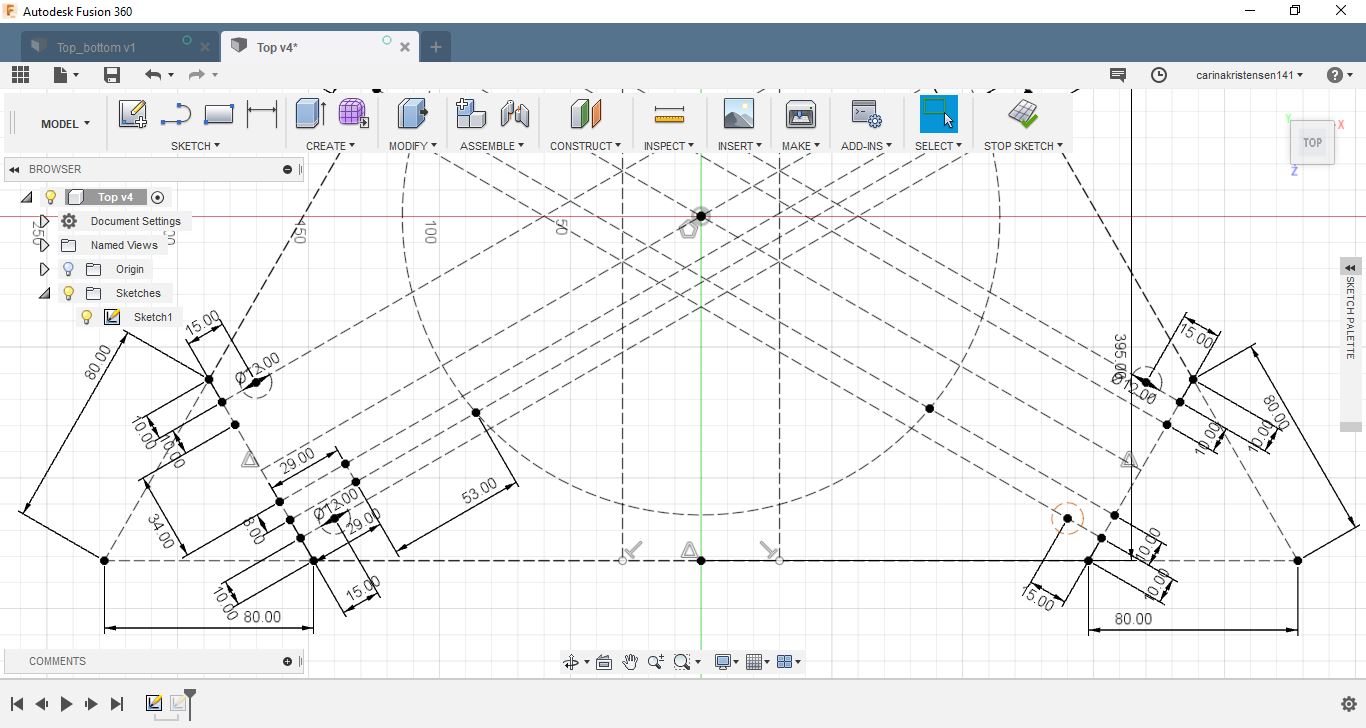


Spiral
Spiral
Spiral
Spiral
Spiral
Spiral