Exercise 02 - Computer-Aided Design
Model (draw, render, animate, simulate) a possible final project, and post it on your class page with original 2D and 3D files
My old laptop
At the beginning of week 02 I was focused on my old computer and how to get the best from it. I thought that it was a good practice to achieve hard tasks through little resources: "that is the spirt of the Fab Academy" I thought.
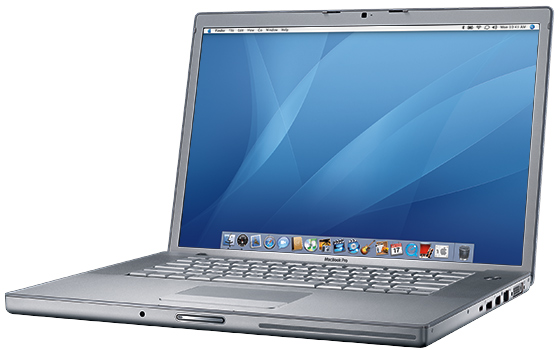
Above my Macbook Pro 15'' year early 2008.
During my local review with Fiore Basile, he suggested to try one or more of the following steps:
- Virtualize Linux on my old laptop
- Boot a light version of Linux from a usb key
- Put new RAM and a new SSD
1. Virtualize Linux
I installed Virtualbox 5.0.32 and then Ubuntu 14.04.5 on it. It is quite simple to do and there are many tutorials on the web, for example this one.
It was more difficult to have shared folders and internet connection working. I istalled Guest Additions and I followed many tutorials, but I always get the same message error, "mounting failed with the error: No such device":
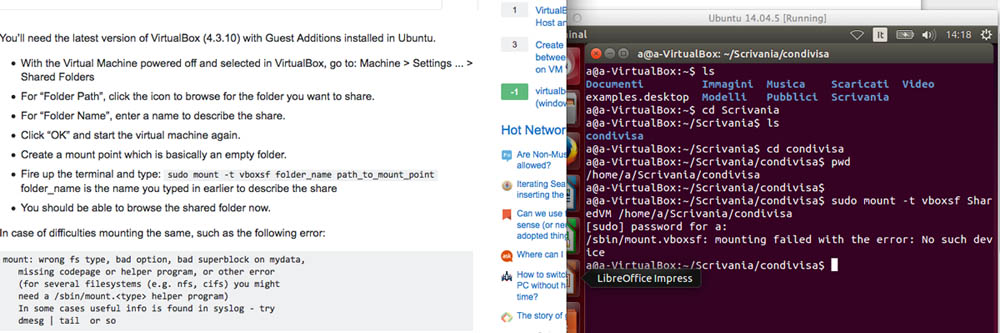
Usb wasn't working neither so it was impossible to communicate with Ubuntu.
Then I found the network folder on Ubuntu, inside I could see the public folder of my mac and so I have at least the possibility to pass files from mac to Ubuntu, but not backwards and no internet connection.
Lessons at Opendot
During second week I took two lessons about software aided design: first one by Enrico Bassi and second one by Tiziano both guys from Opendot.
Enrico focused on GIMP, Inkscape and Rhino + Grasshoper.
I found very useful in order to save time the plugin BIMP for GIMP that allows you to manipulate multiple file at a time.
Inkscape seemed a powerful and light software. To keep in mind its tool to convert bitmap to vector images, the path: (Barra menu > tracciato).
I found amazing the parametric Grasshopper in Rhino. It is a pity that it will not run on my old Mac.
Tiziano taught us a bit of Fusion 360 which is definiteley a very powerful software even if a bit fancy. However, it will never run on my machine.
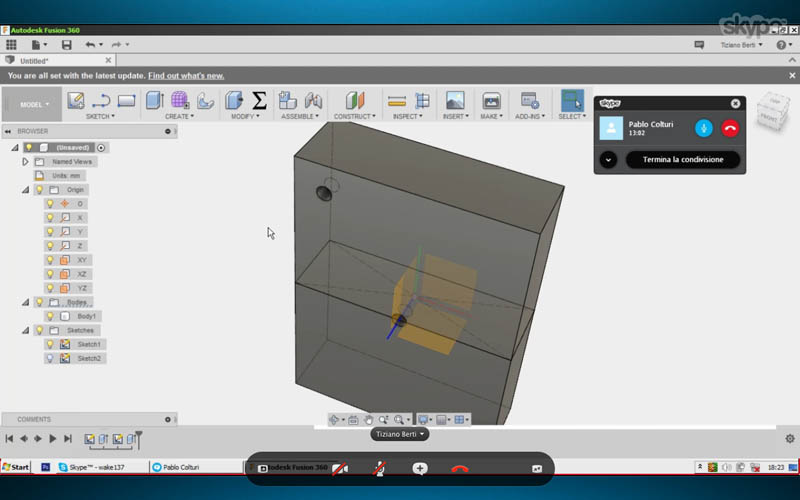
Above a snapshot of the lesson of Tiziano.
Installing softwares
So far I have installed successfully Gimp, Inkscape, SketchUp and Antimony.
I have tried to install also FreeCAD, but my OS X 10.8.5 was not supported by the last version of FreeCAD. So I tried to compile it. It was my first time compiling a software and I found it challenging and interesting at the same time. I followed the steps on the official page of FreeCAD, that can be resumed by this list:
- Install Xcode (done)
- Install Homebrew (done)
- Install CMake (done)
- Install the dependencies by terminal (failed)
- Getting the source (done)
- Building FreeCAD (failed)
Some steps took quite long time and the whole process still remain unclear to me, which I think is normal because I am a beginner in this field. Anyway it was worth the time spent, I am becoming little by little more familiar with the Terminal.
I got error messages during installation of the dependencies and therefore I was not able to finish the building process.

First message error during installation of dependencies.
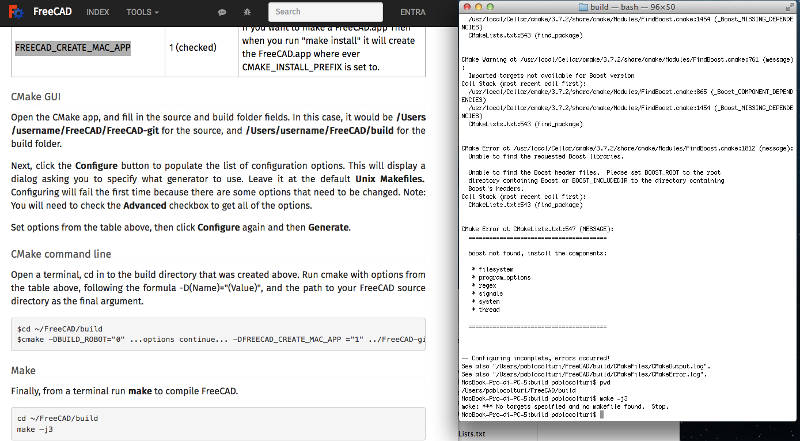
Last error during final building step.
Modeling my final project
ThinkerCAD
I did my first model with ThinkerCAD, which is a on-line 3D software by Autodesk. I watched just 2 minutes of tutorial and I was already modeling, it is really simple to use.
However, even if it is simple I spent a while in order to model my shape. I tried to be precise and I used only polar coordinates to place the shapes. The box is 20x20 units and the thicknes is 1, the hole is 10 of diameter.
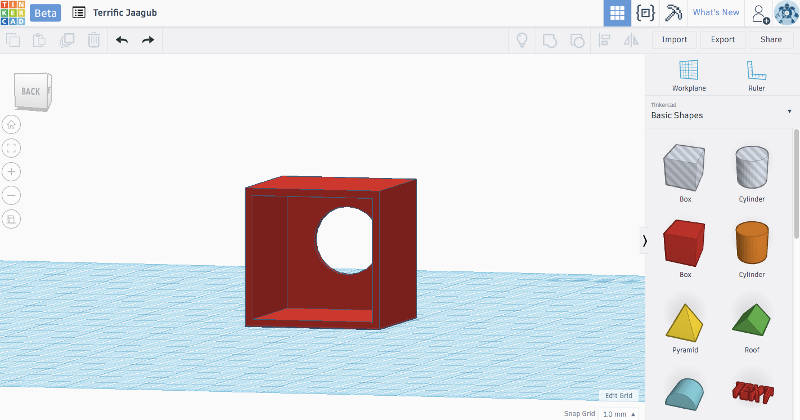
What I did is the external box of my filter. It is empty inside to allow the air pass through. On one side there is a circular hole where it will be placed the fan. On the opposite side will be placed the paper filter.
Antimony
Then I tried to do the same shape on Antimony. I really love this software: it is enjoyable to use and it looks powerful and simple at the same time.
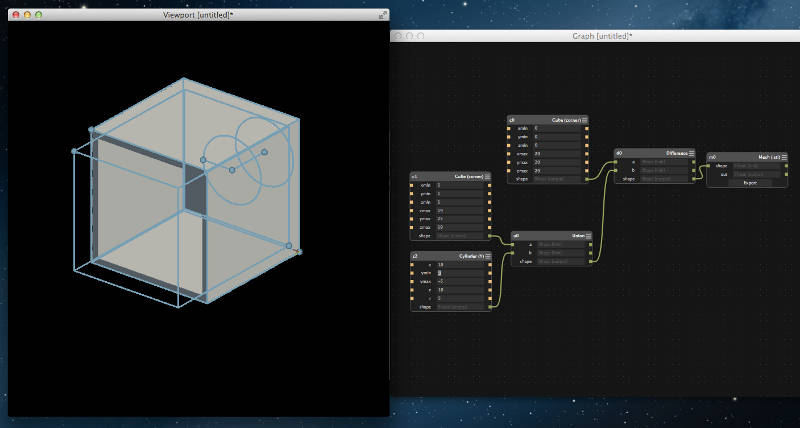
Something weird occurred doing the circular hole on the backside. I tried different nodes and I realized there are many ways to get to the same shape. I really enjoyed.
Inkscape
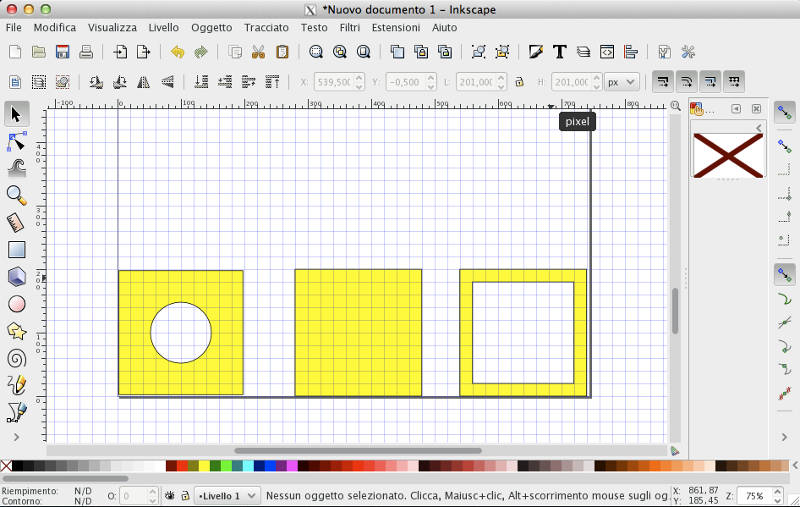
Finally I did same shapes on 2D with Inkscape.
I love open software every day more. Inkscape is powerful and handy to use: there are a lot of quick shortcuts from keyboard for example.
I watched the videos on the tutorial archive page of the Fab Academy and I was already drawing.
I used the polar coordinates and dimensions on the toolbar in order to be more precise as I could.
Below my result.
OnShape
Please check Exercise 09,11 Mechanical Design, Machine Design for more examples of the present assigment using the parametric 3D software OnShape.
Similarly I designed the paddle in the Exercise 14 - Composites with OnShape.
Please check also in my final project the Mechanics where I used again OnShape to design the model of my filter.