MECHANICAL DESIGN (week 1 of 2)
Make a machine, including the end effector, build the passive parts and operate it manually.
Have you:
Explained your individual contribution to this project on your own website
In this assignment it is my individual contribution
Recommendations: do not connect the CNC Shield to your Arduino if you do not have uploaded the GRBL code.
The first step is upload the GRBL code on your Arduino.
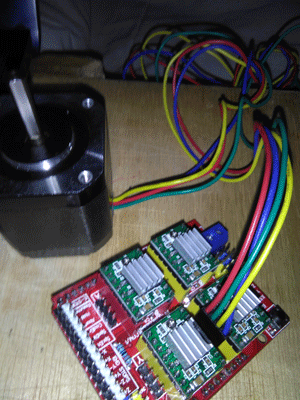
Then you have to see the image to connect the CNC Shield on your Arduino mega.
When you have everything ready, download the bCNC software.
All this steps you can find down
The information and, videos and images than I used
Take in count the software version, I have a lot of problems just for the version of Arduino.ide or bCNC, I had to install the Arduino 1.6.7, I am going to create a folder with all the software’s. you can find all in the finial of this page.
Also to modify the grbl code you need notepad++ or a similar software, I use notepad++, I recommend you.
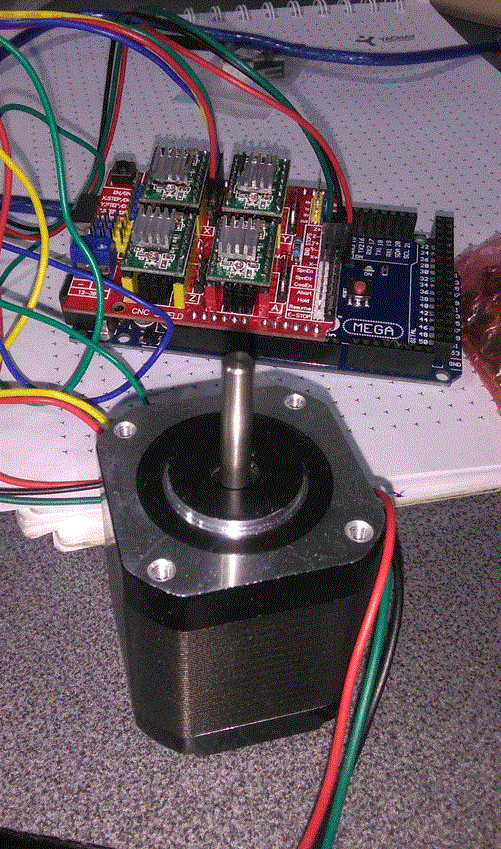
In my assignment I had to move the motors, we are going to use this motors in the axes X, Y and Z.
I Used an Arduino Mega, CNC shield 3.0, step motors 1.5 Amperes 12V.
The grbl code to upload on your Arduino, I configured the CNC shield the reference voltage with the 1.5 Ampere and I find my Ref voltage, it is 0.84v
Vref=Iref*(8*Rs) = 0.84v
Then I connected the pins of the CNC shield with Arduino.
If the Arduino is running a different code, it can be dangerous to your CNC shield and motors.
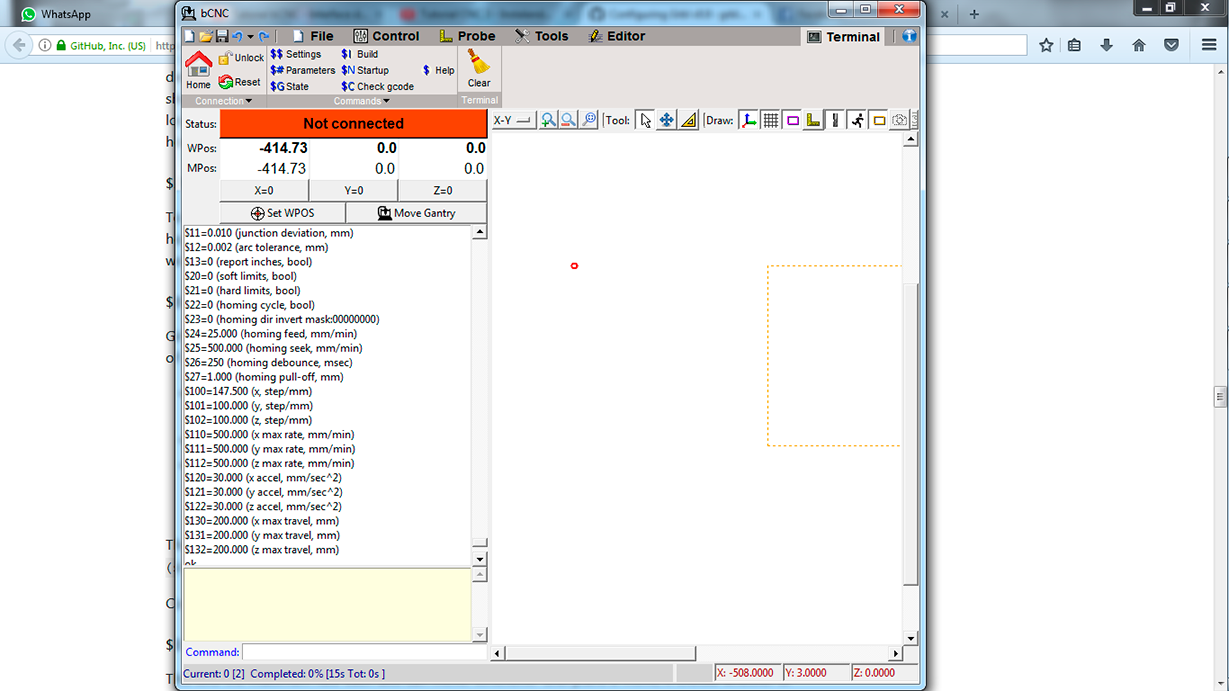
If the Grbl was uploaded, the CNC shield and steeper motors is ready, you can open the b-CNC, in this software you can configure the parameters of your CNC, things like the units (mm) or the speed, steps of your motors.
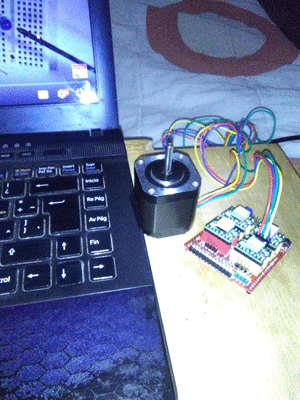
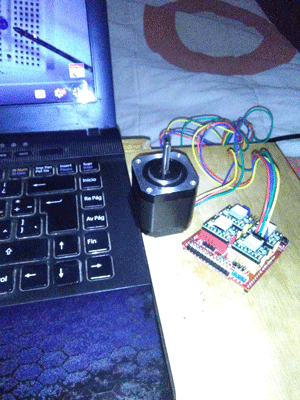
I made a prove to understand the technics to connect the motors, I was looking for information, I connected a led in two pins of the motor.
Then I moved the motor axes to turn on a led, if the led turn on, it is because this is a bovina, you can play changing the pins configuration and it is funny because you can turn on a led just with move the axes of the motor.
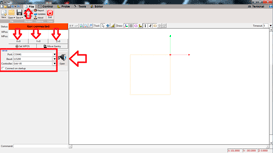
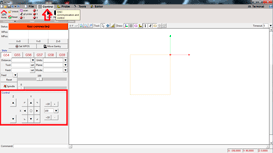
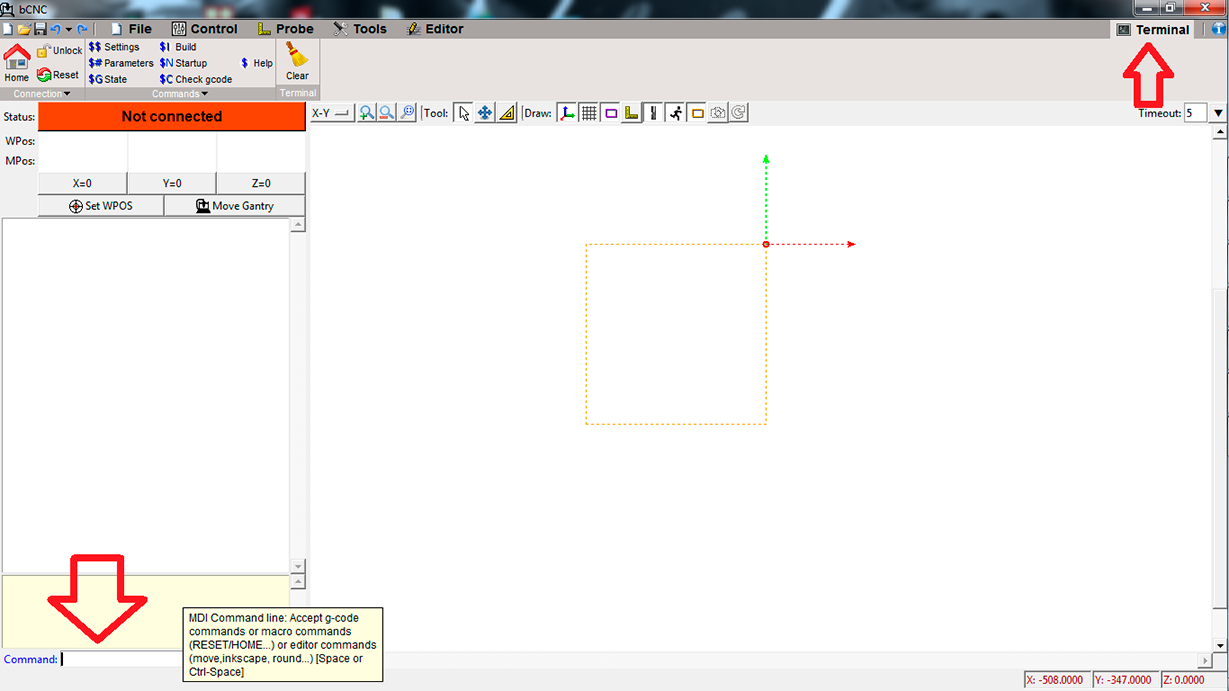
It is the window of bCNC software
You have to configure the Port of communication, baud and grbl version
You can configure the properties of Grbl to move the motors, properties of steps and some things more.
Video CNC
How to instal bCNC?
If you want to install the bCNC software, you can find all the steps on the next video. I followed the steps on this video and install the bCNC.
How to connect the arduino mega to CNC Shield 3.0?
I connected the CNC Shield 3.0 to my Arduino Mega with the next image.
I created the Shield to my CNC Shield, you can find all the pins to connect in the next assignment.
How to upload the GRBL code to arduino mega?
you have to donwnload th grbl code to arduino and edit the Makefile.
see the next video to upload the GRBL code.
Software folder (bCNC,GRBL code)
bCNC and GRBL code
bCNC and GRBL code
Assemble a CNC machine to composites assignment
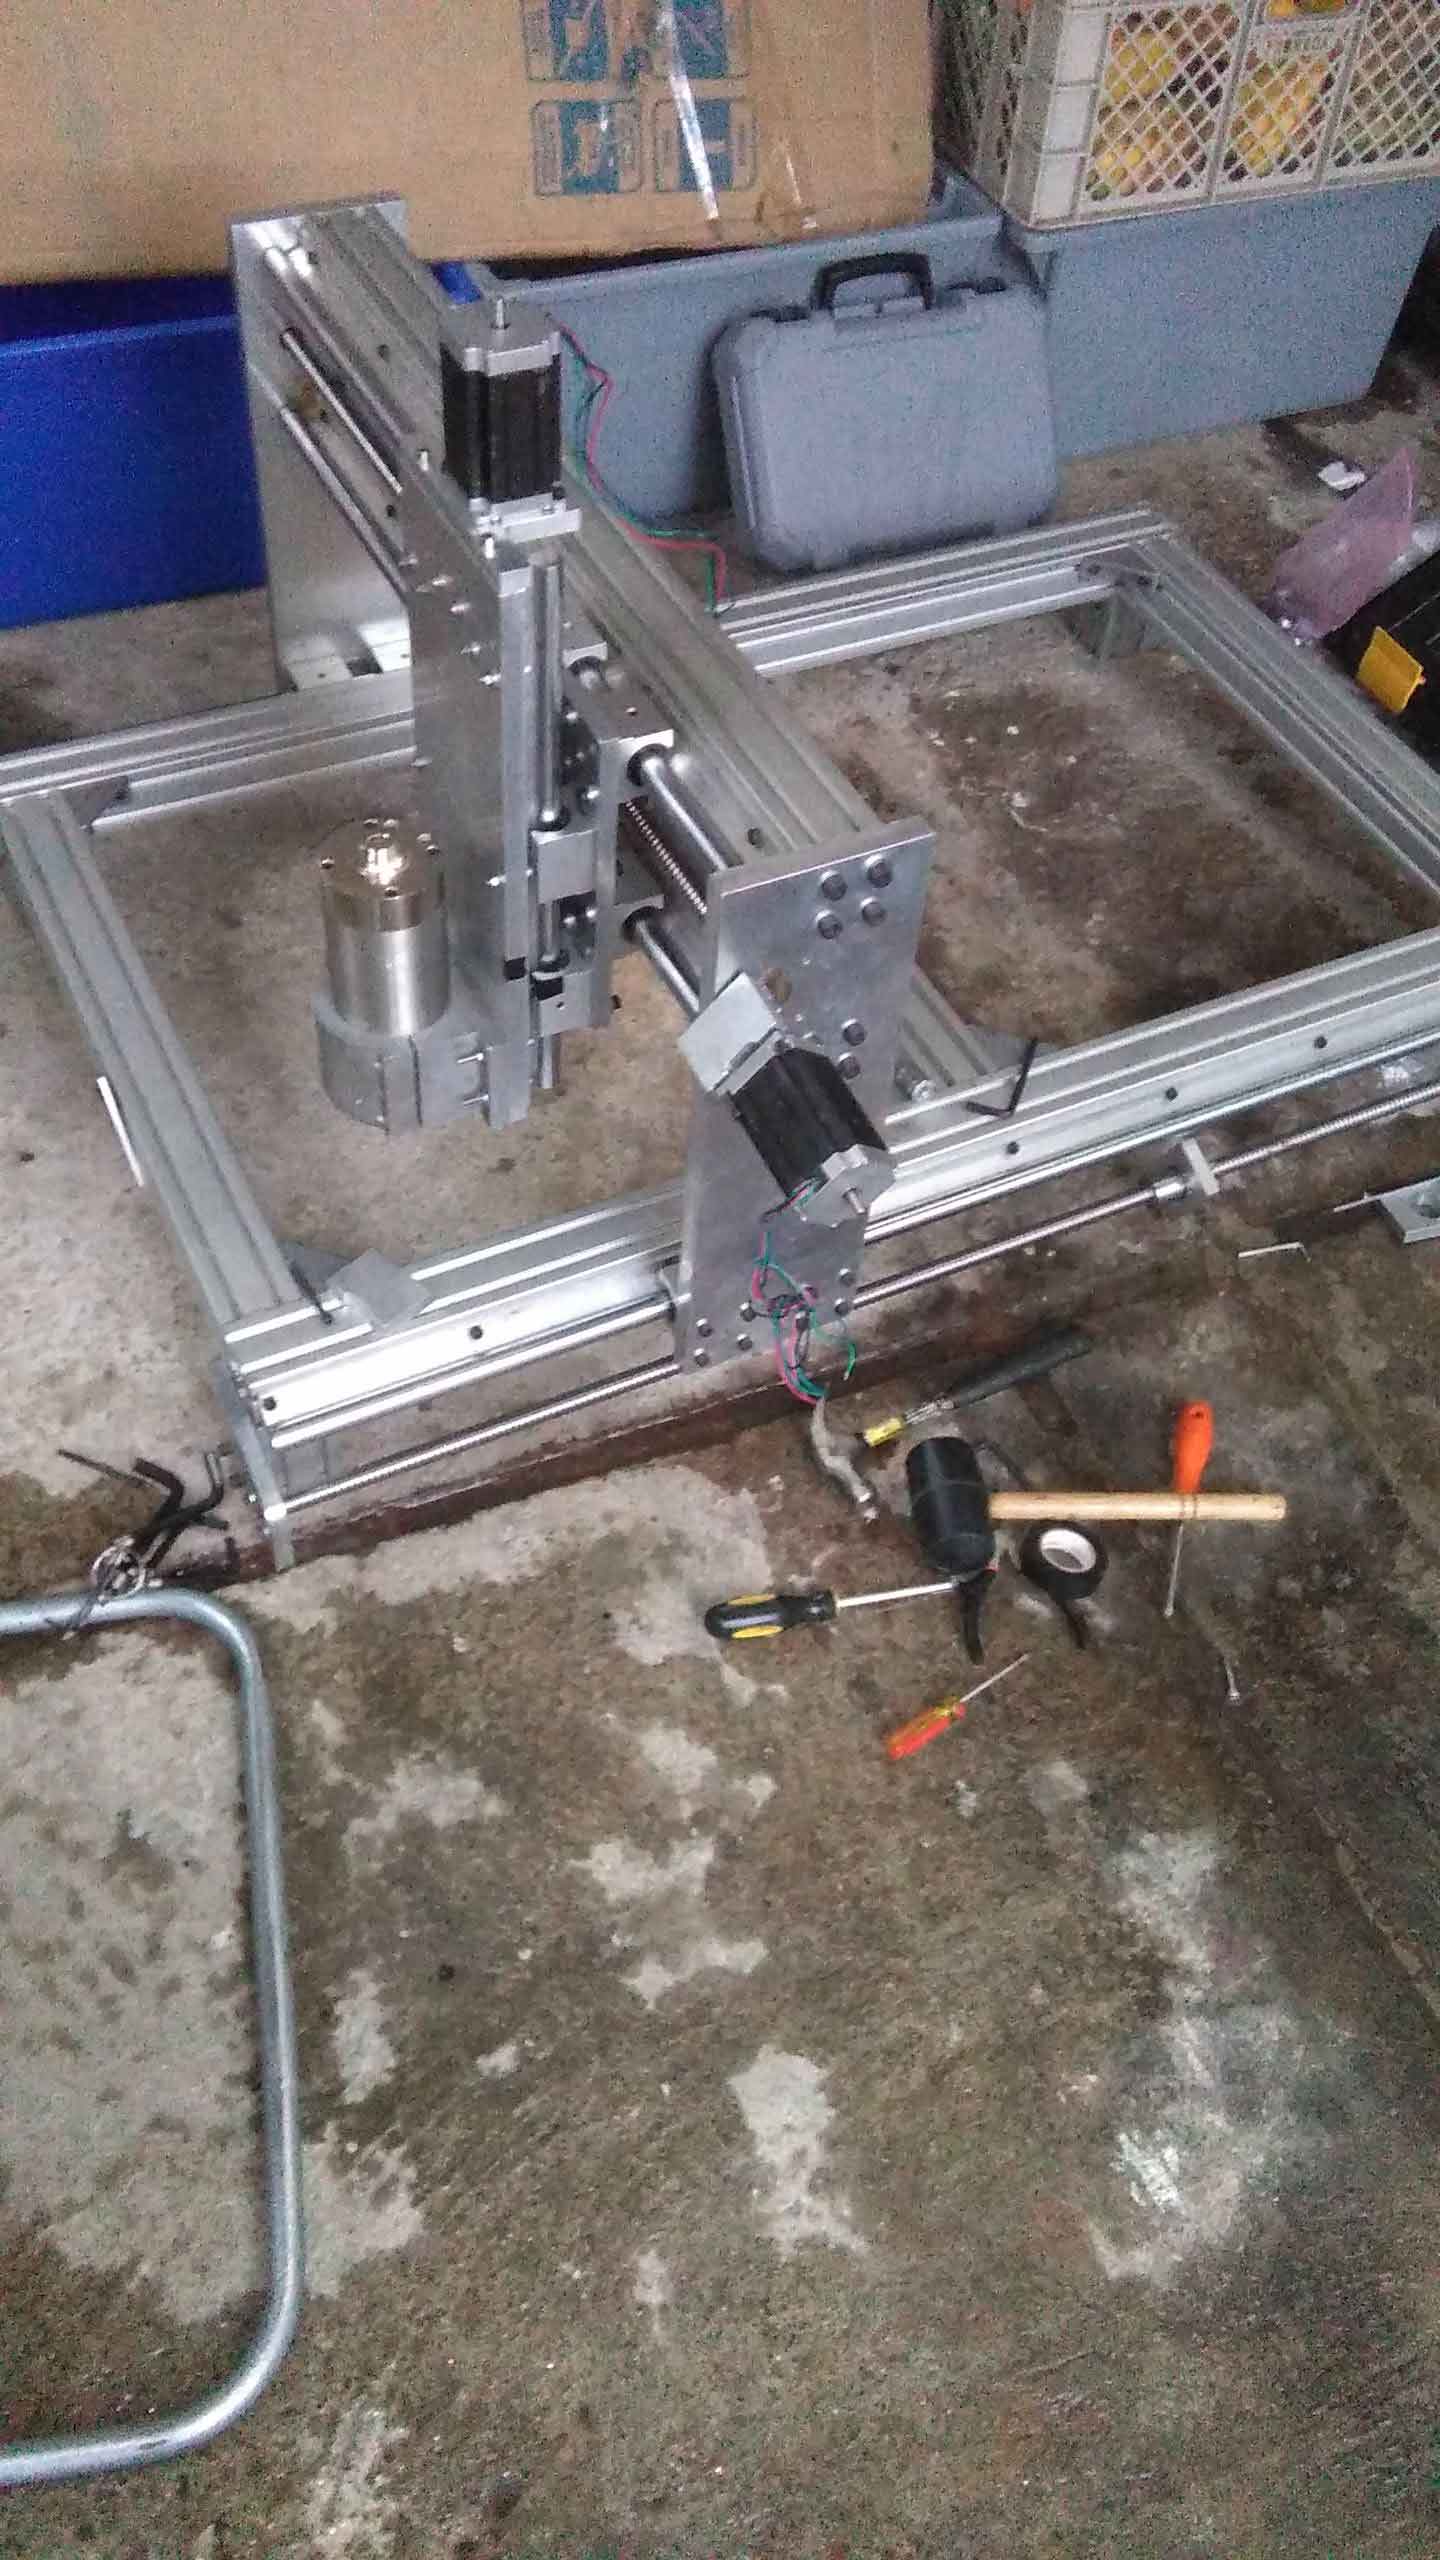
I had to assemble a CNC Machine to do my mold in composites, I was working in this machine one week to make it run.
I had to assemble the CNC without drawing or information, it was so difficult because I had to join the CNC trying to understand how to put the pieces together.
If you are going to assemble a CNC it is no really hard, you justly have to play with the pieces to get together.
I had a problem with the structure on the CNC and we decide to change the way to move the y-axis. We changed a little the structure.
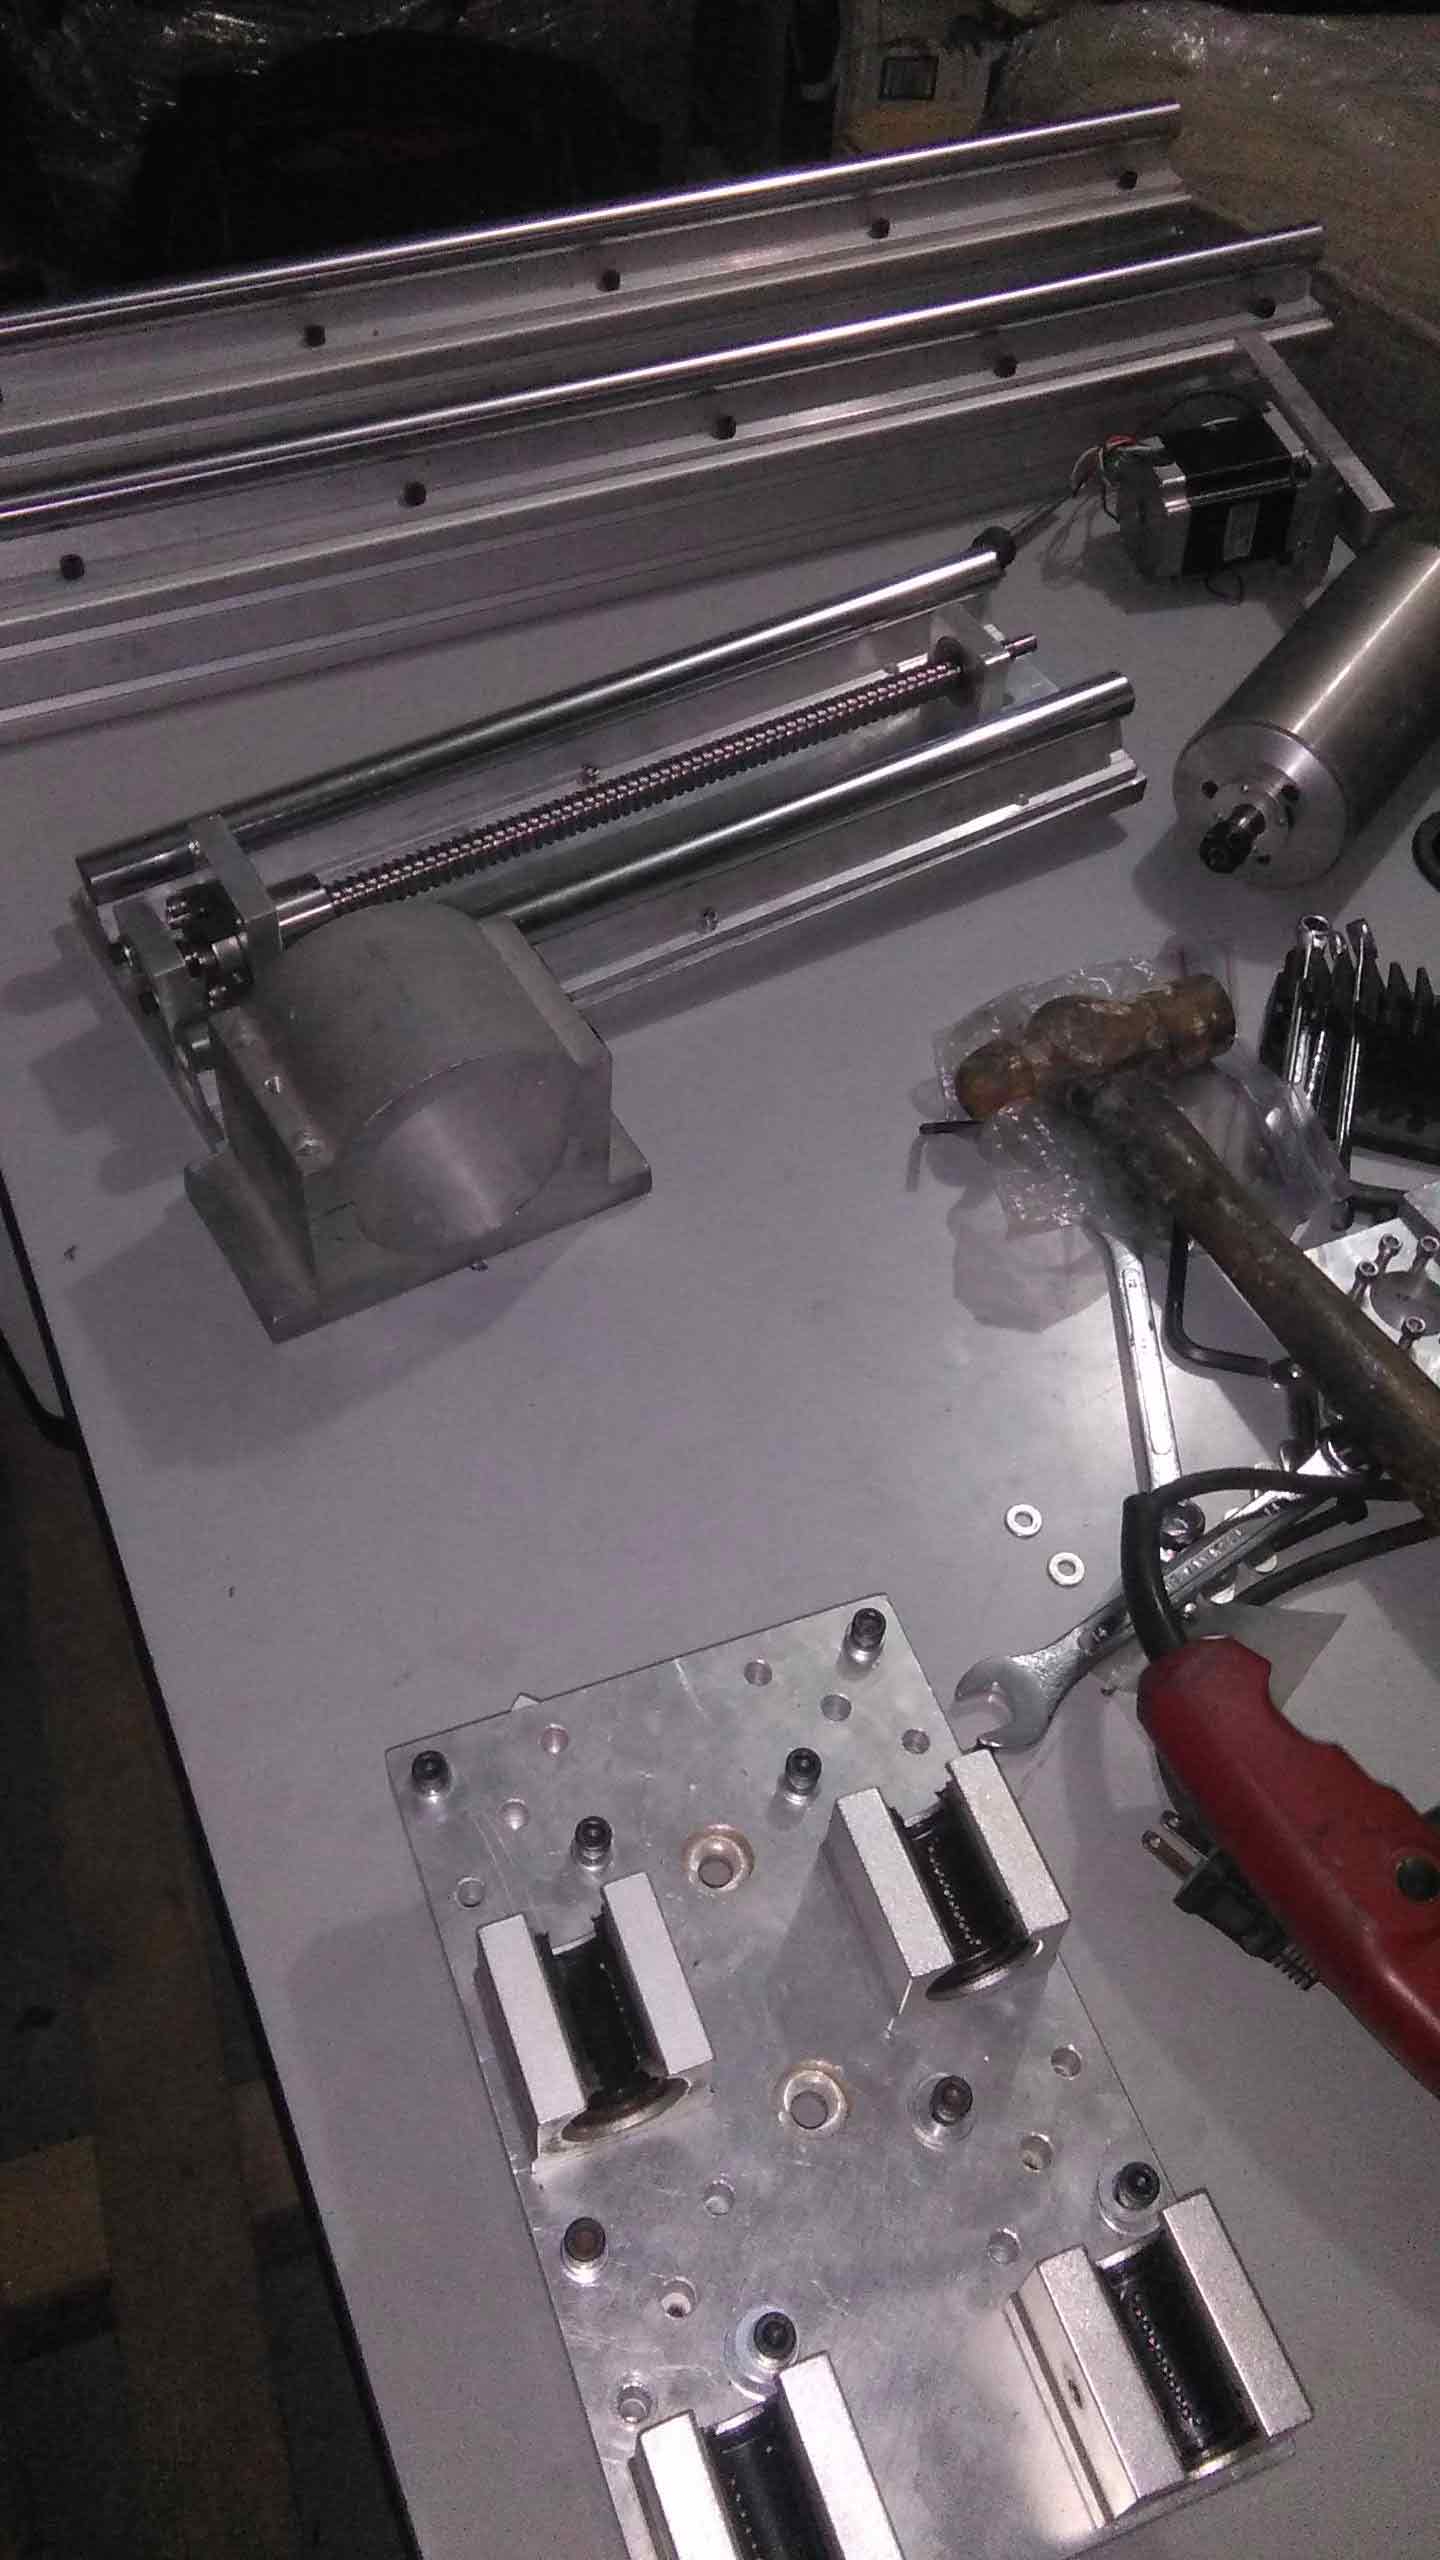
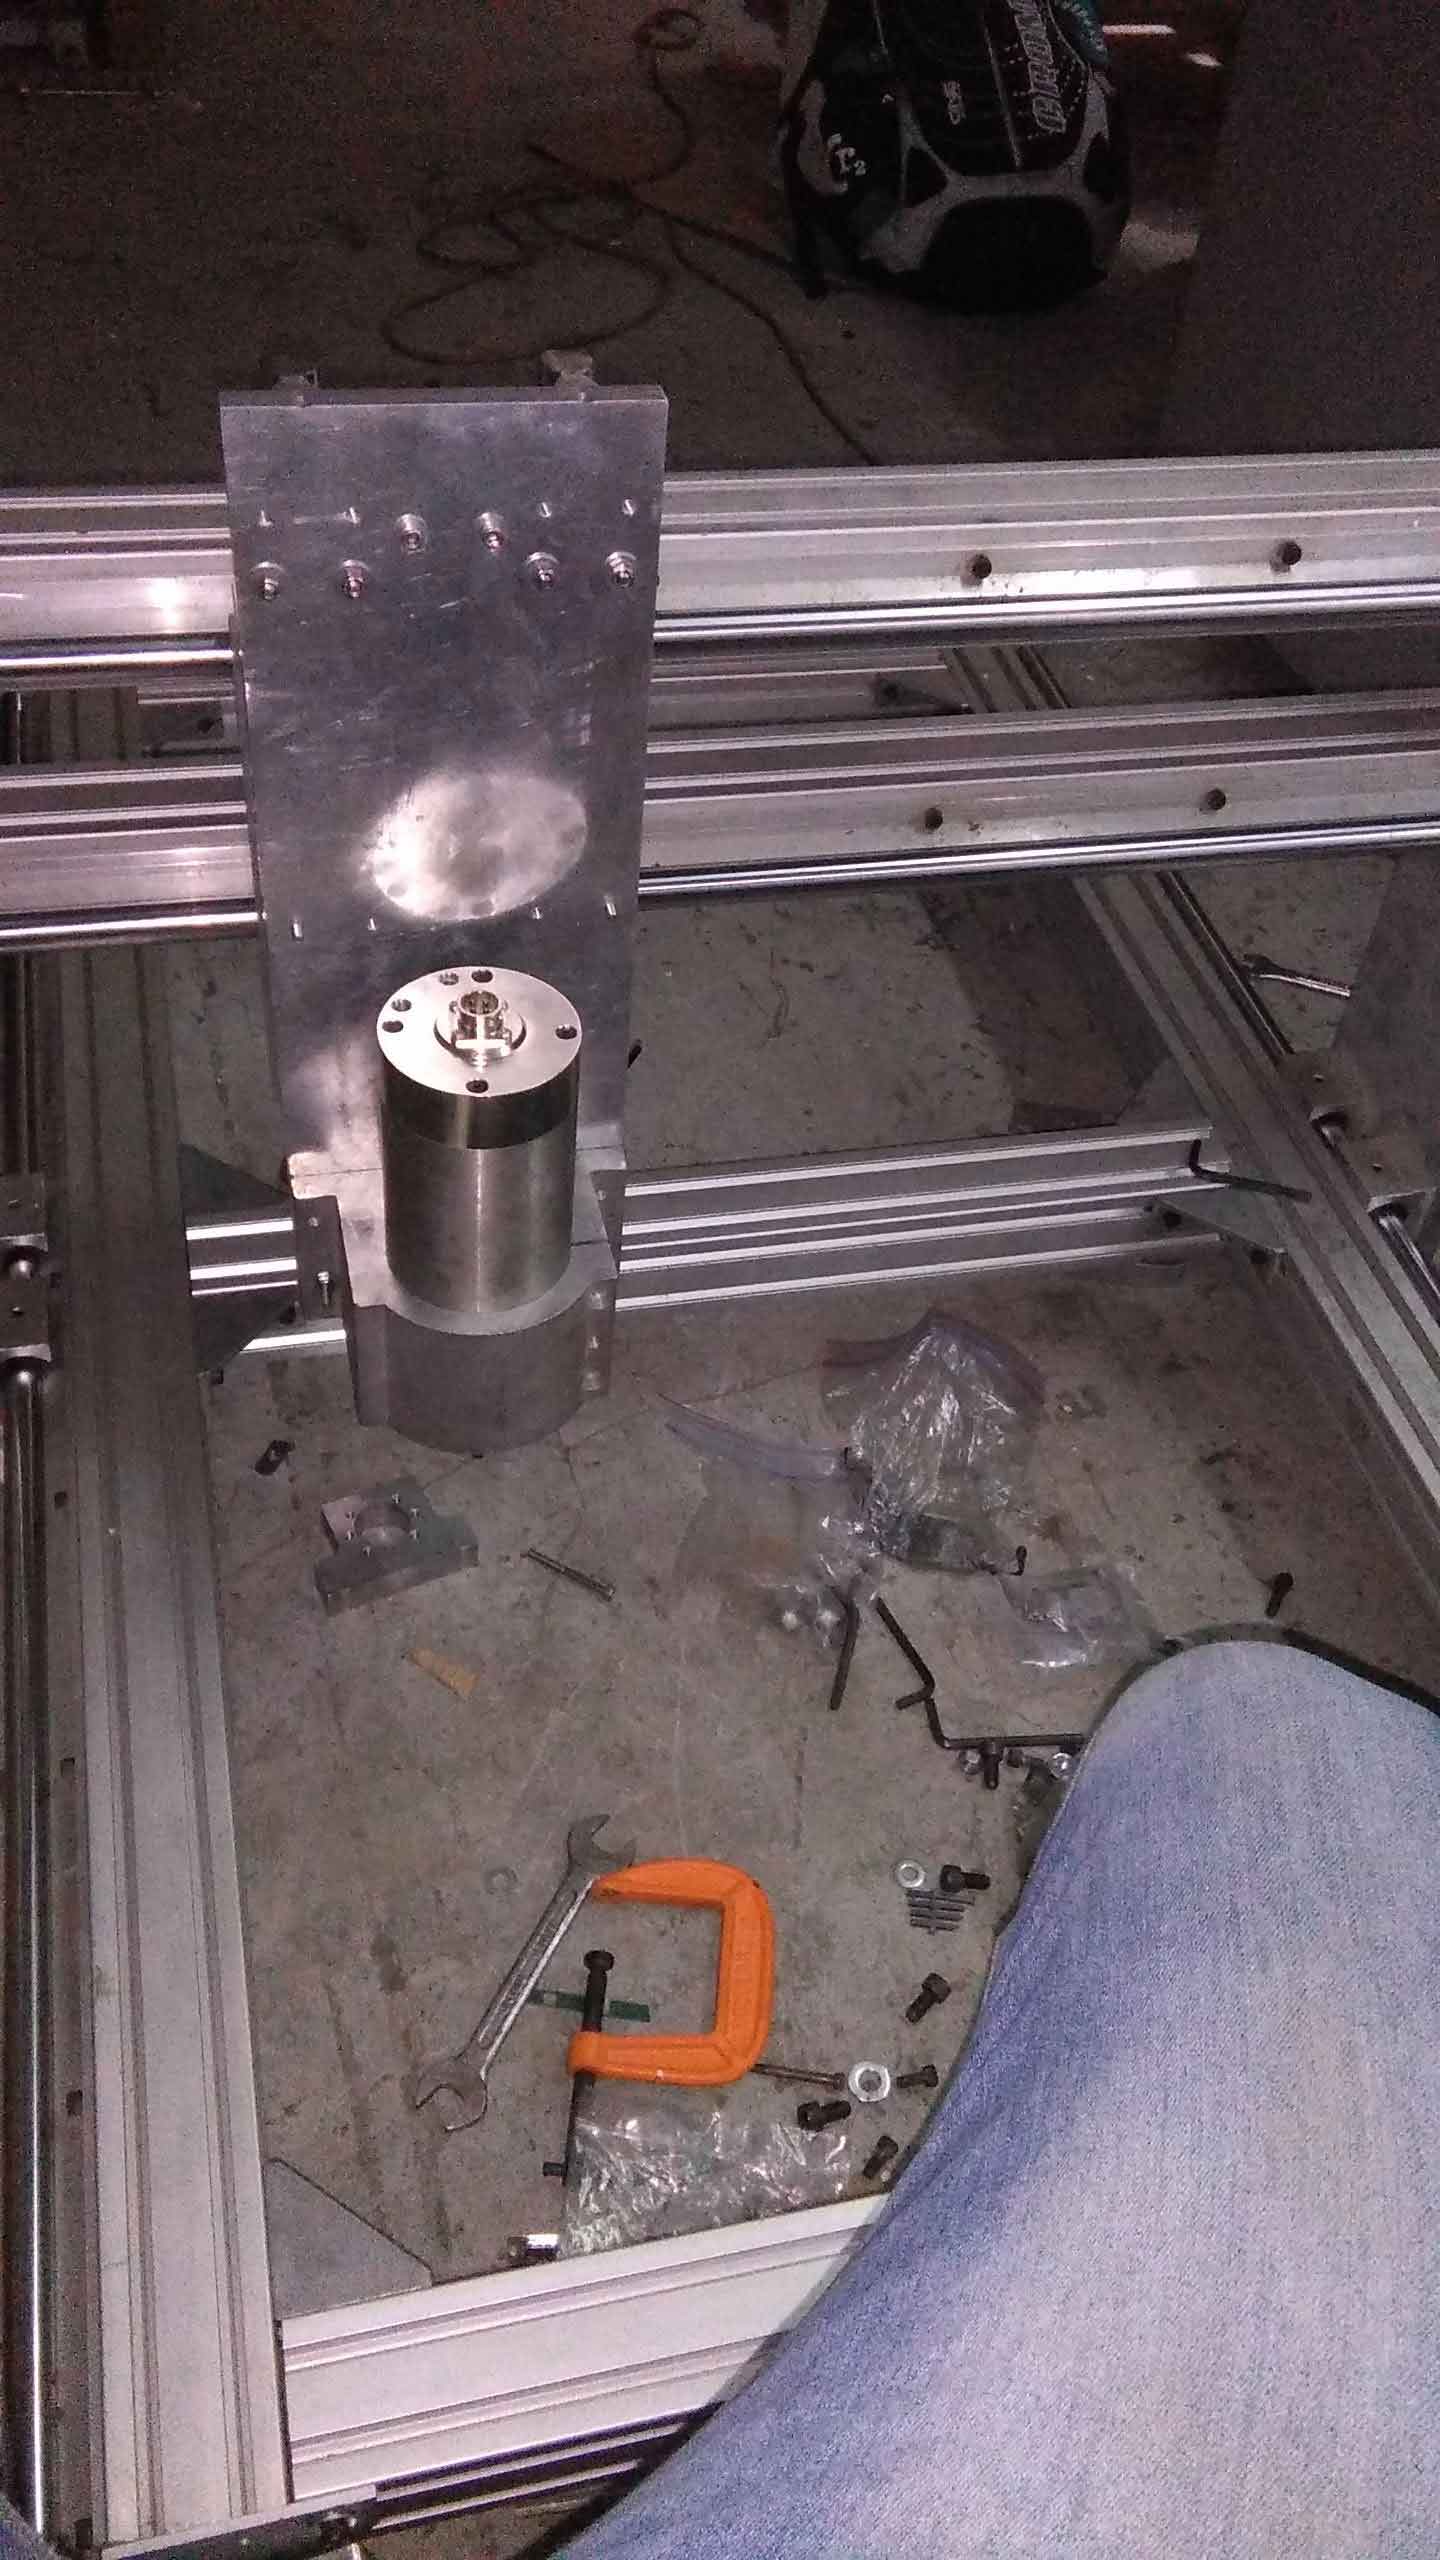
When the structure is ready, I coming to prepare the electronic control.
In this step I am going to give specific information.
The spindle is controlled with a frequency regulator.
The spindle motor is controlled with frequency regulation, you have to connect it in the output of the frequency regulator.
The frequency regulator is who control the speed of the spindle.
the way to connect is here.
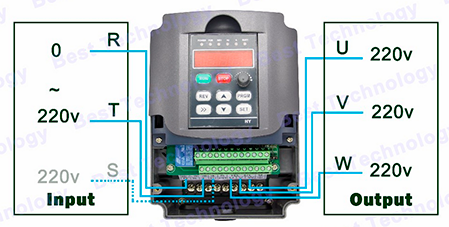
Also, it is so easy to use, the most important is the connections, then you have to config the frequency regulator. here is the
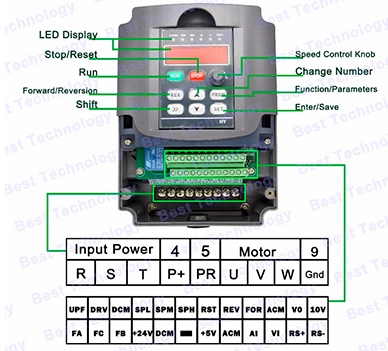
Then, I was looking for information to move the motors step by step and I found the user manual of the controllers motors (G540 multi axis step drive).
G540 USER MANUAL
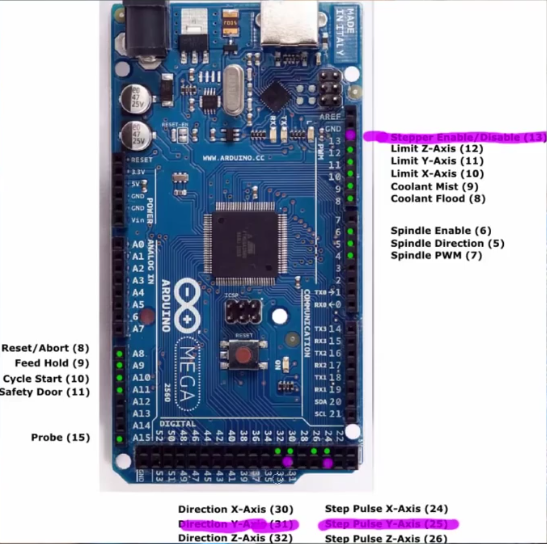
the most important information for me is the pin out of the parallel port pinout for CNC and the arduino pinout CNC connections. I am controlling le CNC with an arduino, the arduino sends the step pulses and direction to move activate tHe driver G540.
Read the user manual to turn on the stepper motor drivers. There you are going to find steps to turn on the stepper motors driver.
Parallele port CNC
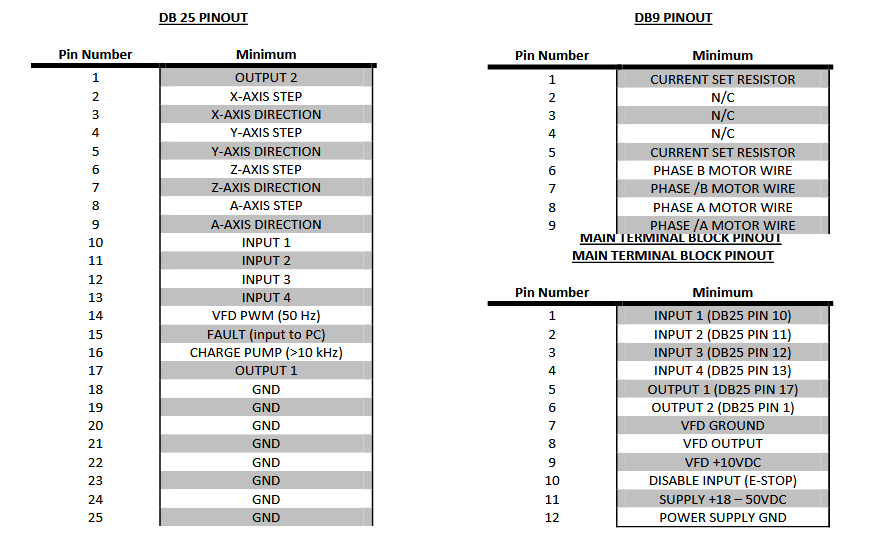
Arduino mega Pinout CNC
You can see the pictures and connect your arduino with the CNC parallel port.
It is the most difficult step, I was looking for the way to connect the Arduino with the driver, and I can see than the pins of the Arduino is equals with the driver. I connect the pins and make a test.
That's the most important information, if you want to learn more you can visit my assignment of mechanical design. I describe some important tips than I learned in this machine.
if you want to leearn about Configuring Grbl HERE