Purpose of this week:
- Design a 3D object for machining.
- Machining the matrix for the object in 3D.
- Obtain a 3D object by applying resin and silicone.
- Leave the hole for the entrance and exit of air retained in the matrix.
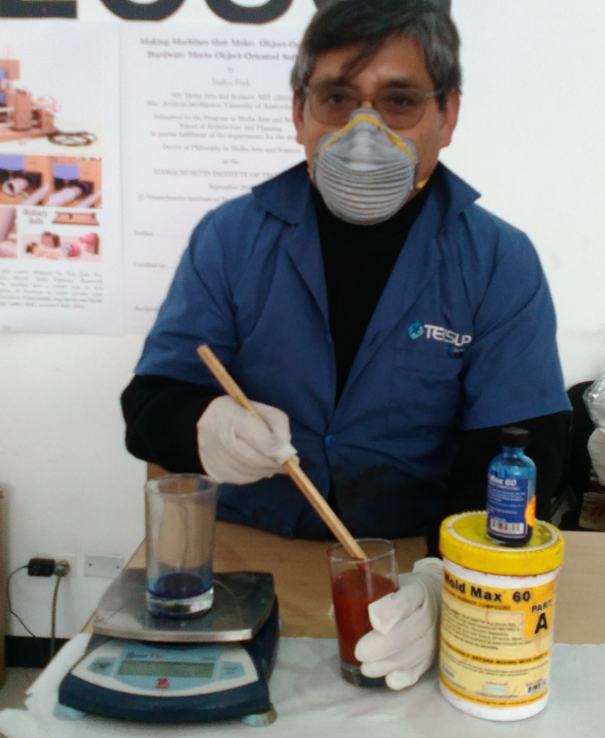
- Apply the safety regulations suggested by the manufacturer.
Method of machining the mold of a press
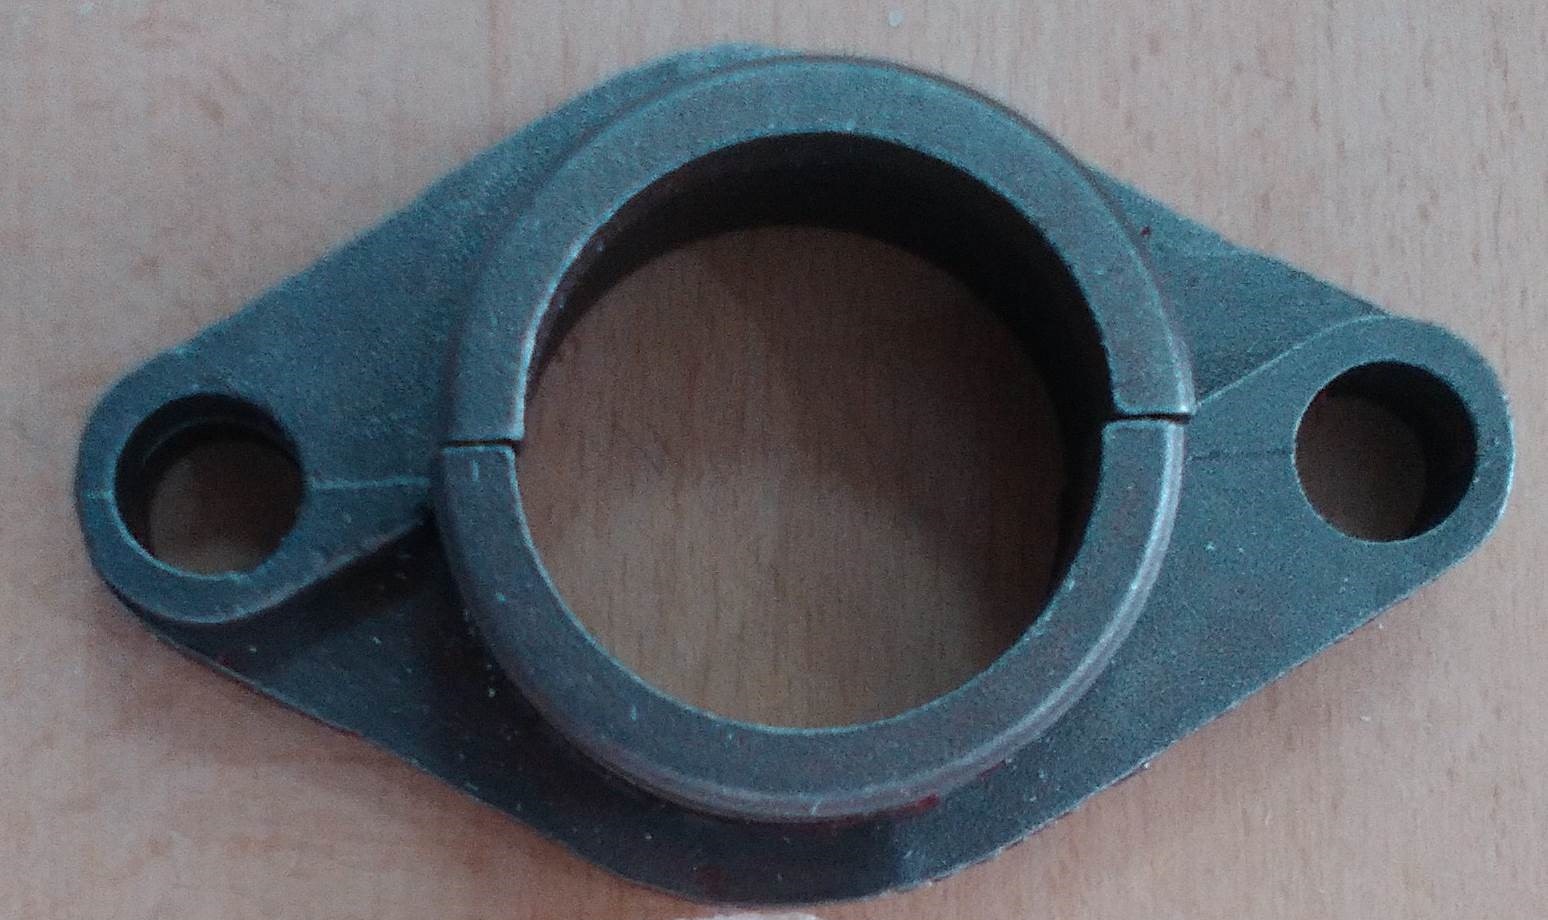
As I am a mechanic I have been interested in making the mold of the "Blow press of a centrifugal pump" is an element that resort to the fracture often by a bad fixation.
Then extract all its dimensions for the manufacture.
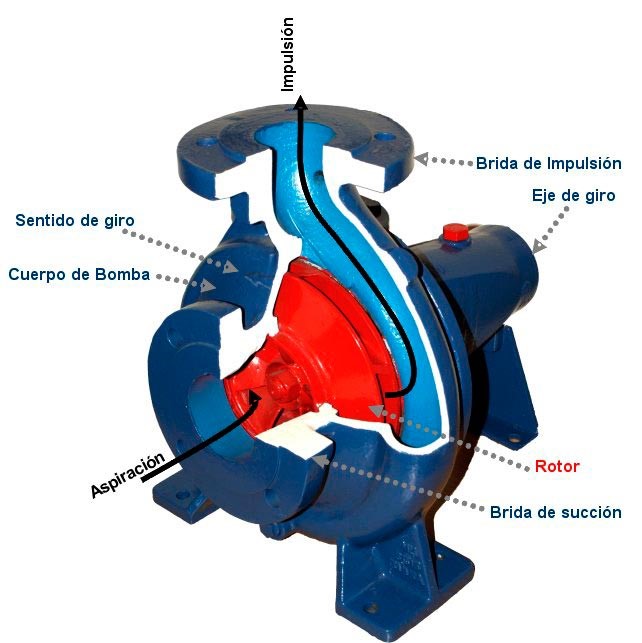
What is a centrifugal pump?
It is a machine capable of transforming mechanical energy into hydraulics. One type of pumps are the centrifuges which are characterized by carrying out said energy transformation by means of a movable element called impeller, impeller or turbine, which rotates inside another static element called the pump body or casing. Both have an annular hole for the liquid to enter. When the impeller turns, it communicates the liquid a velocity and a pressure that is added to the one that had to the entrance. The relation between pressures and velocities is h = V2 / 2g where h is the height in meters of liquid column, V is the velocity of the liquid and g = 9.81 m / s2 (acceleration of gravity). http://www.lehide.com/que-es-una-bomba-centrifuga/
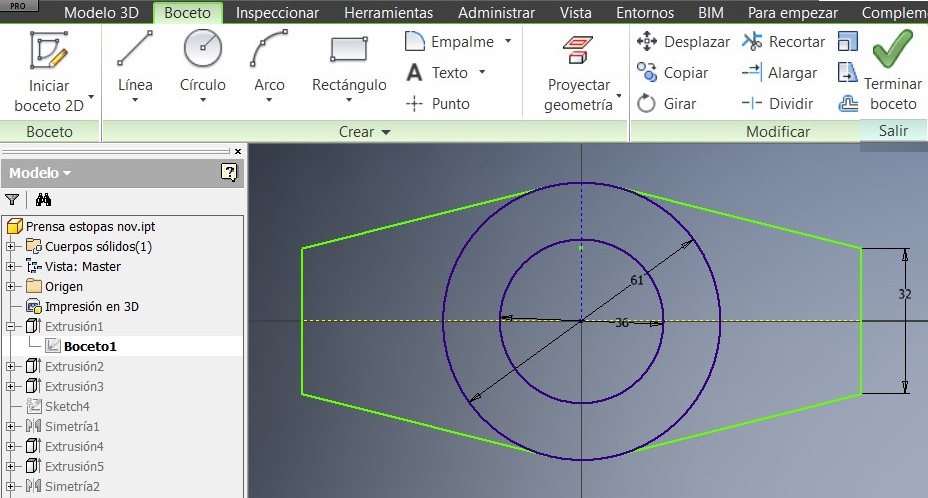
Activate the inventor software, generate a new worksheet, select the unit of measurement in millimeters active sketch in 2D,
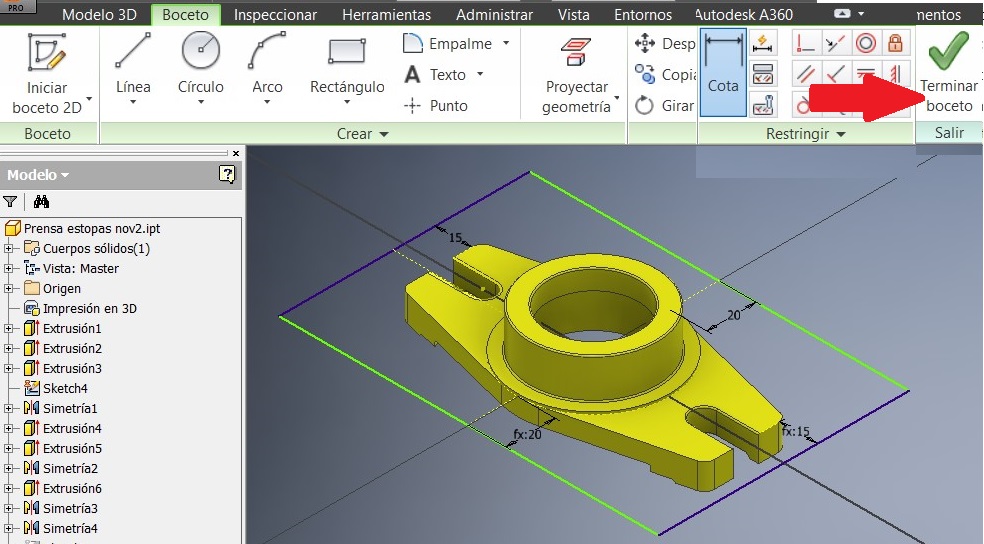
In this sketch draw the outside part of the press and then extrude and then combine between sketching and extruding and thus modeling the tow press (refer to the procedure of the second week).
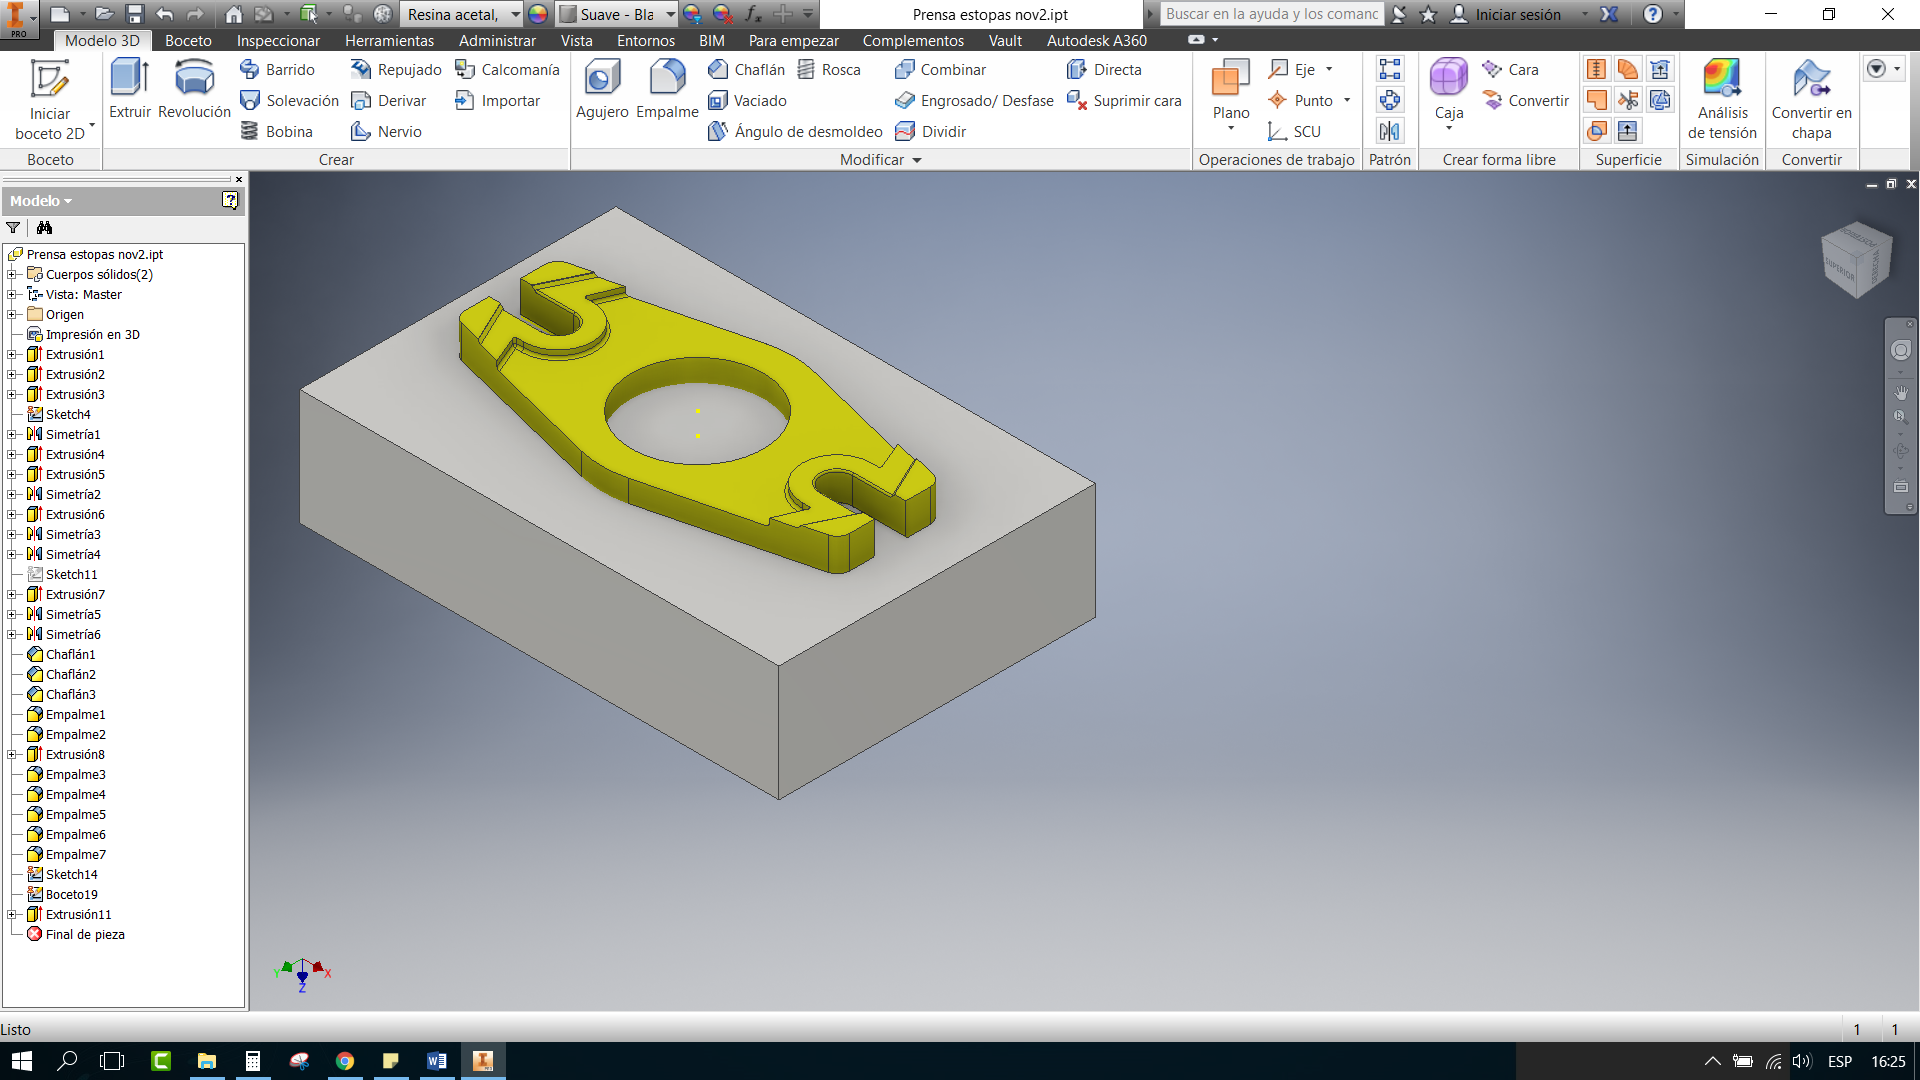
I took into account for contouring add spokes and chamfers which are safety elements.
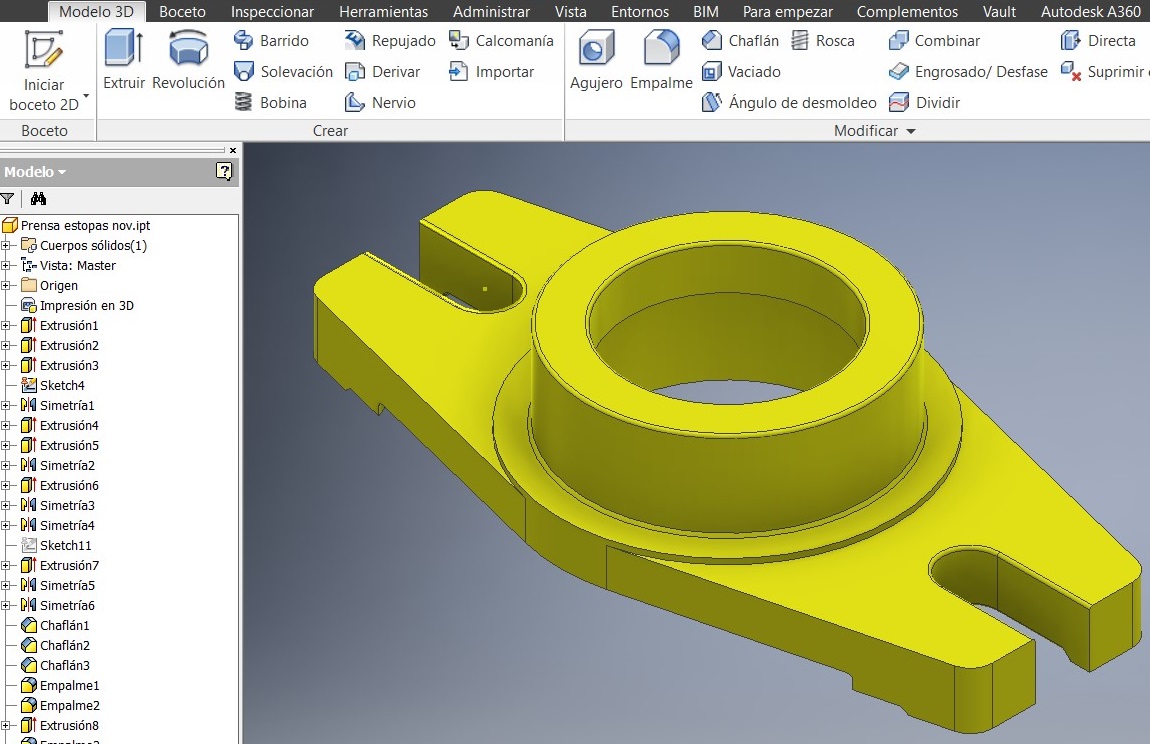
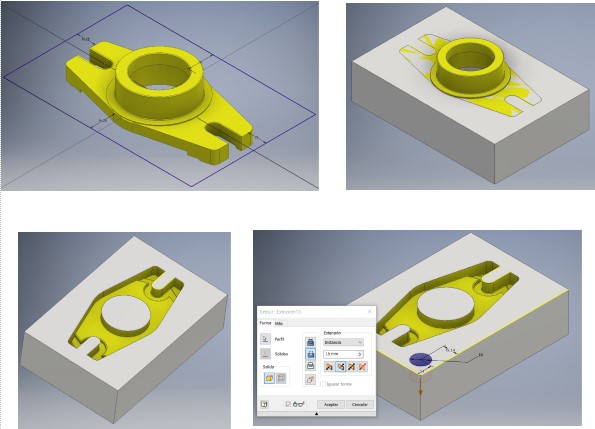
Now to give it a necessary color to enter the toolbar and add the look, I chose the yellow color.
After visualize add 1 mm outer radius and inner radius of 0.5 mmn which serves as a safety element
Then having the finished solid enter properties, then to physical properties to extract the characteristic of material to work, selecting the phenolic resin.
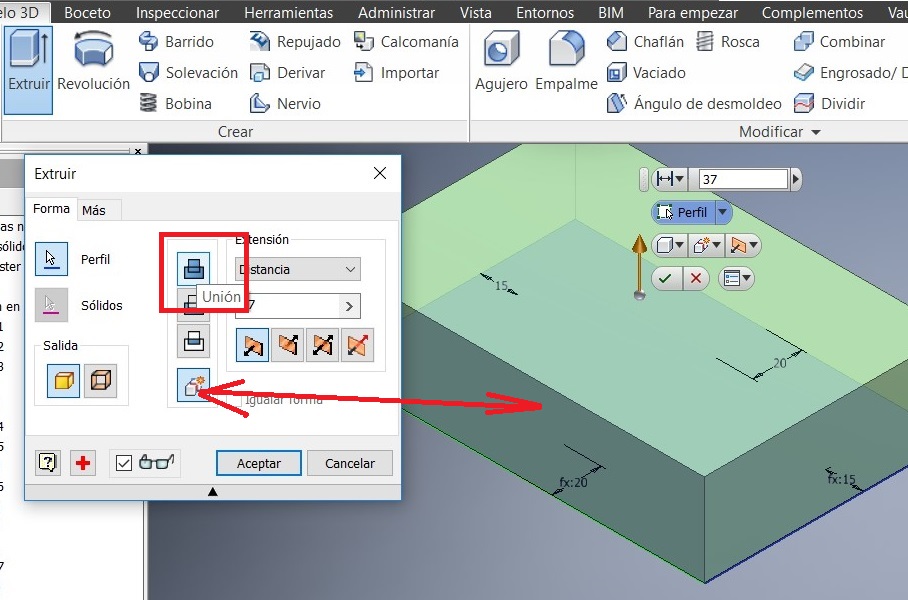
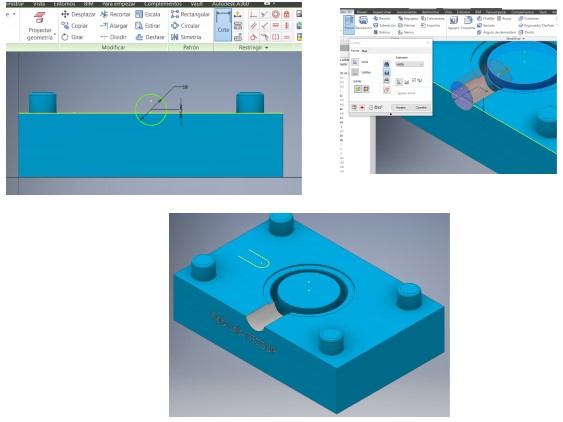
Then to obtain the upper and lower matrix generate a new sketch on one of the surfaces and give the outside margins.
Then use extrude and immediately select the icon that the dialog box (new solid)
And add the height of 37 mm
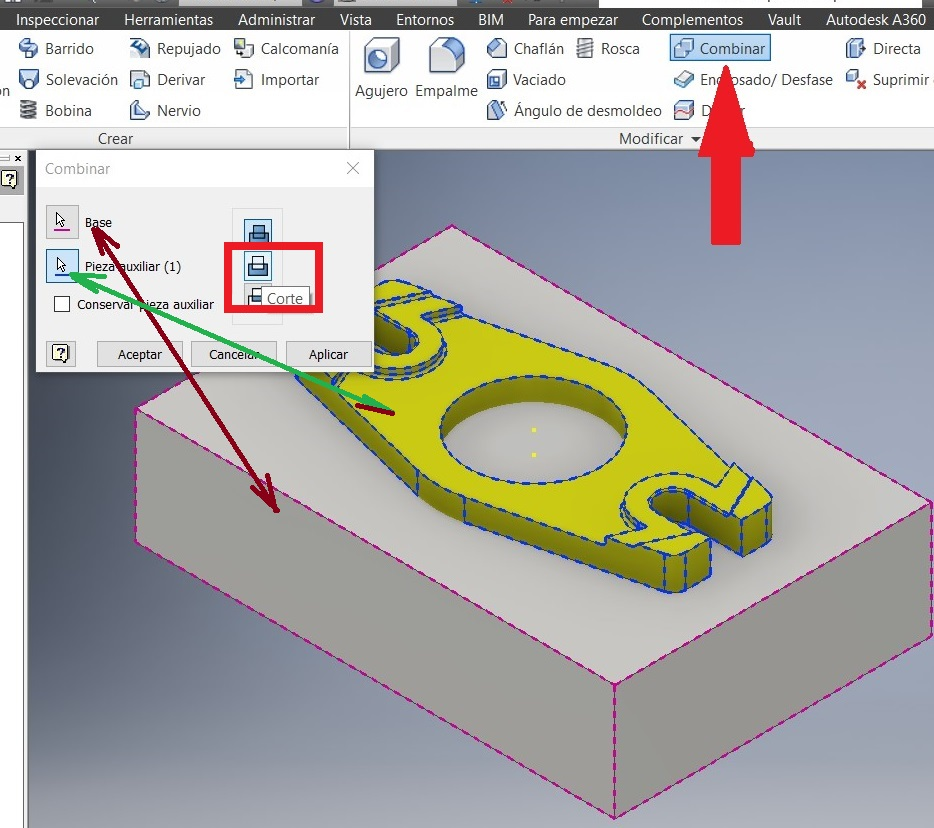
Then rotate the solid to visualize better and now the 2 superposed solids are observed.
Use the Combine command to subtract (point to the solid and then select the cut command and point the yellow-tinted press) press the tow and hold the top die.
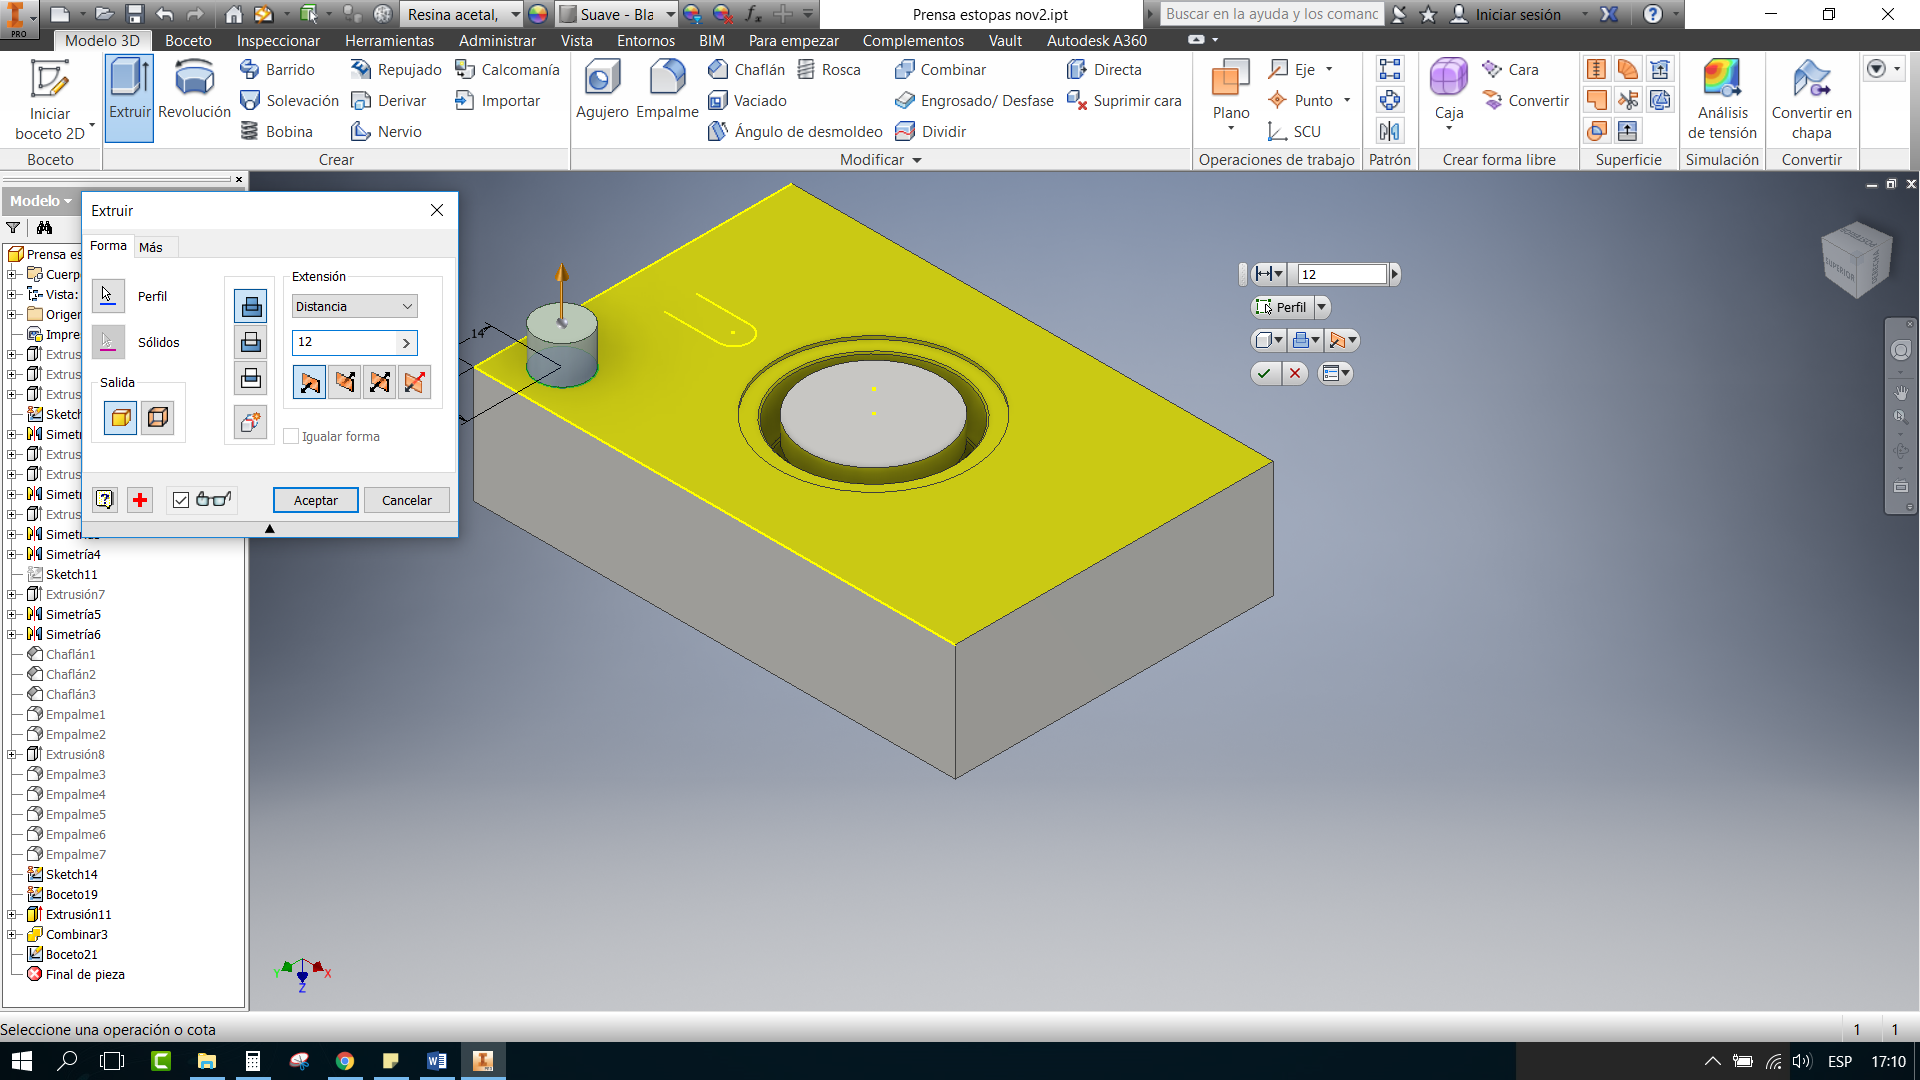
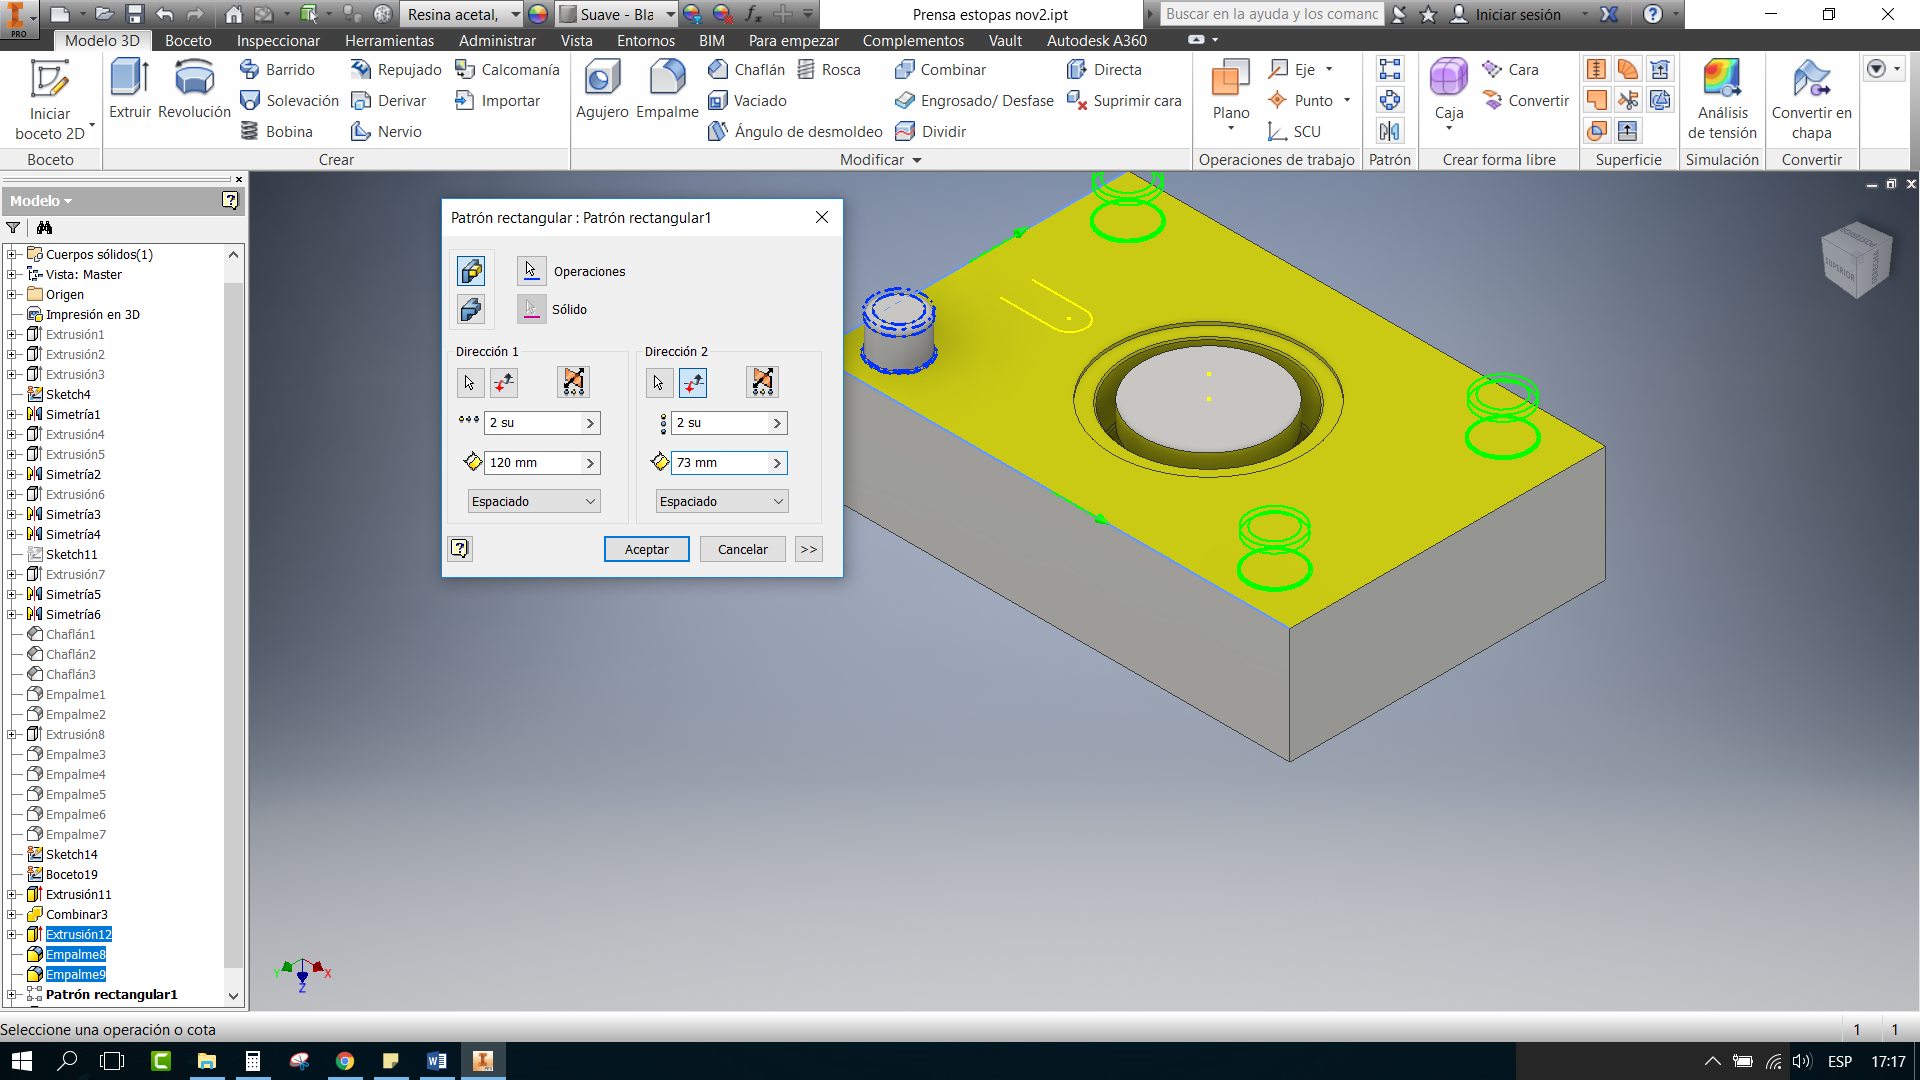
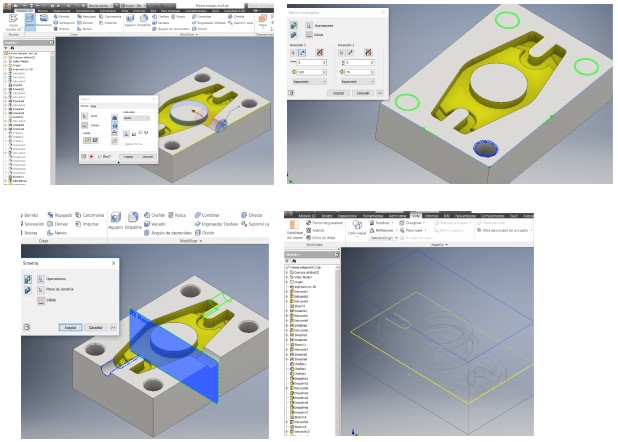
Again generate a sketch and extrude the guide, but adding a 2 mm outer radius and a 0.5 mm inner radius, then use the rectangular pattern command to generate the following 3 guides.
Again generate sketch and cut the entry for the resin with the command until that is the upper matrix
Again repeat the same procedure for the bottom matrix.
Wax Machining Test
New test Mold machining
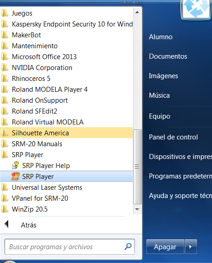
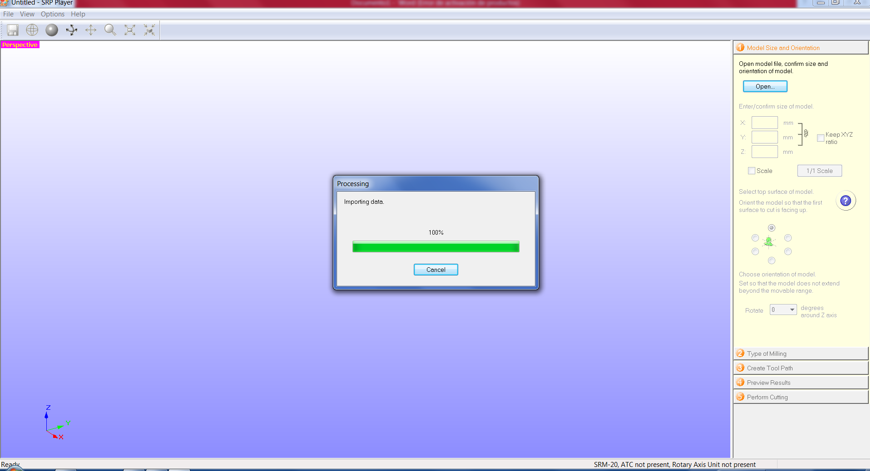
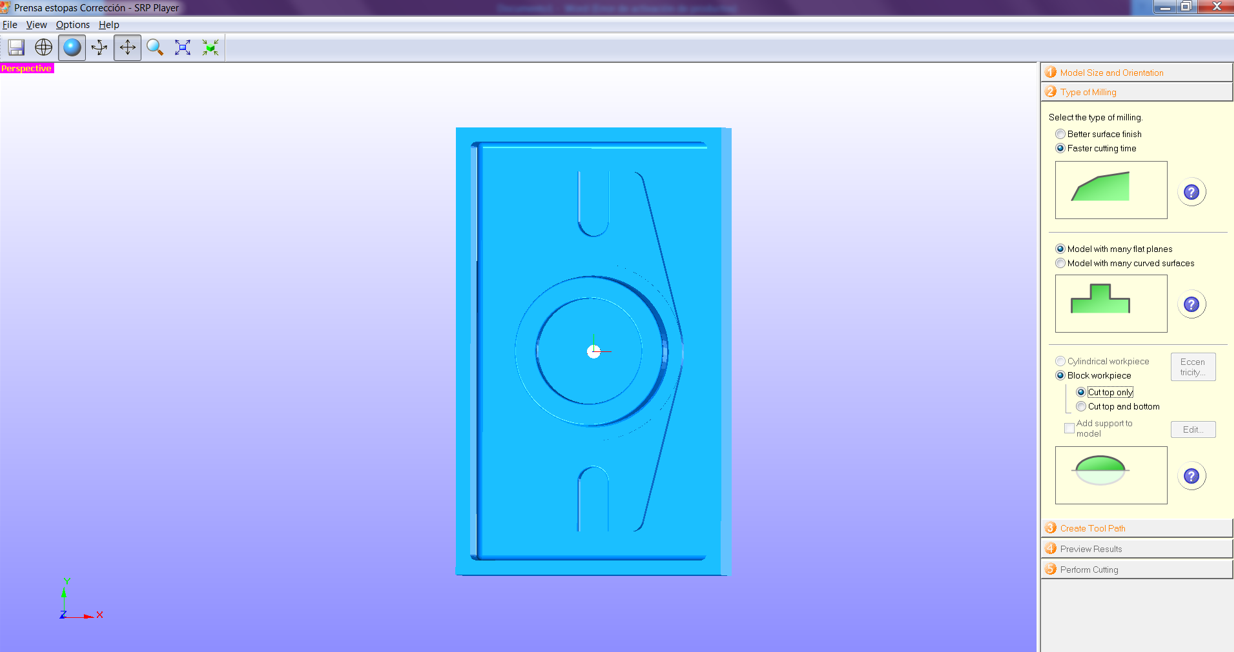
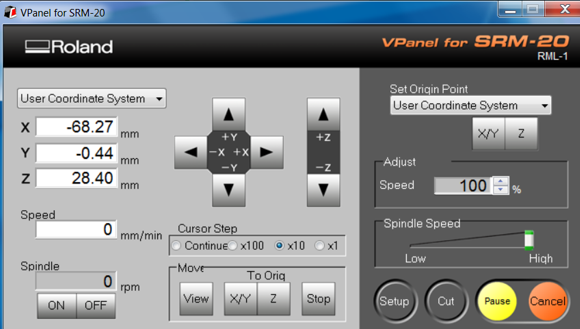
Roland SRM-20 Milling Software Activation
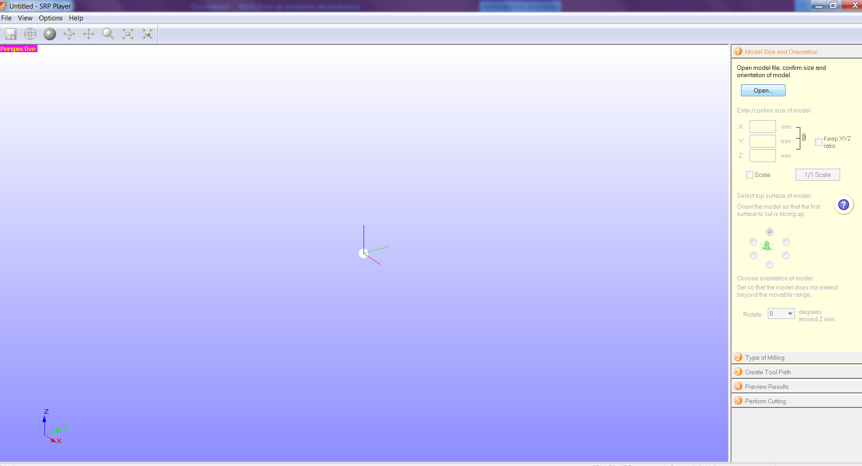
Screen showing the software
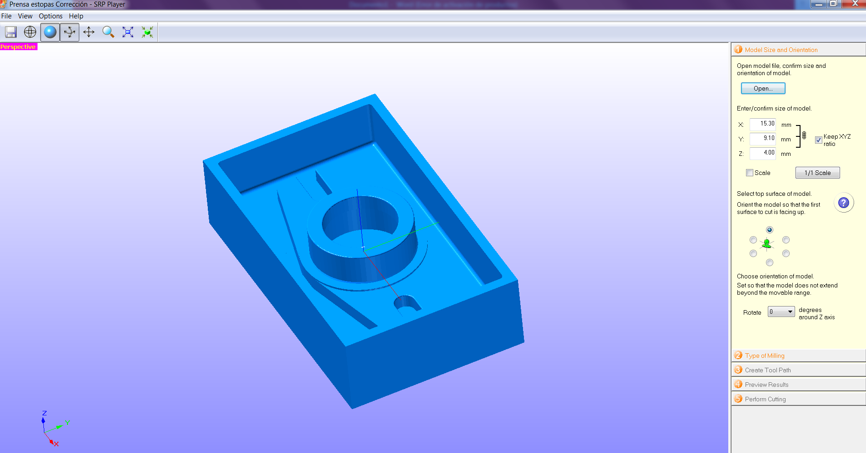
Import the Press Blow
Display on screen
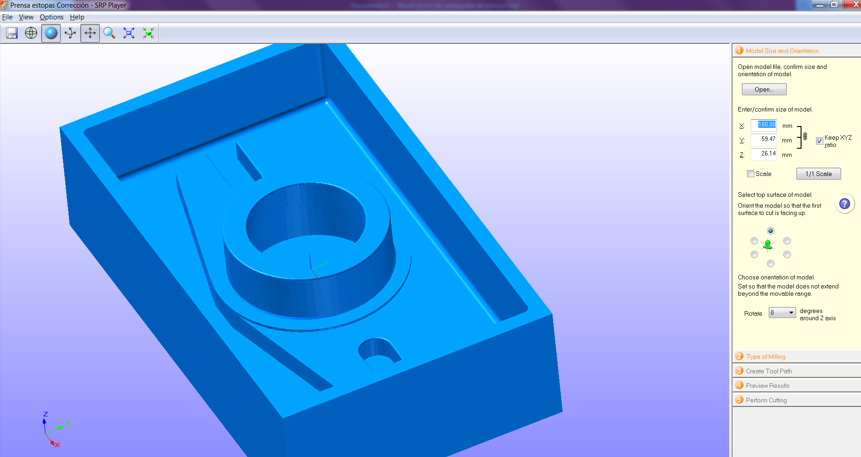
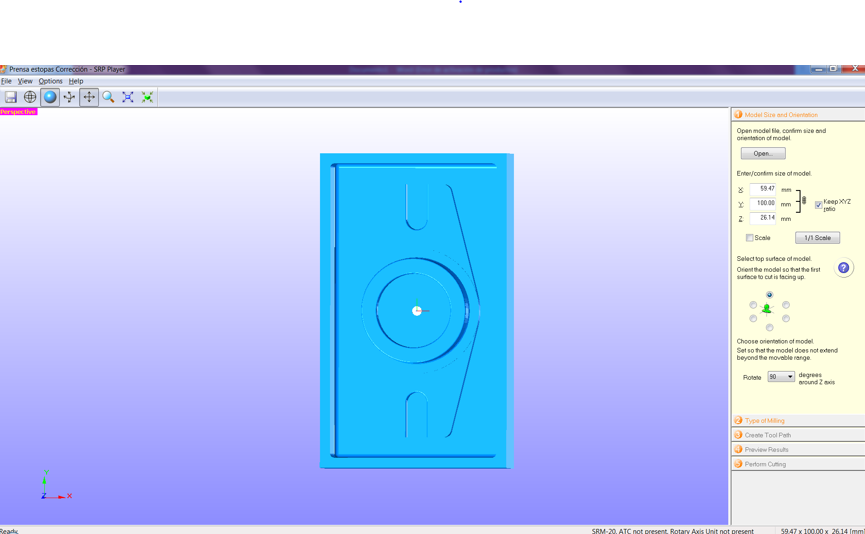
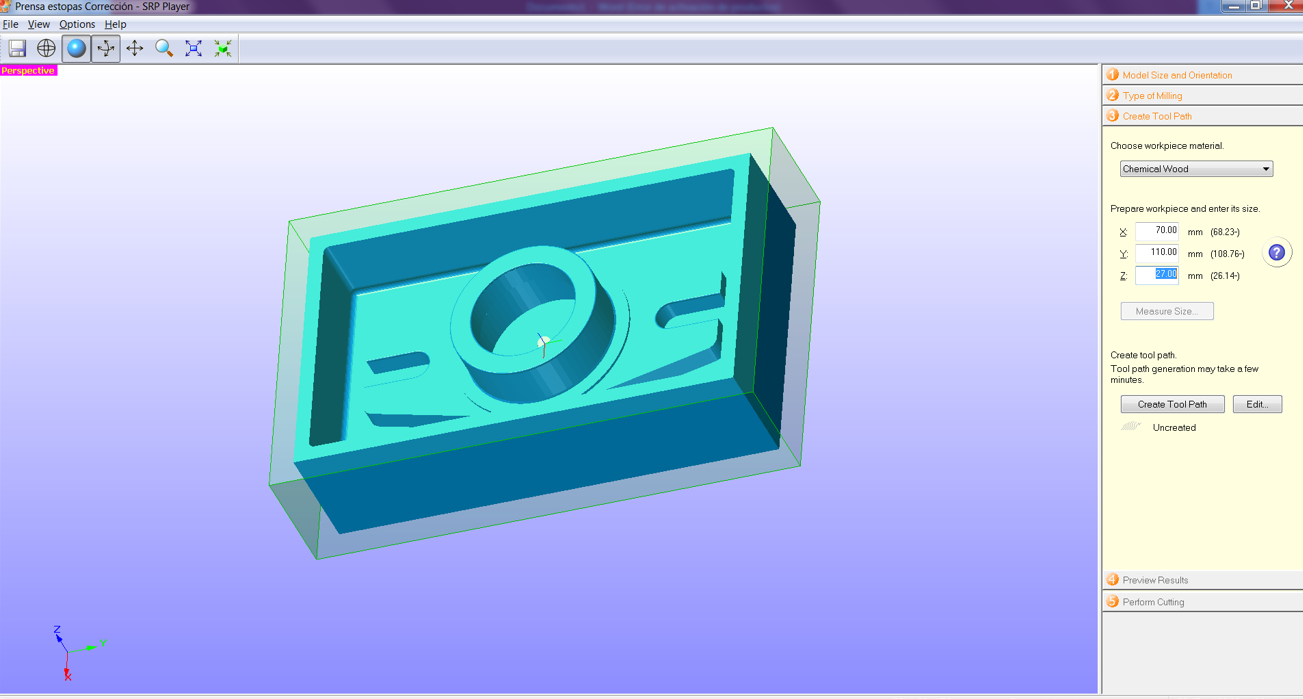
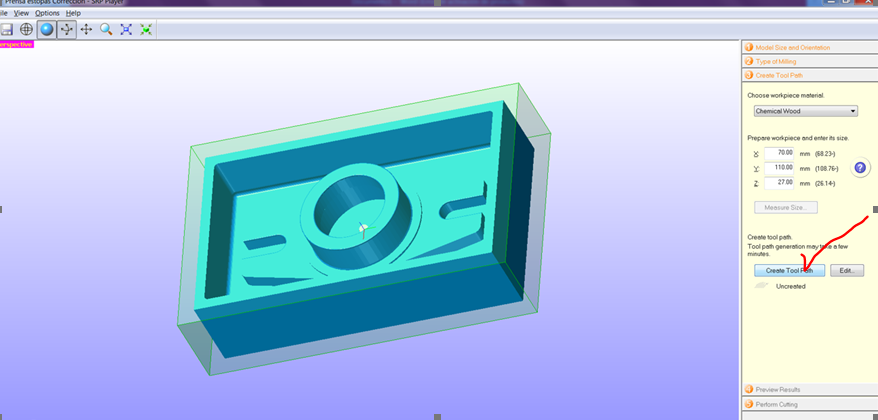
Resize the tow press to avoid excessive material consumption.
Machining position, reference of the fixed material.
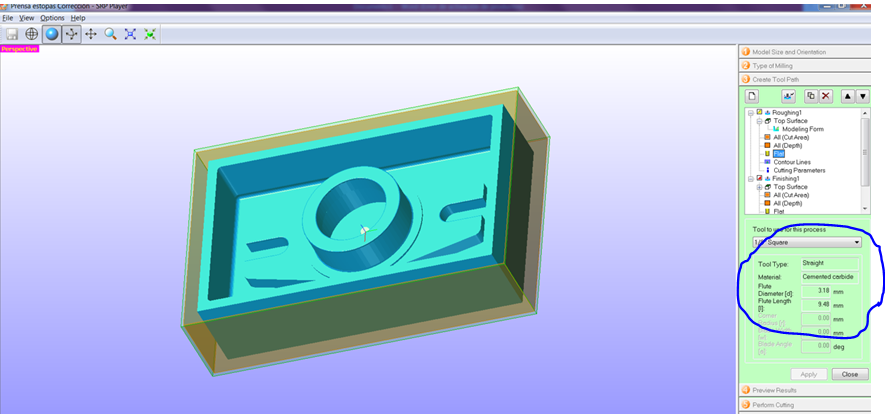
Selection of the type of cutting tool of 3 mm of Extruded Steel (HSS),
Strawberry with straight edge, finish with chamfer, entry of strawberry, high relief.
Creation of the external part
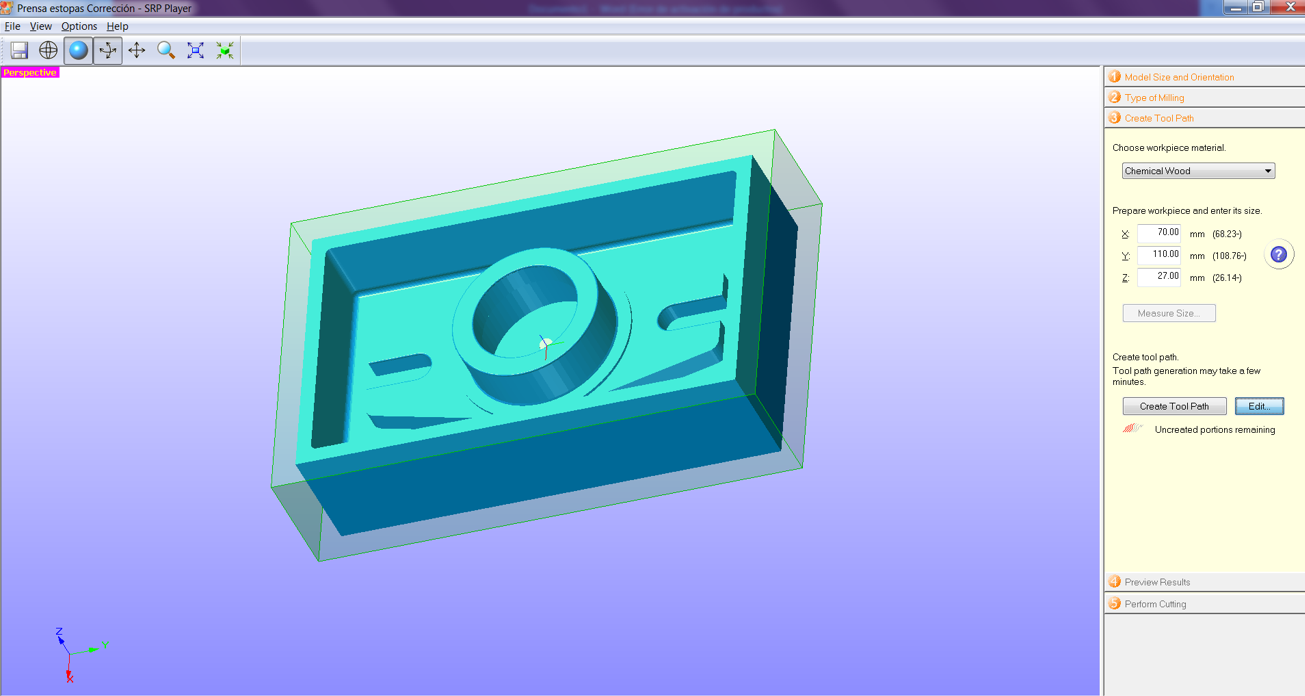
Modification of the machining height
Choice of cutting tool for roughing
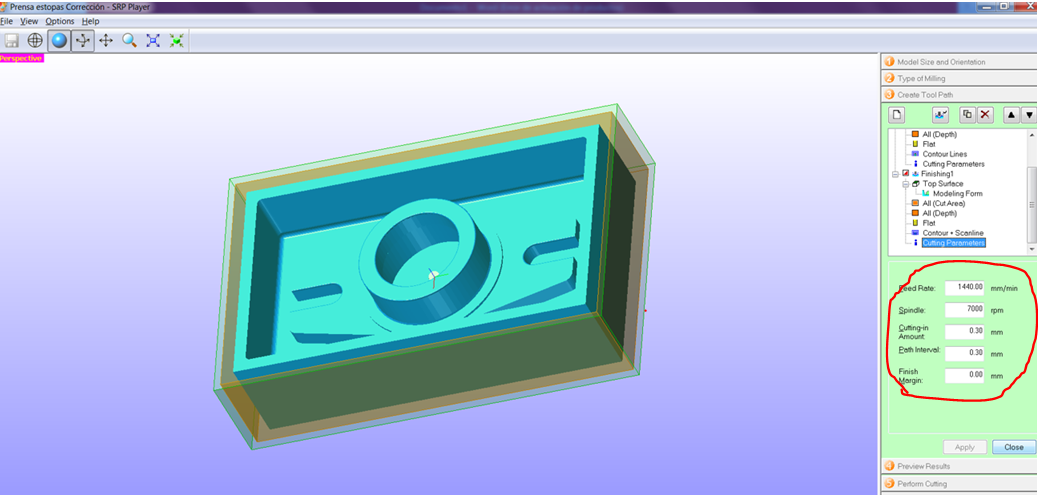
Cutting parameters for finishing
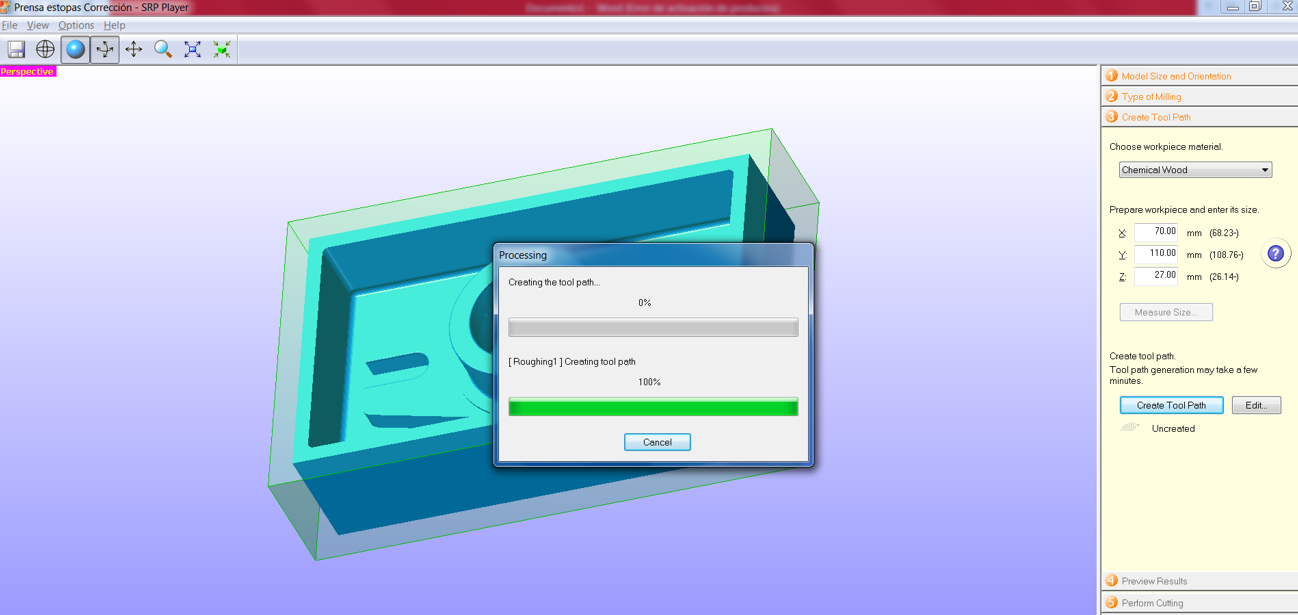
Creation path of the cutting tool
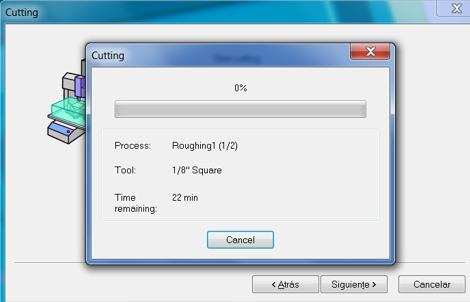
Pre-machining
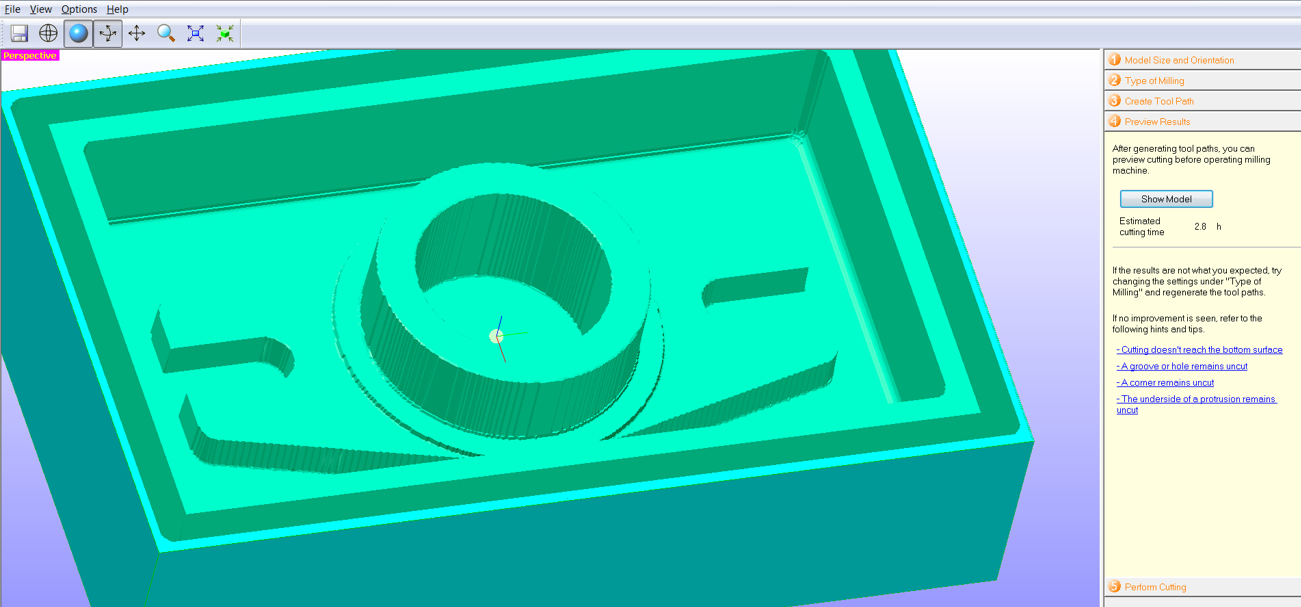
Machining visualization
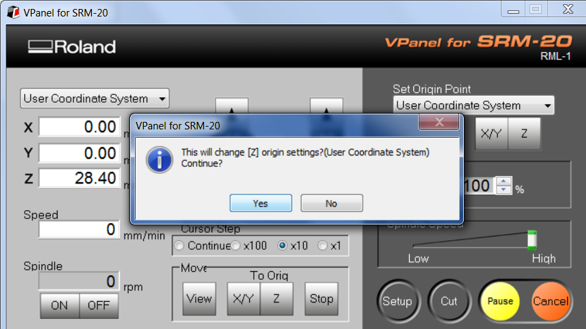
Search point of origin or of zero pieces.
Source point selection
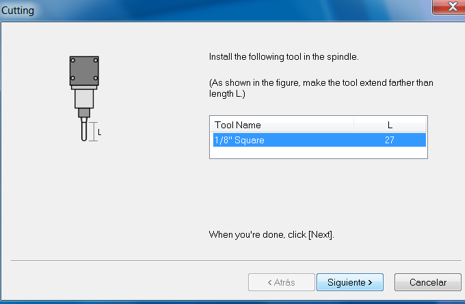
Installing or using the cutting tool
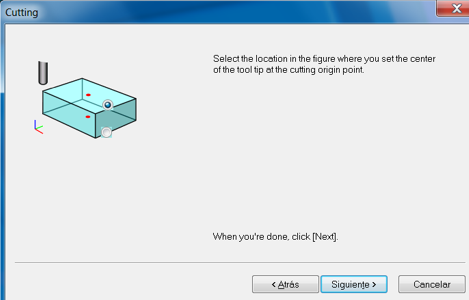
Top or bottom start selection
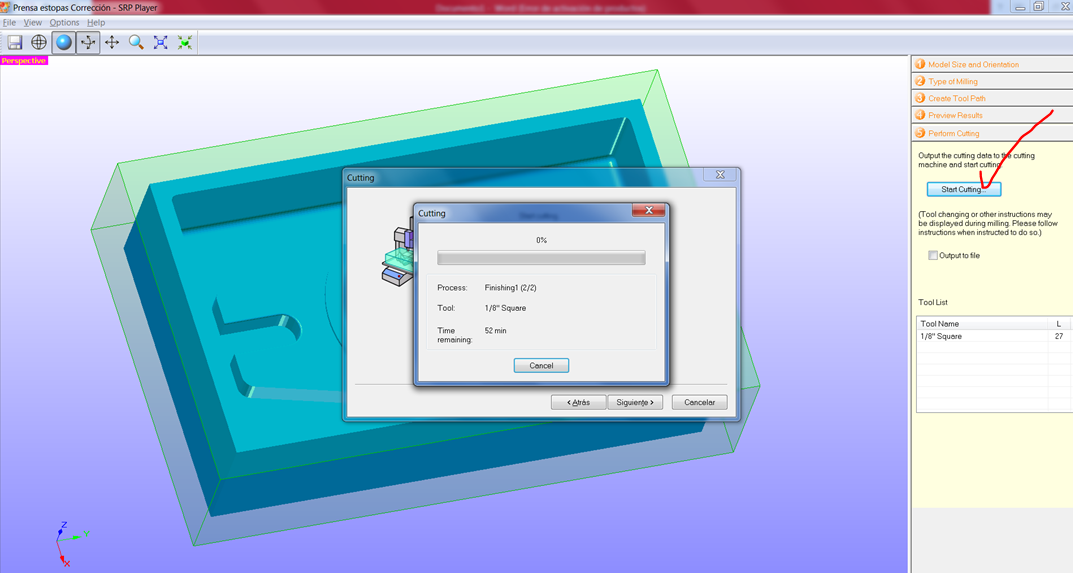
Sending for machining
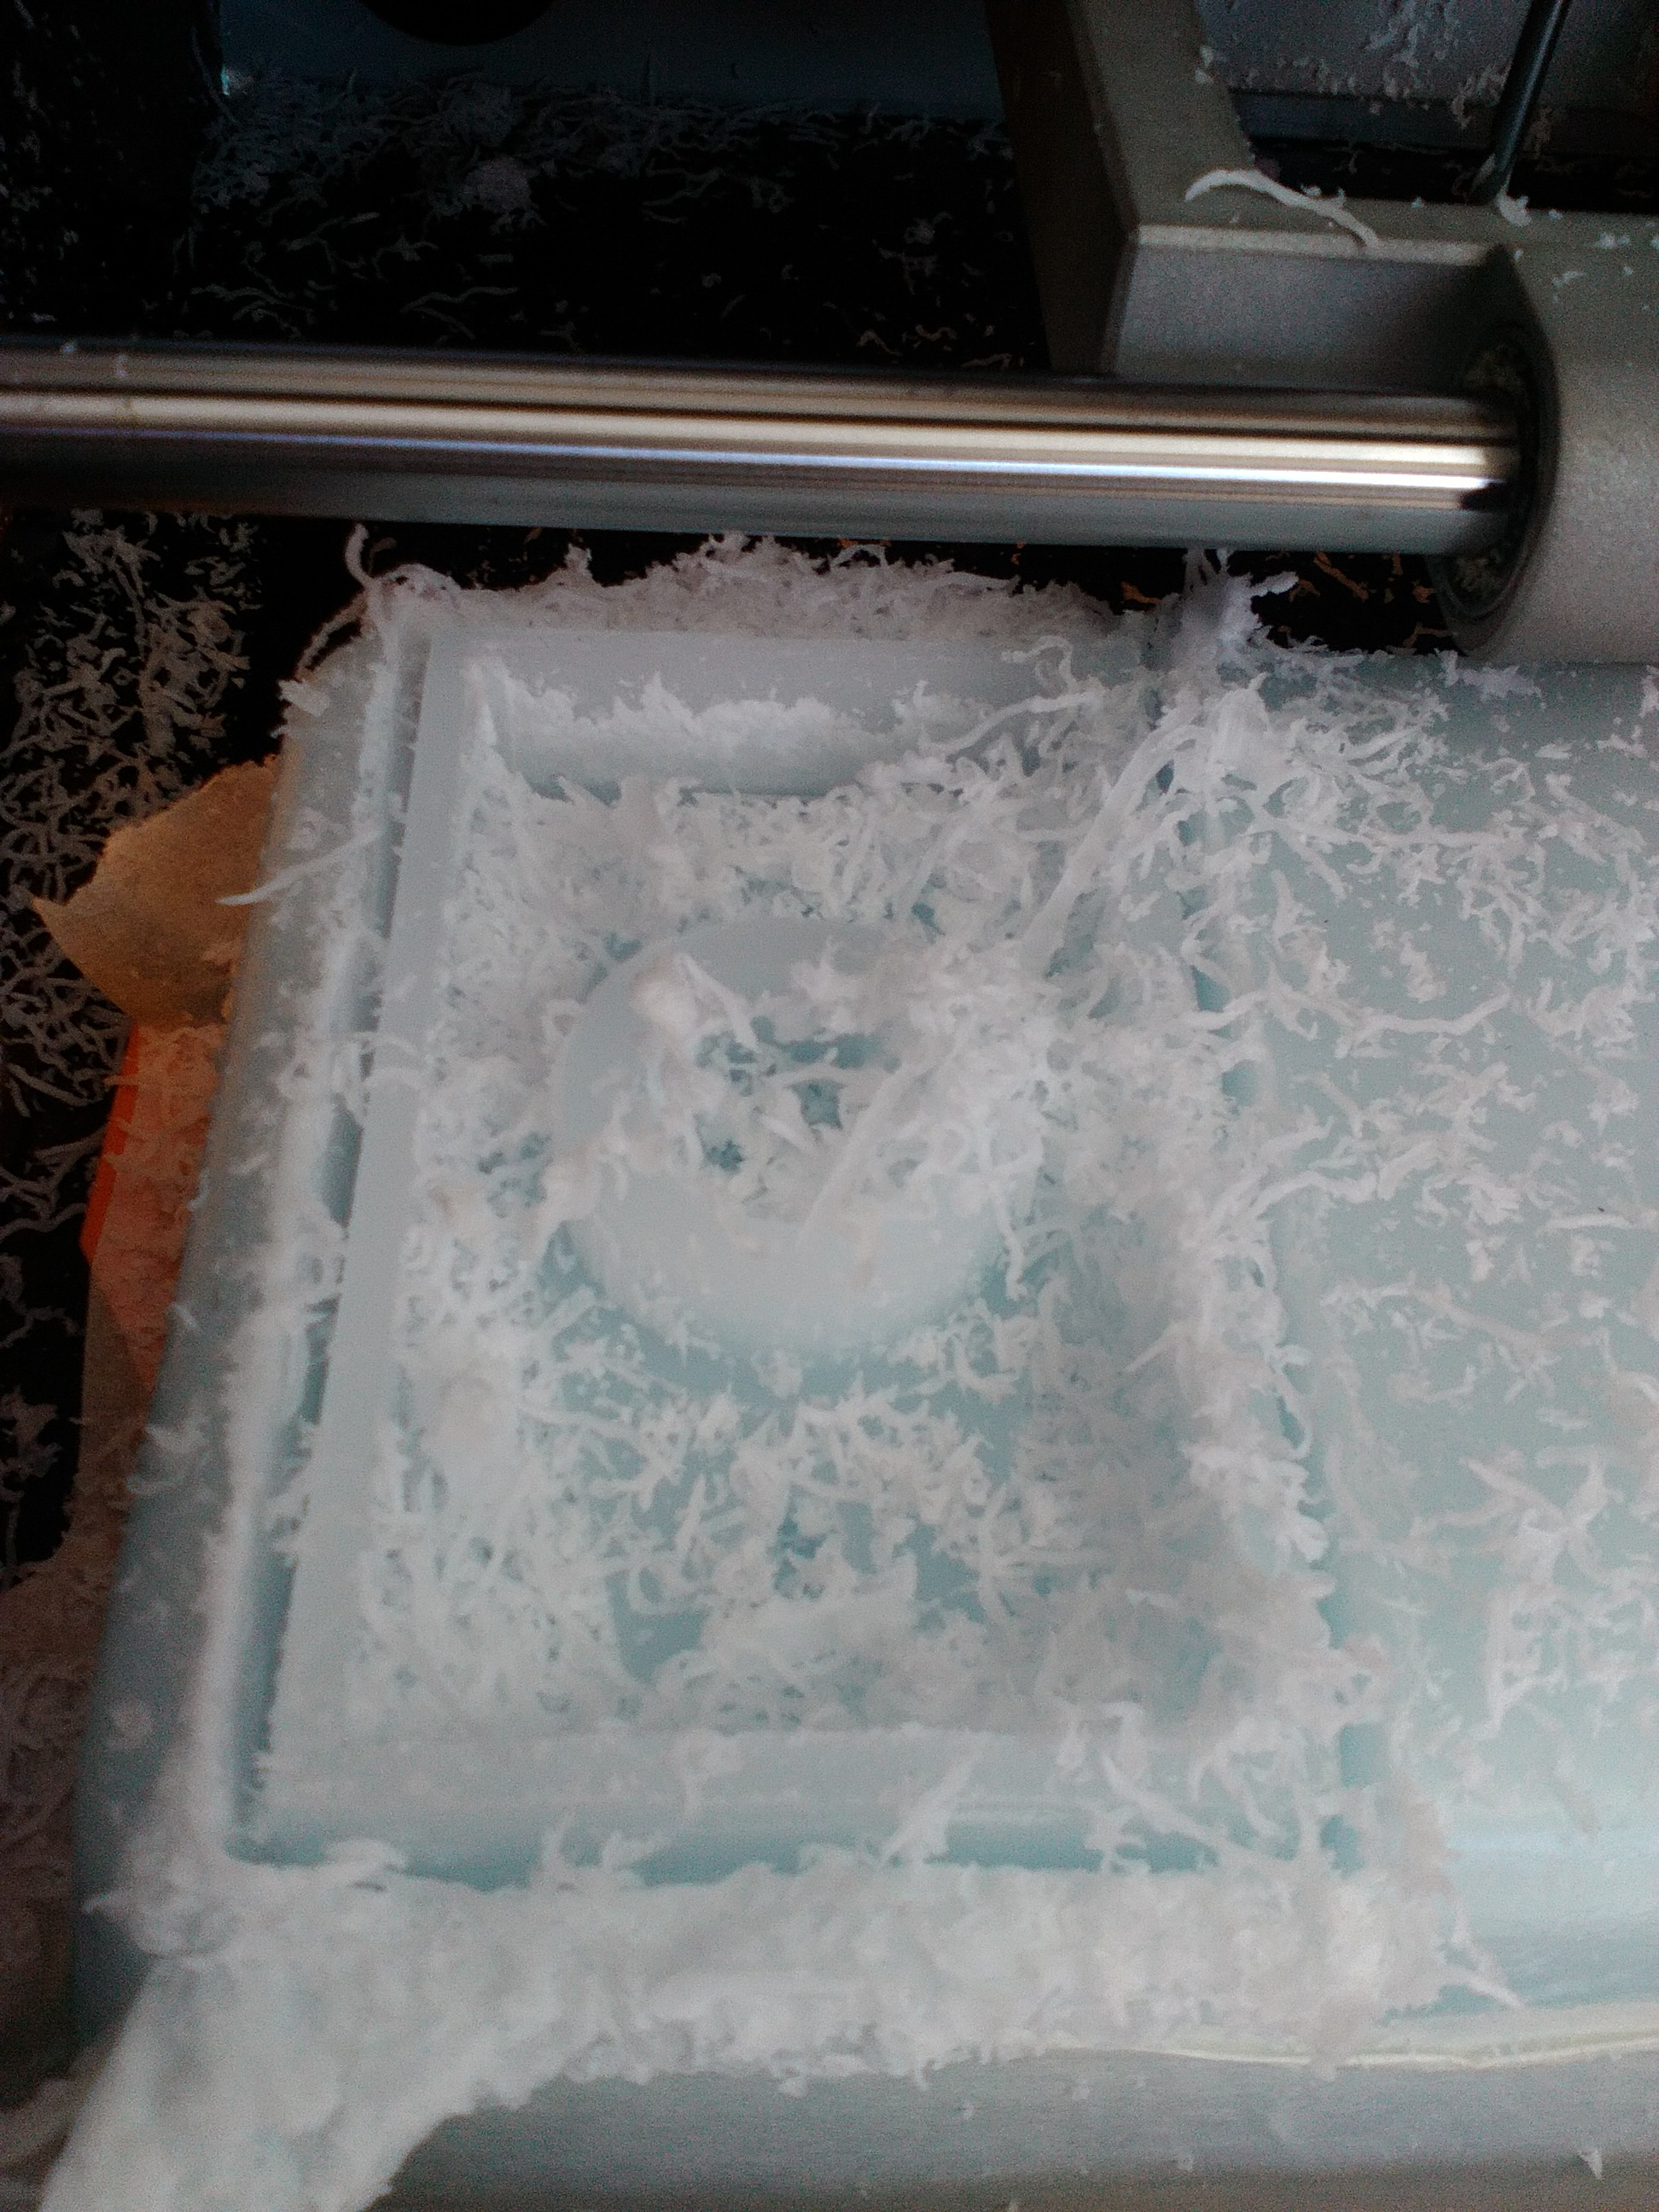
Machining of roughing on the wax
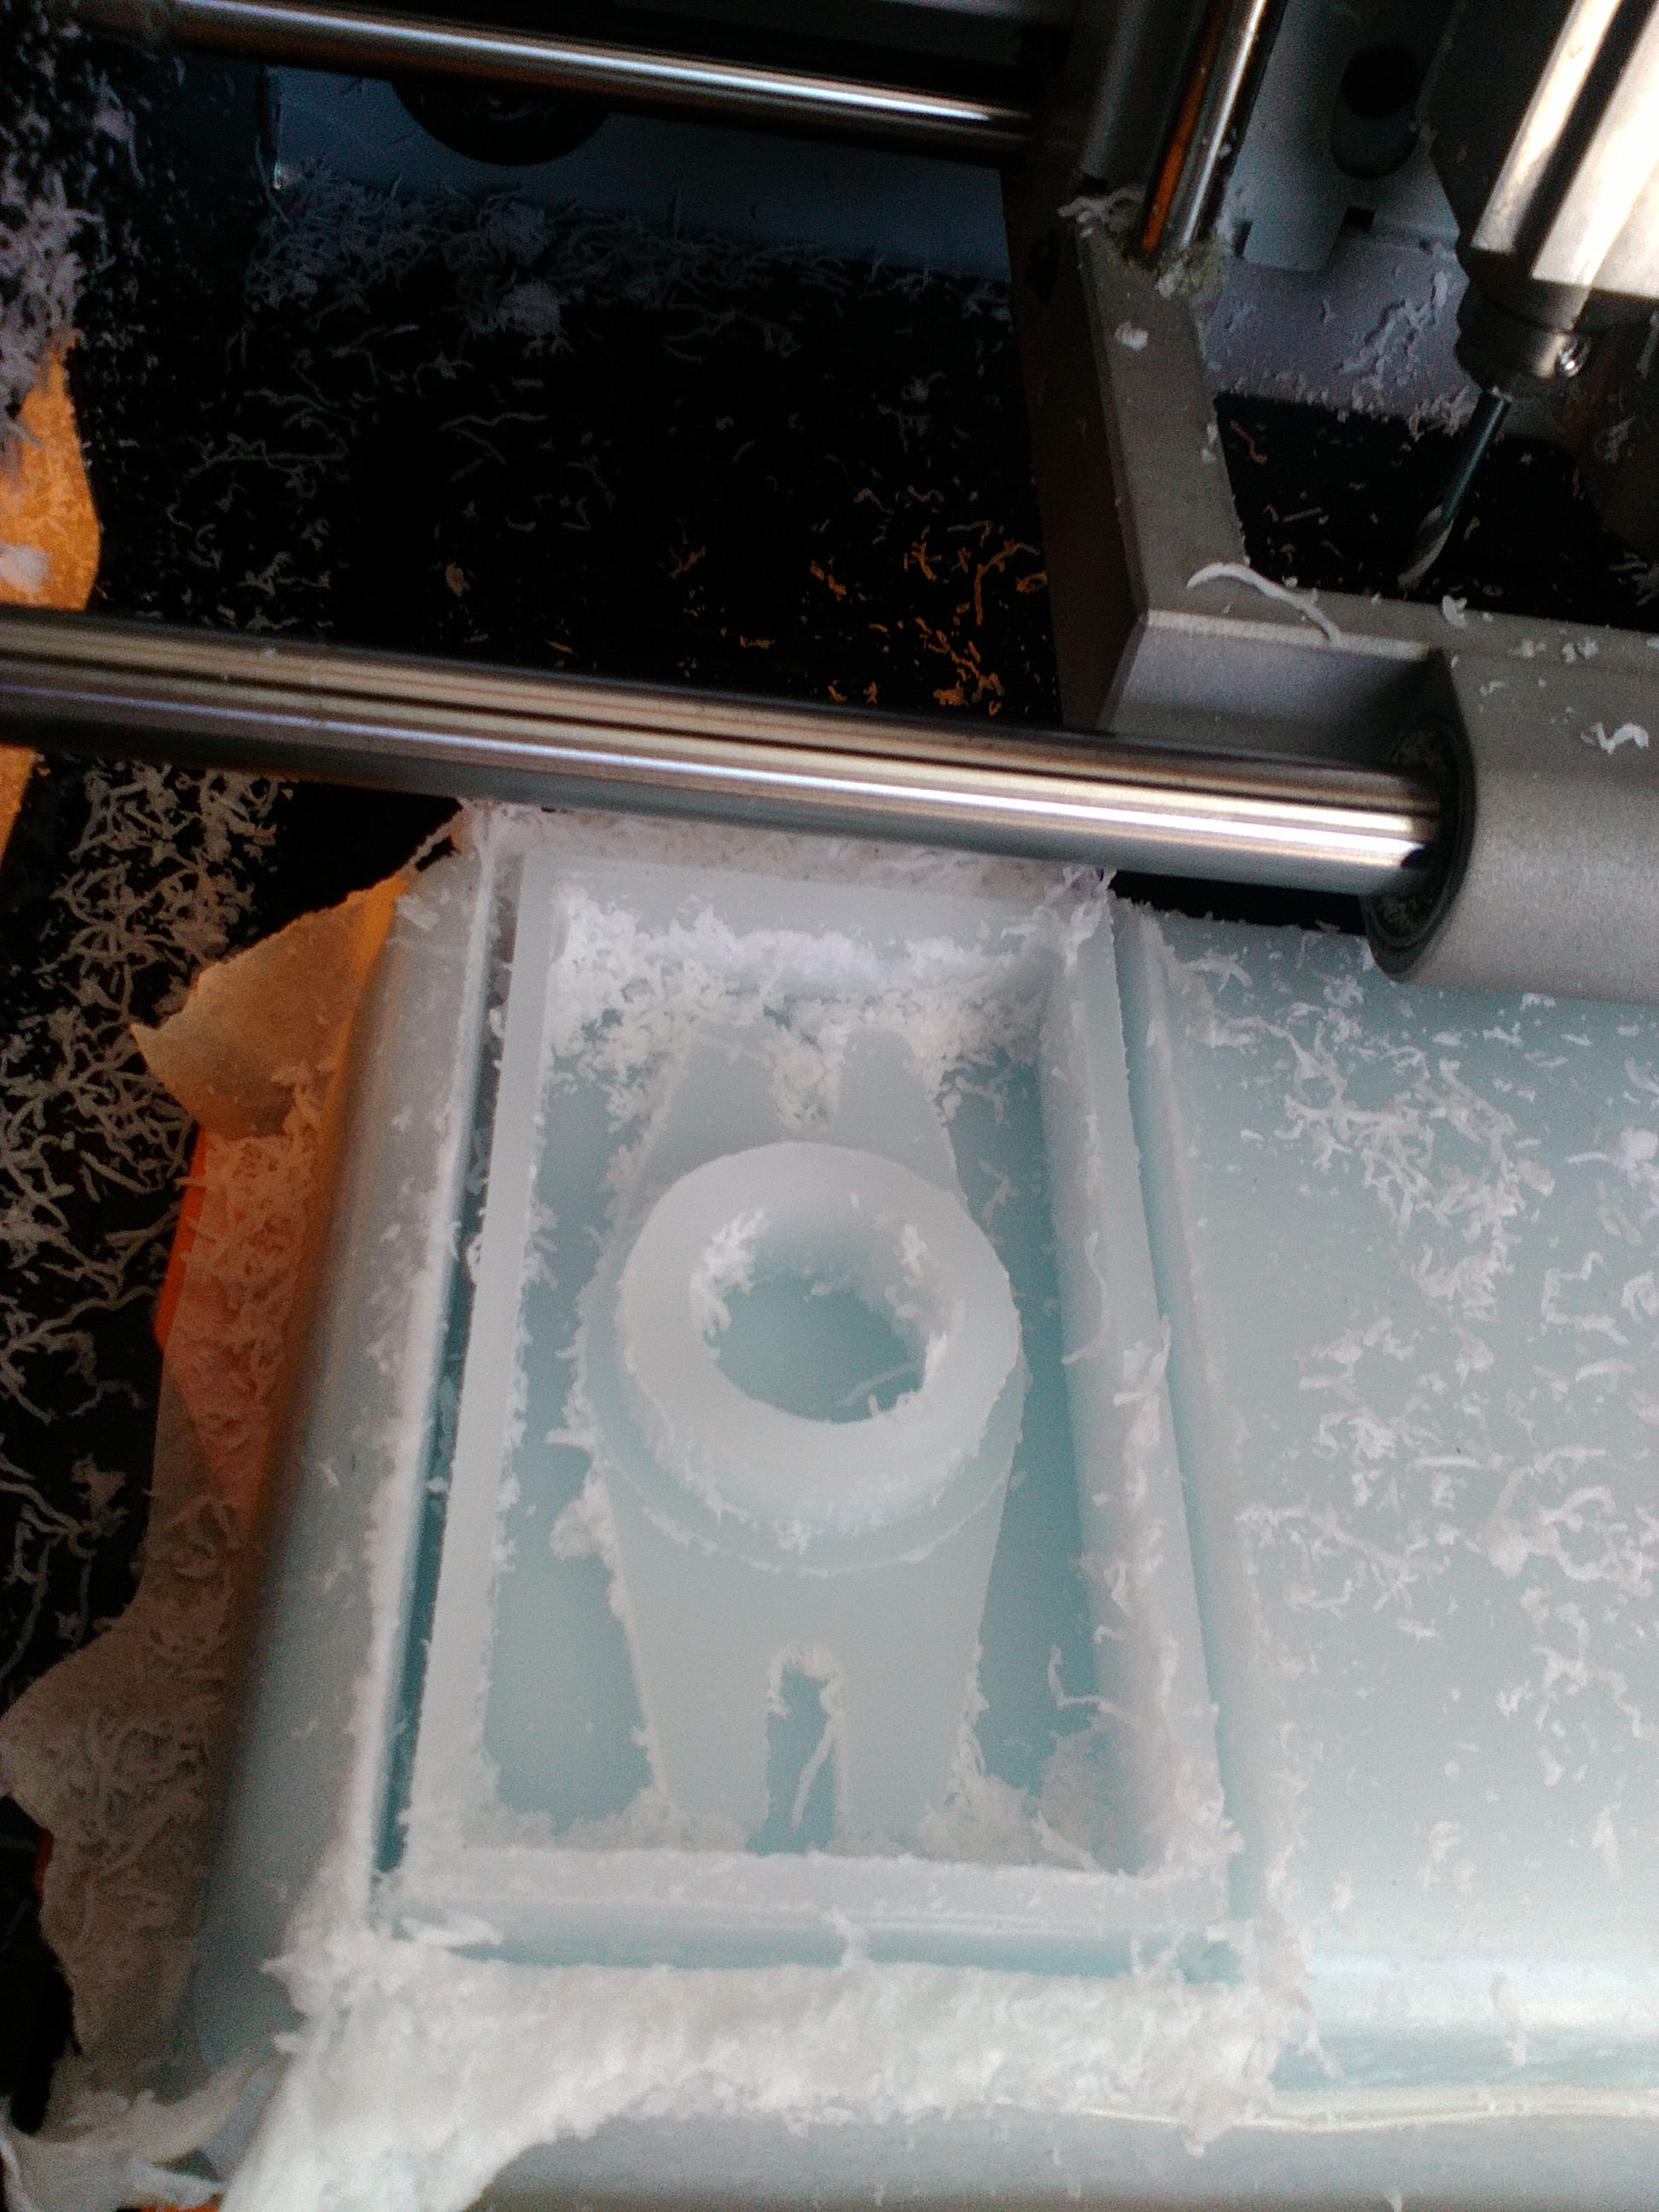
Finishing machining on wax
Prepare the necessary inputs to prepare the mold
Use for the new smooth-On Mold Max 60 mold in a tin-catalyzed Shore 60A silicone rubber formulated for applications requiring high heat resistance.
>
After machining, the mixture of silicone rubber 100 A and 3 B by weight is mixed. According to the manufacturer's recommendation.
Pour it on the wax mold
I will add the release agent on this occasion use the car wax.
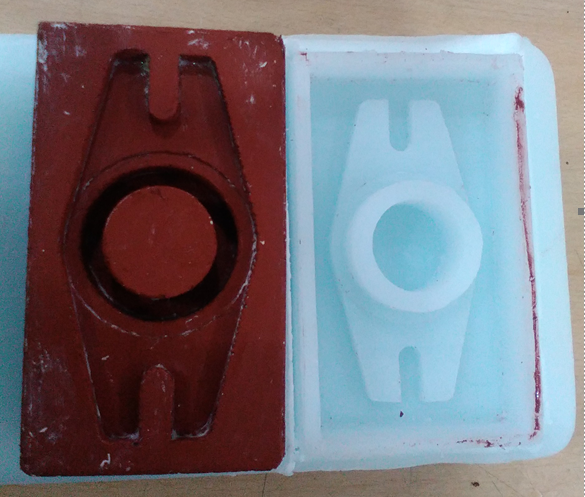
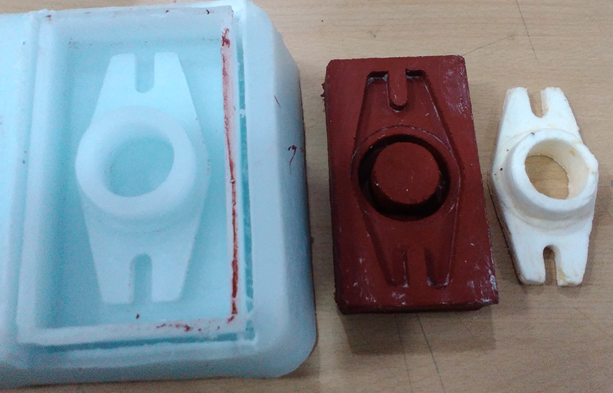
Wait from day to day for the drying time and got the negative
Obtained the negative of the press tows
To the negative again you put molding again use the car wax.
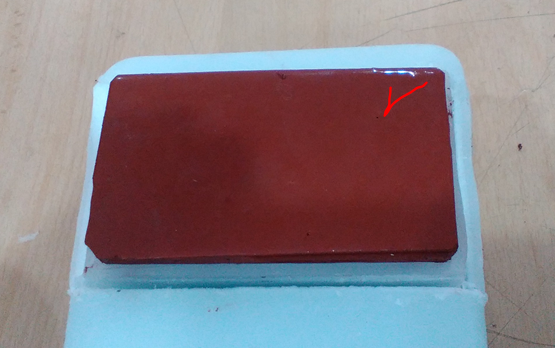
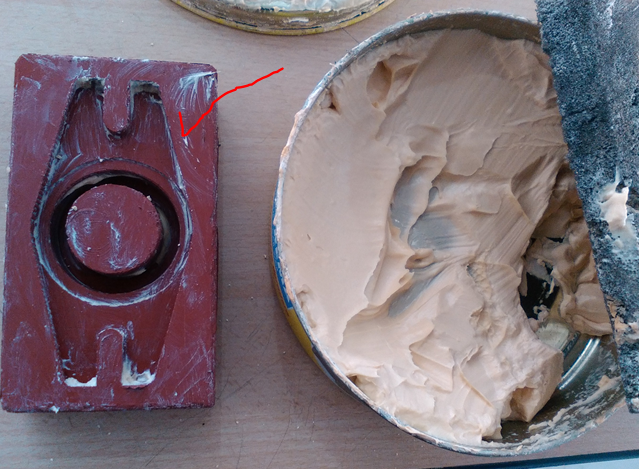
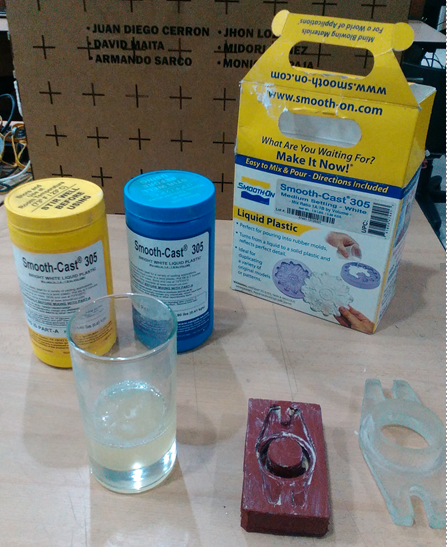
Prepare the Smooth-Cast 325 resin
They are fast molding resins that were specifically developed to add color
And fillers to achieve a true color rendering or fill effect.
The preparation has a mixing ratio of 1A = 1B per volume and has a very low viscosity.
According to the manufacturer the drying time ranges from about 10 minutes to 2-4 hours (depending on product, mass and mold configuration).
Note: Bulk doughs will get very hot and will shrink more, depending on the mold configuration.
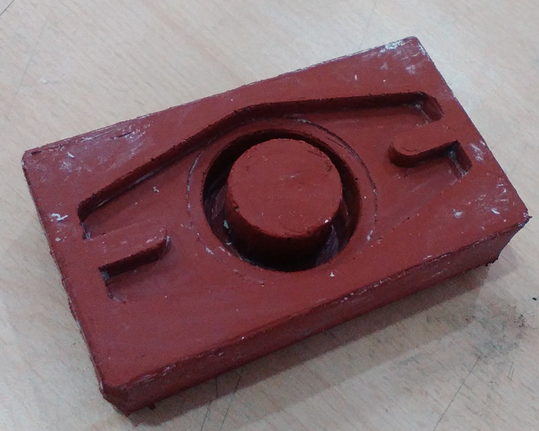
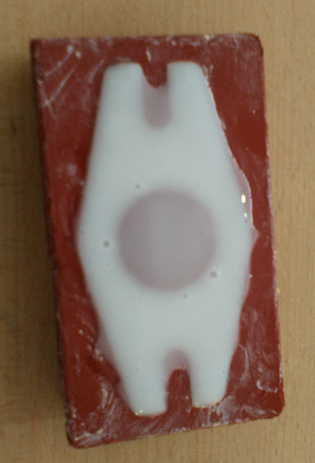
After 3 hours of curing I got my mold
Test of the Towing Press in the Assembly of a Centrifugal Pump
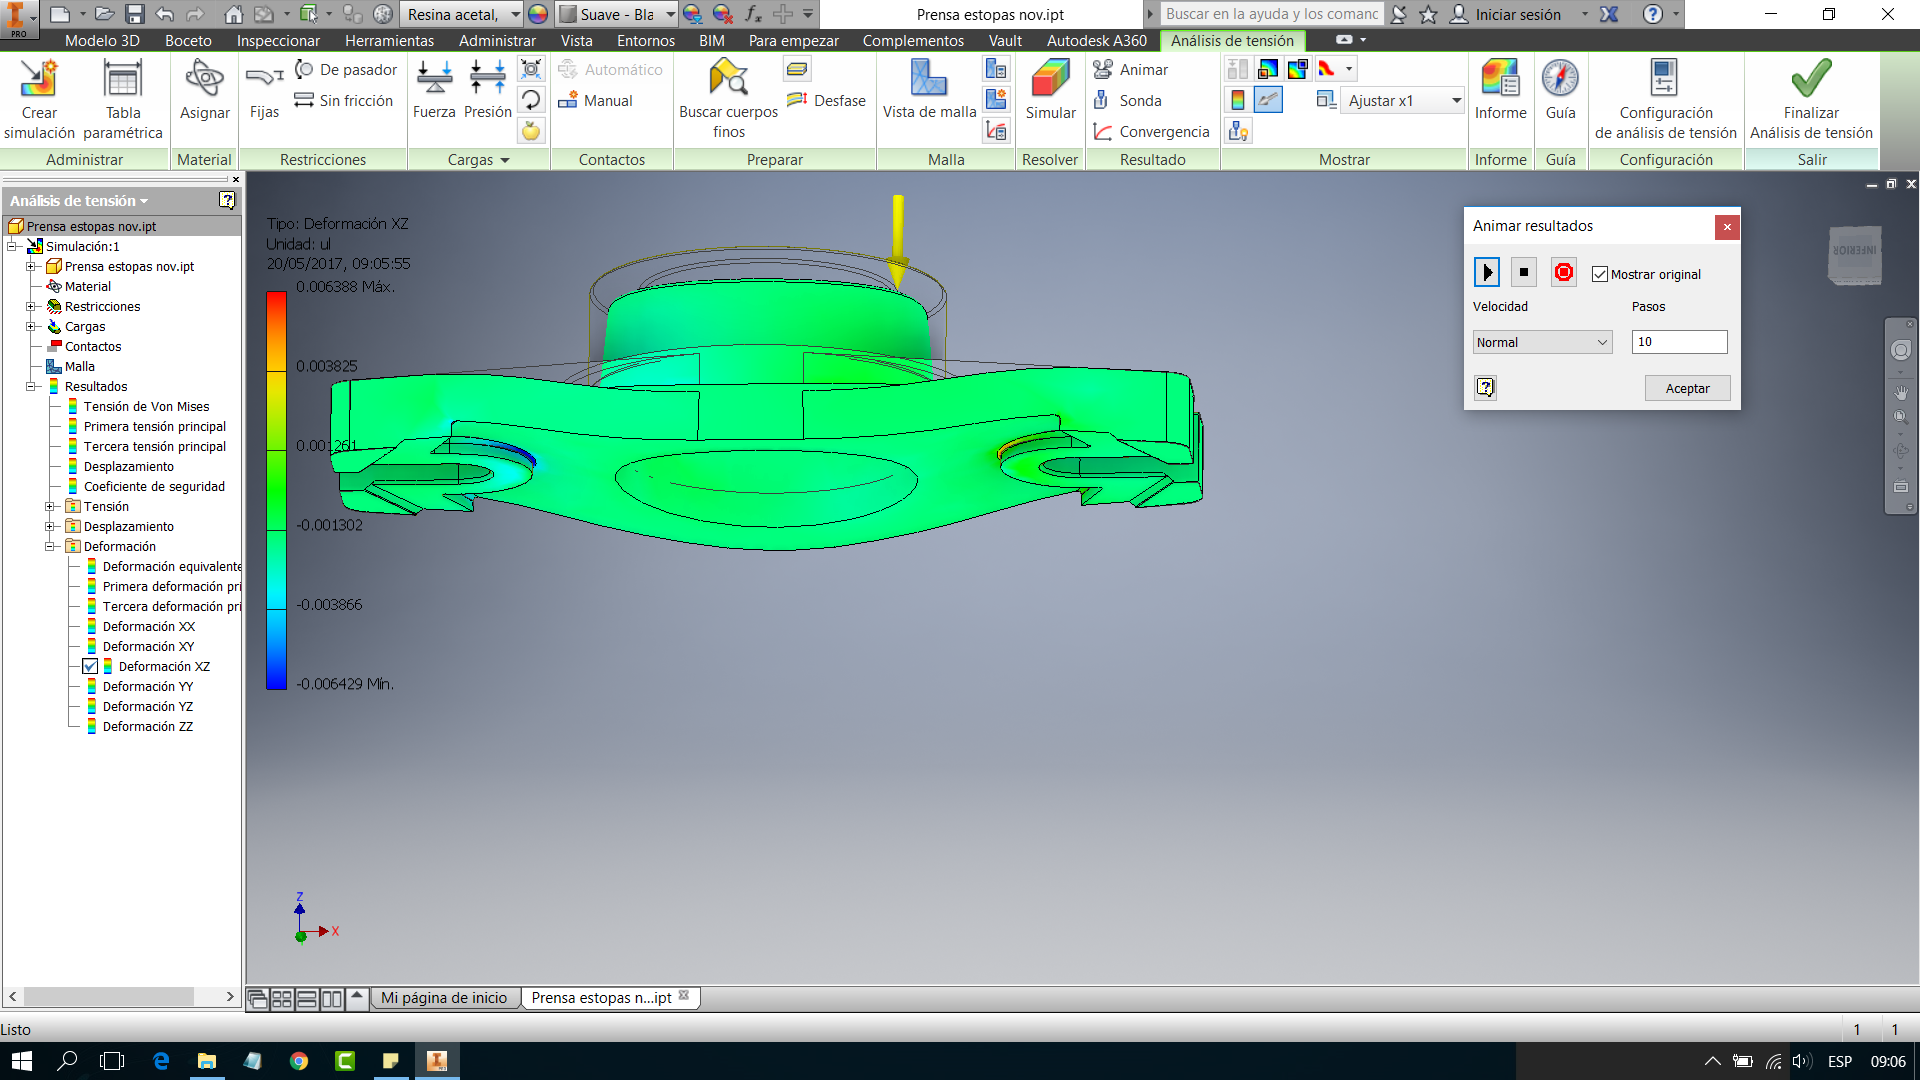
Testing of effort application on the computer using the inventor software results in the material being deformed approximately 6 mm before undergoing any other deformation
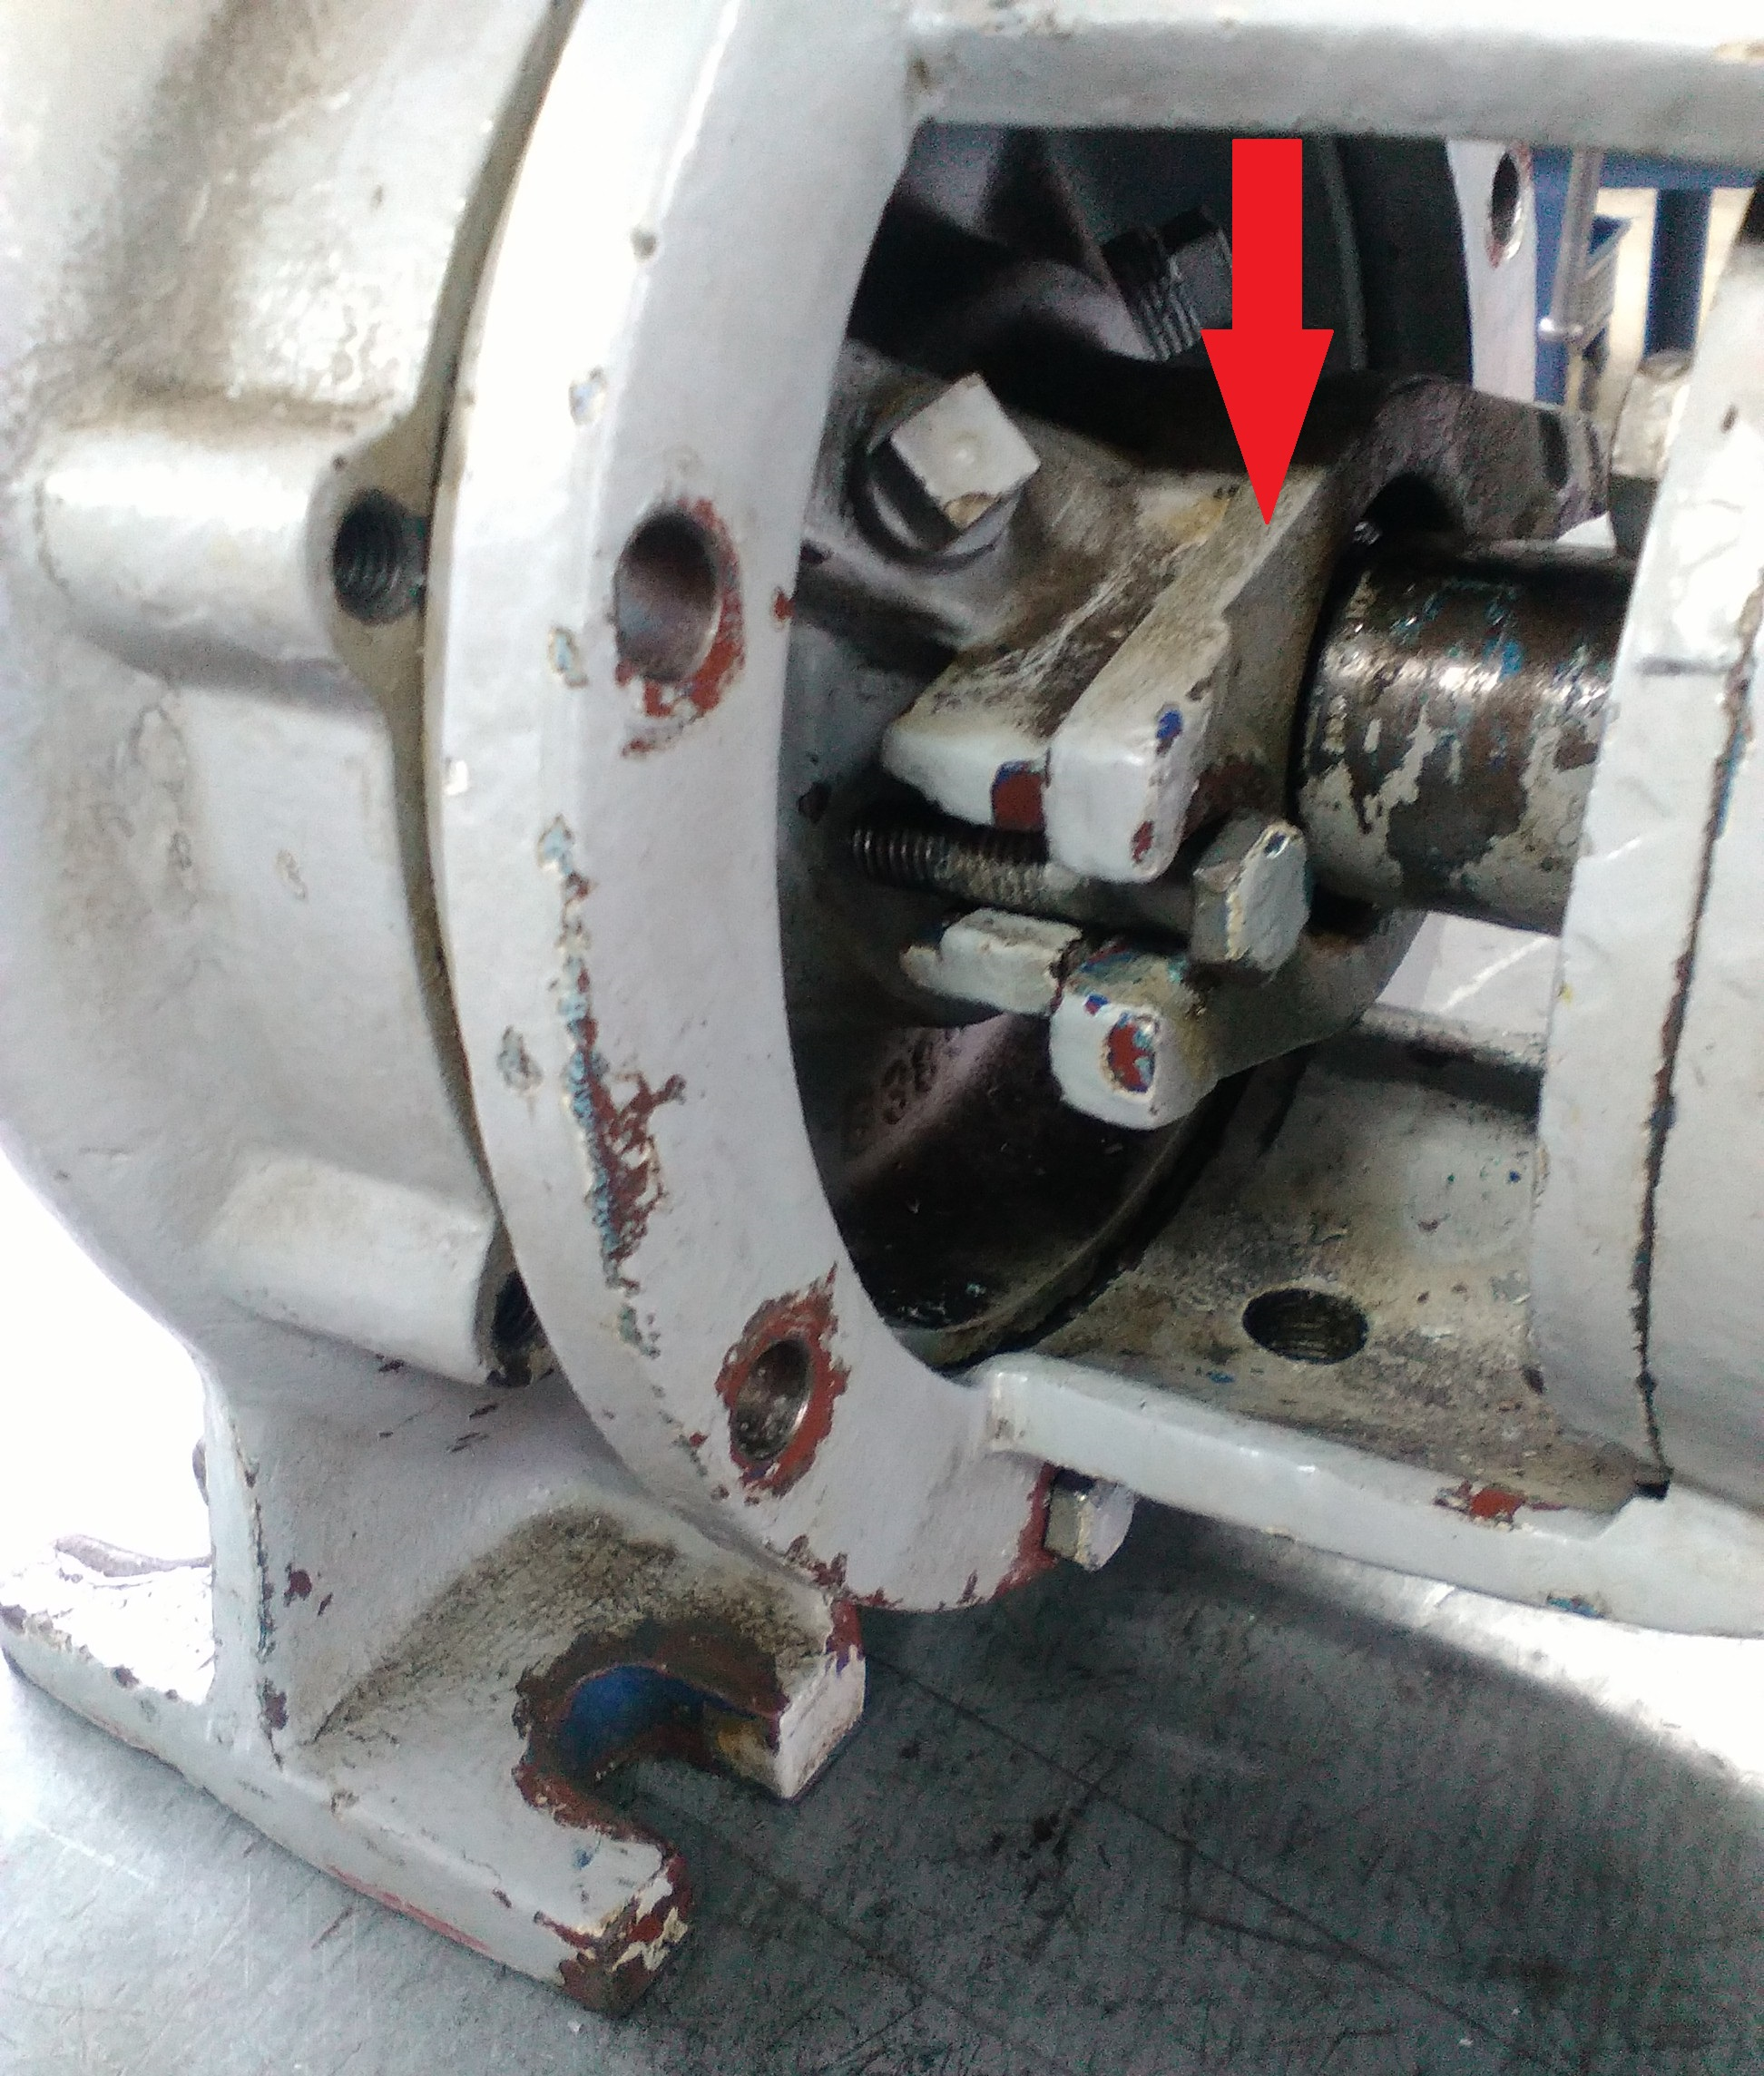
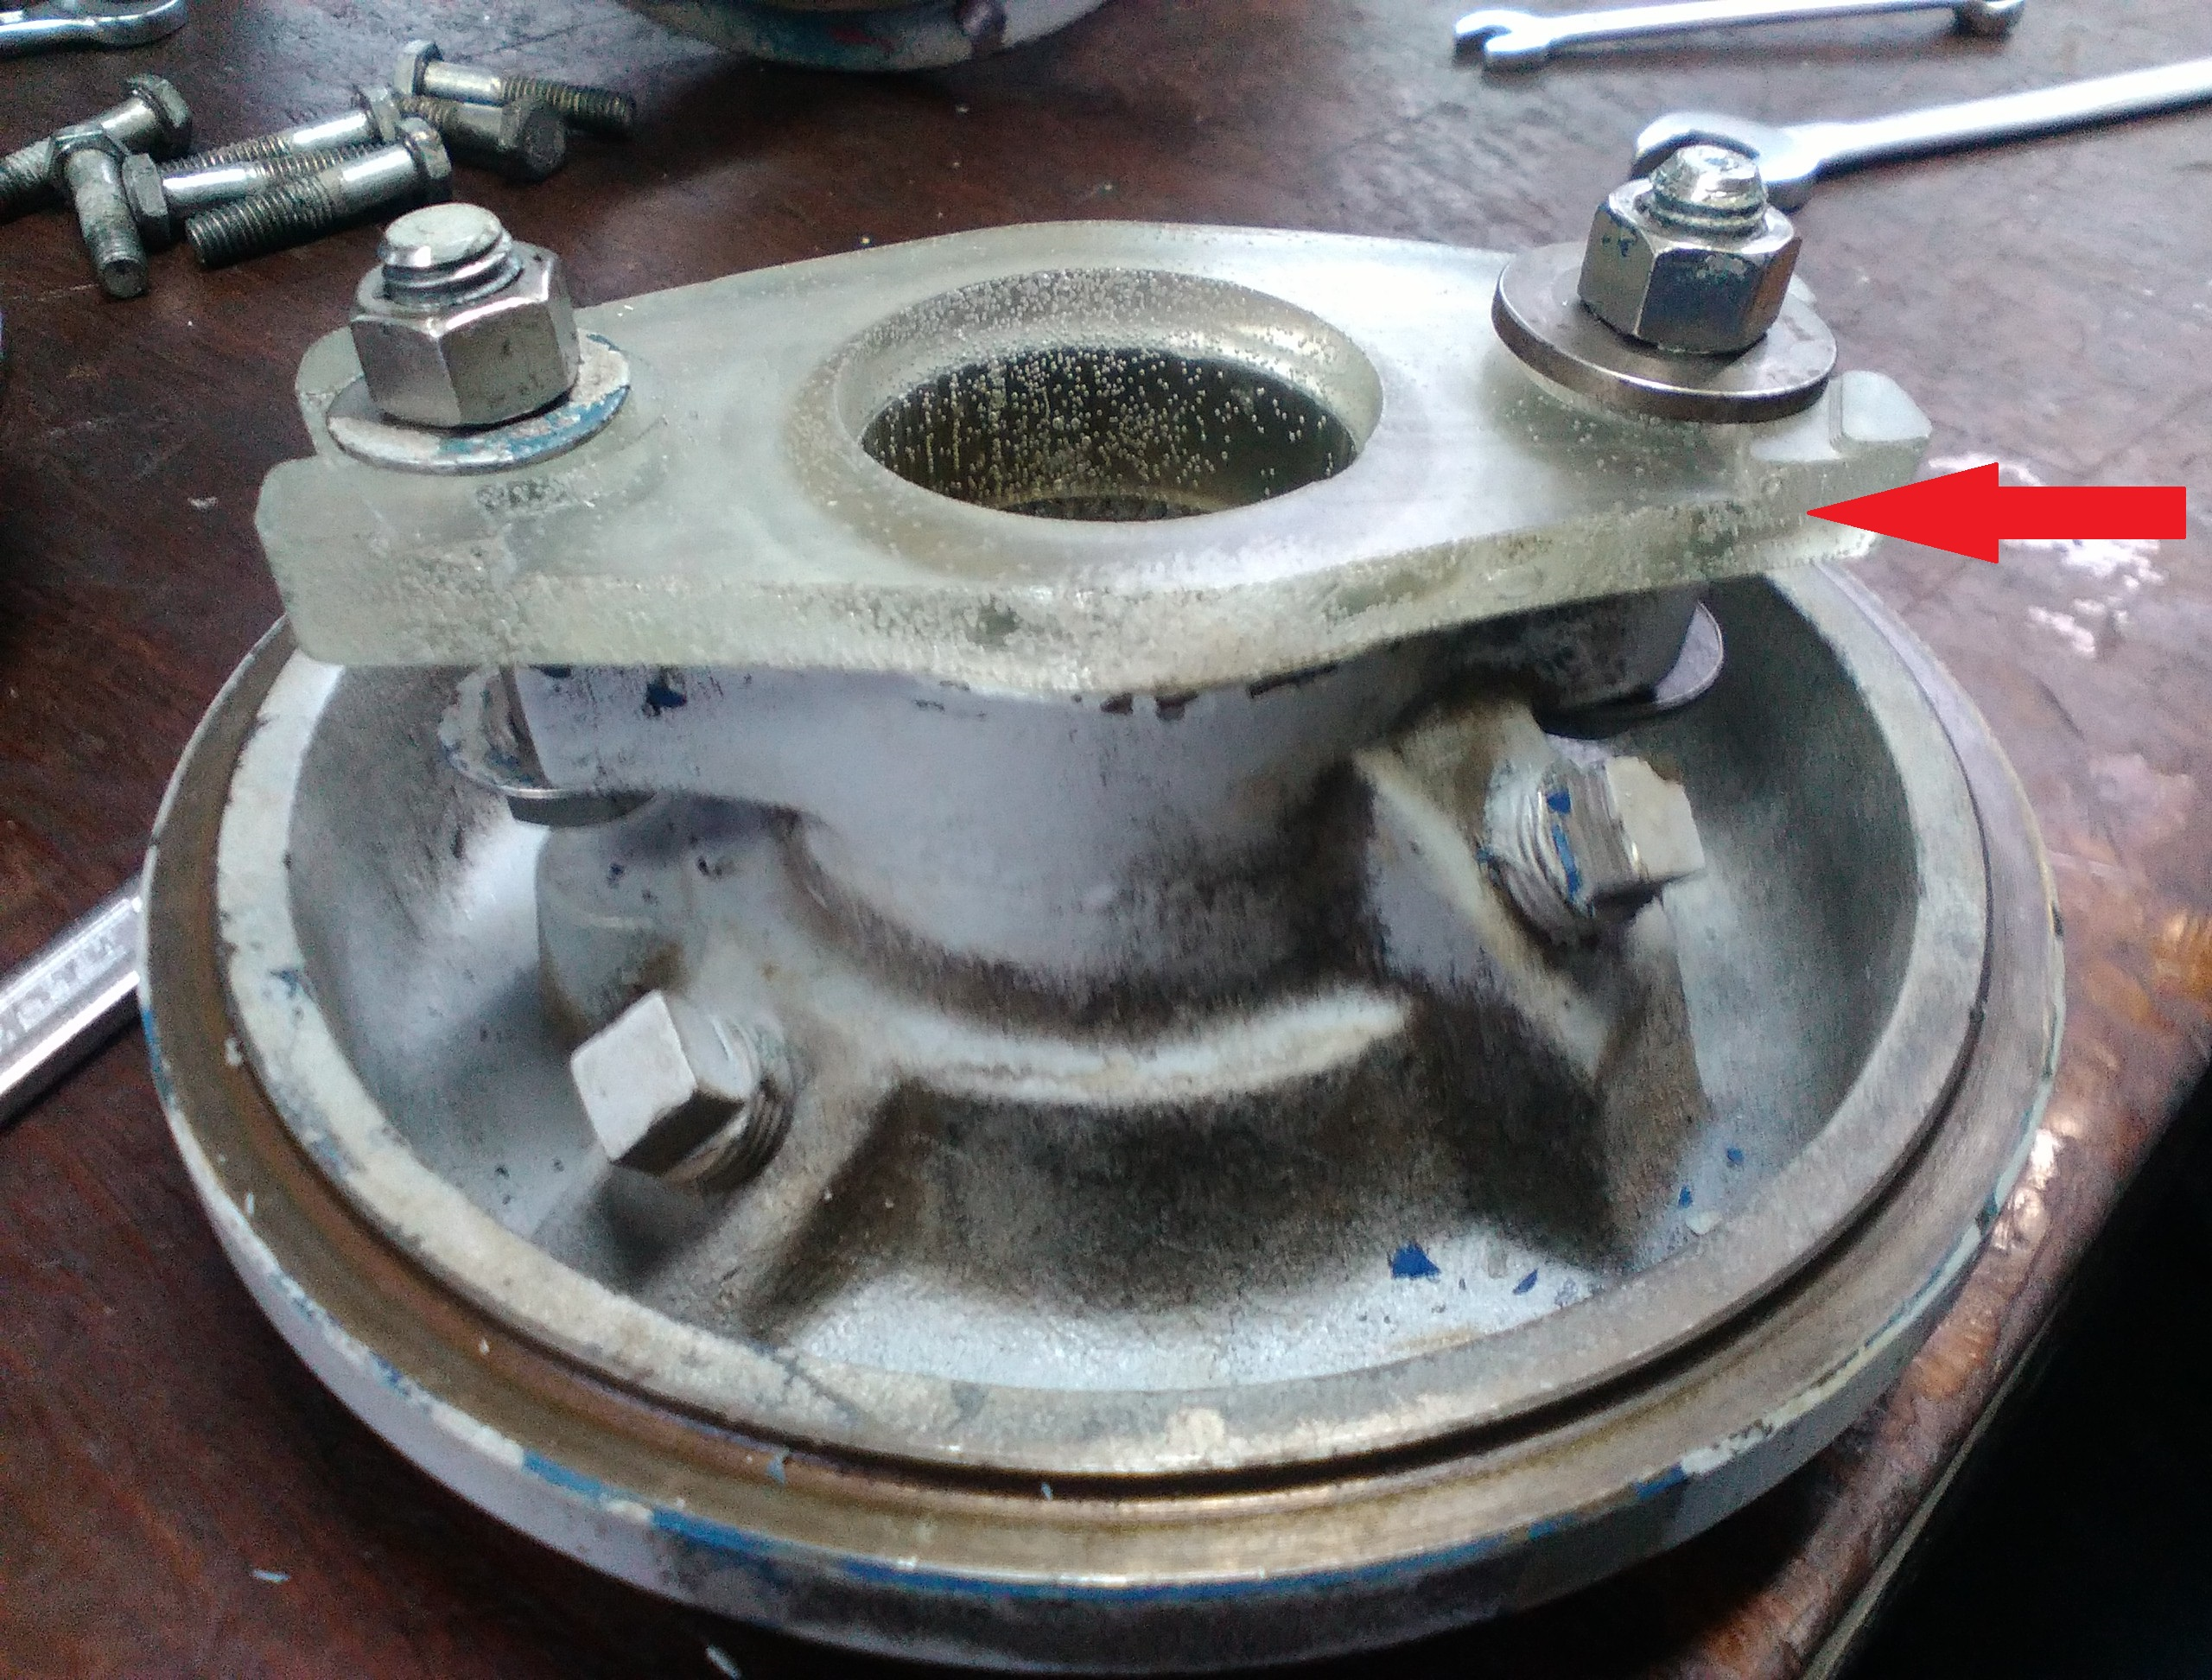
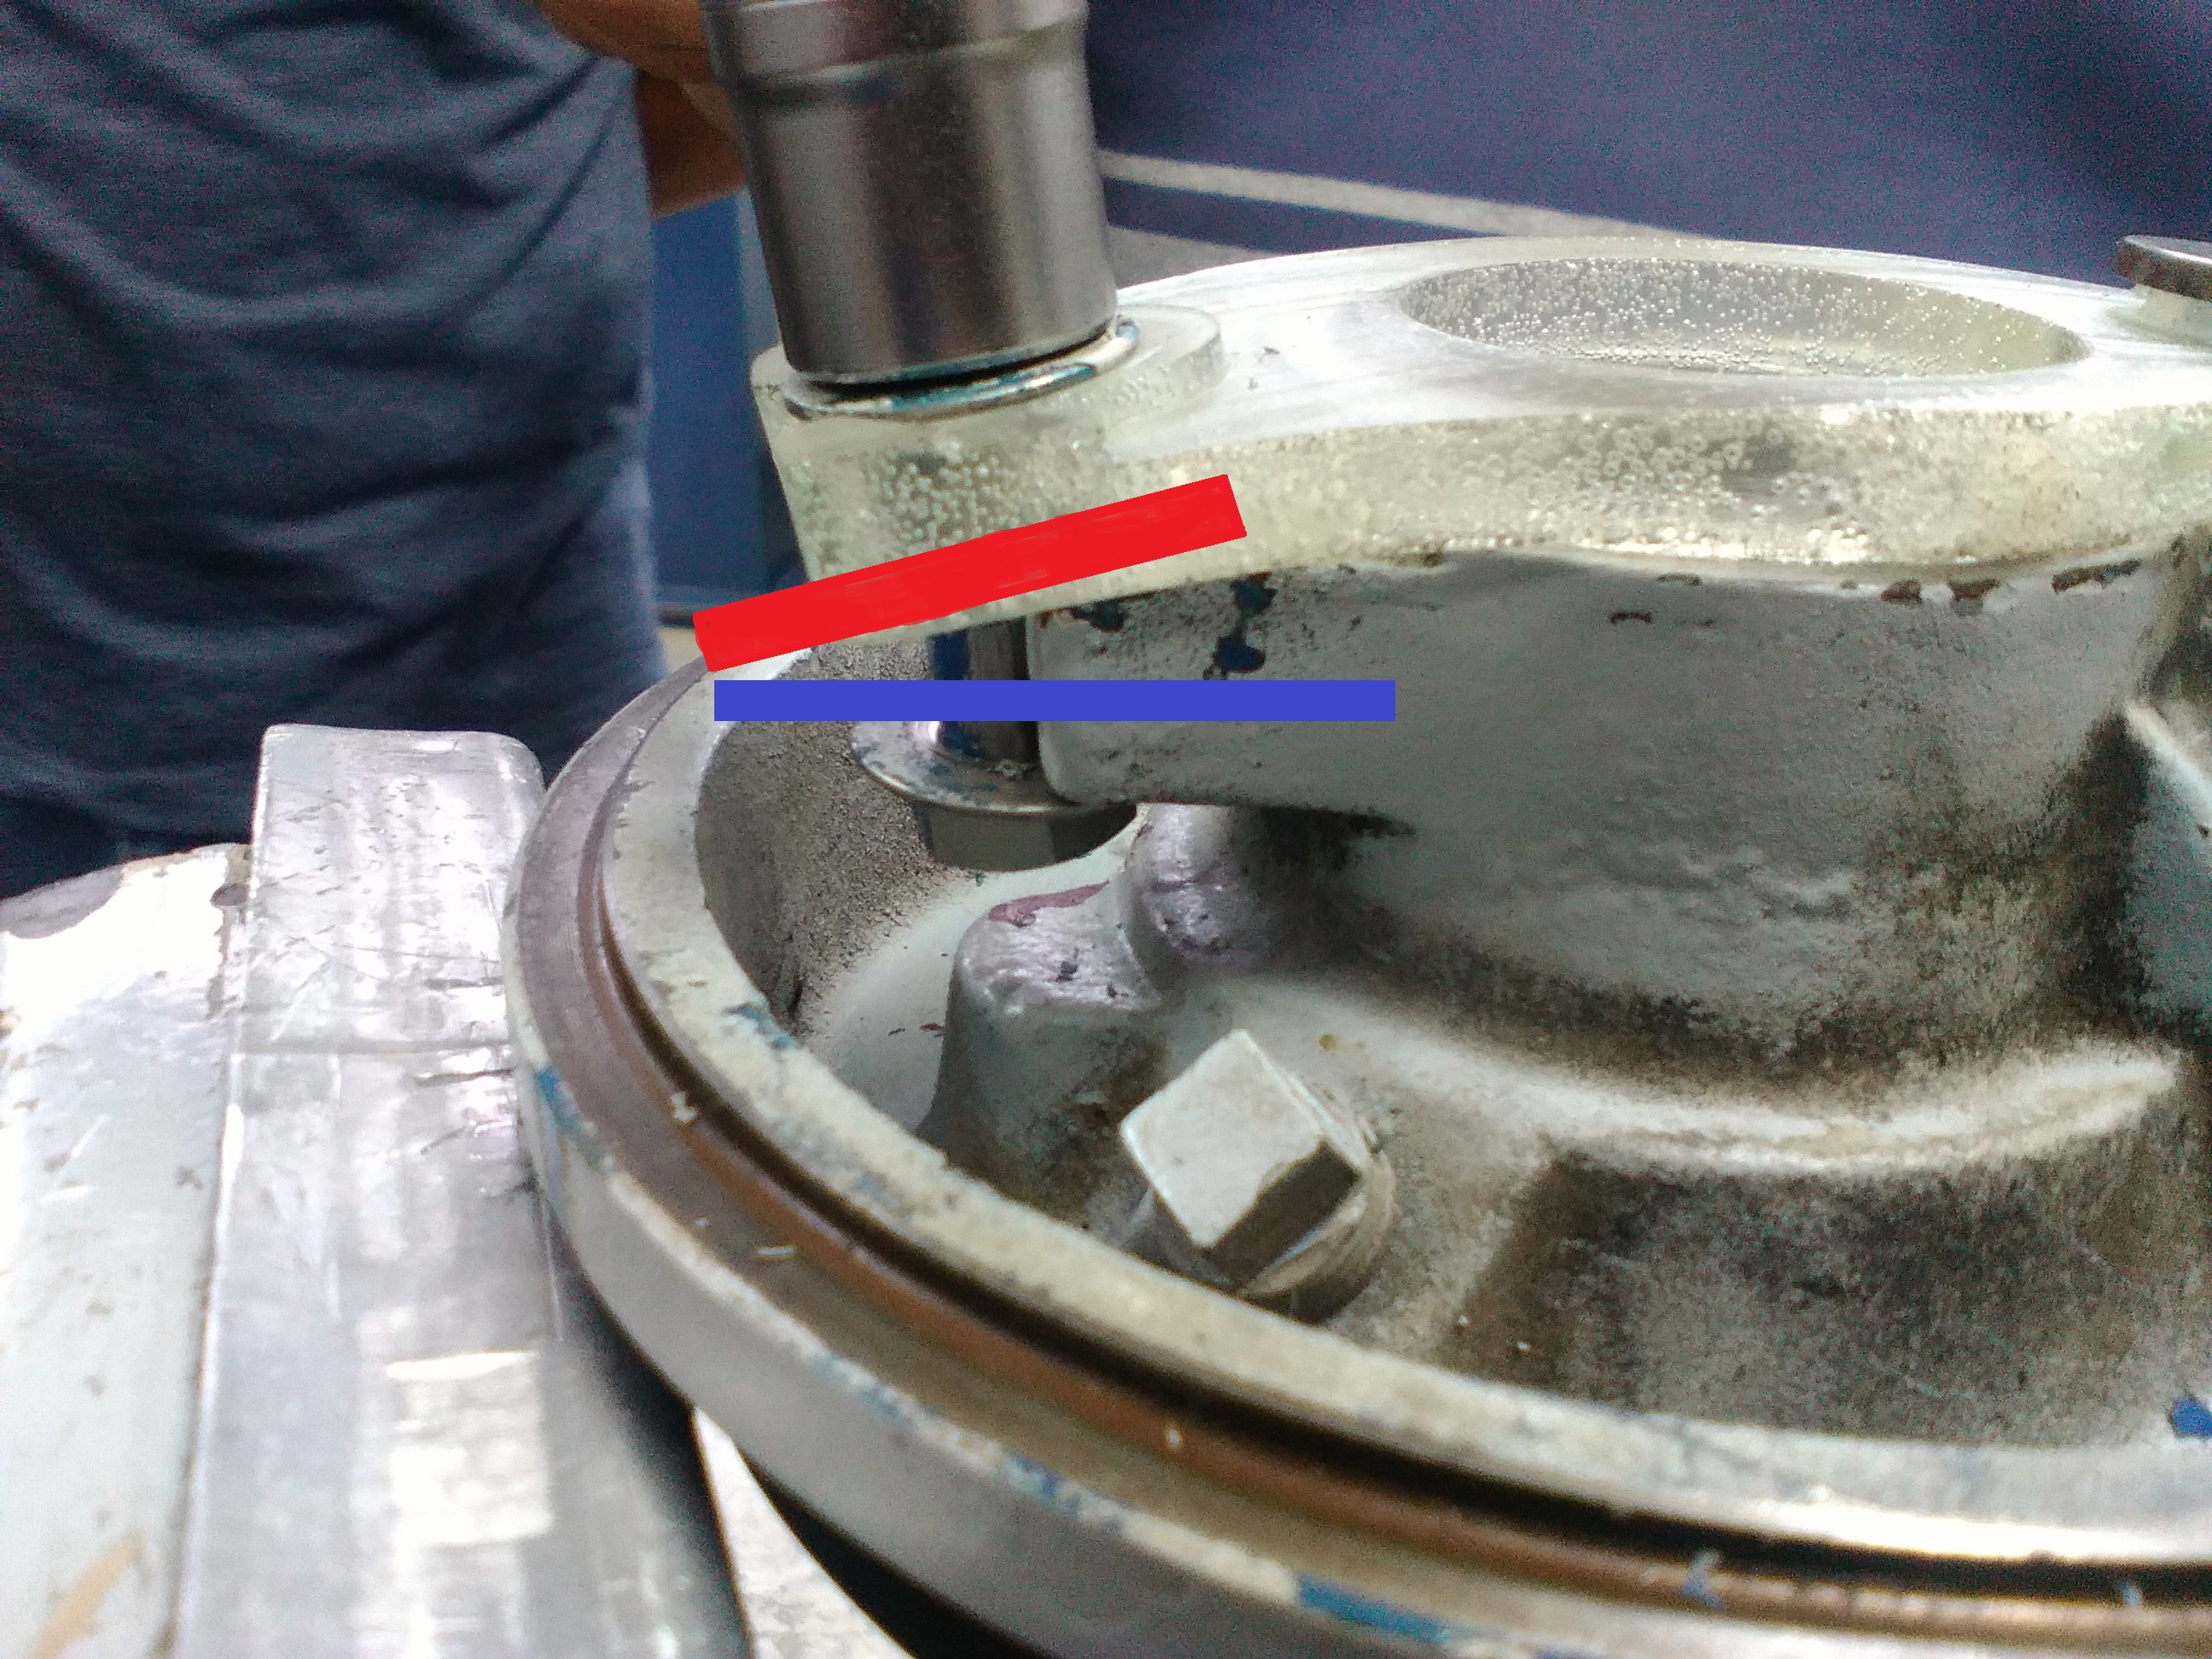
This is the centrifugal pump
Observe the video: When adjusting the bolts the resin undergoes a deflection that forms and is a risk because the bolt can slip and cause product leakage. Smooth-Cast 326 Mold Max 60 Here you can find the files


 Activate the inventor software, generate a new worksheet, select the unit of measurement in millimeters active sketch in 2D,
In this sketch draw the outside part of the press and then extrude and then combine between sketching and extruding and thus modeling the tow press (refer to the procedure of the second week).
I took into account for contouring add spokes and chamfers which are safety elements.
Activate the inventor software, generate a new worksheet, select the unit of measurement in millimeters active sketch in 2D,
In this sketch draw the outside part of the press and then extrude and then combine between sketching and extruding and thus modeling the tow press (refer to the procedure of the second week).
I took into account for contouring add spokes and chamfers which are safety elements.
 Now to give it a necessary color to enter the toolbar and add the look, I chose the yellow color.
After visualize add 1 mm outer radius and inner radius of 0.5 mmn which serves as a safety element
Now to give it a necessary color to enter the toolbar and add the look, I chose the yellow color.
After visualize add 1 mm outer radius and inner radius of 0.5 mmn which serves as a safety element

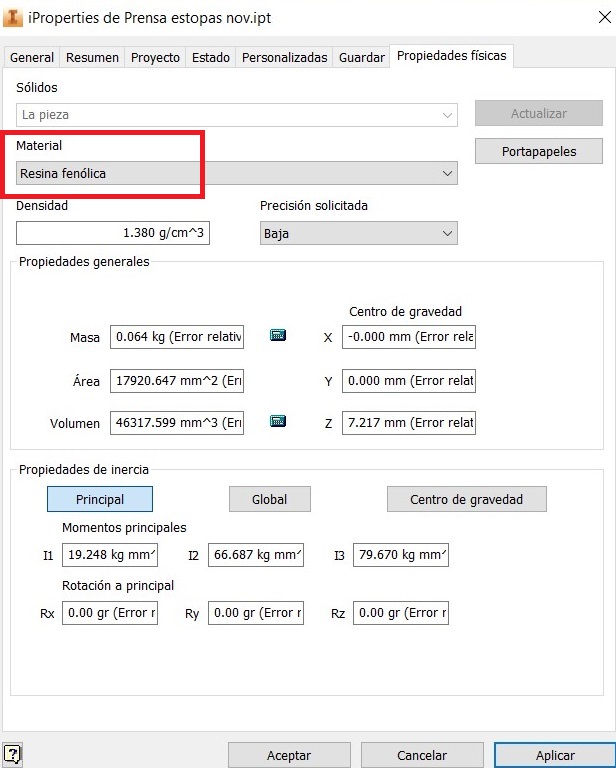 Then having the finished solid enter properties, then to physical properties to extract the characteristic of material to work, selecting the phenolic resin.
Then to obtain the upper and lower matrix generate a new sketch on one of the surfaces and give the outside margins.
Then use extrude and immediately select the icon that the dialog box (new solid)
And add the height of 37 mm
Then having the finished solid enter properties, then to physical properties to extract the characteristic of material to work, selecting the phenolic resin.
Then to obtain the upper and lower matrix generate a new sketch on one of the surfaces and give the outside margins.
Then use extrude and immediately select the icon that the dialog box (new solid)
And add the height of 37 mm
 Then rotate the solid to visualize better and now the 2 superposed solids are observed.
Use the Combine command to subtract (point to the solid and then select the cut command and point the yellow-tinted press) press the tow and hold the top die.
Then rotate the solid to visualize better and now the 2 superposed solids are observed.
Use the Combine command to subtract (point to the solid and then select the cut command and point the yellow-tinted press) press the tow and hold the top die.

 This is the centrifugal pump