Week 1
Principles and Practices, Project Management
Assignment:
Work through a git tutorial. Build a personal site describing you and your final project. Plan and sketch a potential semester project and add it to your website. Upload it to the class archive.
Learning outcomes:
Identify version control protocols
Explore and use website development tools
Formulate a final project proposal
Have you:
[x] Register on GitHub
[x] Create repositories for some of your existing projects on one or the other
[x]
Upload projects to the remote repositories
[x]
Use versioning for keeping syncronized your daily work among home and office computers
[x]
Clone open source projects repositories rather than download the zip files when you need to install something on your computer
[x] made a website and described how you did it
[x] introduced yourself
[x] described and made a sketch of your final project
[x] documented steps for uploading files to archive
[x] pushed to the class archive
1. How to version control
For FabAcademy 2017, we will store our learning website in the GitLab, and use the git to control the verion, git is distributed VCS, every user has is own private local repository that each user merges changes into a main repository, usually via pull-requests.
Install the Git and add the SSH key in the gitlab.
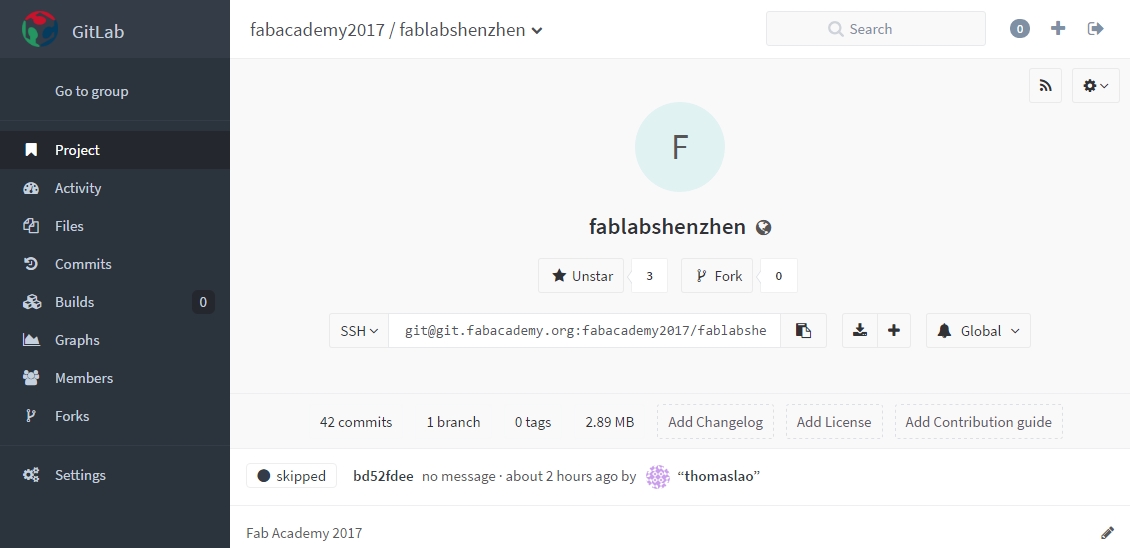
- here is our GitLab(fablabshenzhen) in the Fabacademy and principle of GitLab.
- Download and Install the Git software in the Git website.
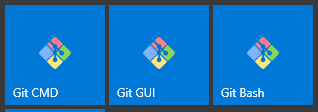
- you can find the Git CMD, Git GUi and Git bash after intall the Git software
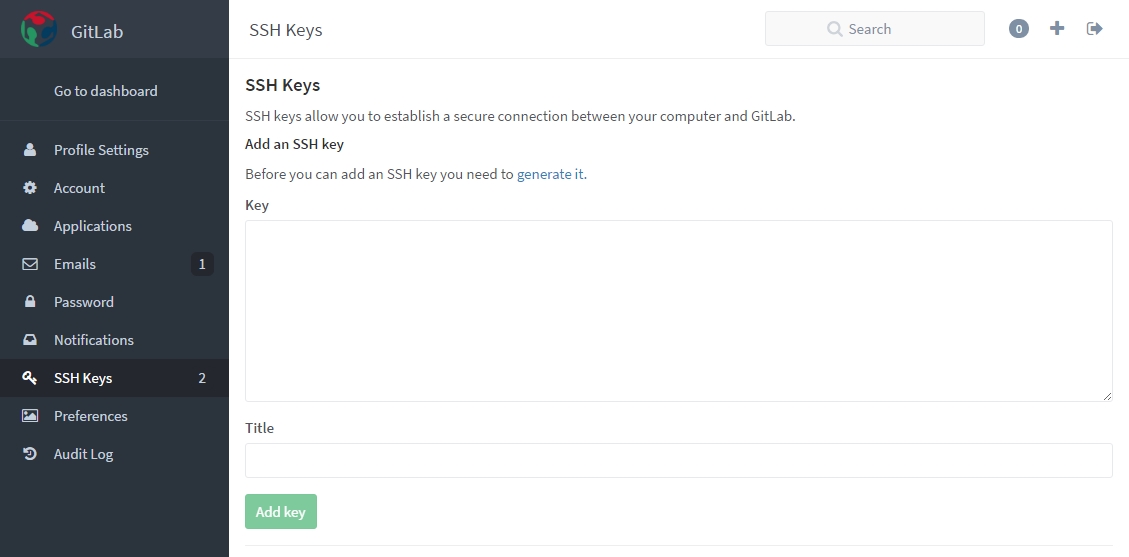
- Browse the GitLab and add the SSH Key in profile Settings
- run the git Bash
- set the username and email to config the gitlab.
git config --global user.name “thomaslao”

git config --global user.email “thomaslao@gmail.com” - enter command to generate the SSH key in the command line
ssh-keygen -t rsa -C "thomaslao@gmail.com" - check your SSH key type this command:
cat ~/.ssh/id_rsa.pub - paste your computer's publish ssh-key to the form.
- Find and open your SSH keys in your GitLab.


Clone your Repository
- New a project of website file on computer desktop.
- Input command in the git bash:
cd desktop

          mkdir webpage

          cd webpage
- Clone remote repository:
git clone git@git.fabacademy.org:fabacademy2017/fablabshenzhen.git
- and the master website file clone the the desktop.


Here's a Github tutorial that's fully transferable to the Fab Academy server.
Push & pull the website
Use the SourceTree for the update the learning website, it's very easy to operate and manage the wesite, becuase it's the GUI control that is much friendly for the beginning.if you use the sourcetree to clone the repository, you don't input the command line to clone the respoitory in the GIT Bash .
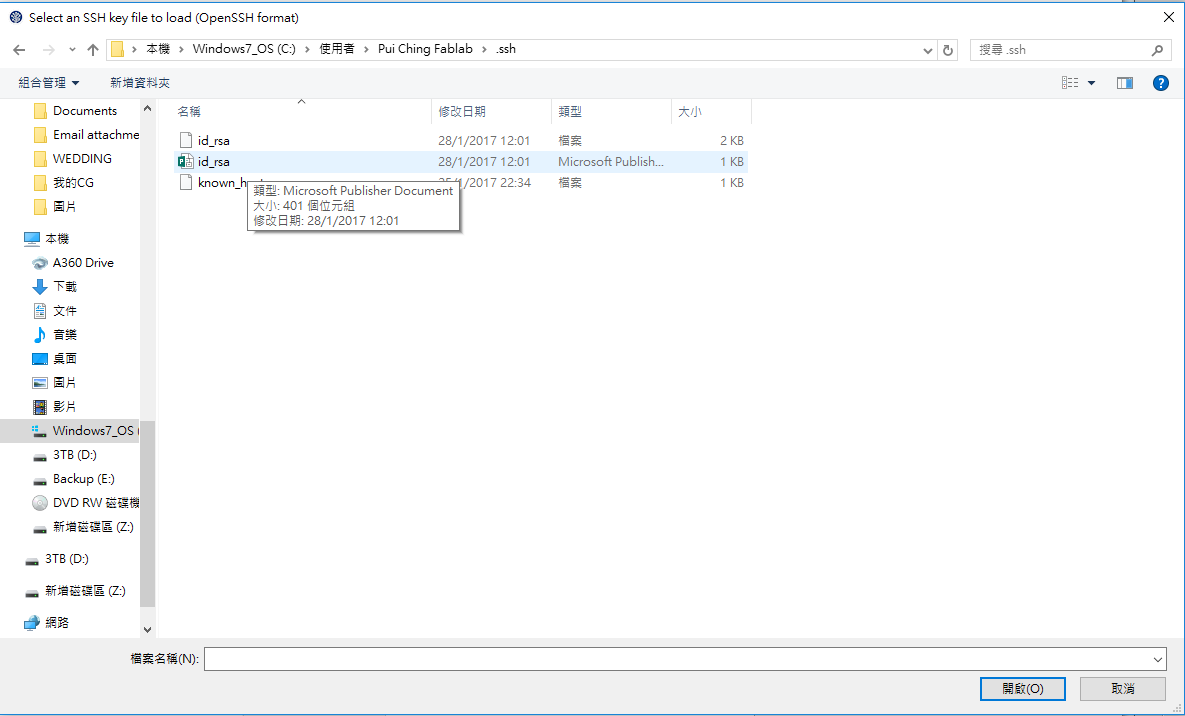
- Add SSH key in the sourcetree select the Add SSH key in the Tools tab. Browse the %user profiles%\.ssh, select the id_rsa.pub file. Remeber to add the SSH key in the Gitlab, too.
- Open the giblab website and copy the SSH code.
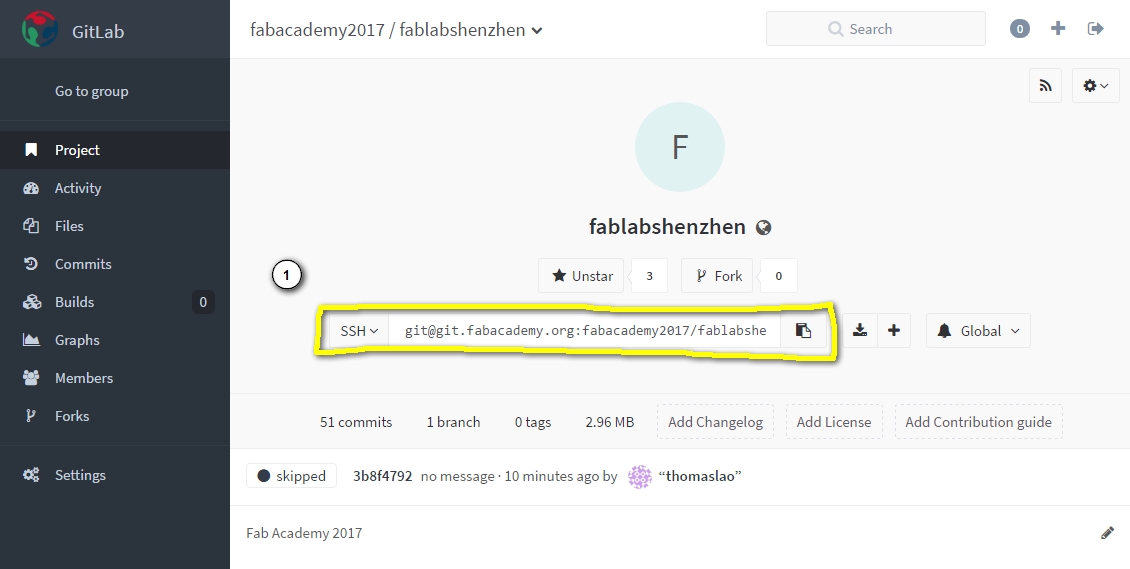
git@git.fabacademy.org:fabacademy2017/fablabshenzhen.git - Paste the copy to the Source path /URL in the blank, and select the directory to store the clone repository.
.png)
- You can look the changed file in the SourceTree after modify or add the files.

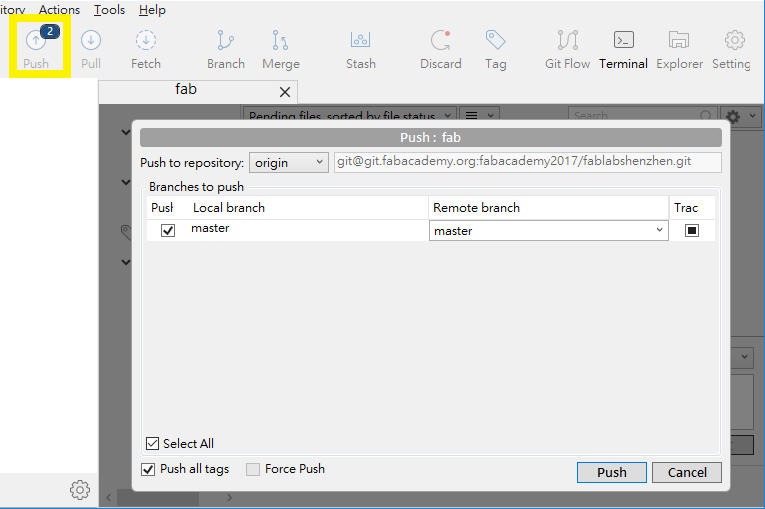
- There are four steps to update the learning website.
STEP 1, press the Stage ALL button to stage all files to stage.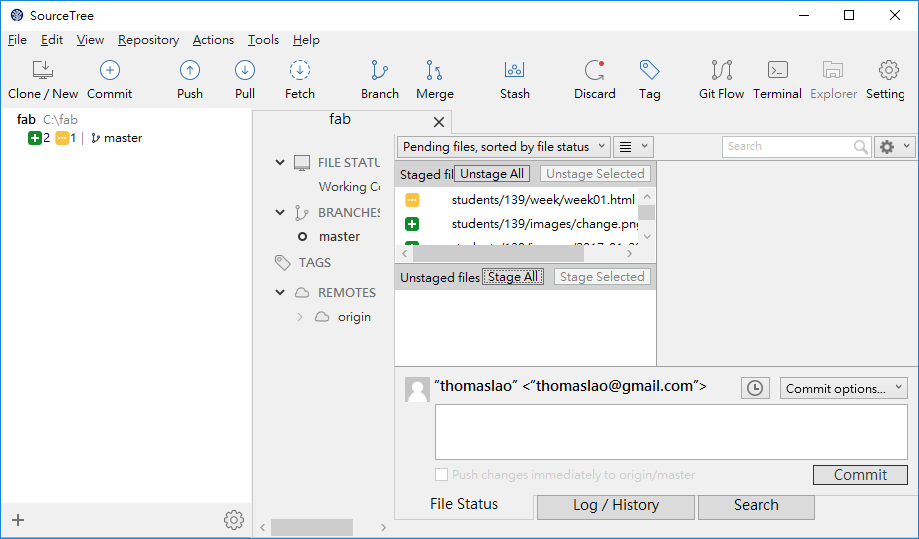
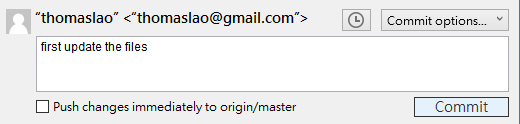
- STEP 2, Write the messenge in the Commit option, then press the Commit button.
- STEP 3, press the Pull button to update the master source in the server.
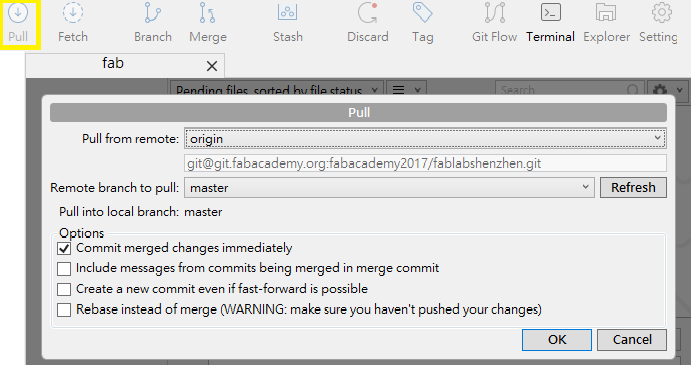
- STEP 4. press the Push button to upload the local files to the master source in the server. Then can update the files follow the fours STEPS.
2. How to Build the site(Web Template and Editor)
Use the Story teamplate in the html5up to quickly build up my learning website. all the web template are free. download the files and upzip all the files to yourfablabname/students/std_ID/ folder, the template only include the mainpage , so use the Dreamweaver to manage the website and create the all pages of PROJECT .
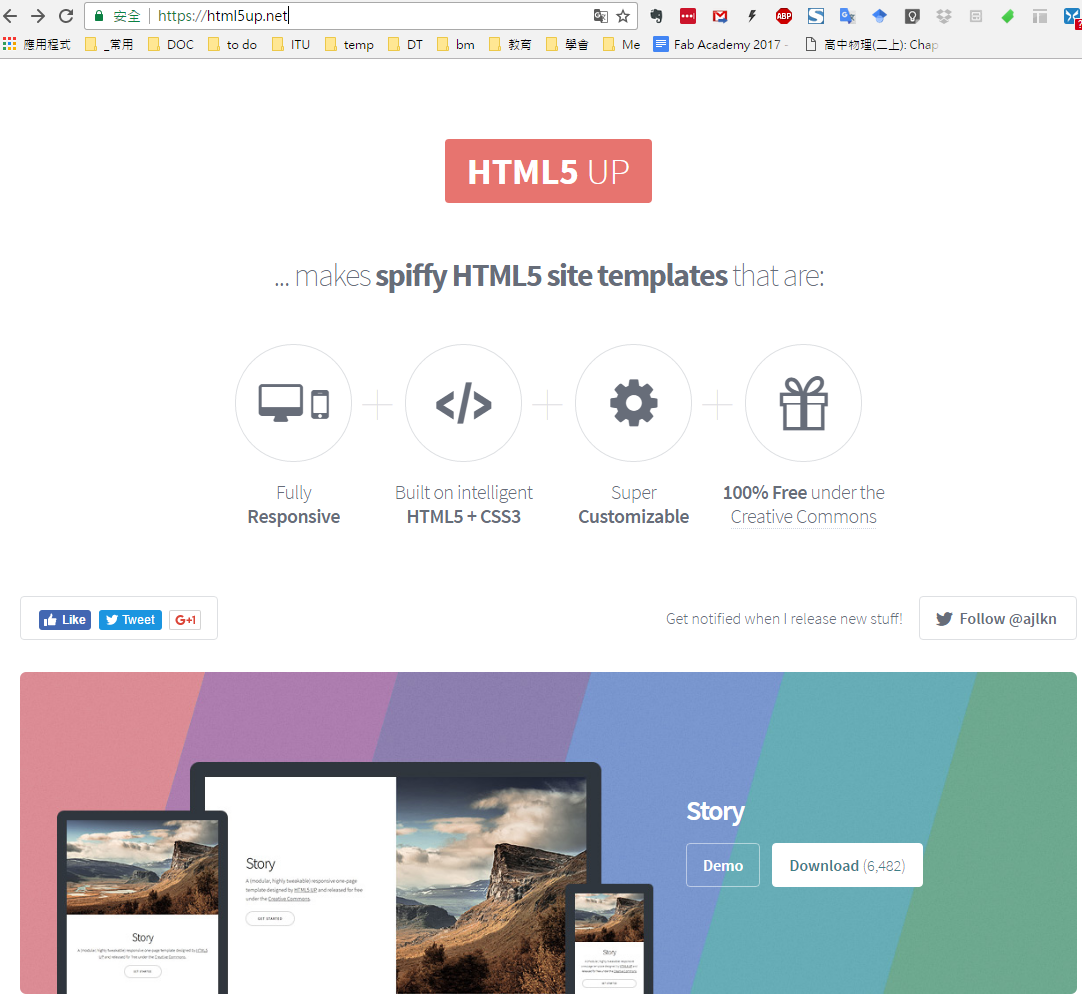
The html5up.net website and the Story template
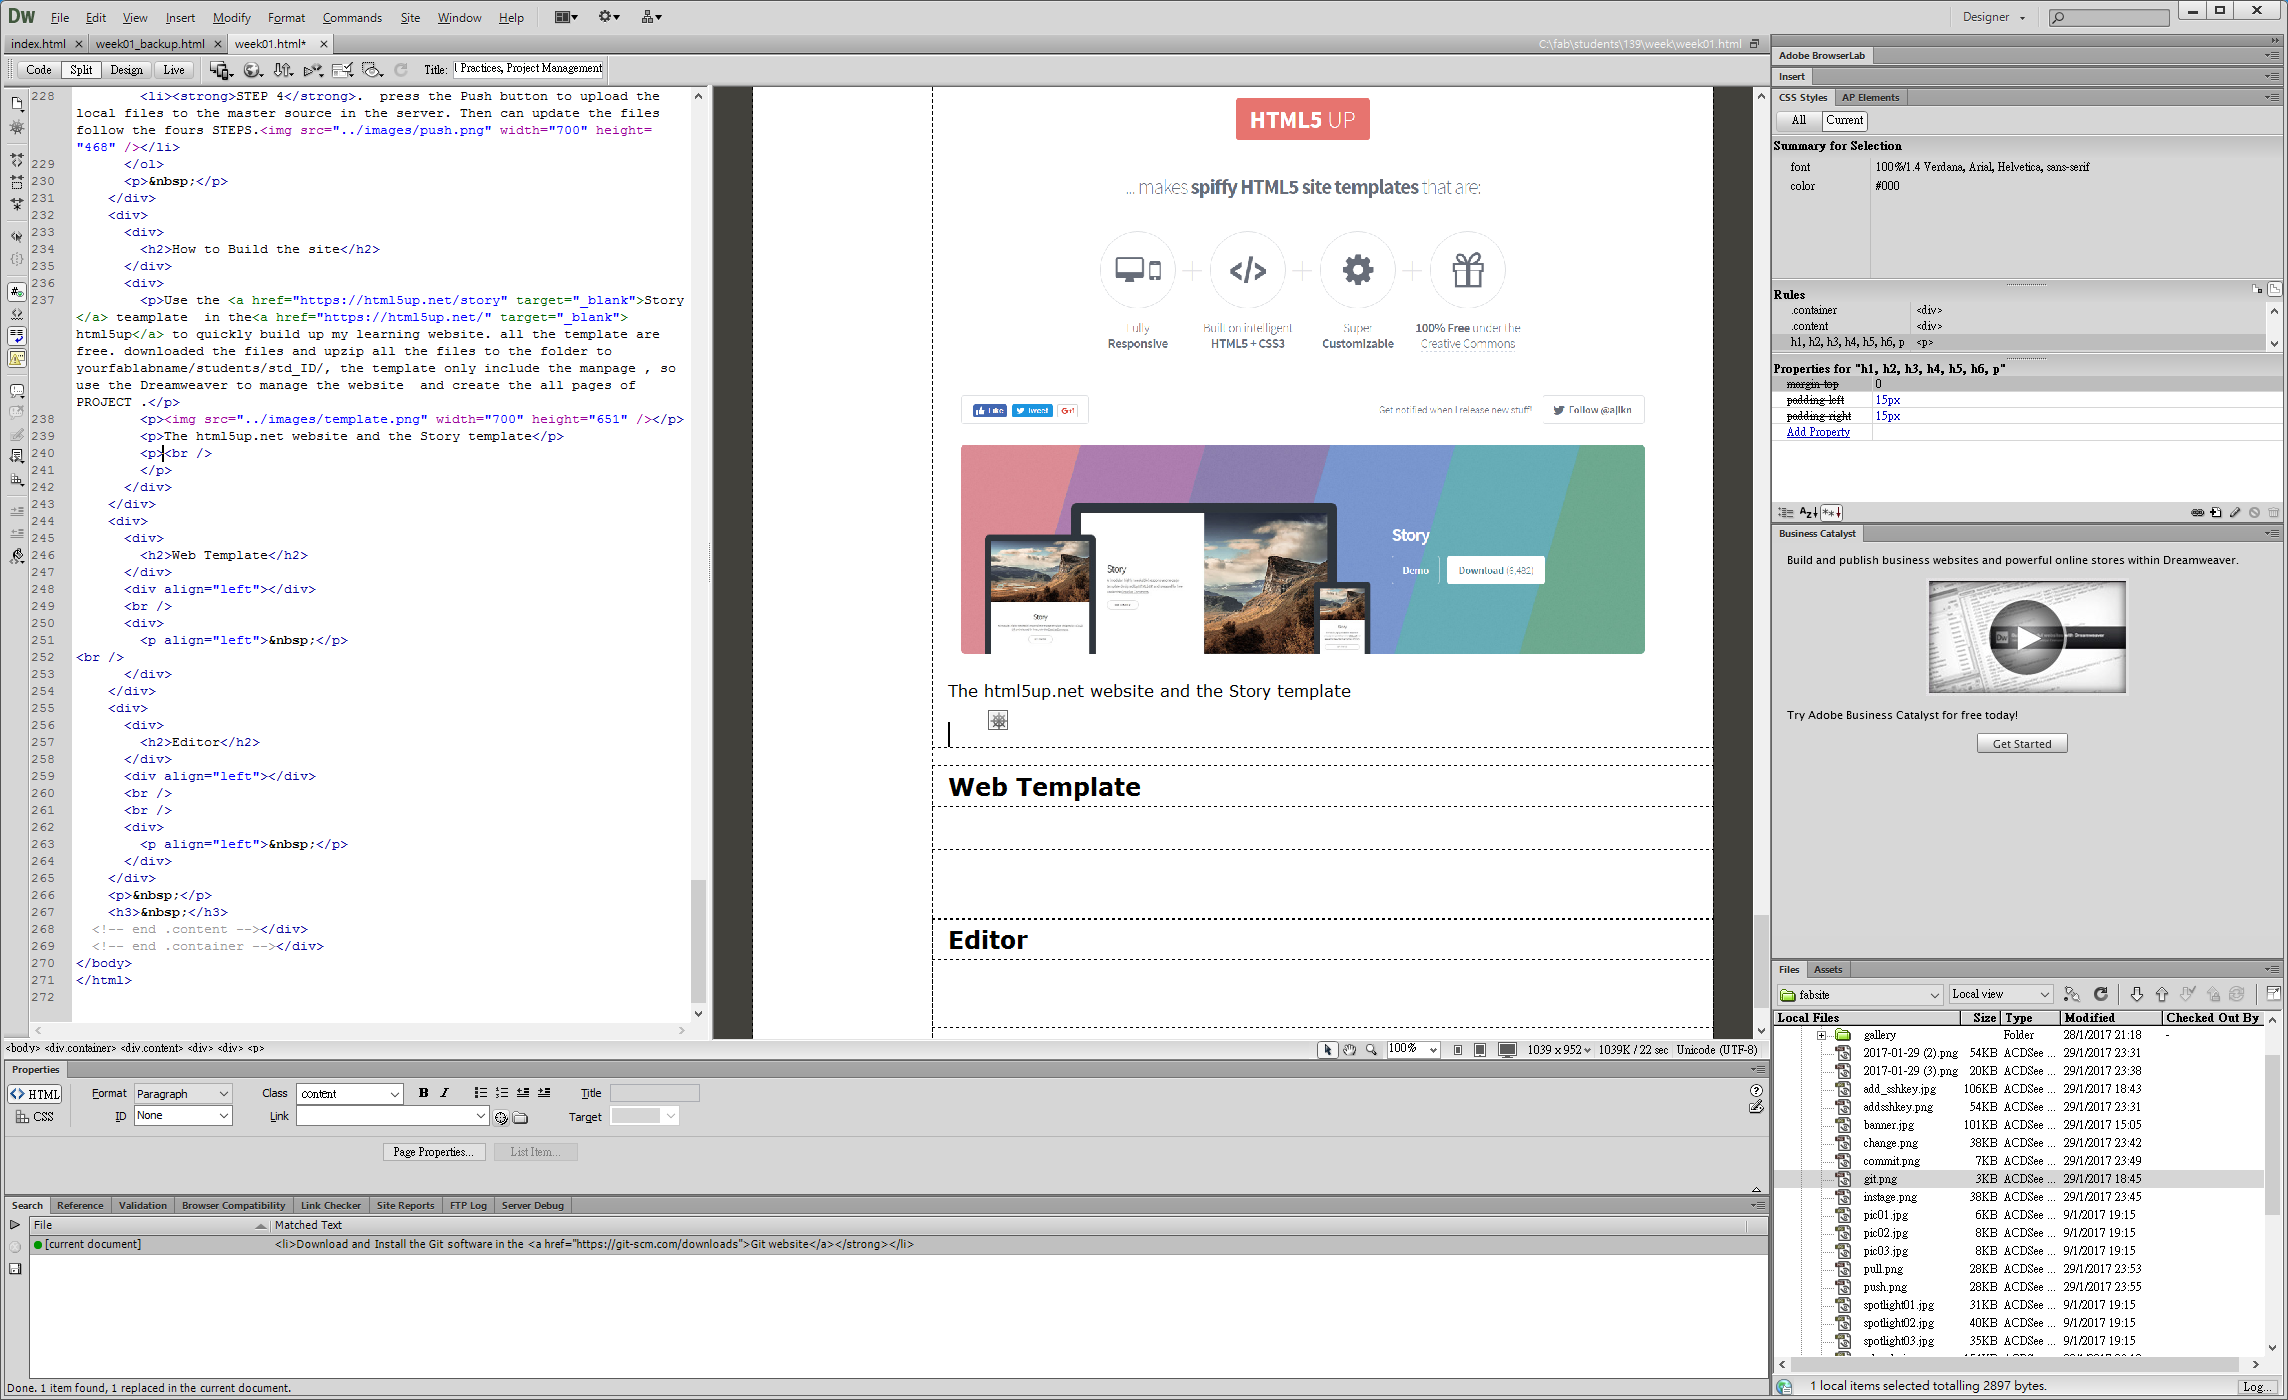
Edit and manage the website
3. Final Project
I want to make the underwater robot “Make-ROV”, it is an easy-to-make ROV (Remotely Operated Vehicle), which can be used to create ROVs to suit any purpose ranging from conducting simple underwater observations to completing complex multi-purpose functions. Make-ROV is a highly extendable, easy-to-develop educational outreach robot, which allows people to determine the frame, attachments, and function to create their desired vehicle, thus providing people more opportunities to explore and learn. Although countless materials are suitable for marine usage, some are too arduous to use and a commercially constructed ROV may be too expensive to afford. Therefore, people may choose cheaper outreach ROVs, but those robots may only have a basic structure for general observational usage. In order to create Make-ROV, the assembled vehicle must be versatile, allowing it to maneuver in various marine conditions. The robot can first be used for basic observational uses and later customized by adding on advanced functions. Sensors can be equipped onto the ROV, where the collected data can be shown on a monitor. Also, after setting up the ROV, users will be able to choose a default ROV frame shape, main construction material (PVC or aluminum), and numerous other building specifications. Moreover, the ROV has specialized features for stability, waterproofing, and troubleshooting. The PCB (Printed Circuit Board) technique was used to increase the system’s stability and allow troubleshooting to be done easily. Also, in order to let the system be secure and waterproofed, an easy-to-assemble waterproofed pressure vessel was secured to the frame. Make-ROV, was constructed to provide an easier way for individuals with a limited budget to create a ROV.
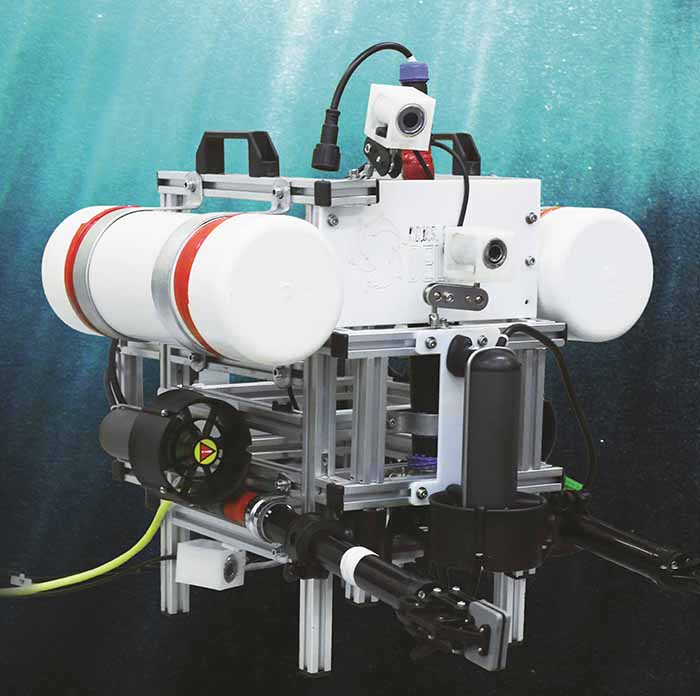
The Make ROV concept